Road Trip - Utah, Arizona, and Nevada
This trip itinerary explores some of the National Parks in South Utah and North Arizona, with a little sprinkle of Las Vegas fun! I went on this trip with one of my good friends, but it would also be a perfect trip for a couple, family, or a group of friends!
We used Discover Cars to rent a car from the Las Vegas Airport. Check out car rentals here to find the best deal!
If you are not interested in driving, check out this 7 day tour from Las Vegas that visits everywhere I did and more!
We decided to fly in and out of Vegas from Toronto, as it was the cheapest nonstop flight for us. We are super glad we did this as we got to experience both the fun of Vegas as well as explore many National Parks - which made for the perfect combination.
Hotels
- 1
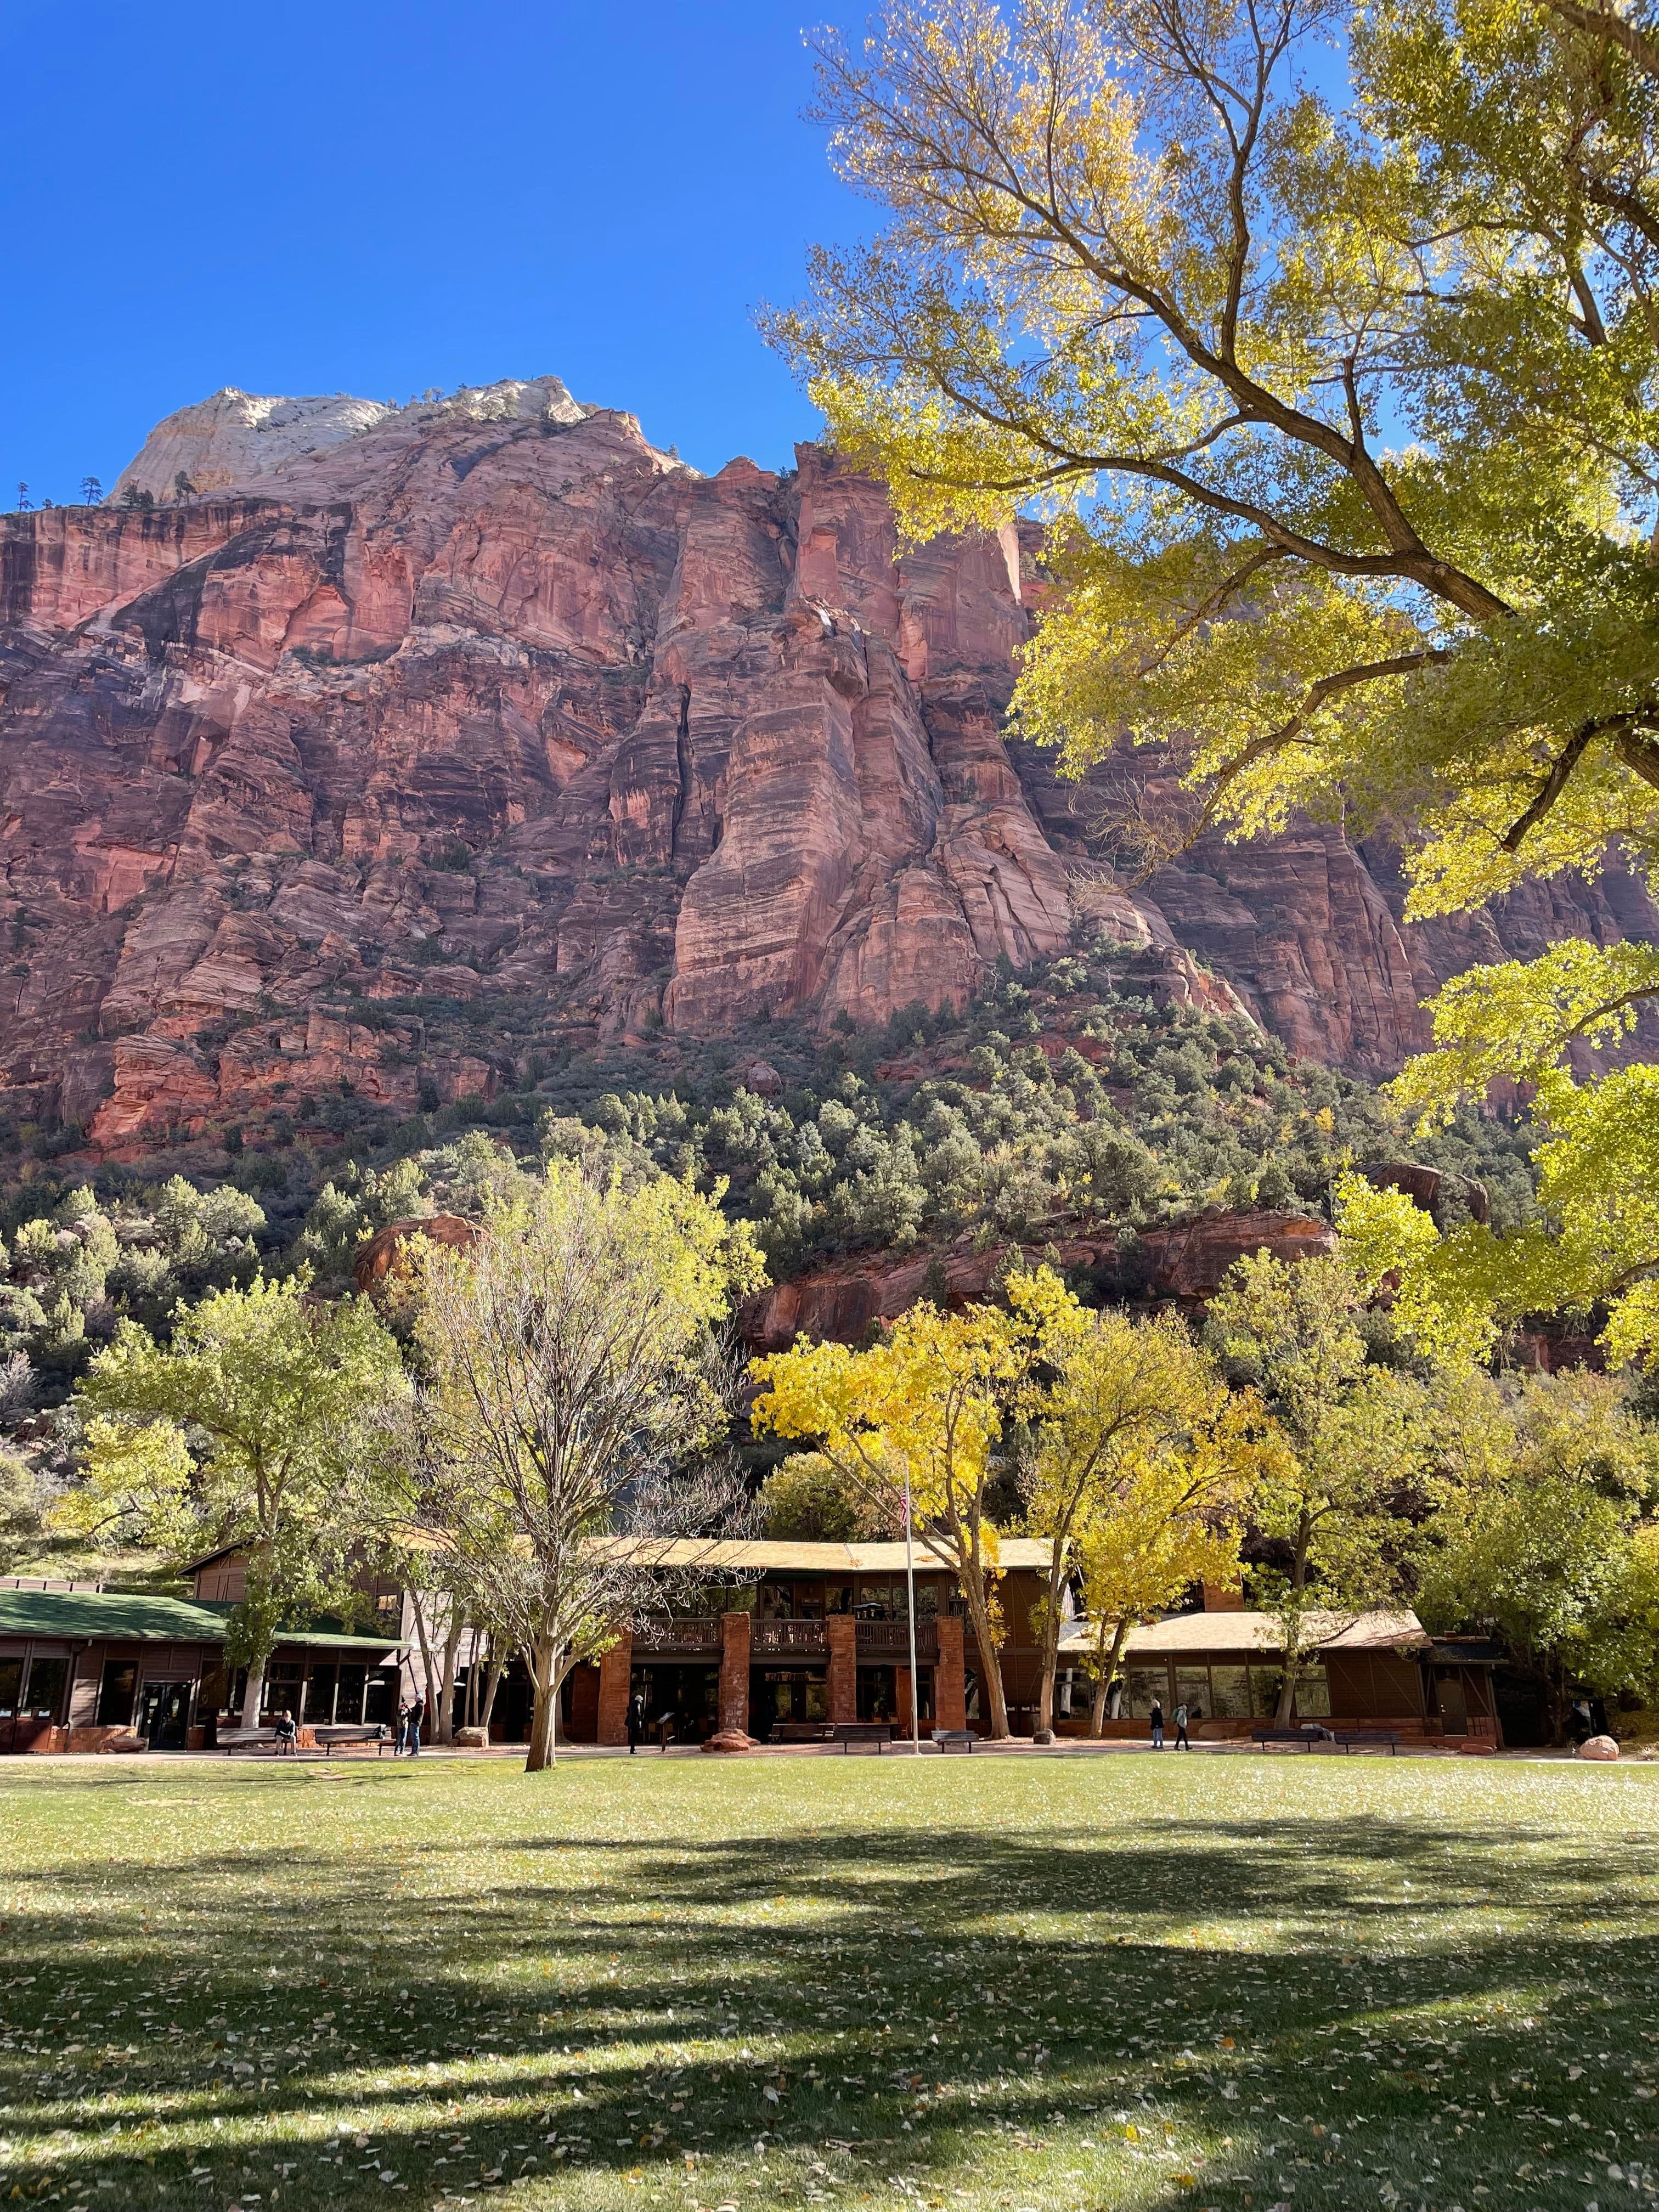
Zion National Park Lodge

Night 1: We actually did not stay at the Zion National Park Lodge on the first night, however if I would have done anything differently on this trip it would have been staying here! Located right inside the National Park it is worth it for the location.
If you would rather be closer to town, I would recommend looking at hotels in Springdale. Check out some options here!
- 2
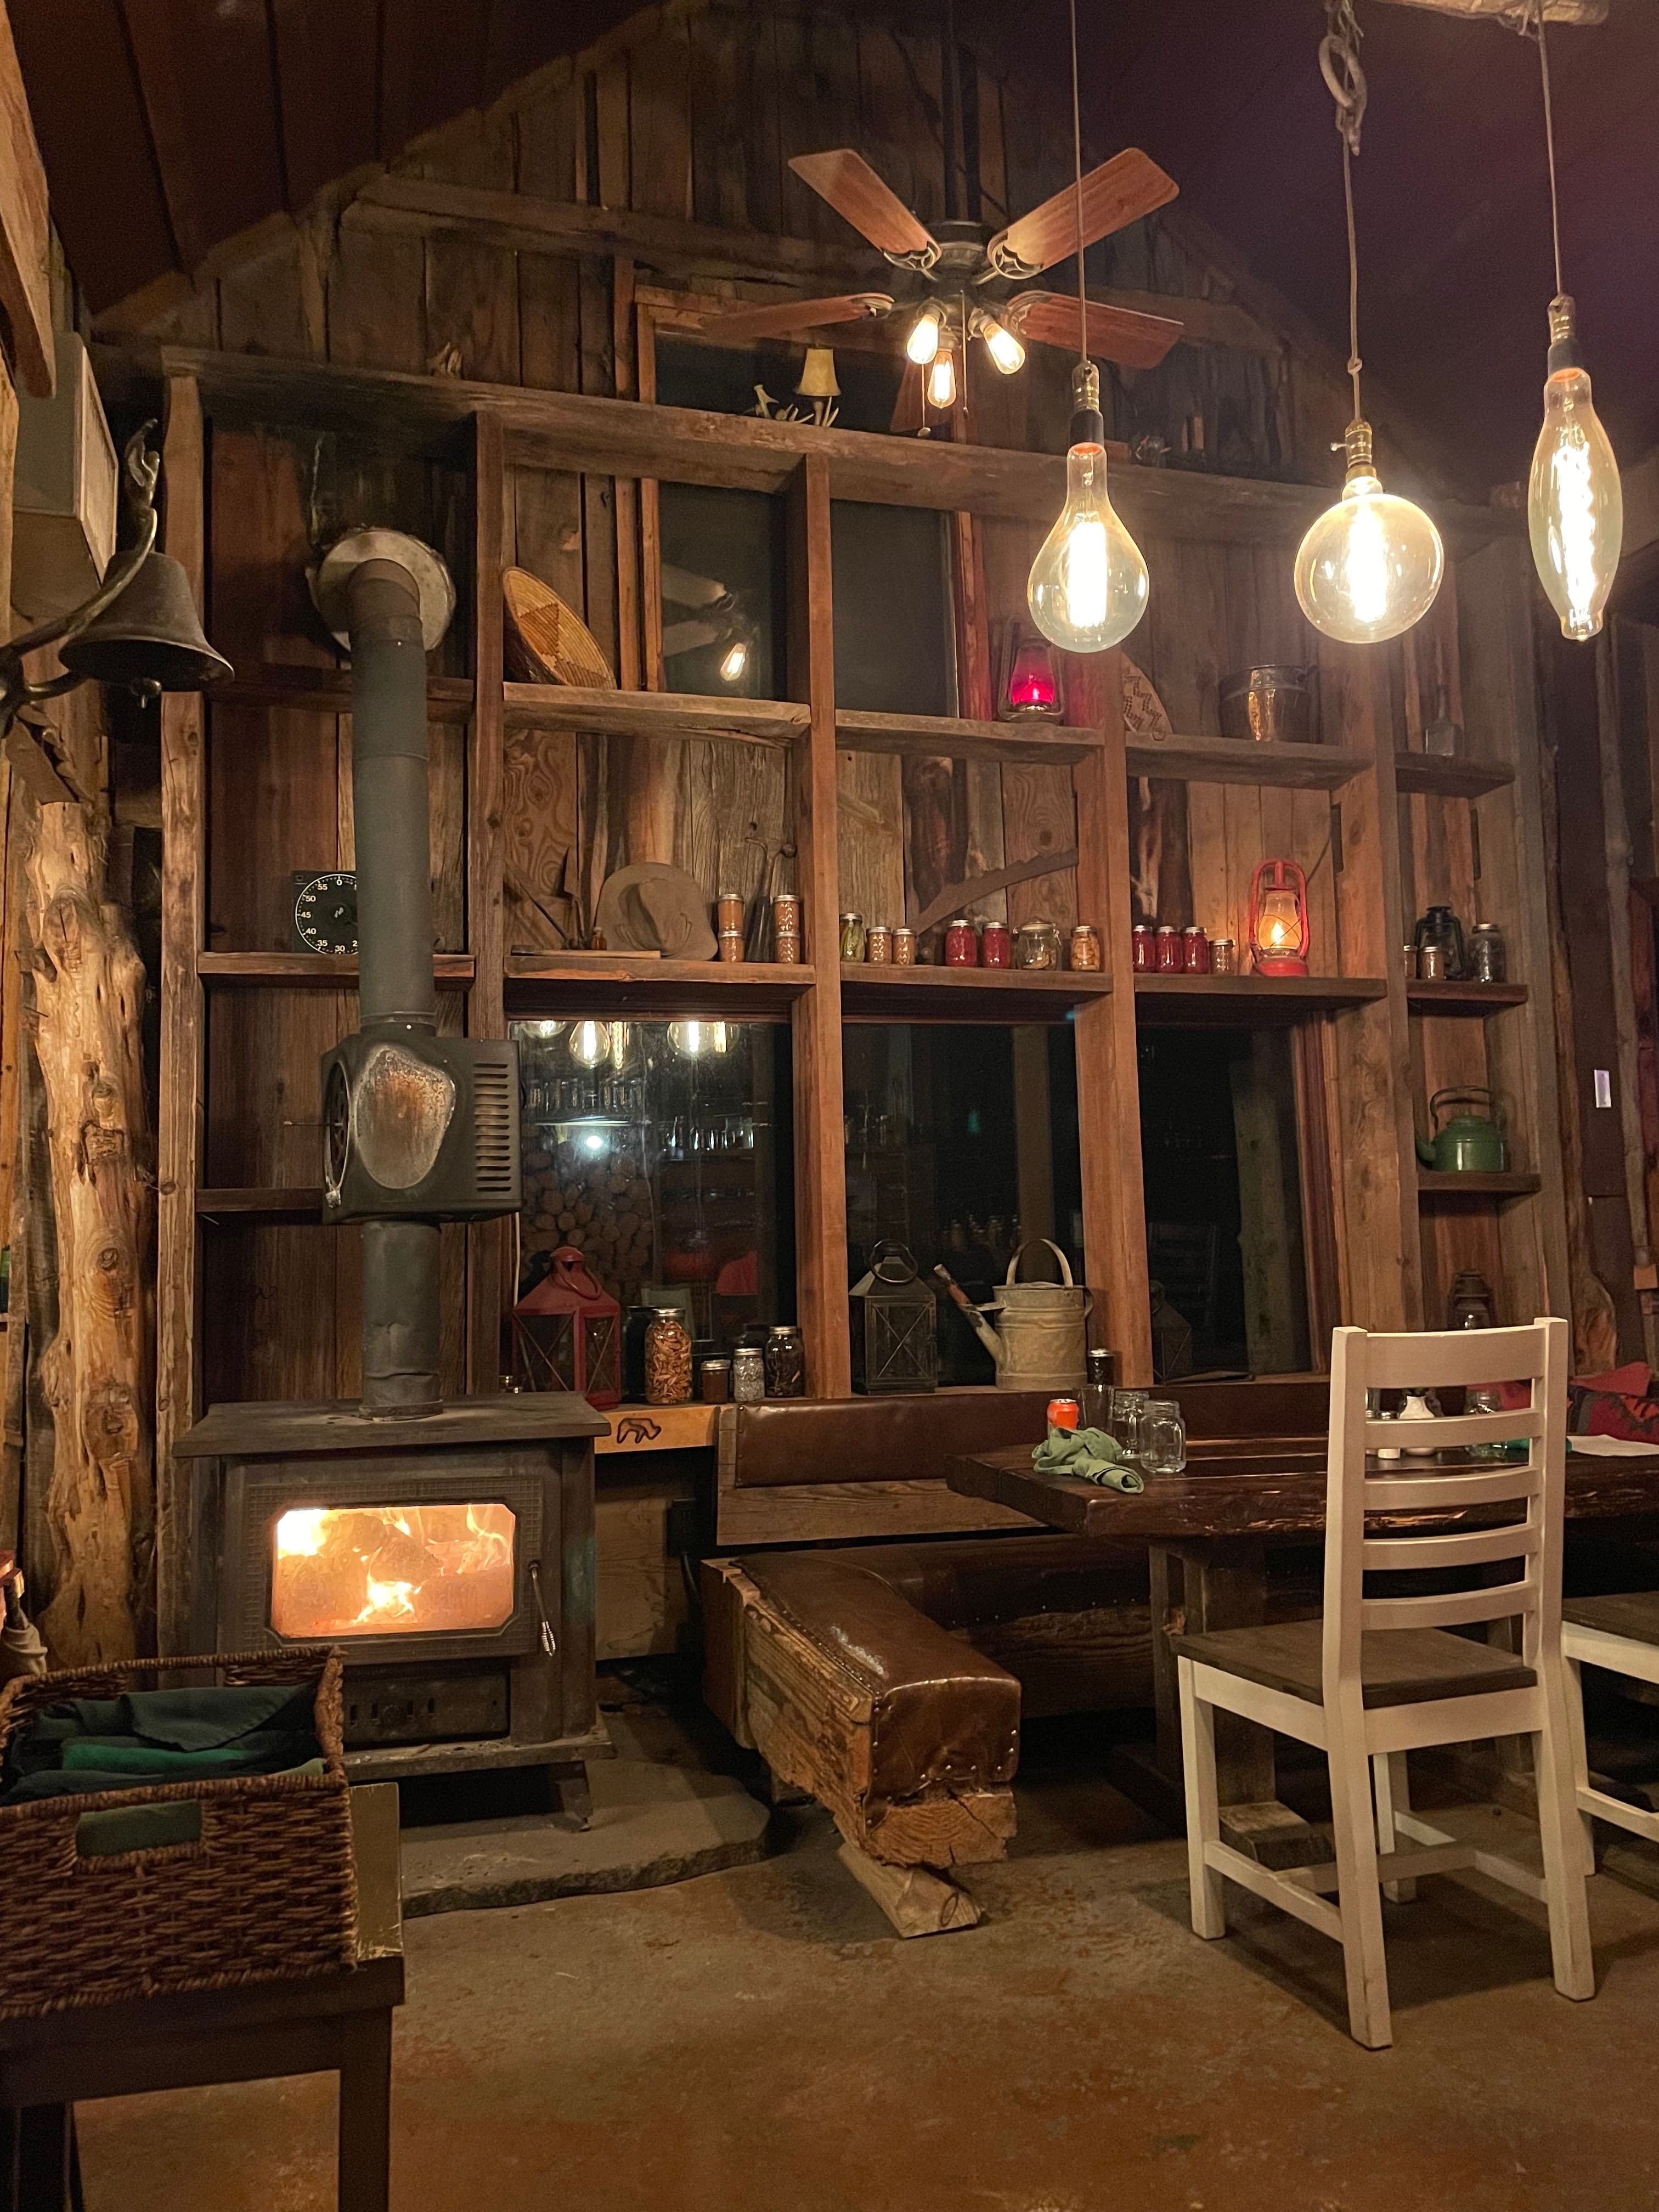
Zion Montain Ranch
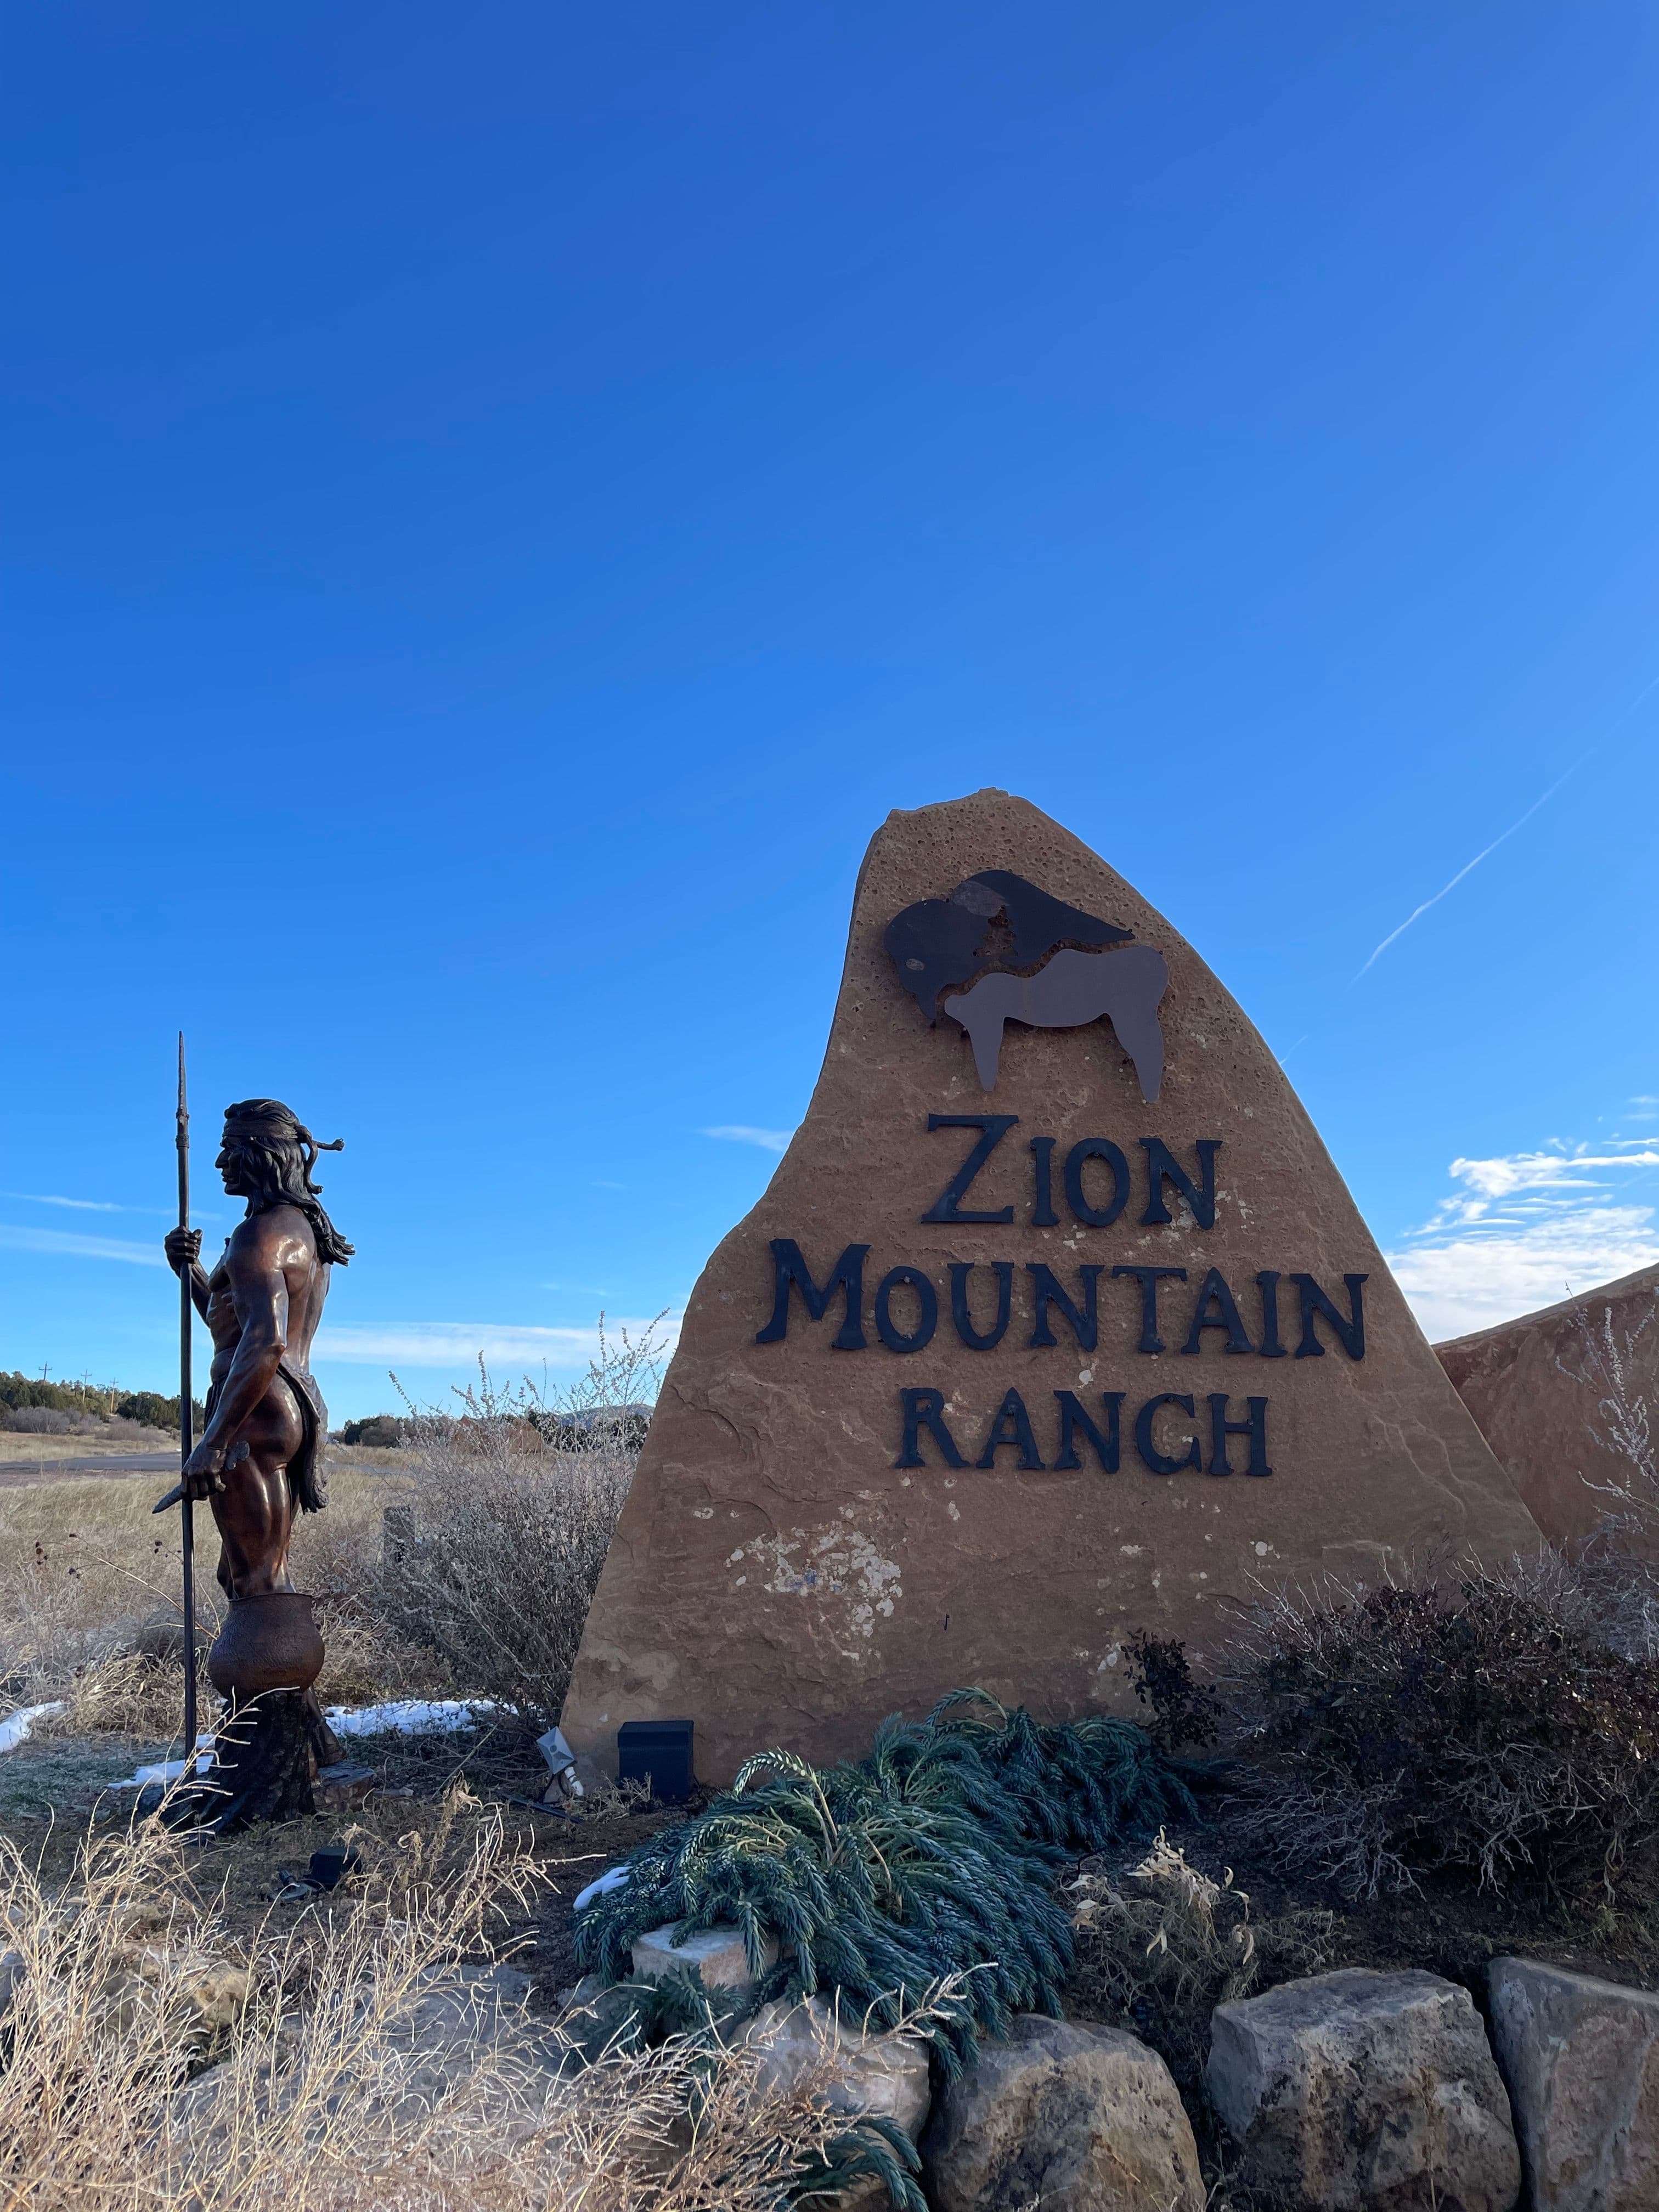
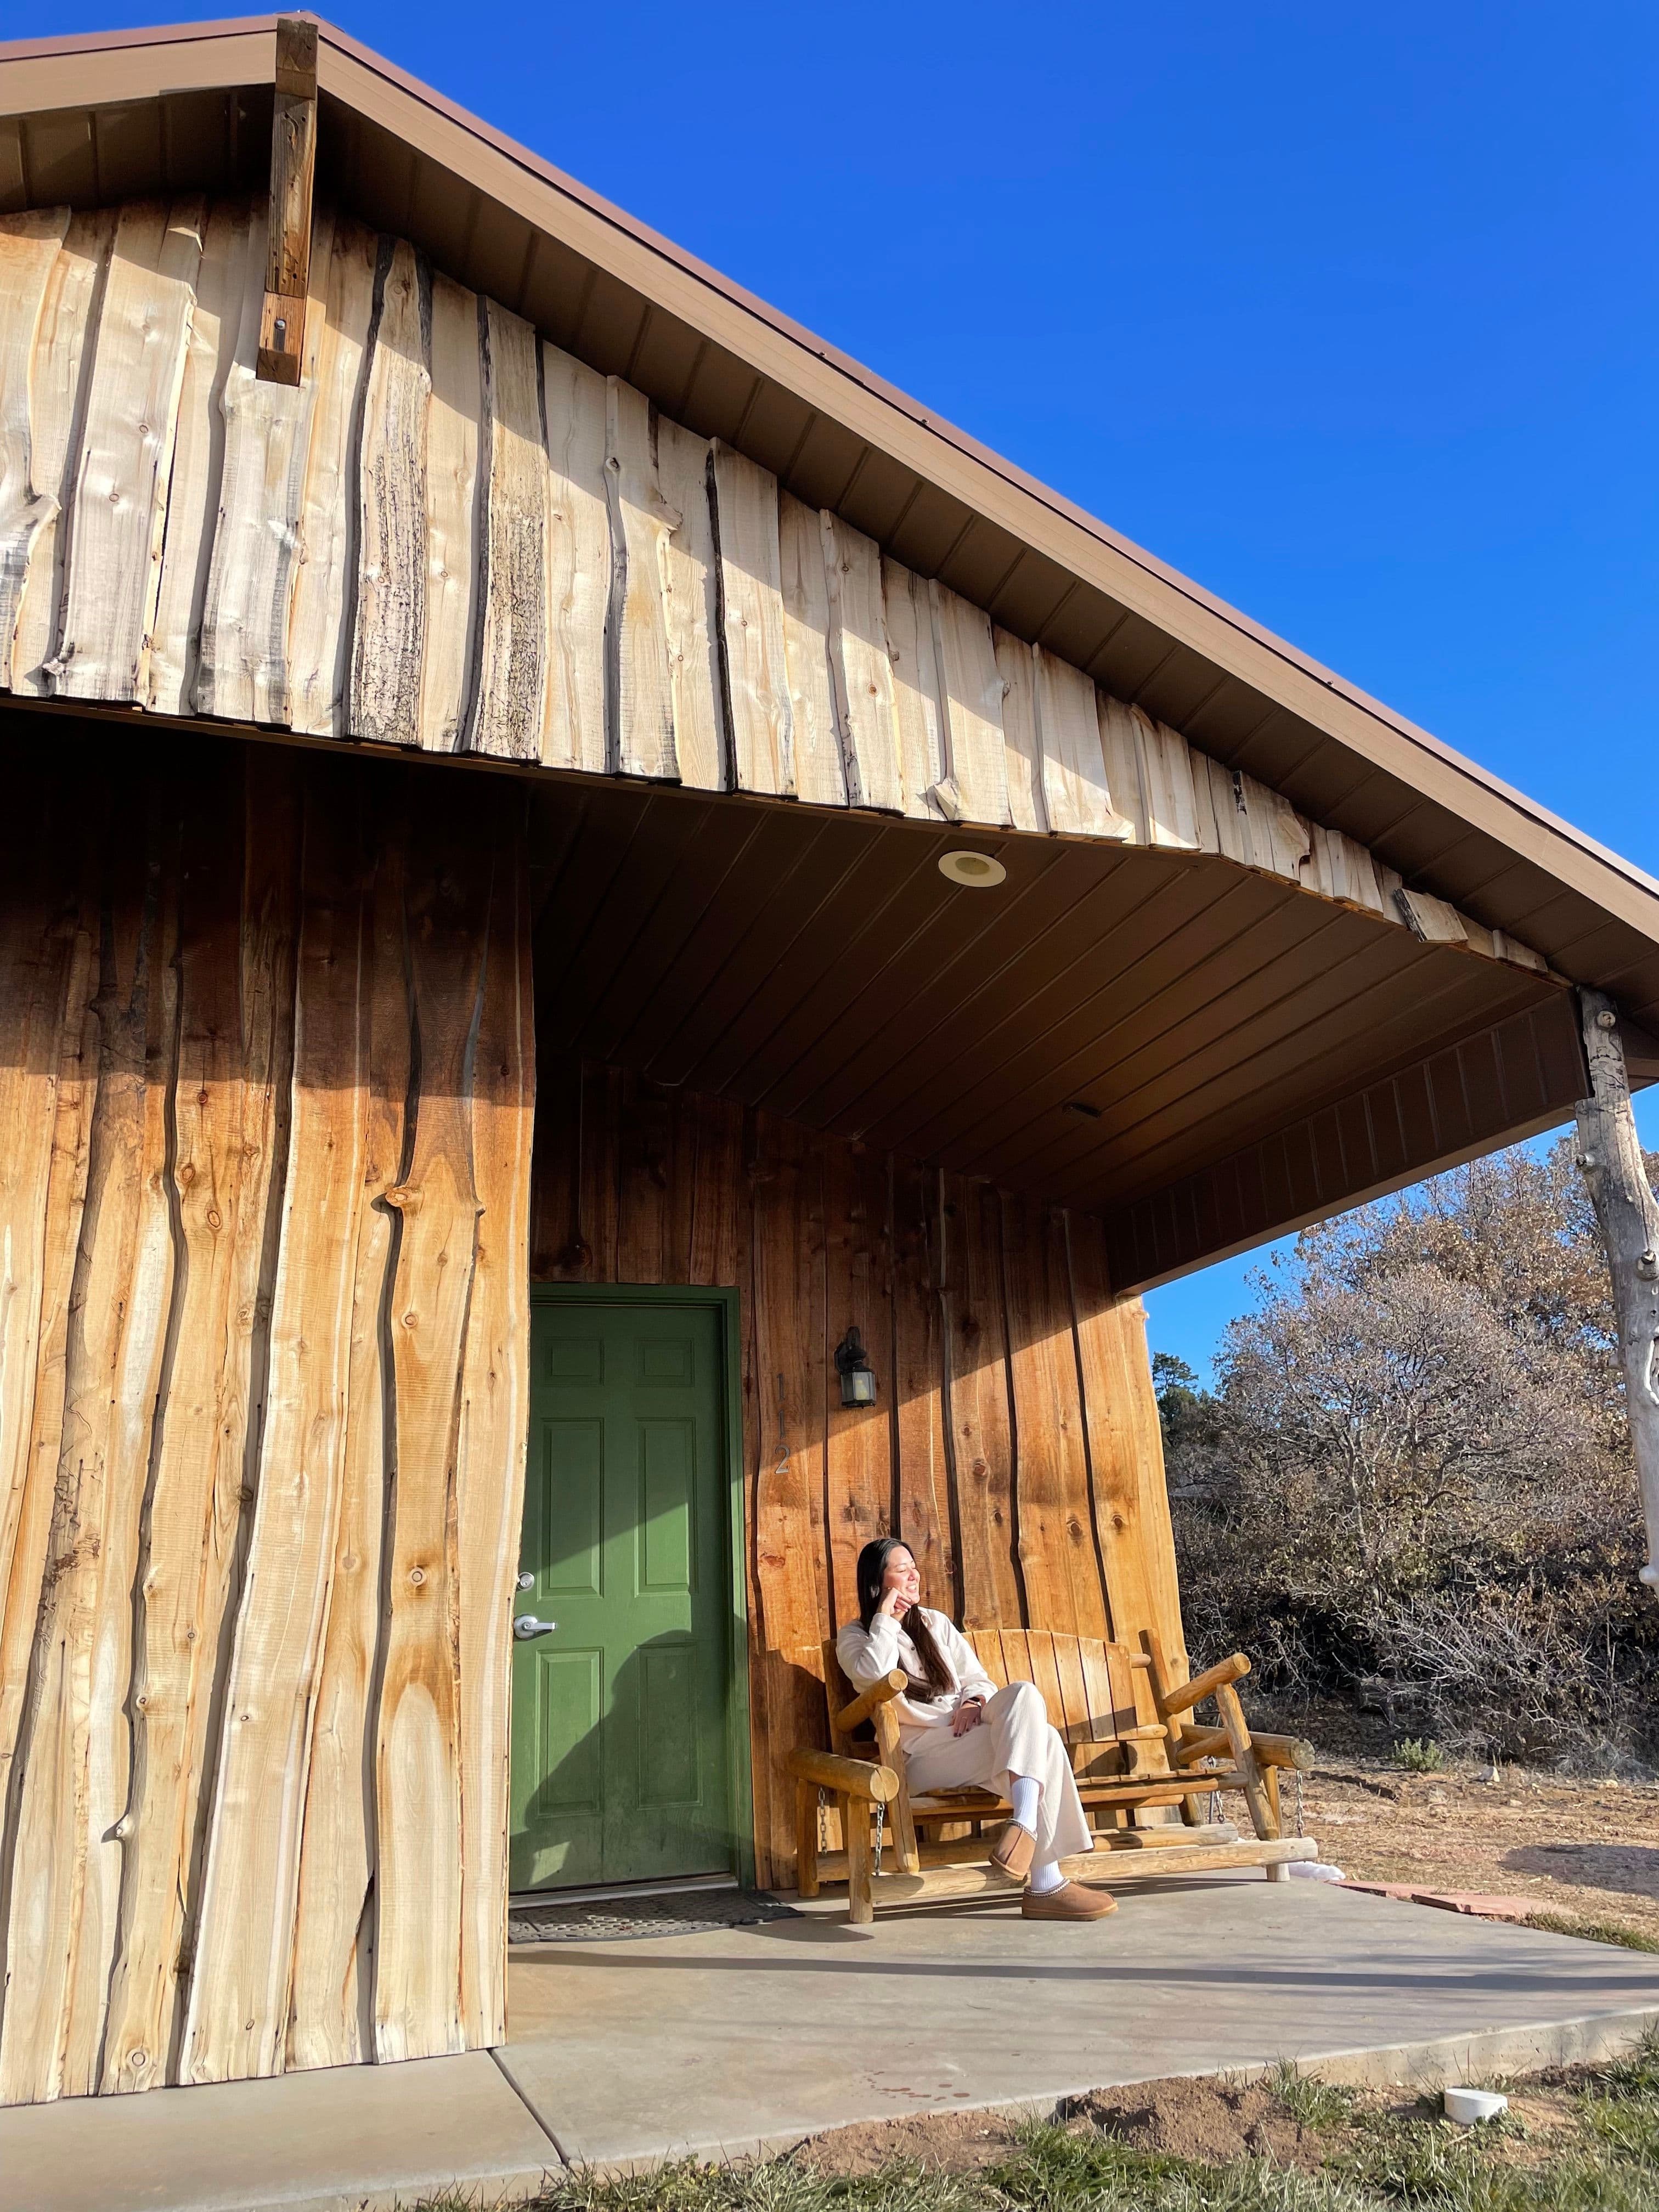
Night 2: One of our favourite places we stayed on this trip. We loved the quiet nature of this ranch, the delicious restaurant, and all the animals.
If possible, I would recommend staying longer than one night!
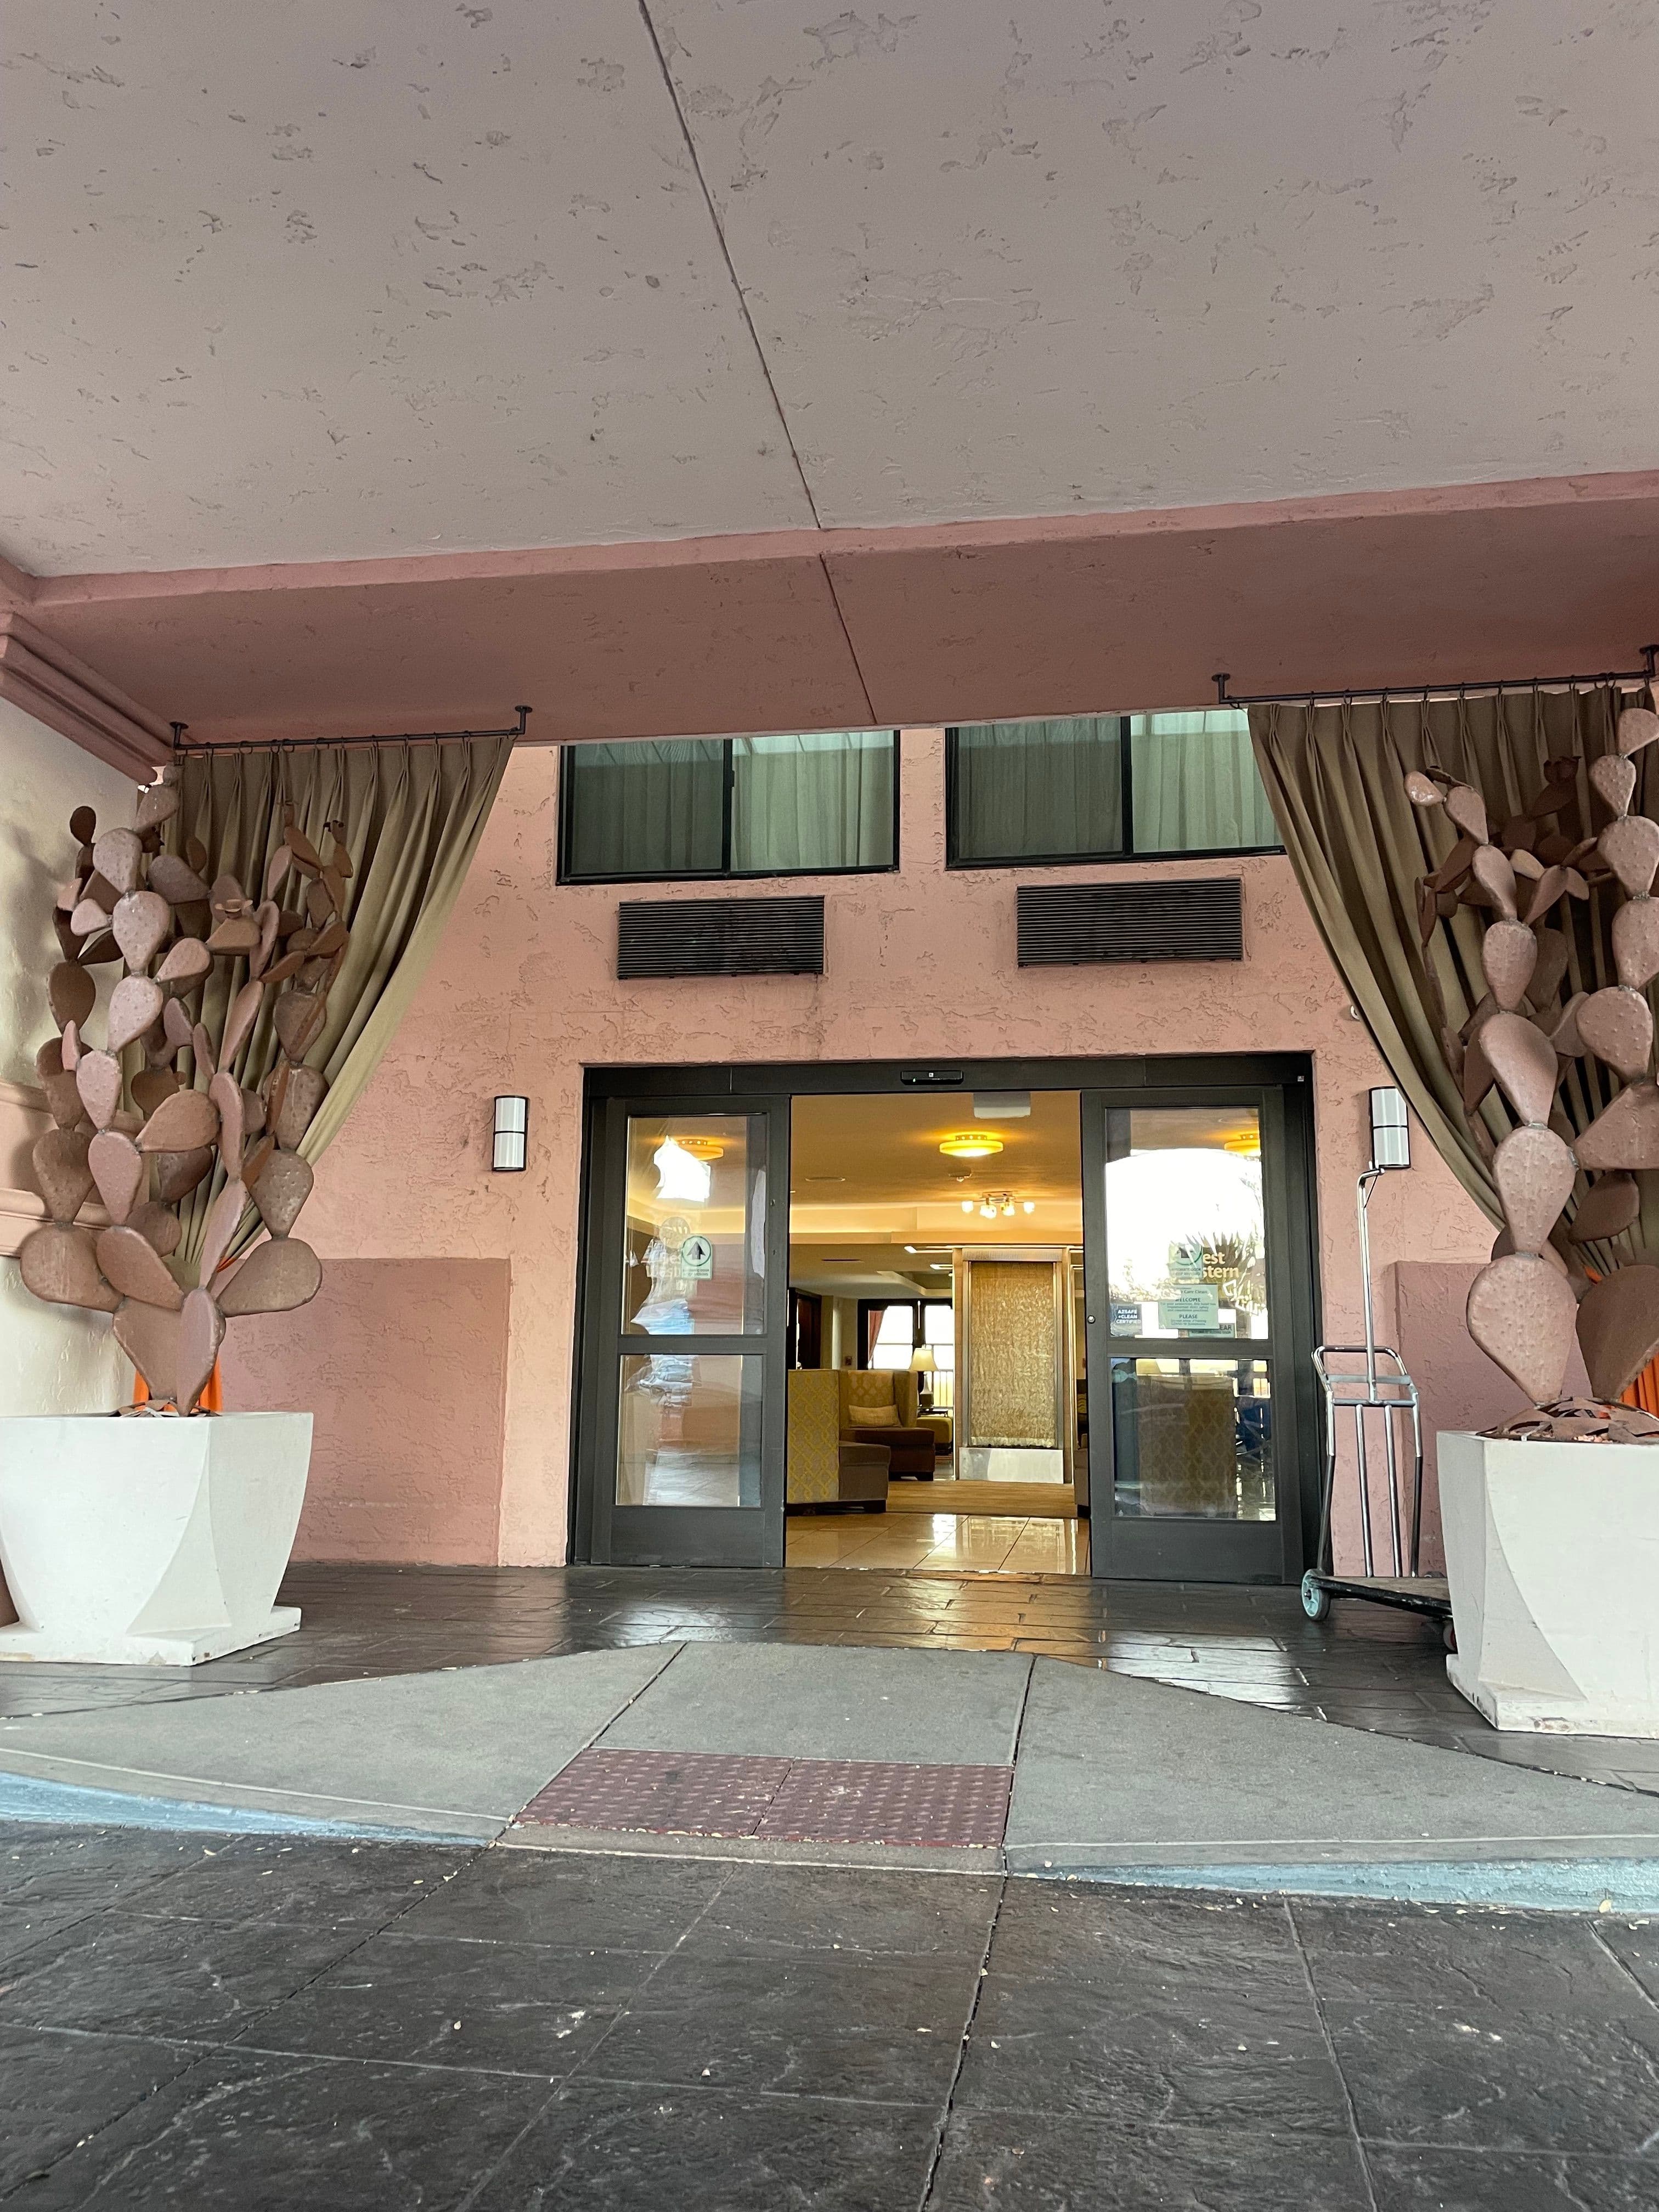
- 3
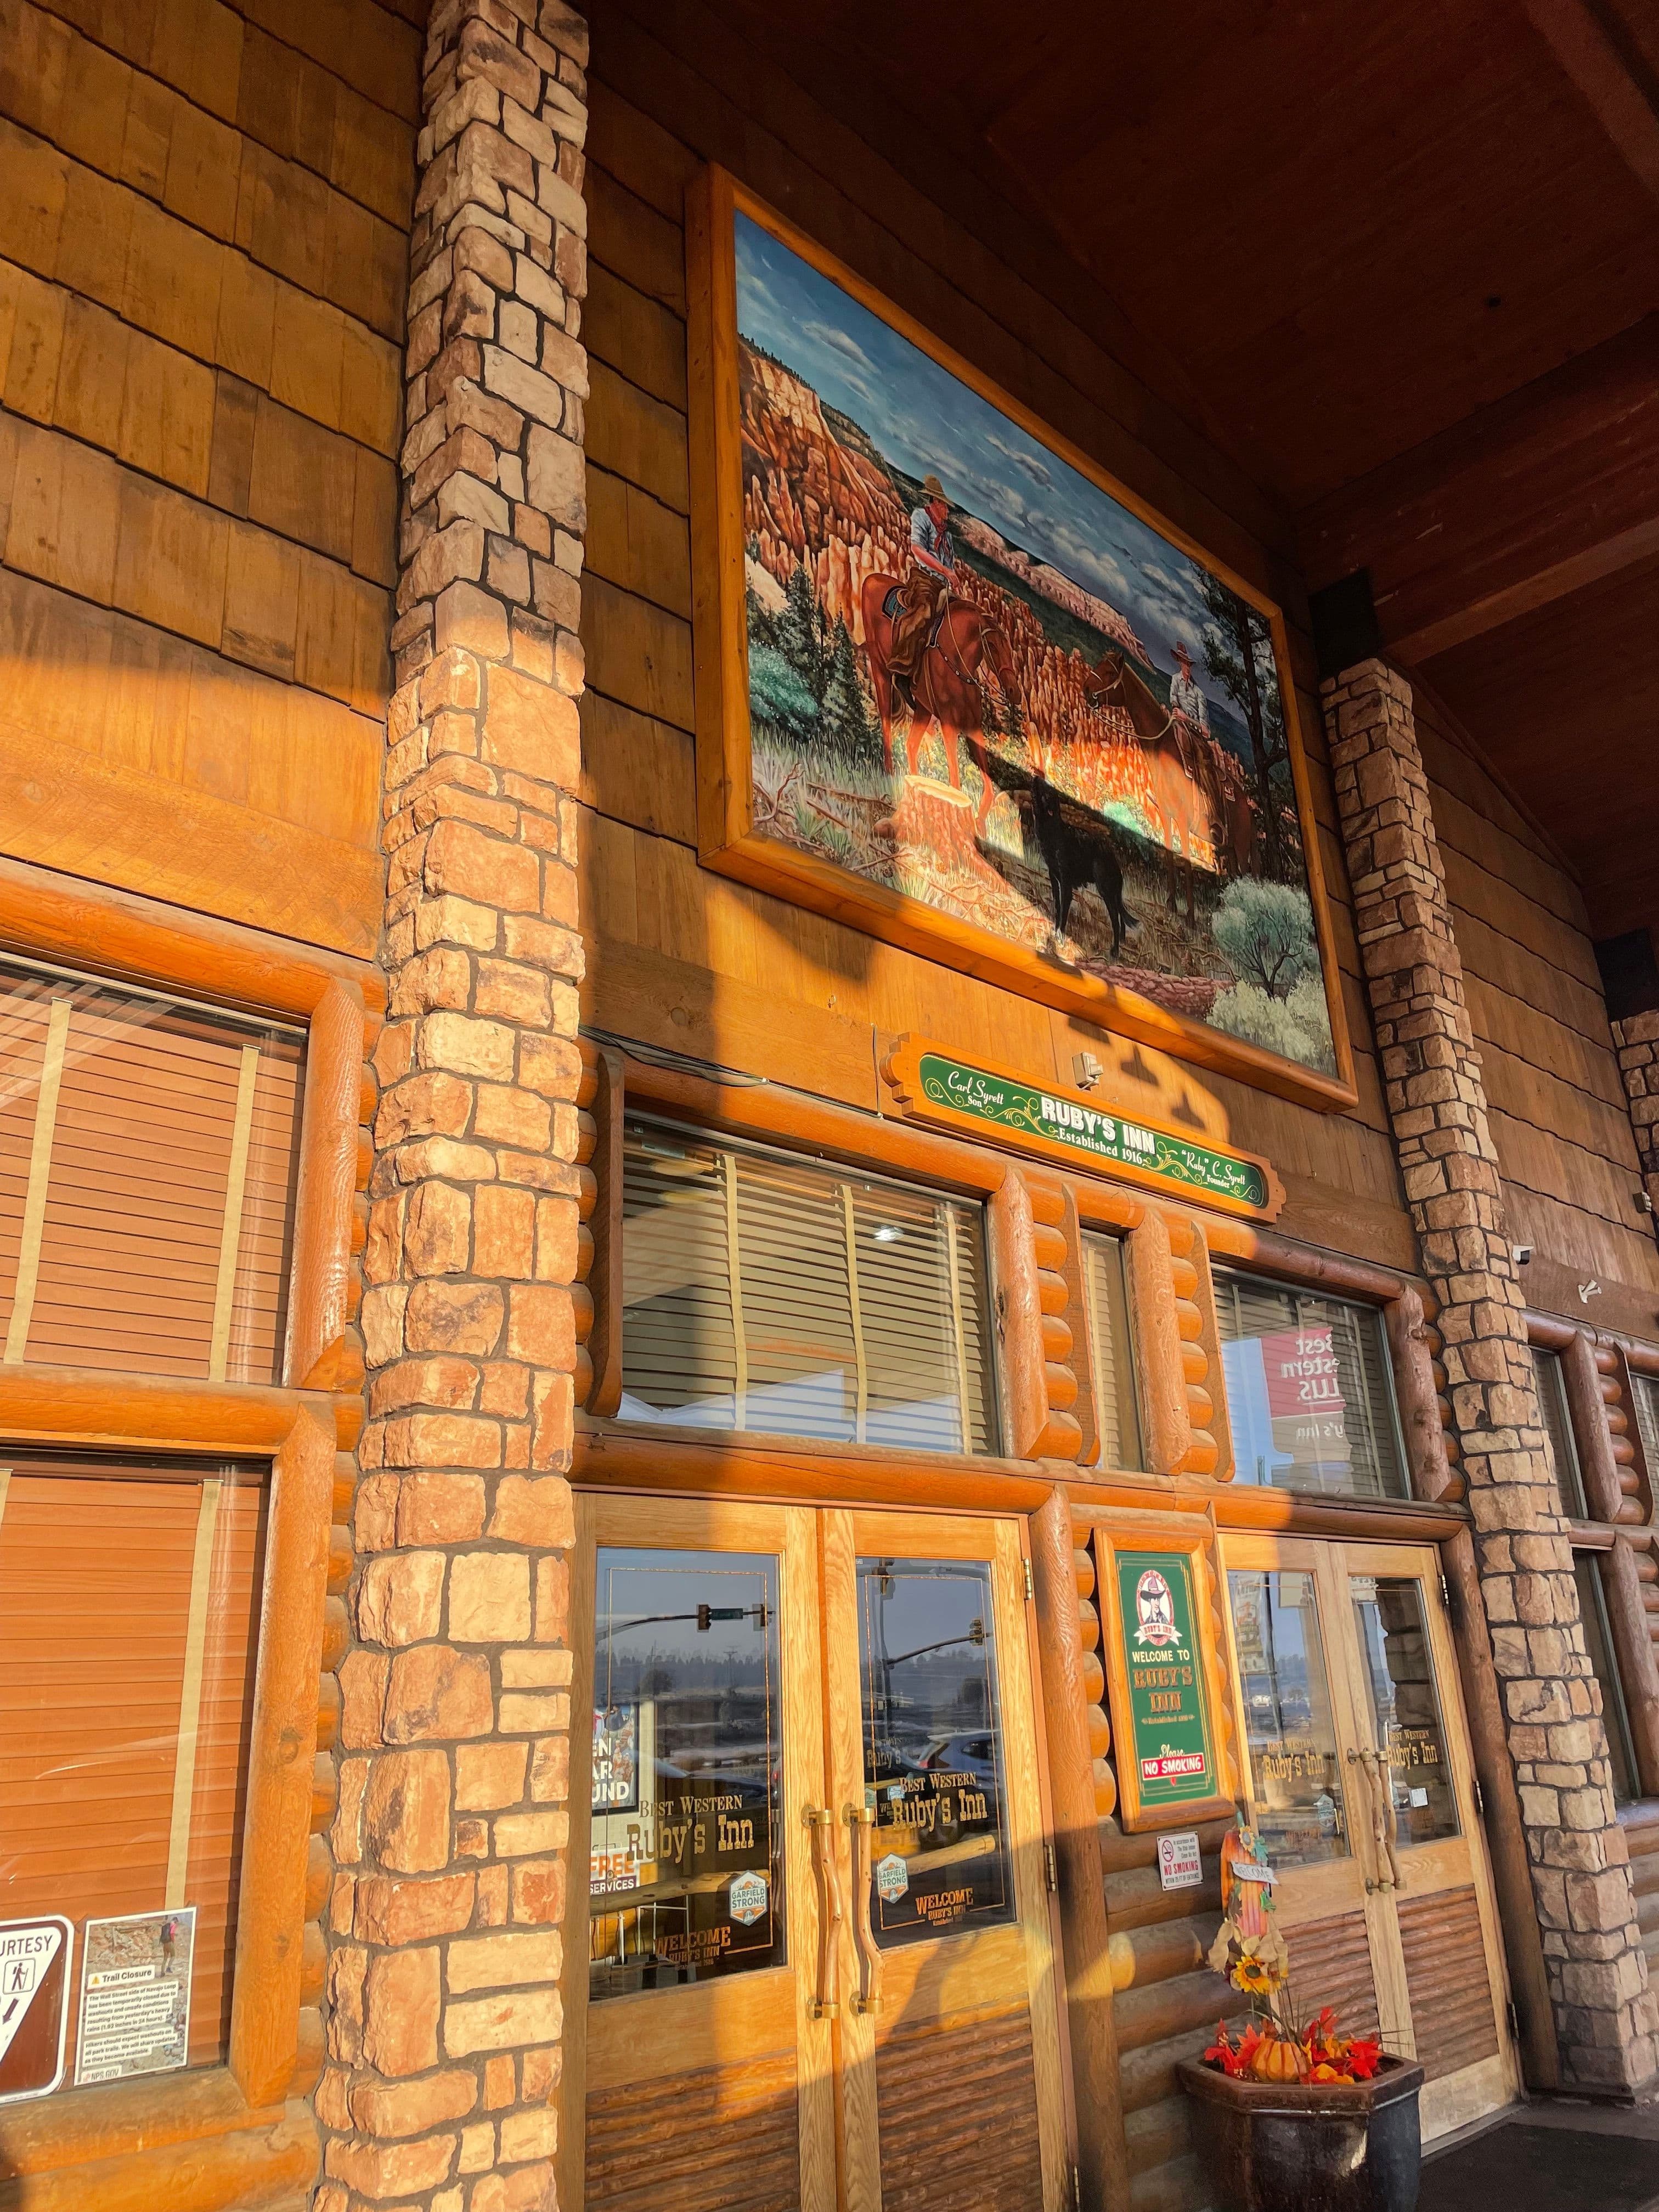
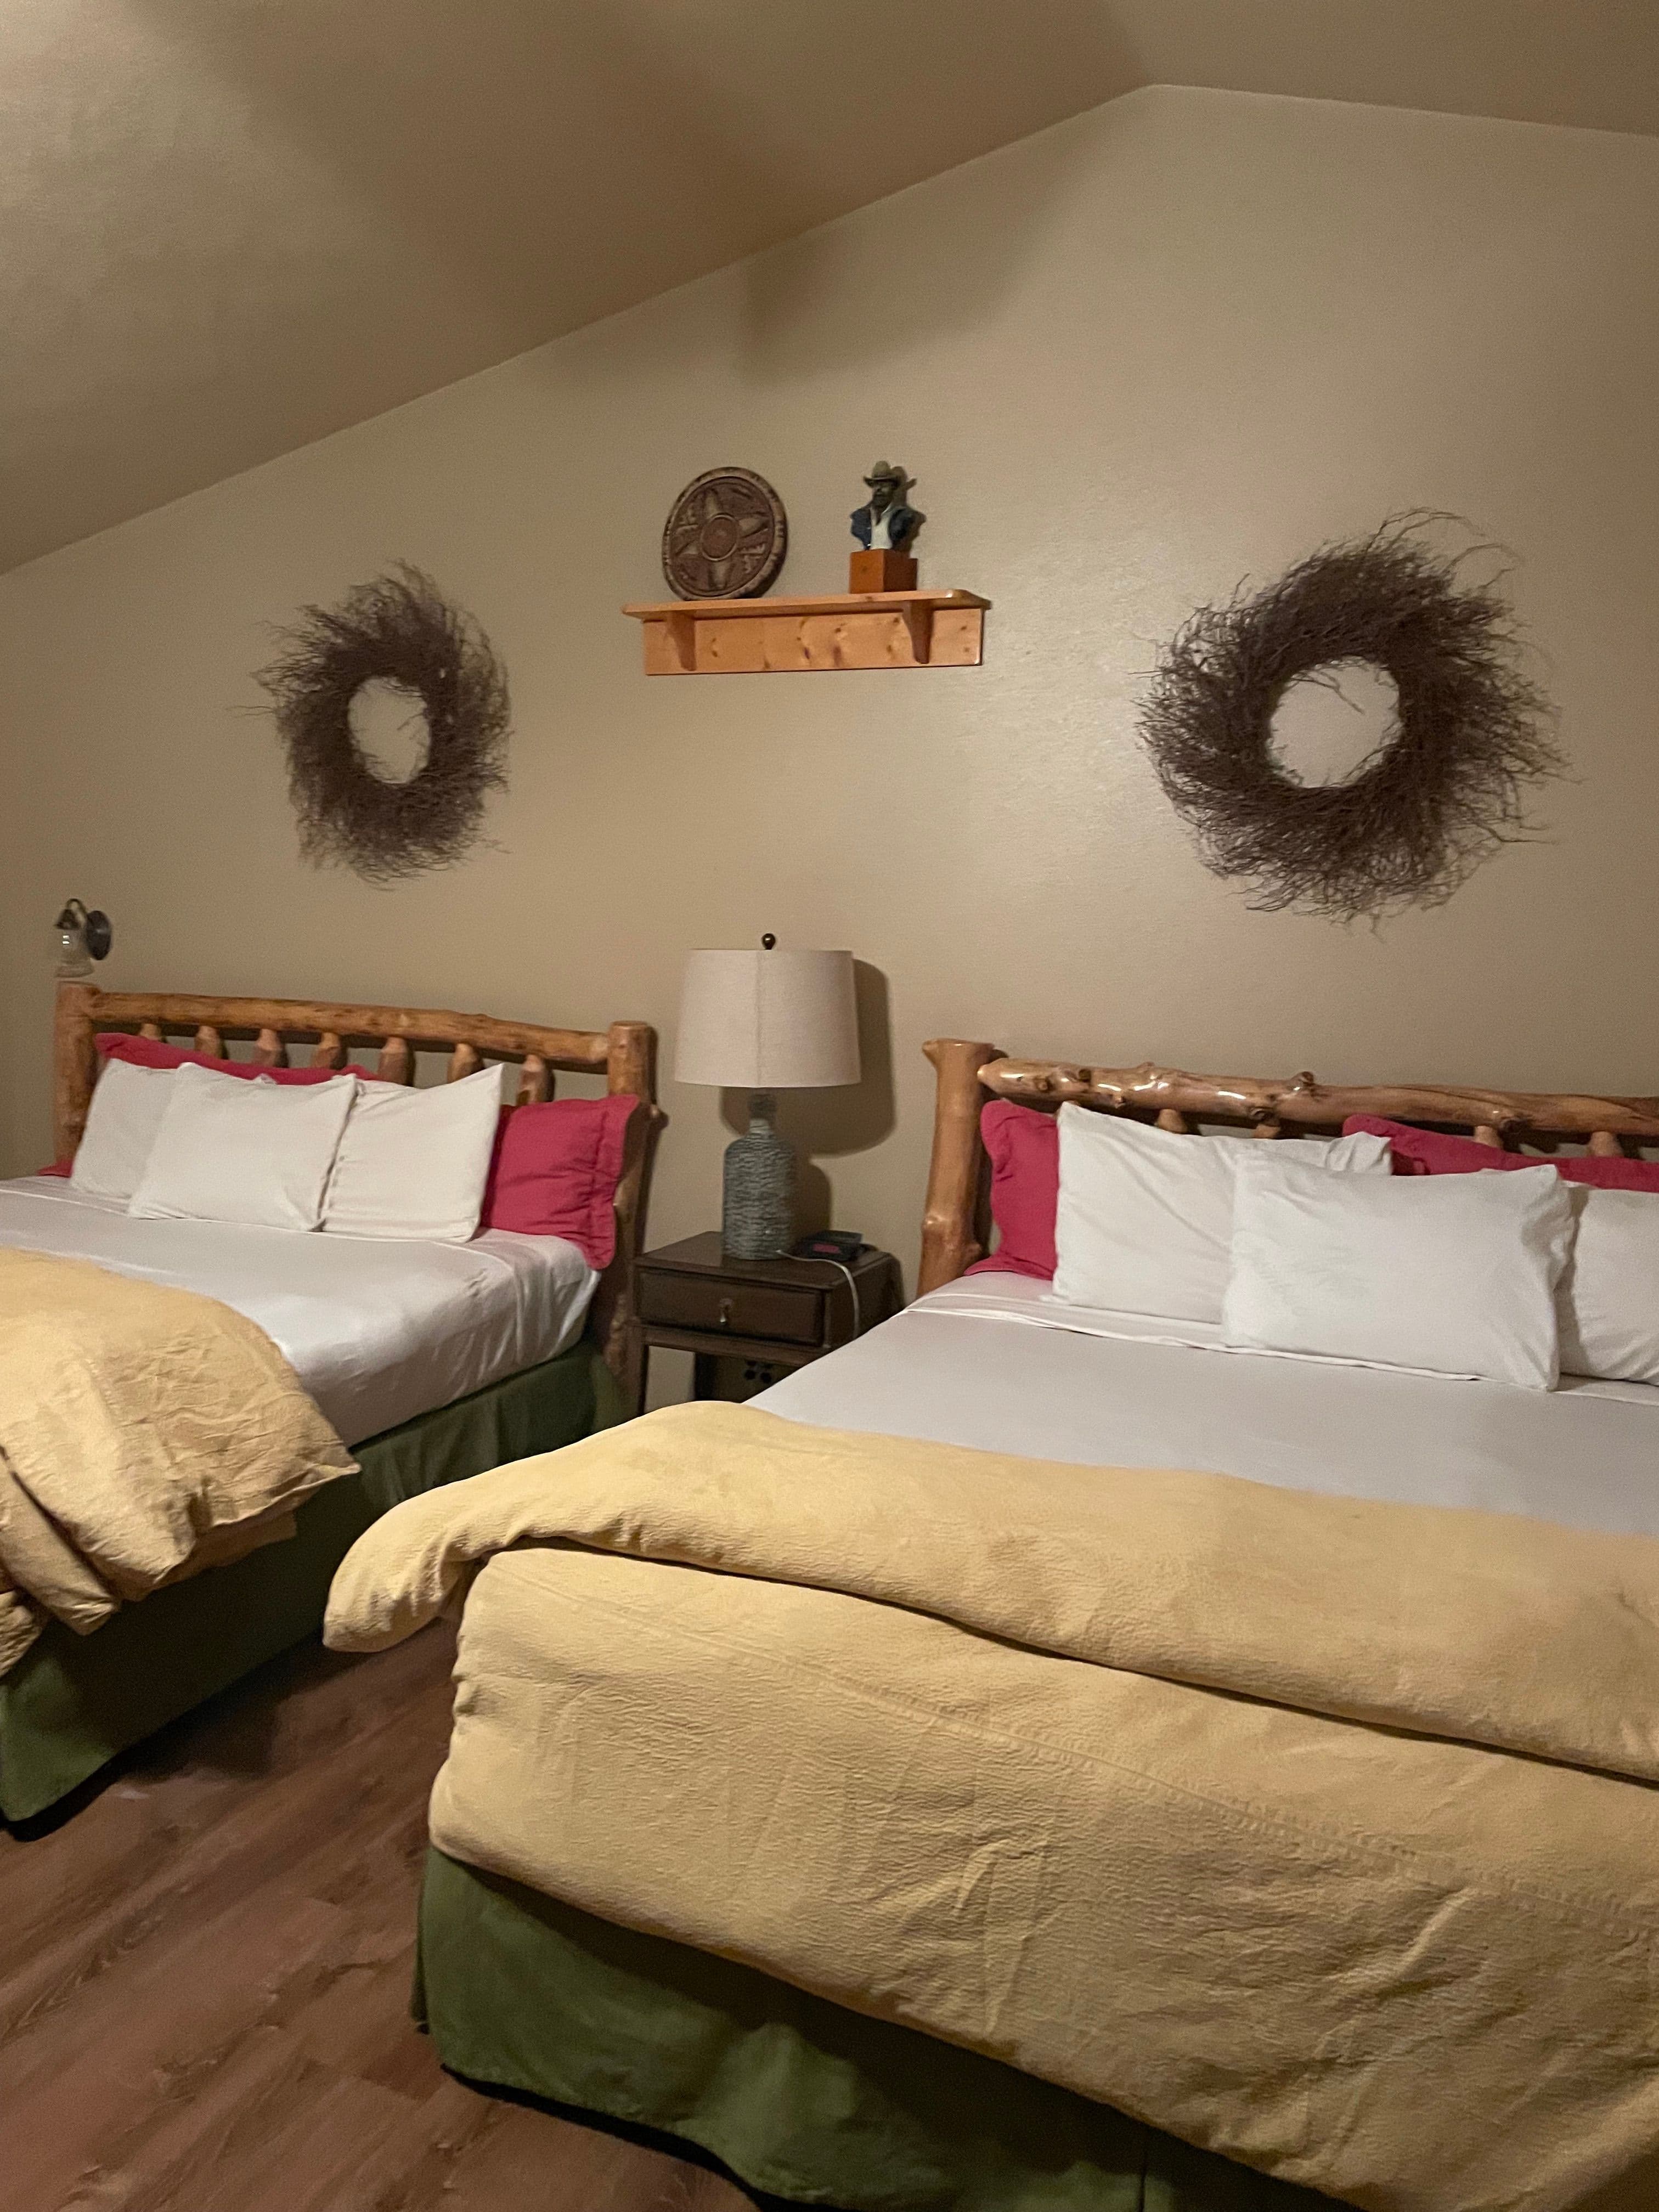
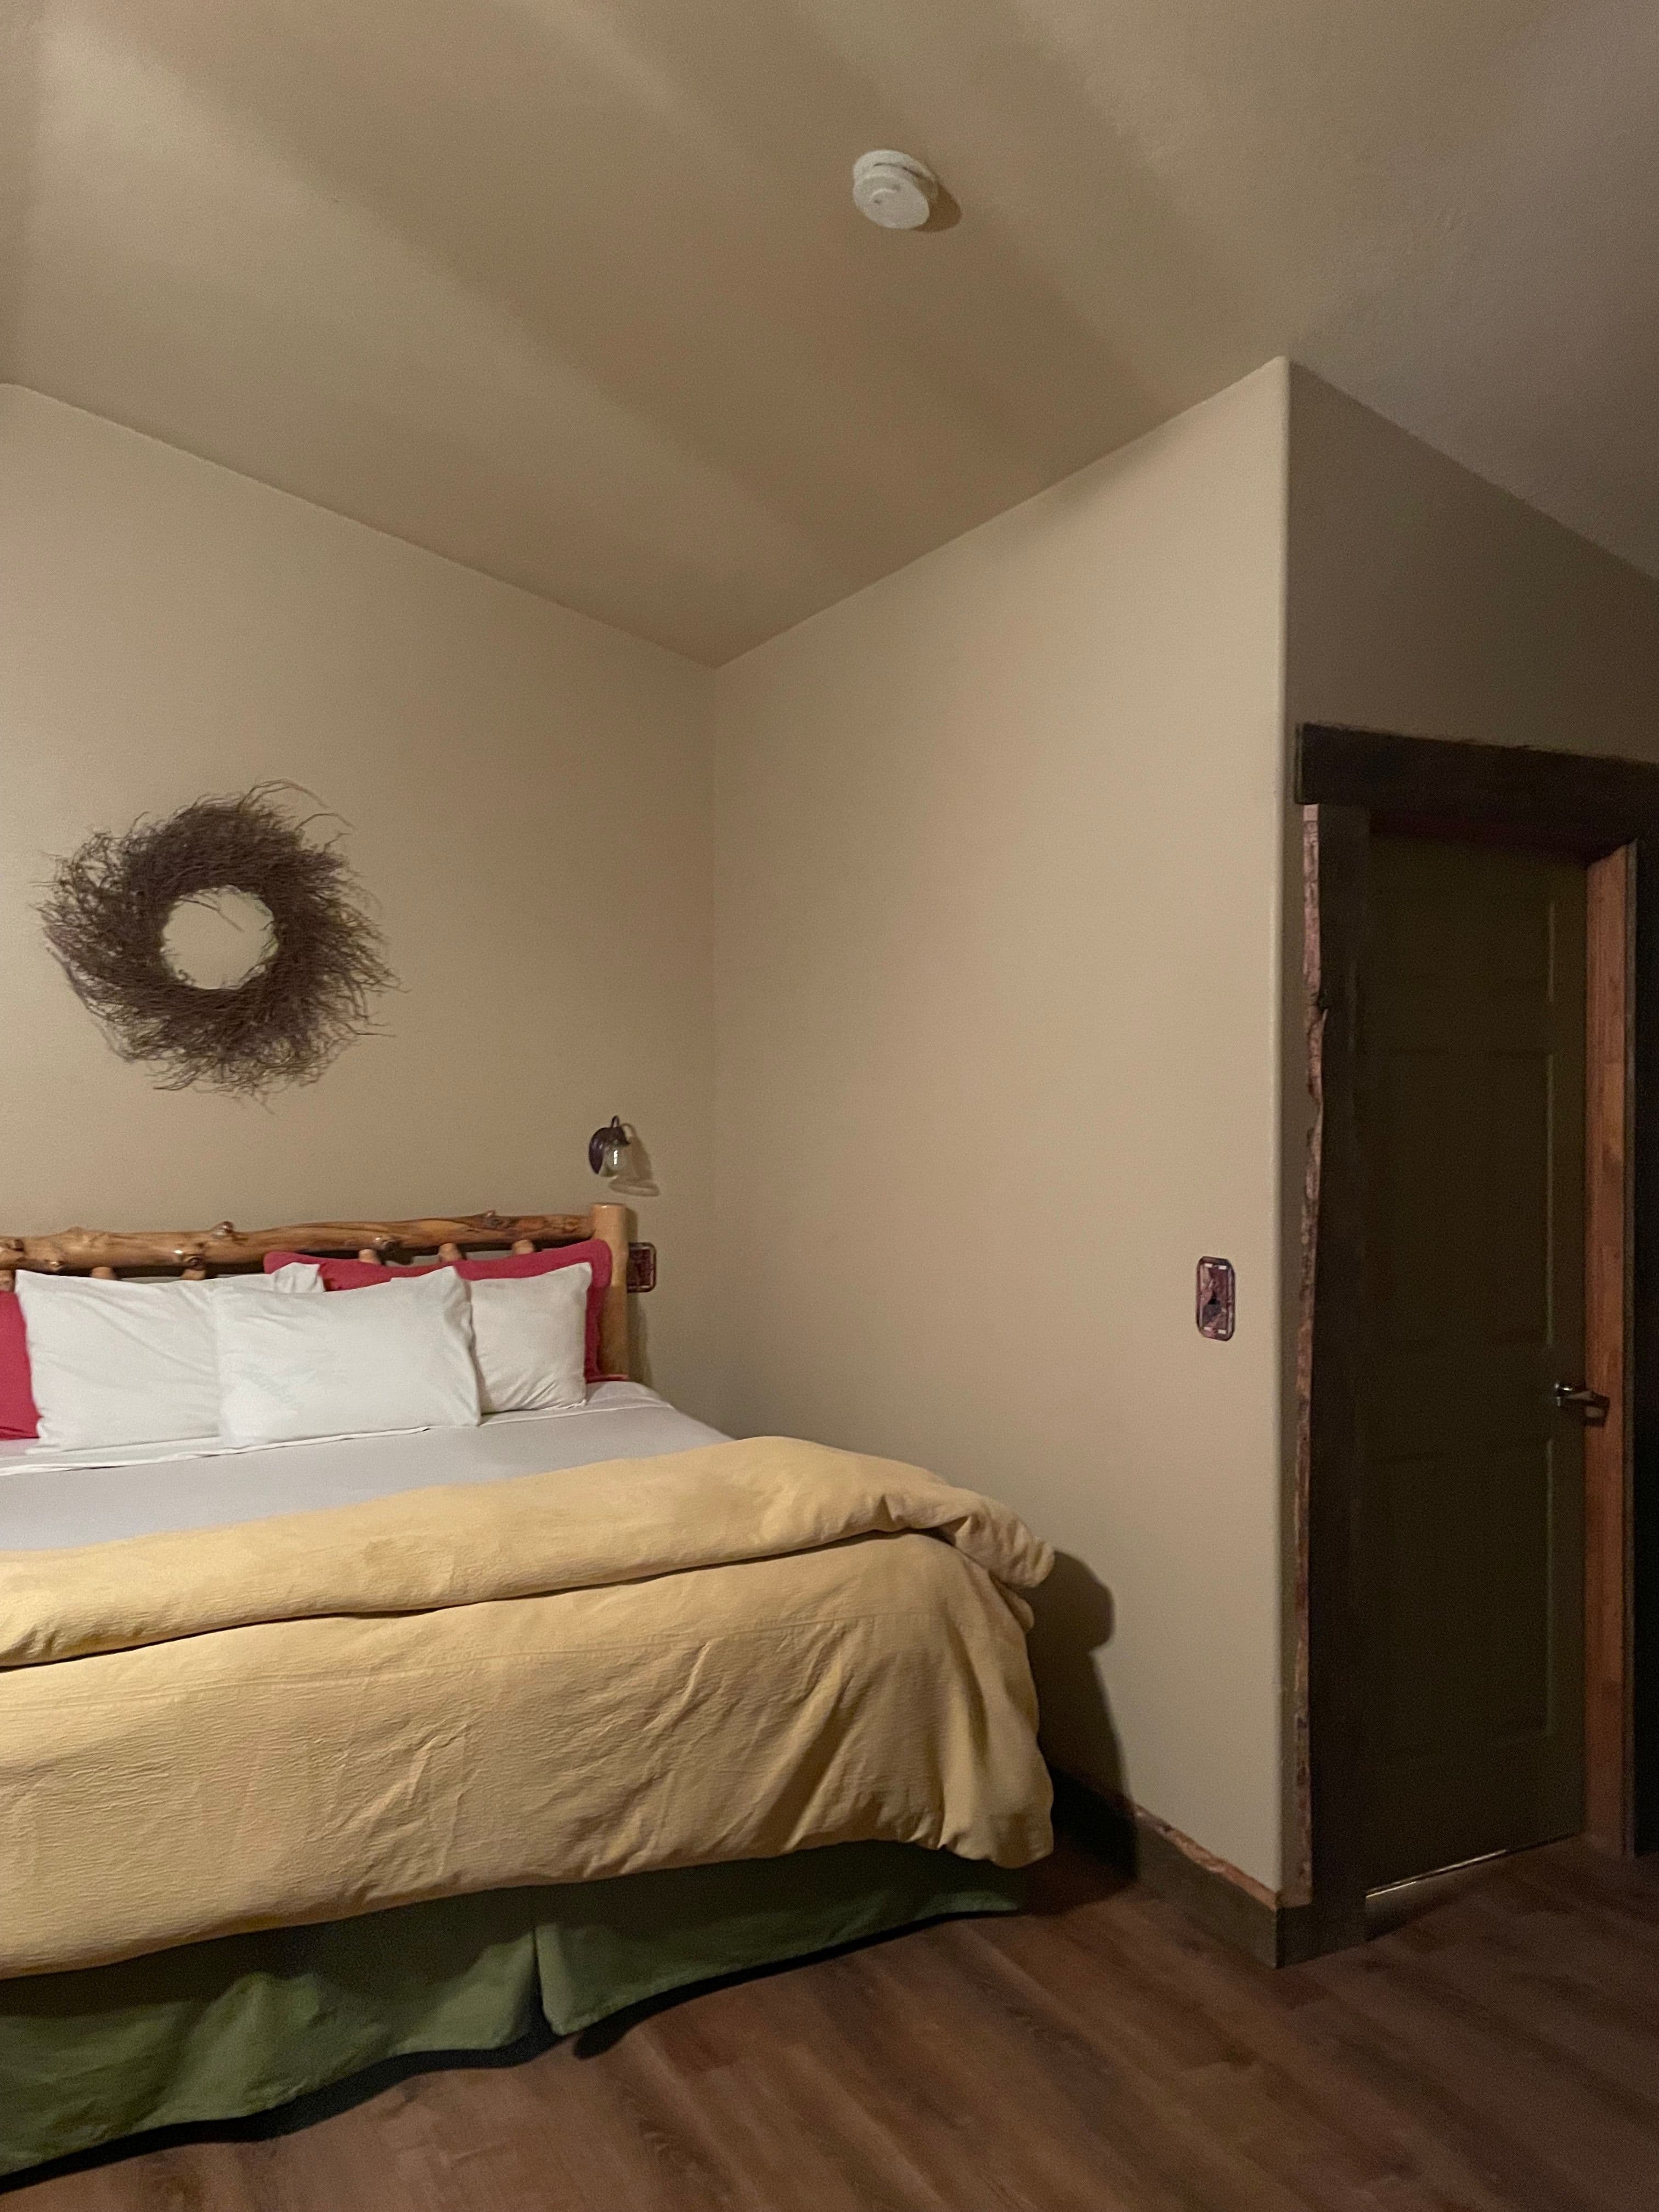
Best Western Plus Ruby's Inn


Night 3: This hotel is conveniently located only about 5 minutes from the entrance of Bryce National Park.
- 4
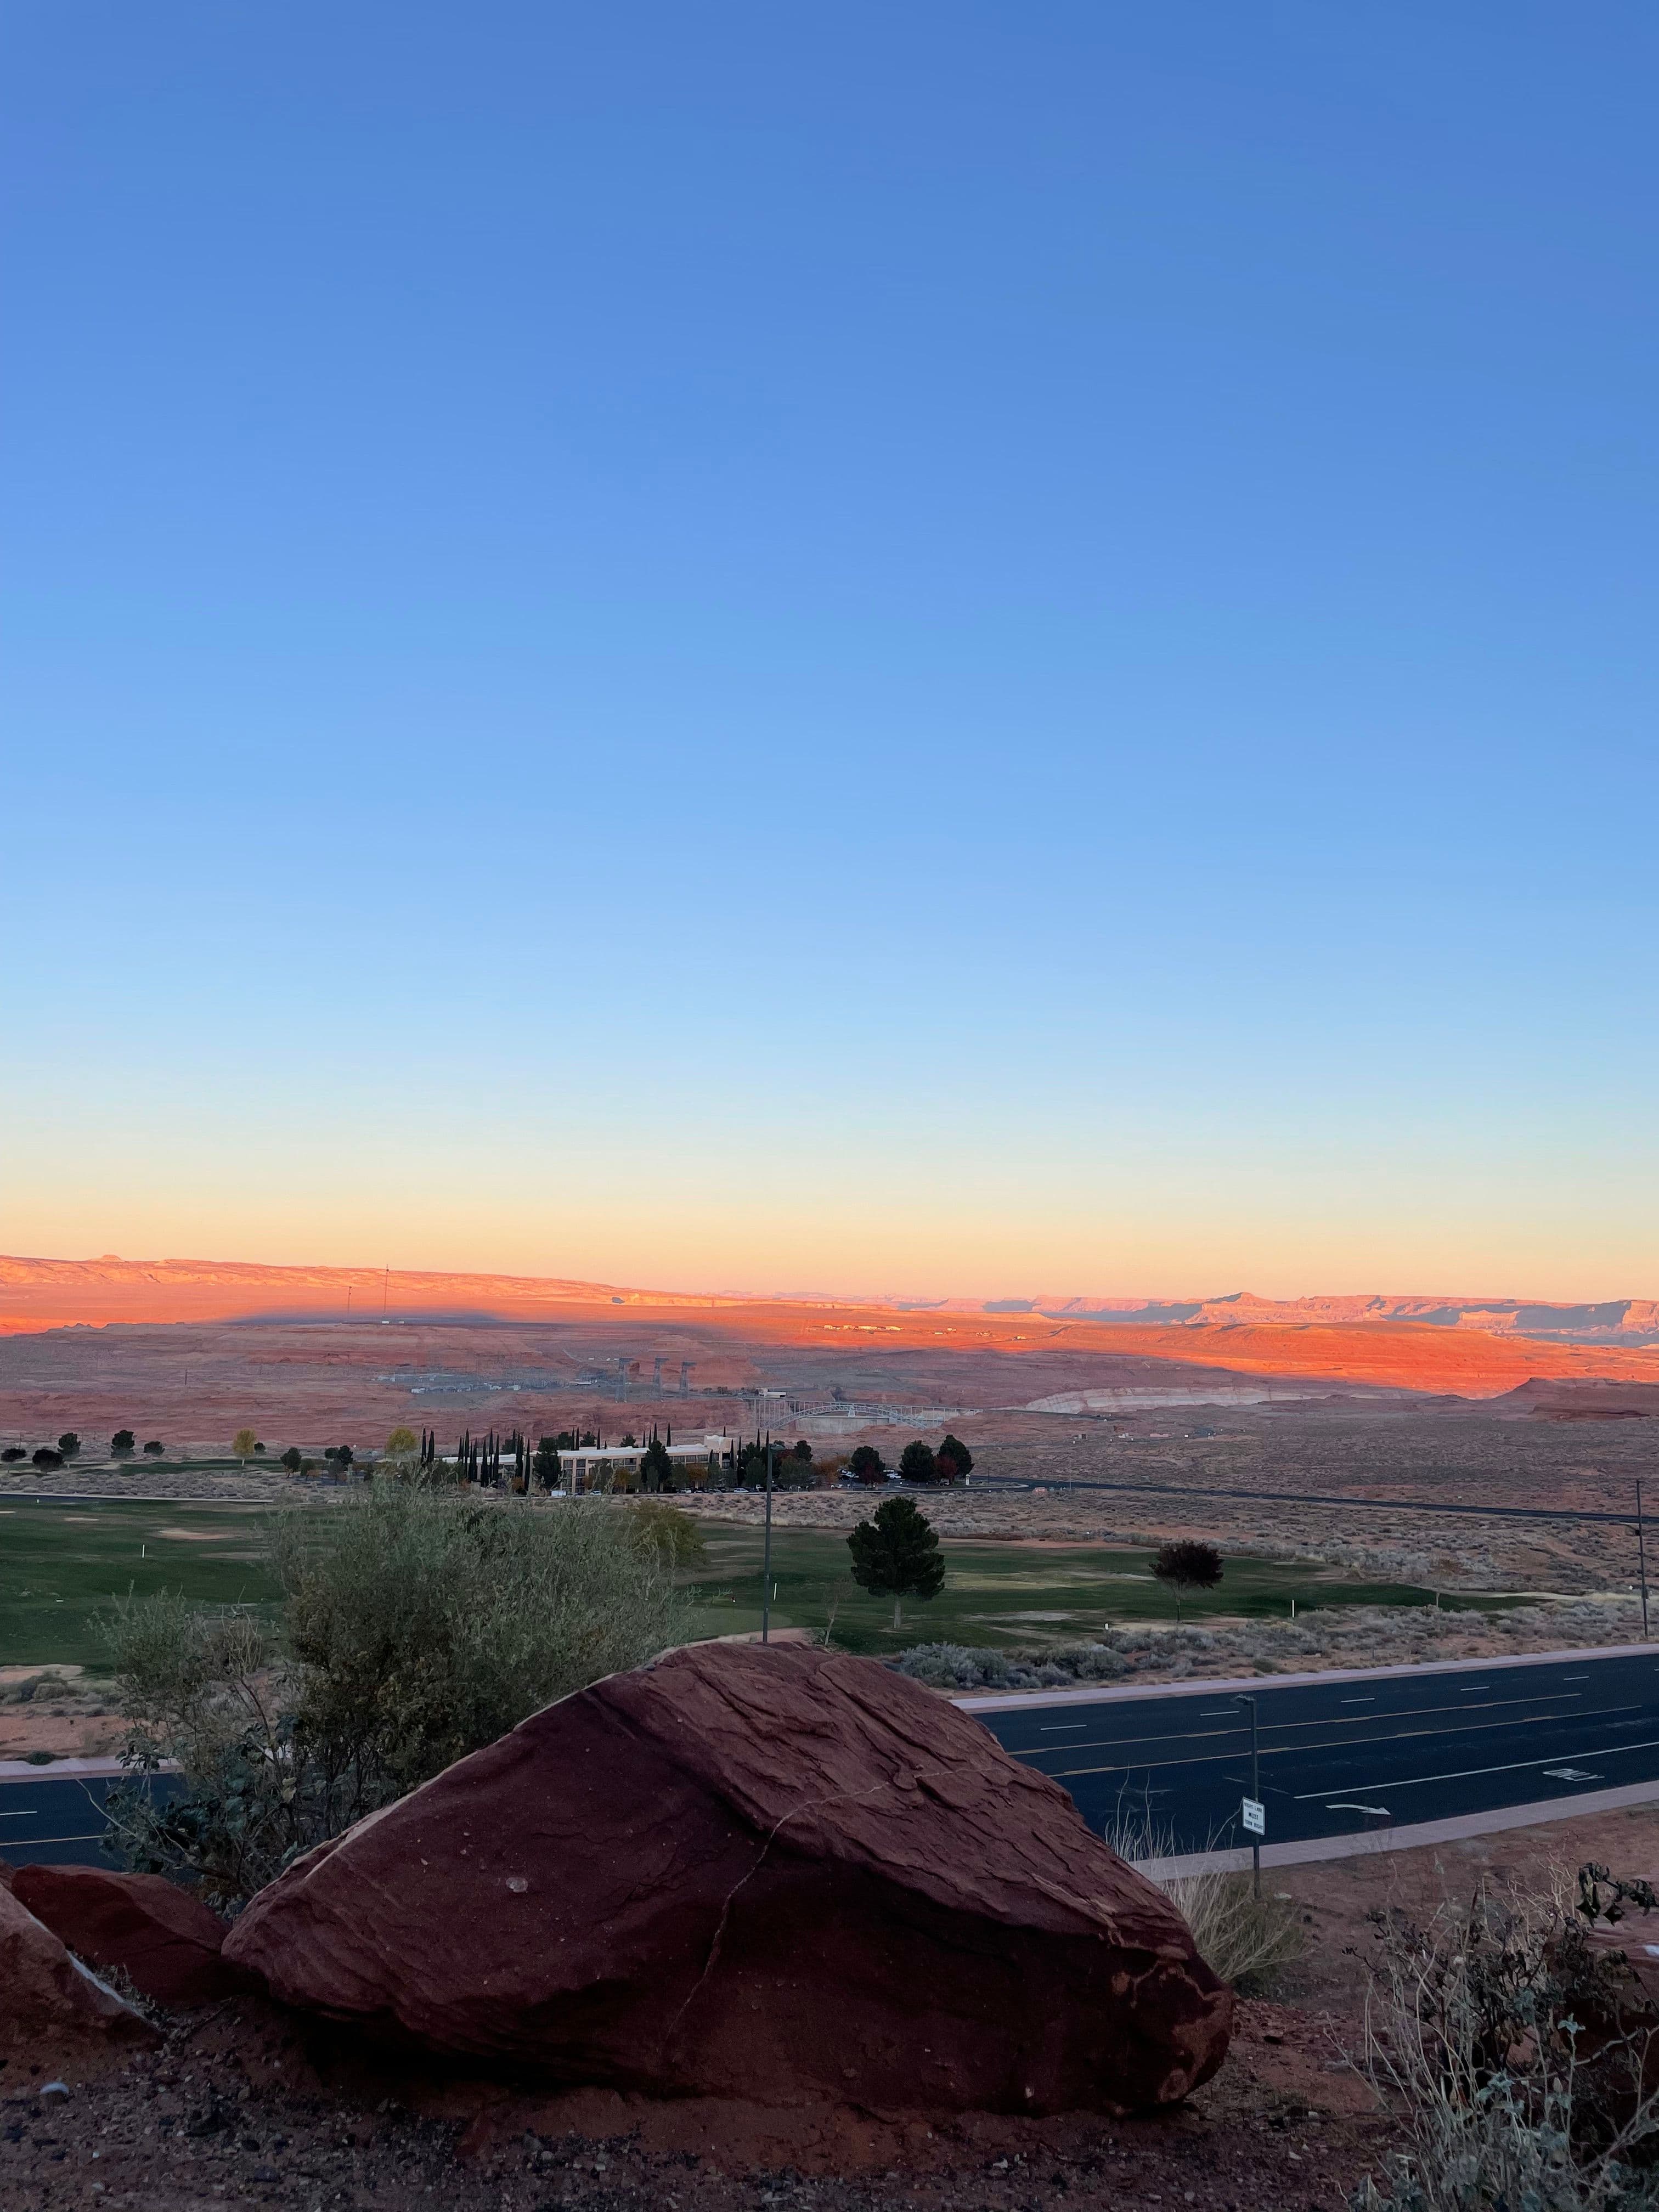
Best Western View of Lake Powell Hotel

Night 4: We enjoyed the outdoor hot tub and the wonderful sunset views. Besides that, this hotel was pretty standard. The breakfast was a classic simple hotel buffet breakfast.
- 5
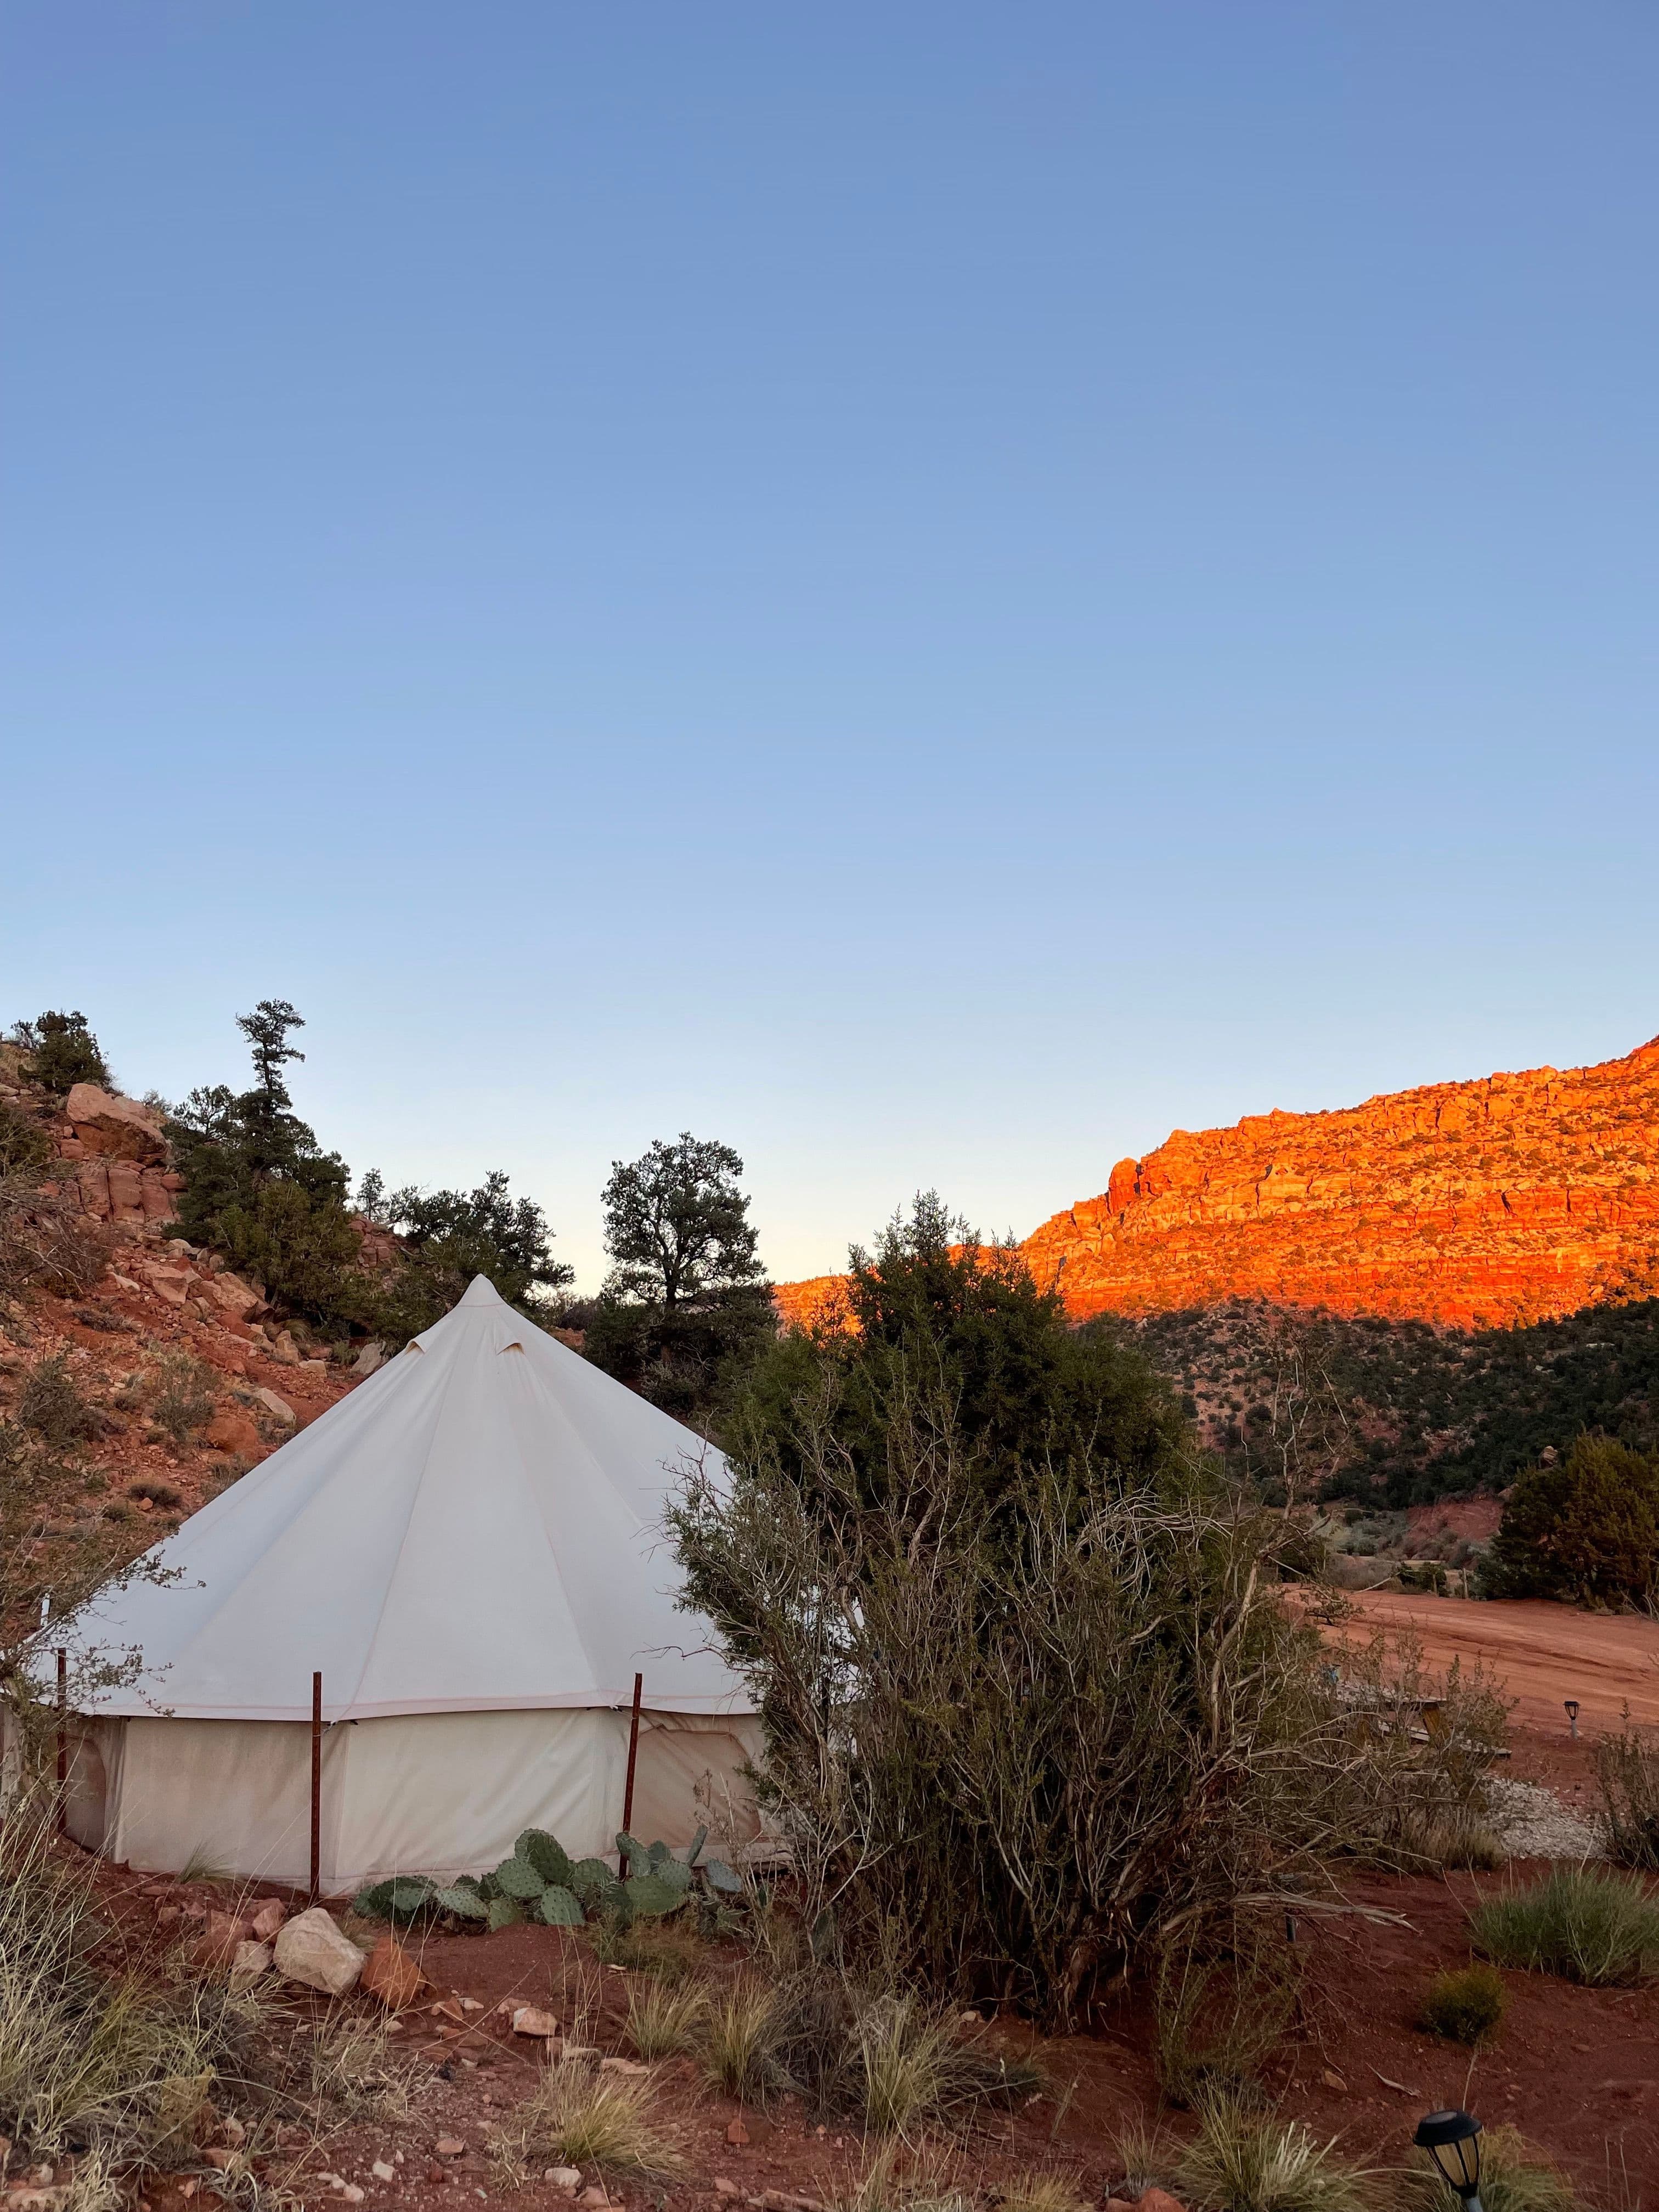
Zion Glamping Adventures
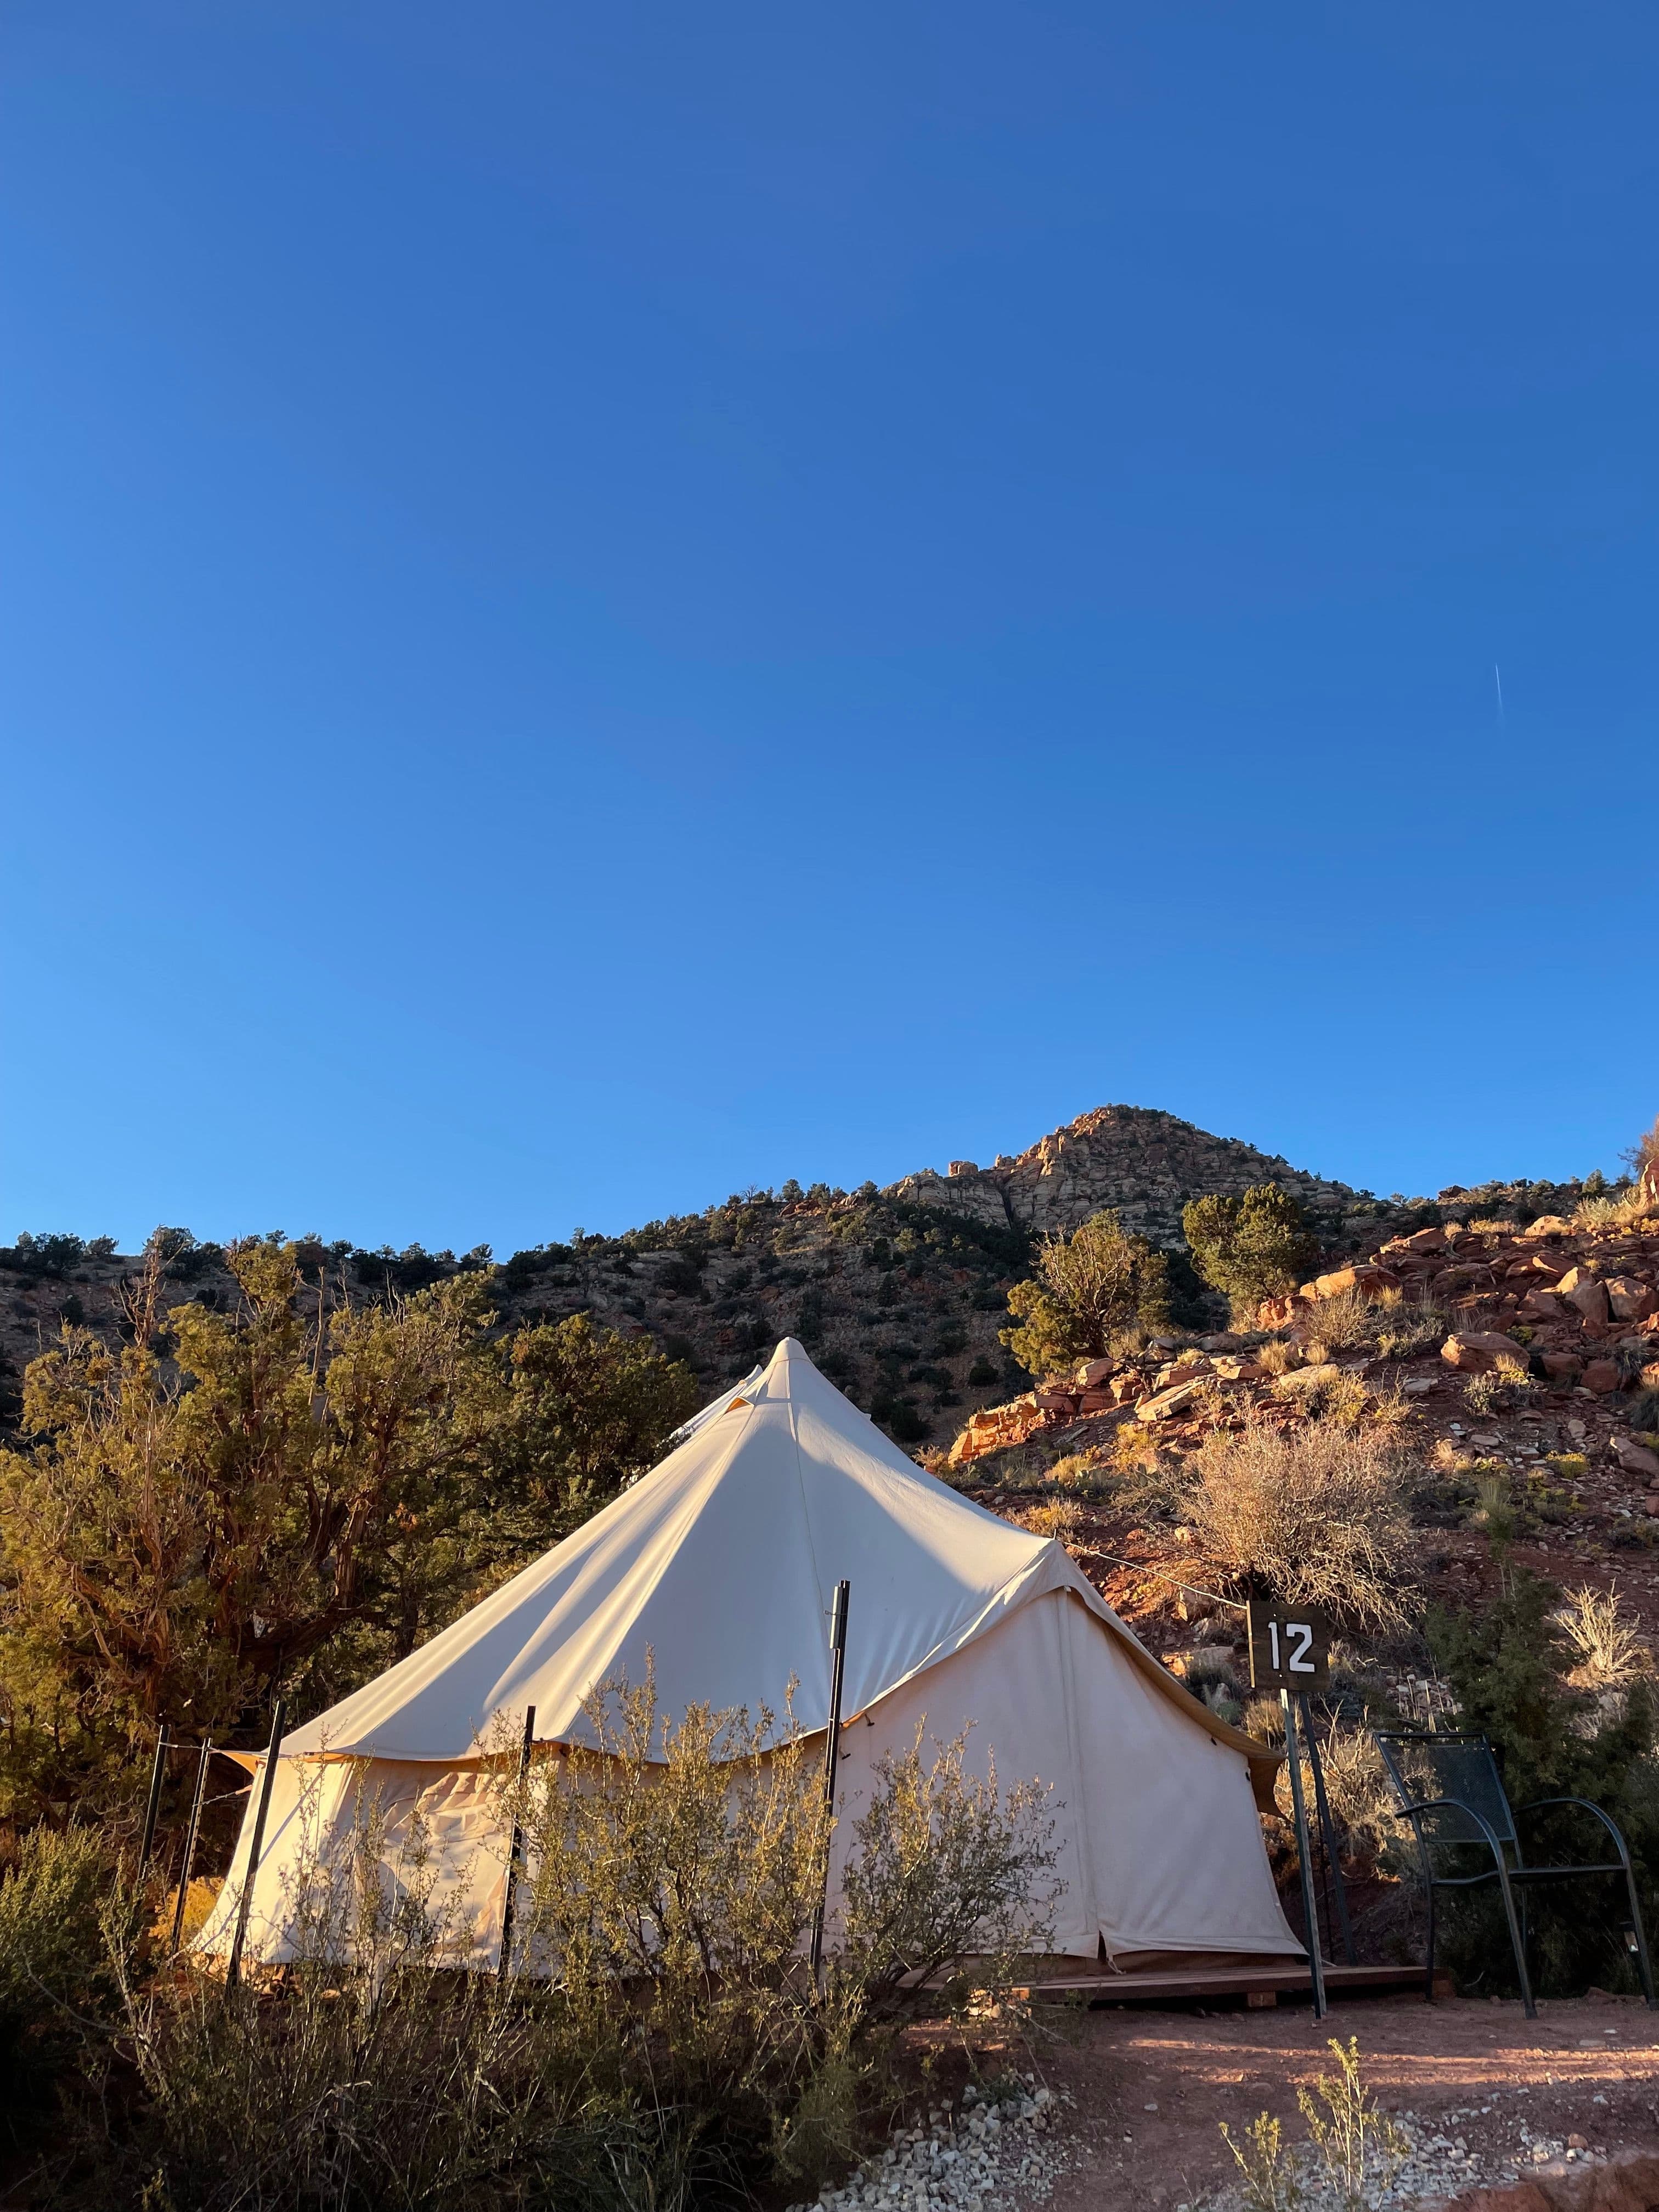
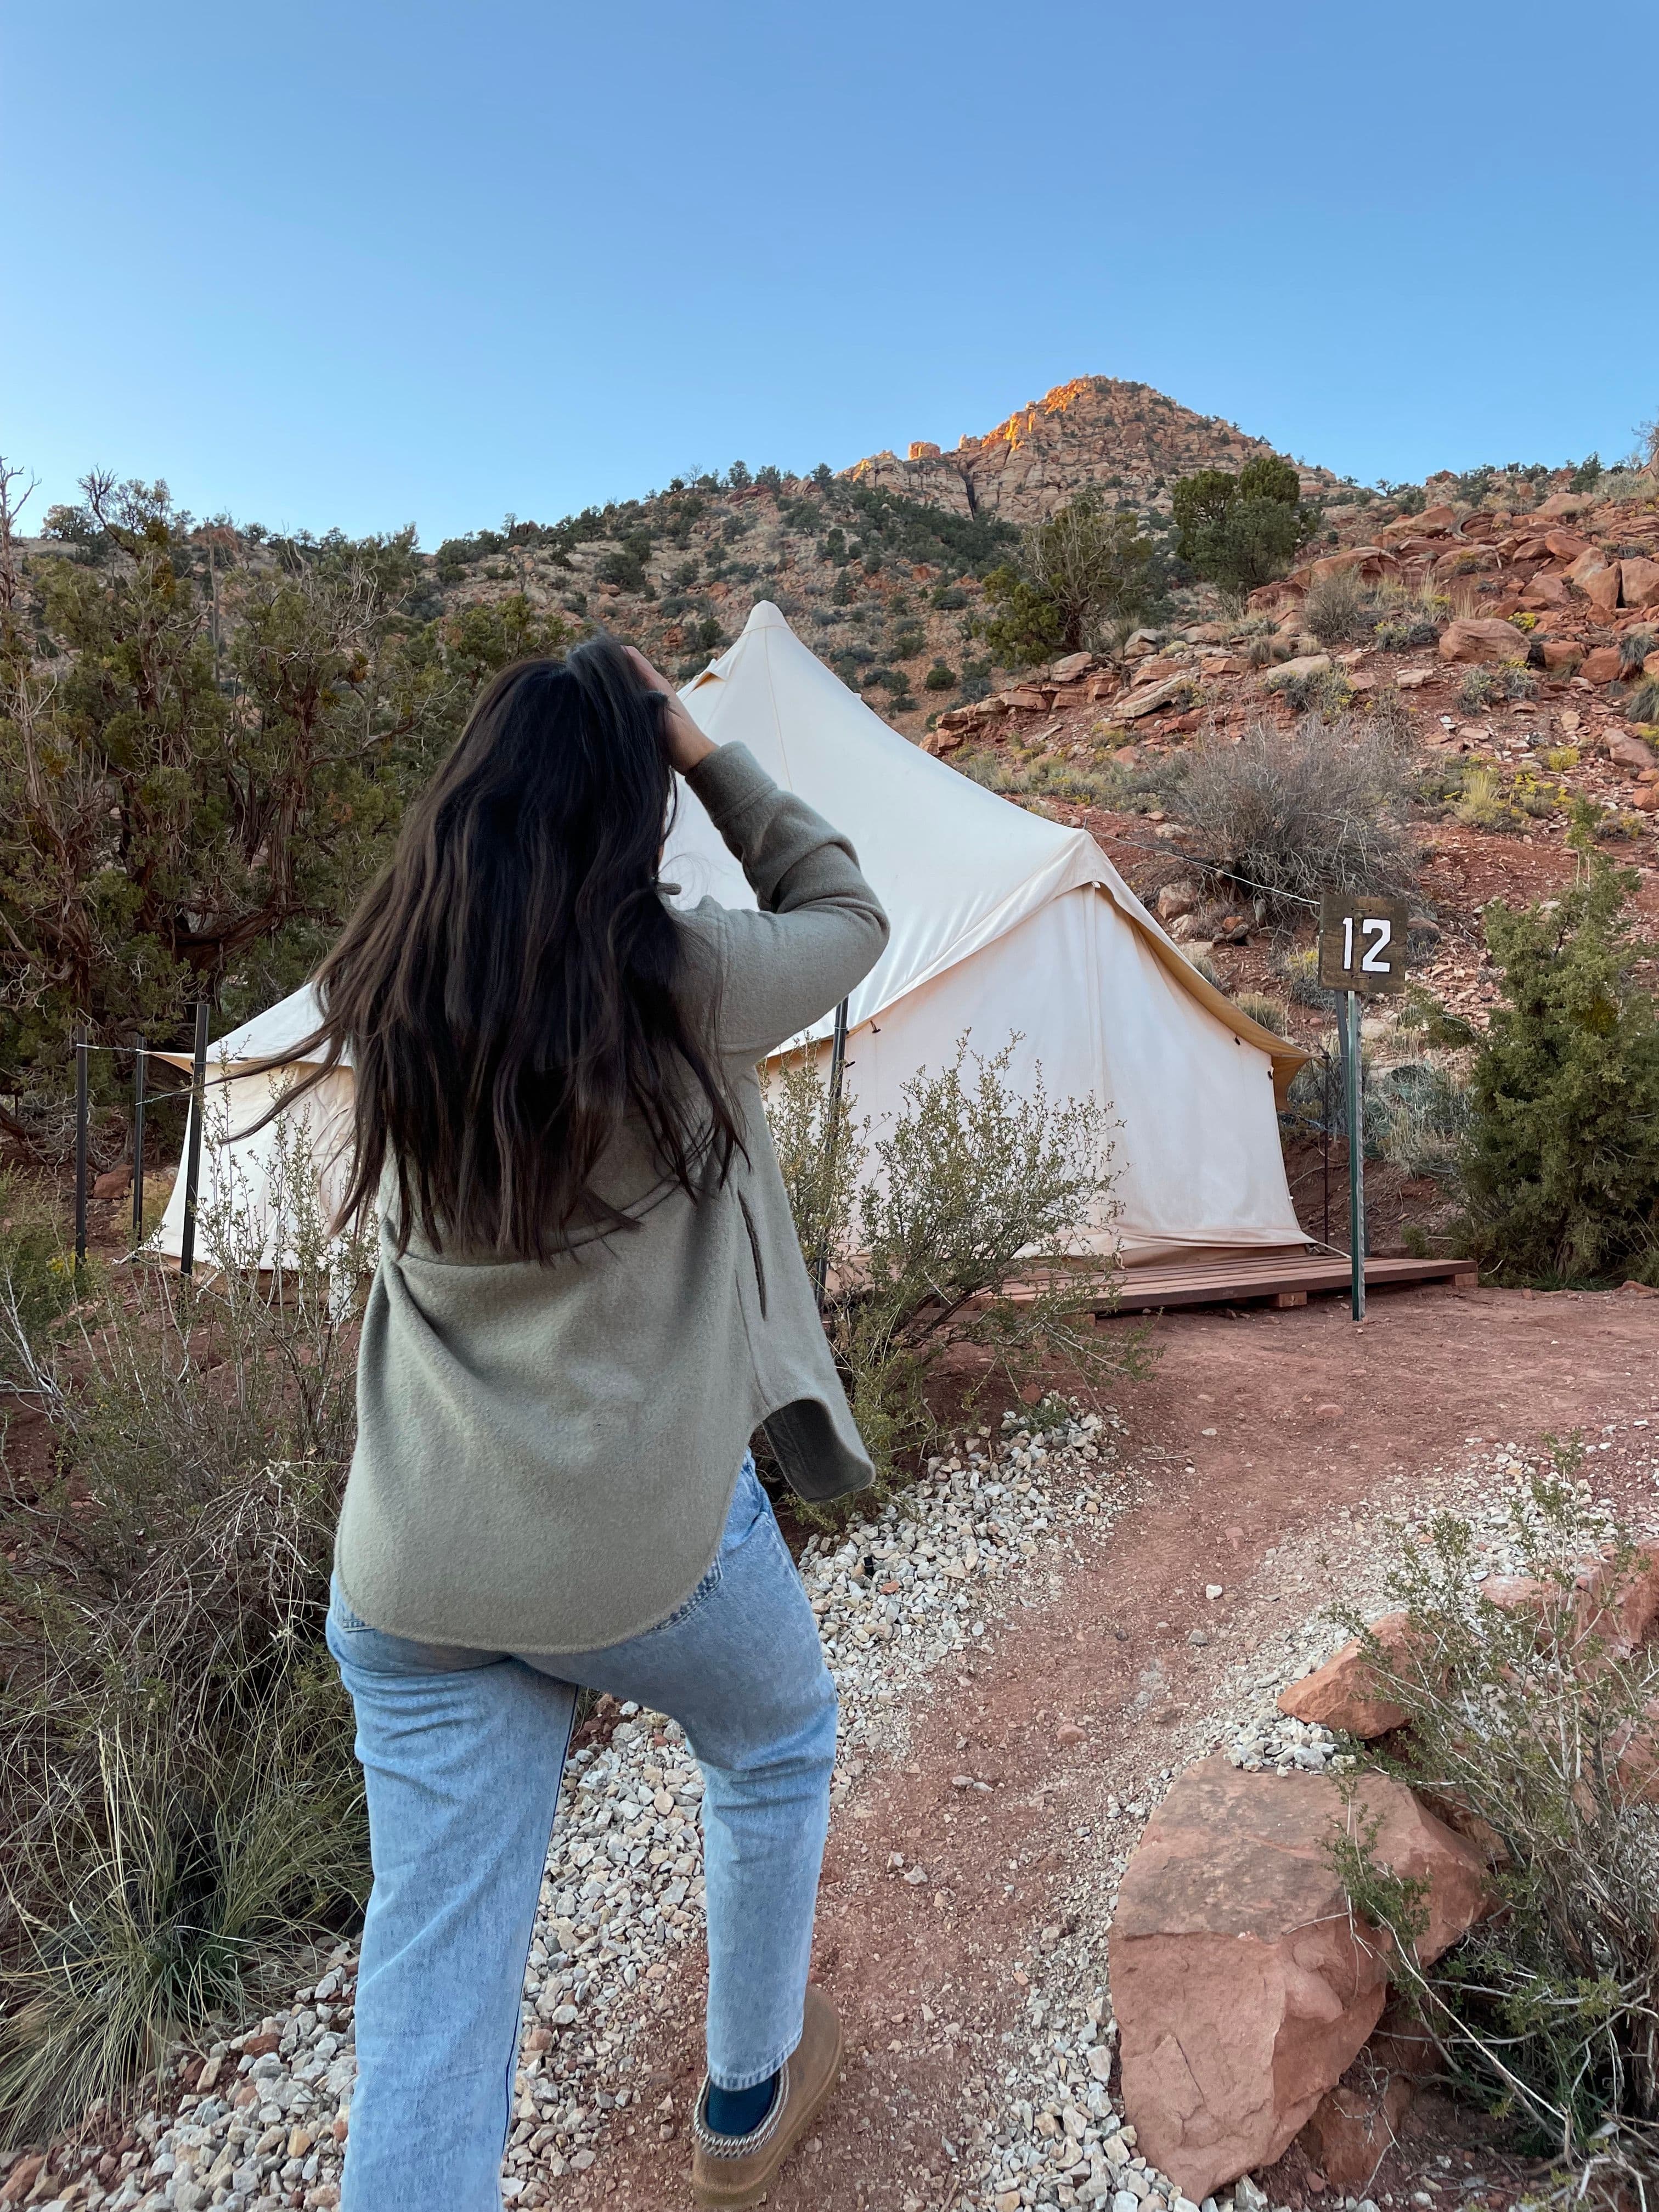
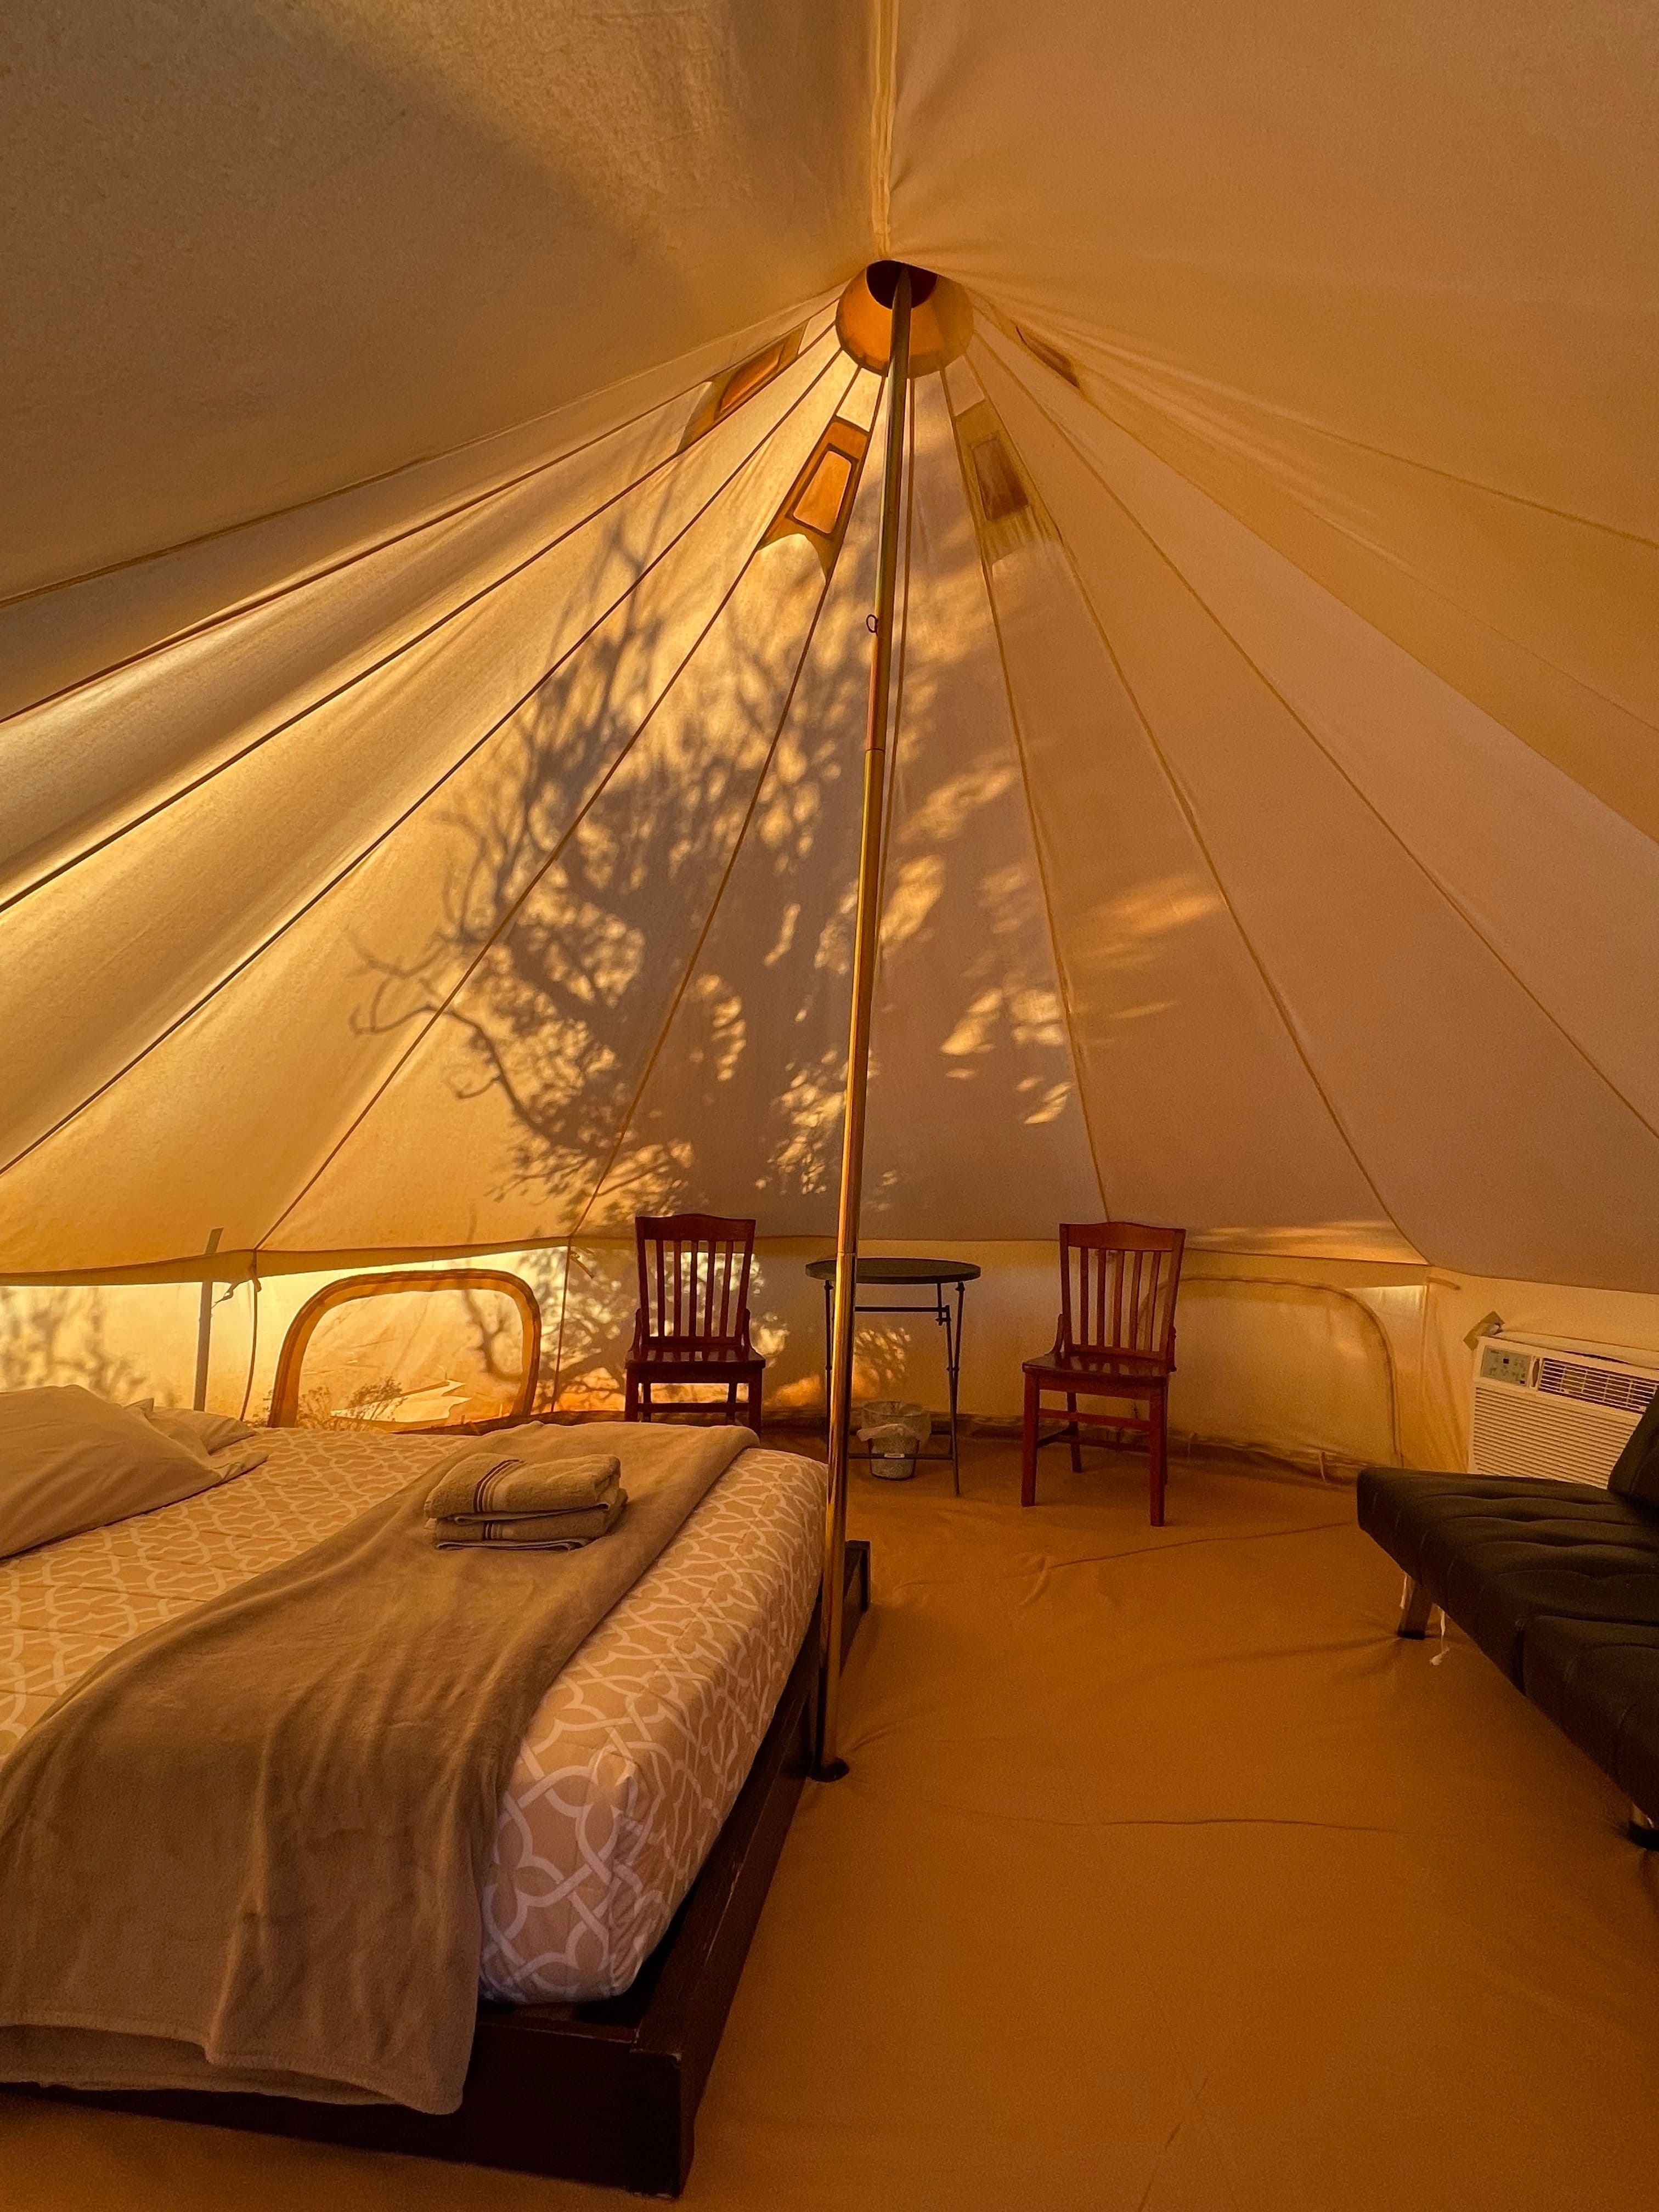
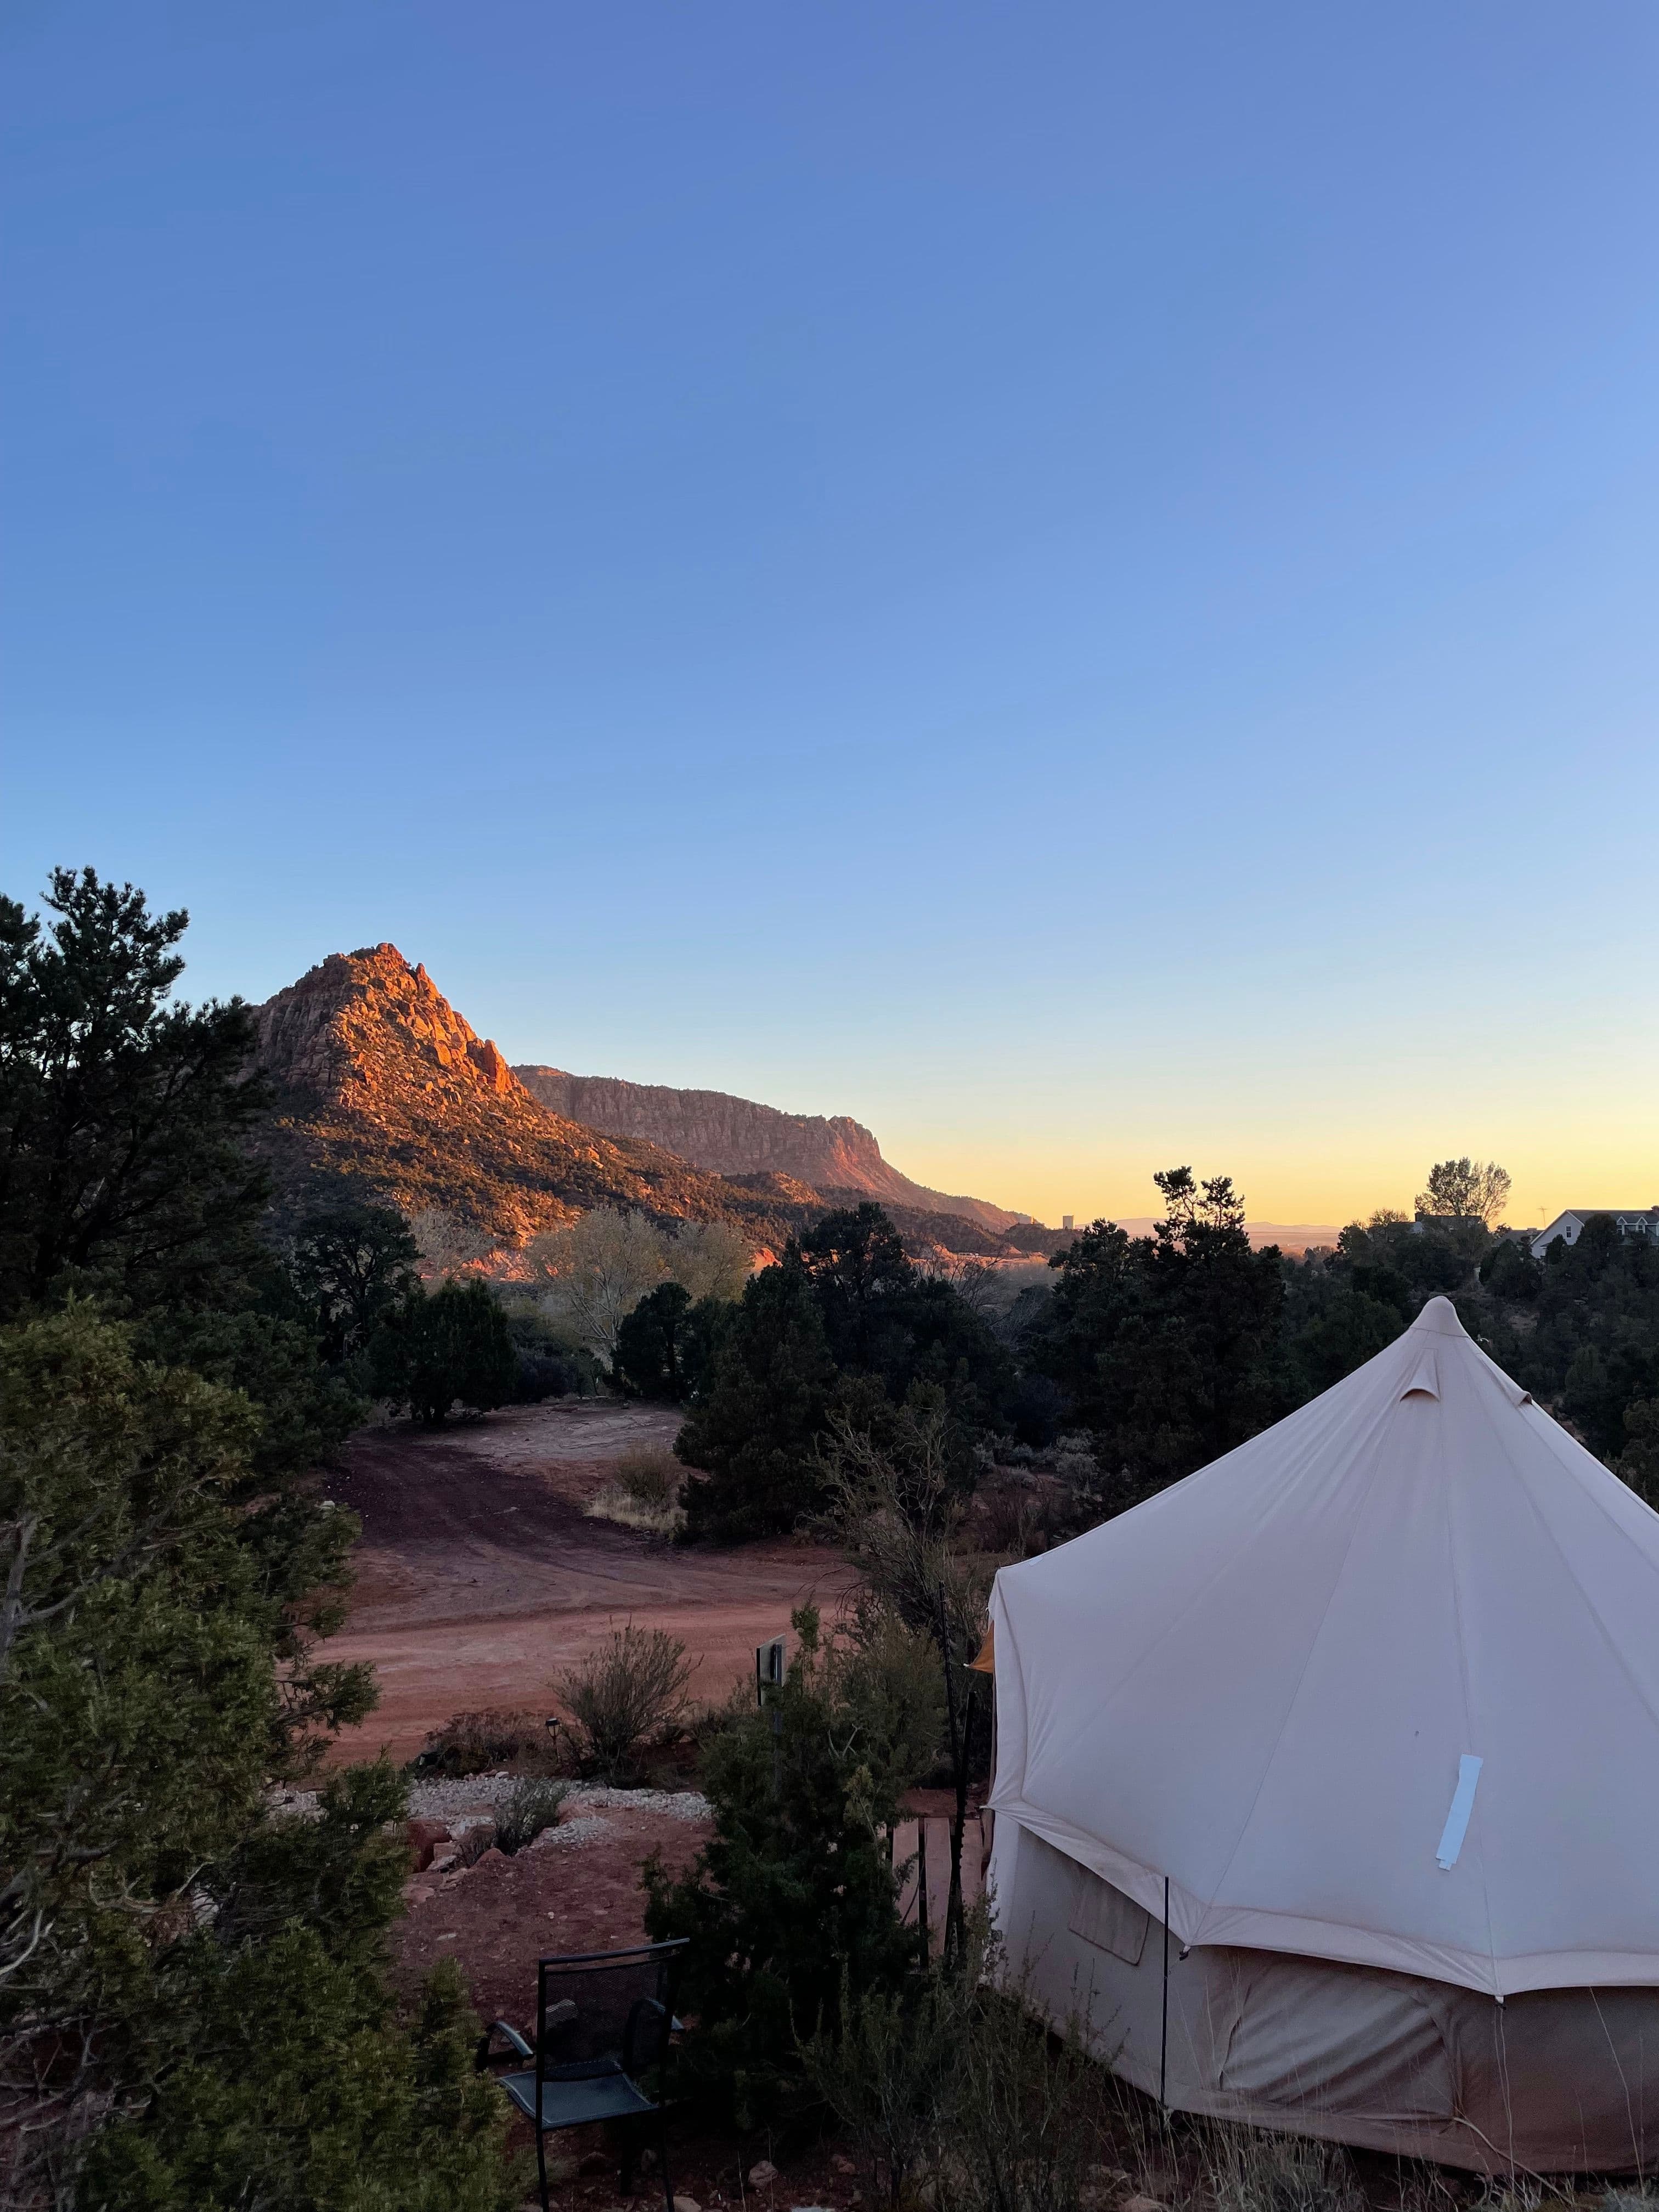
Night 5: This stay was such a unique experience. We stayed in a yurt that overlooked the mountains. We enjoyed playing the games available at the centre of the property including tetherball (a throwback for us!).
If I had more time I would have loved to stay here longer.
- 6
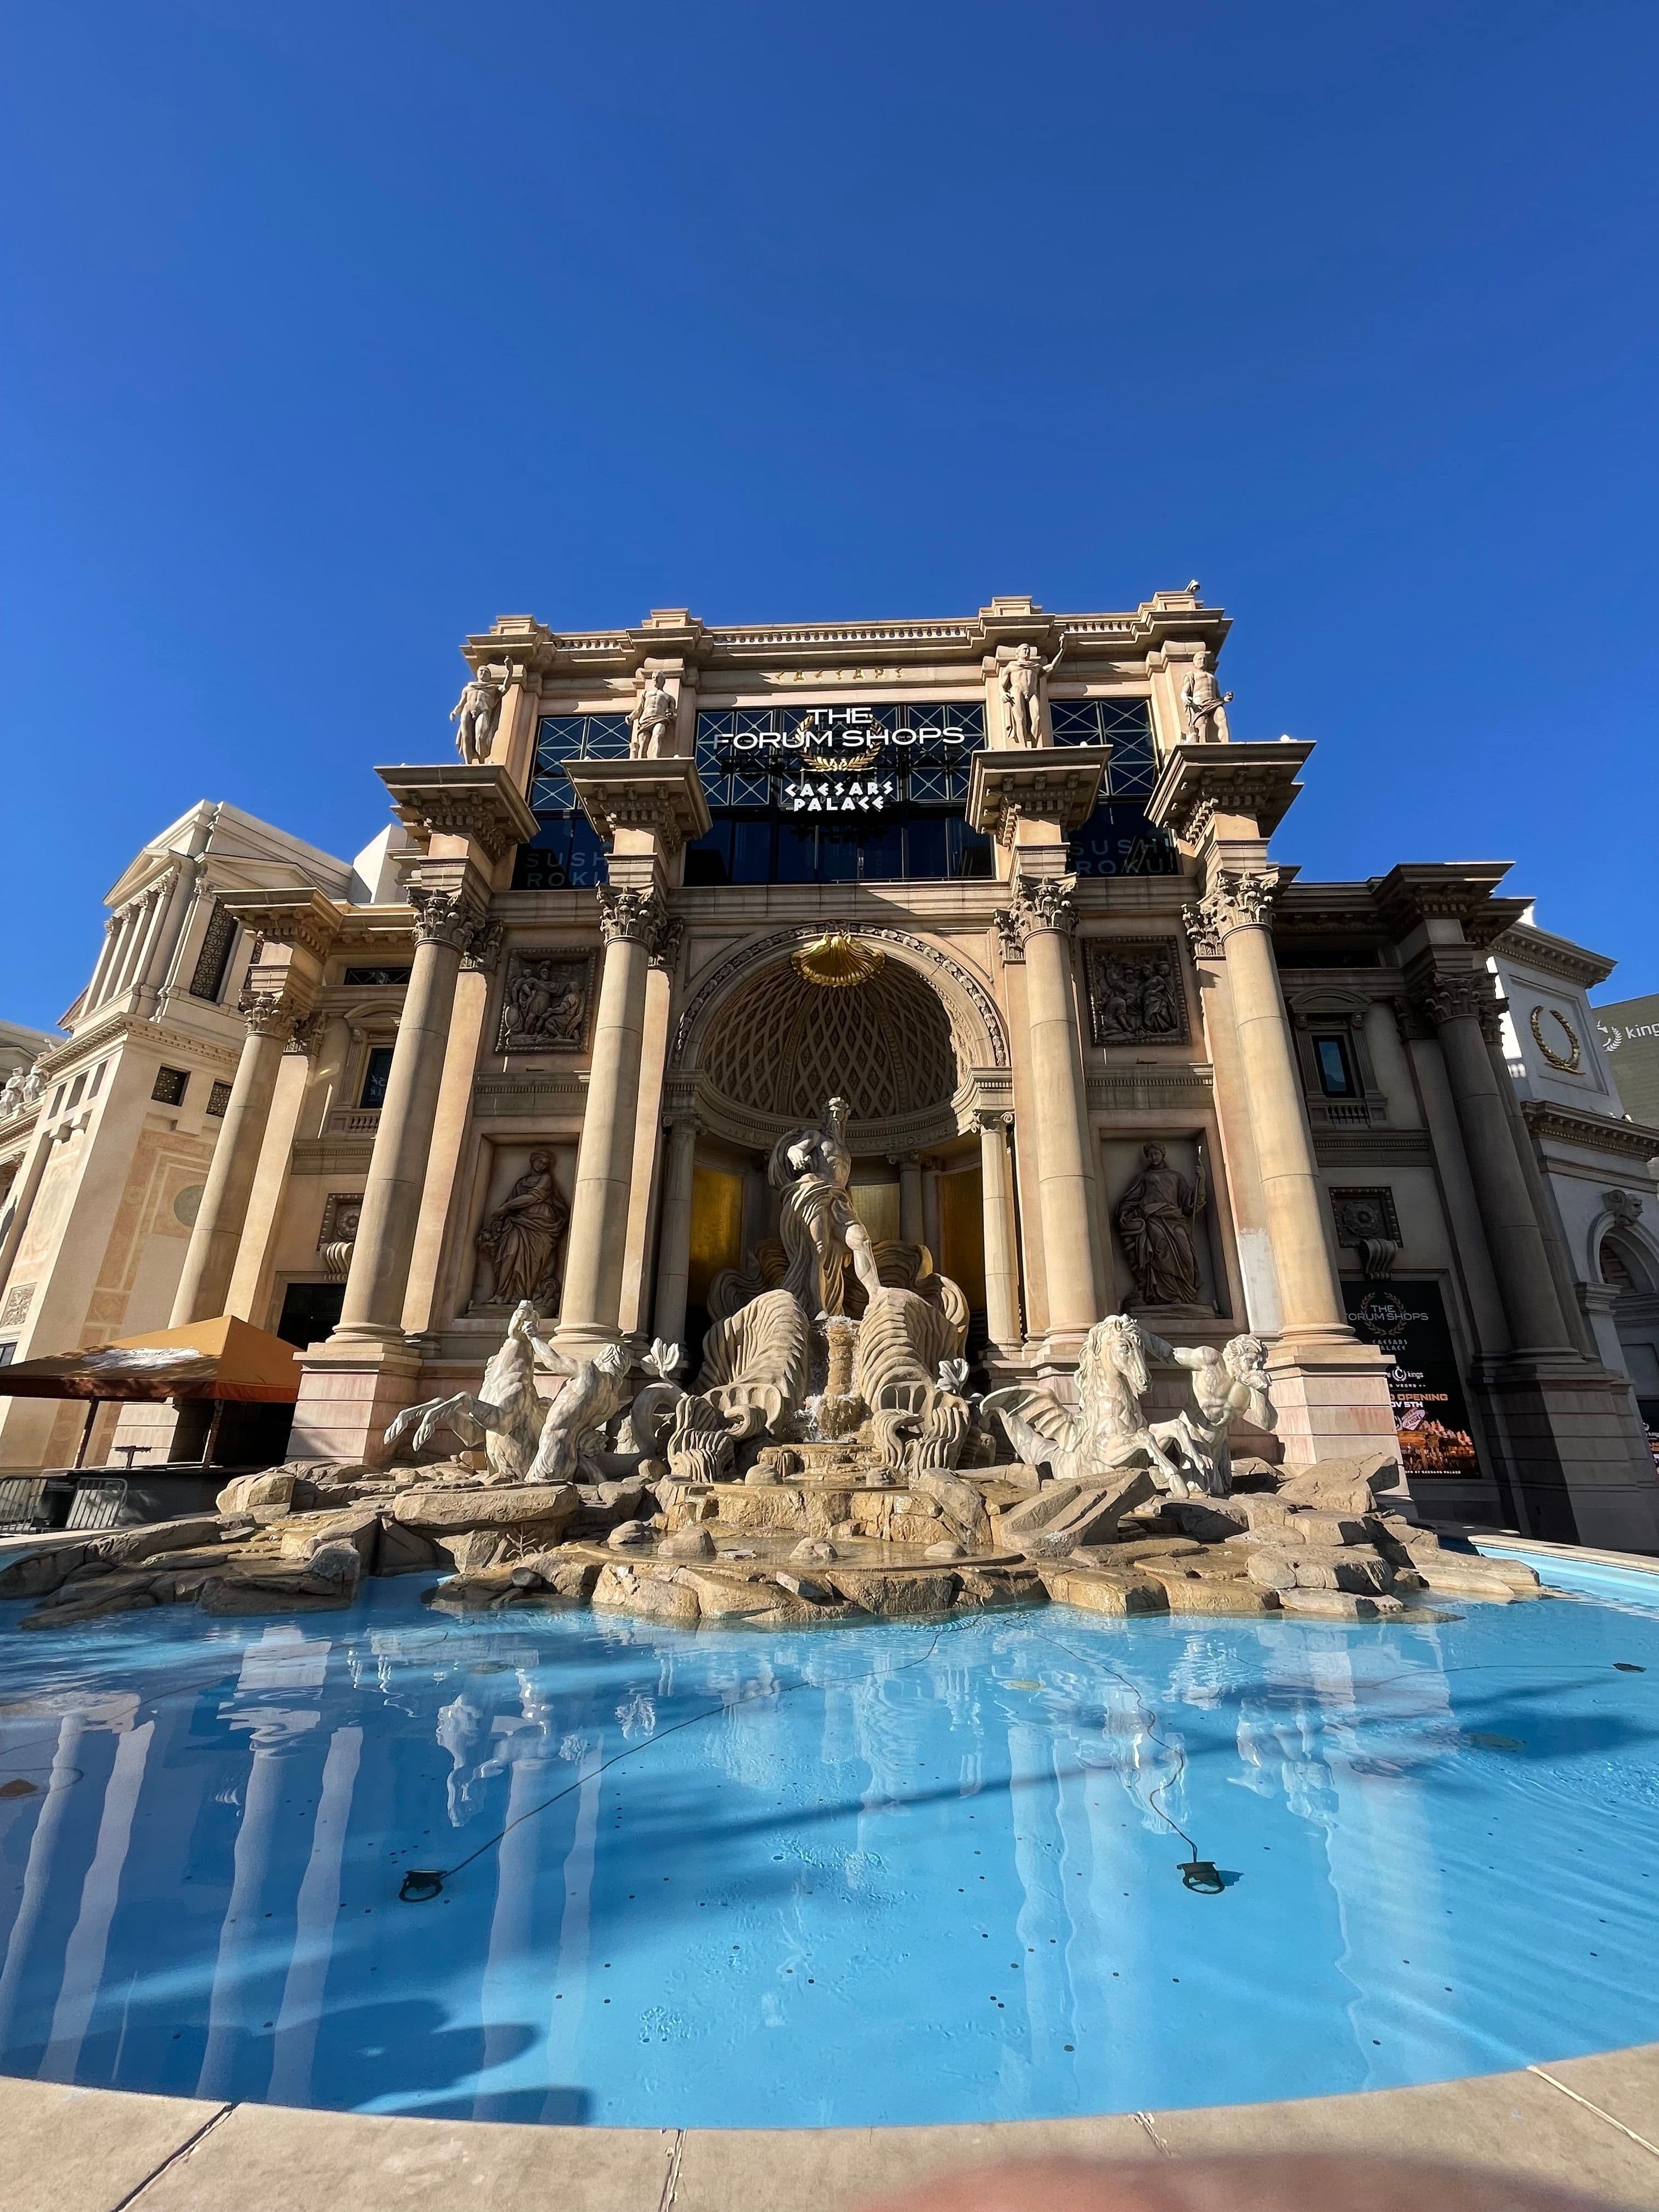
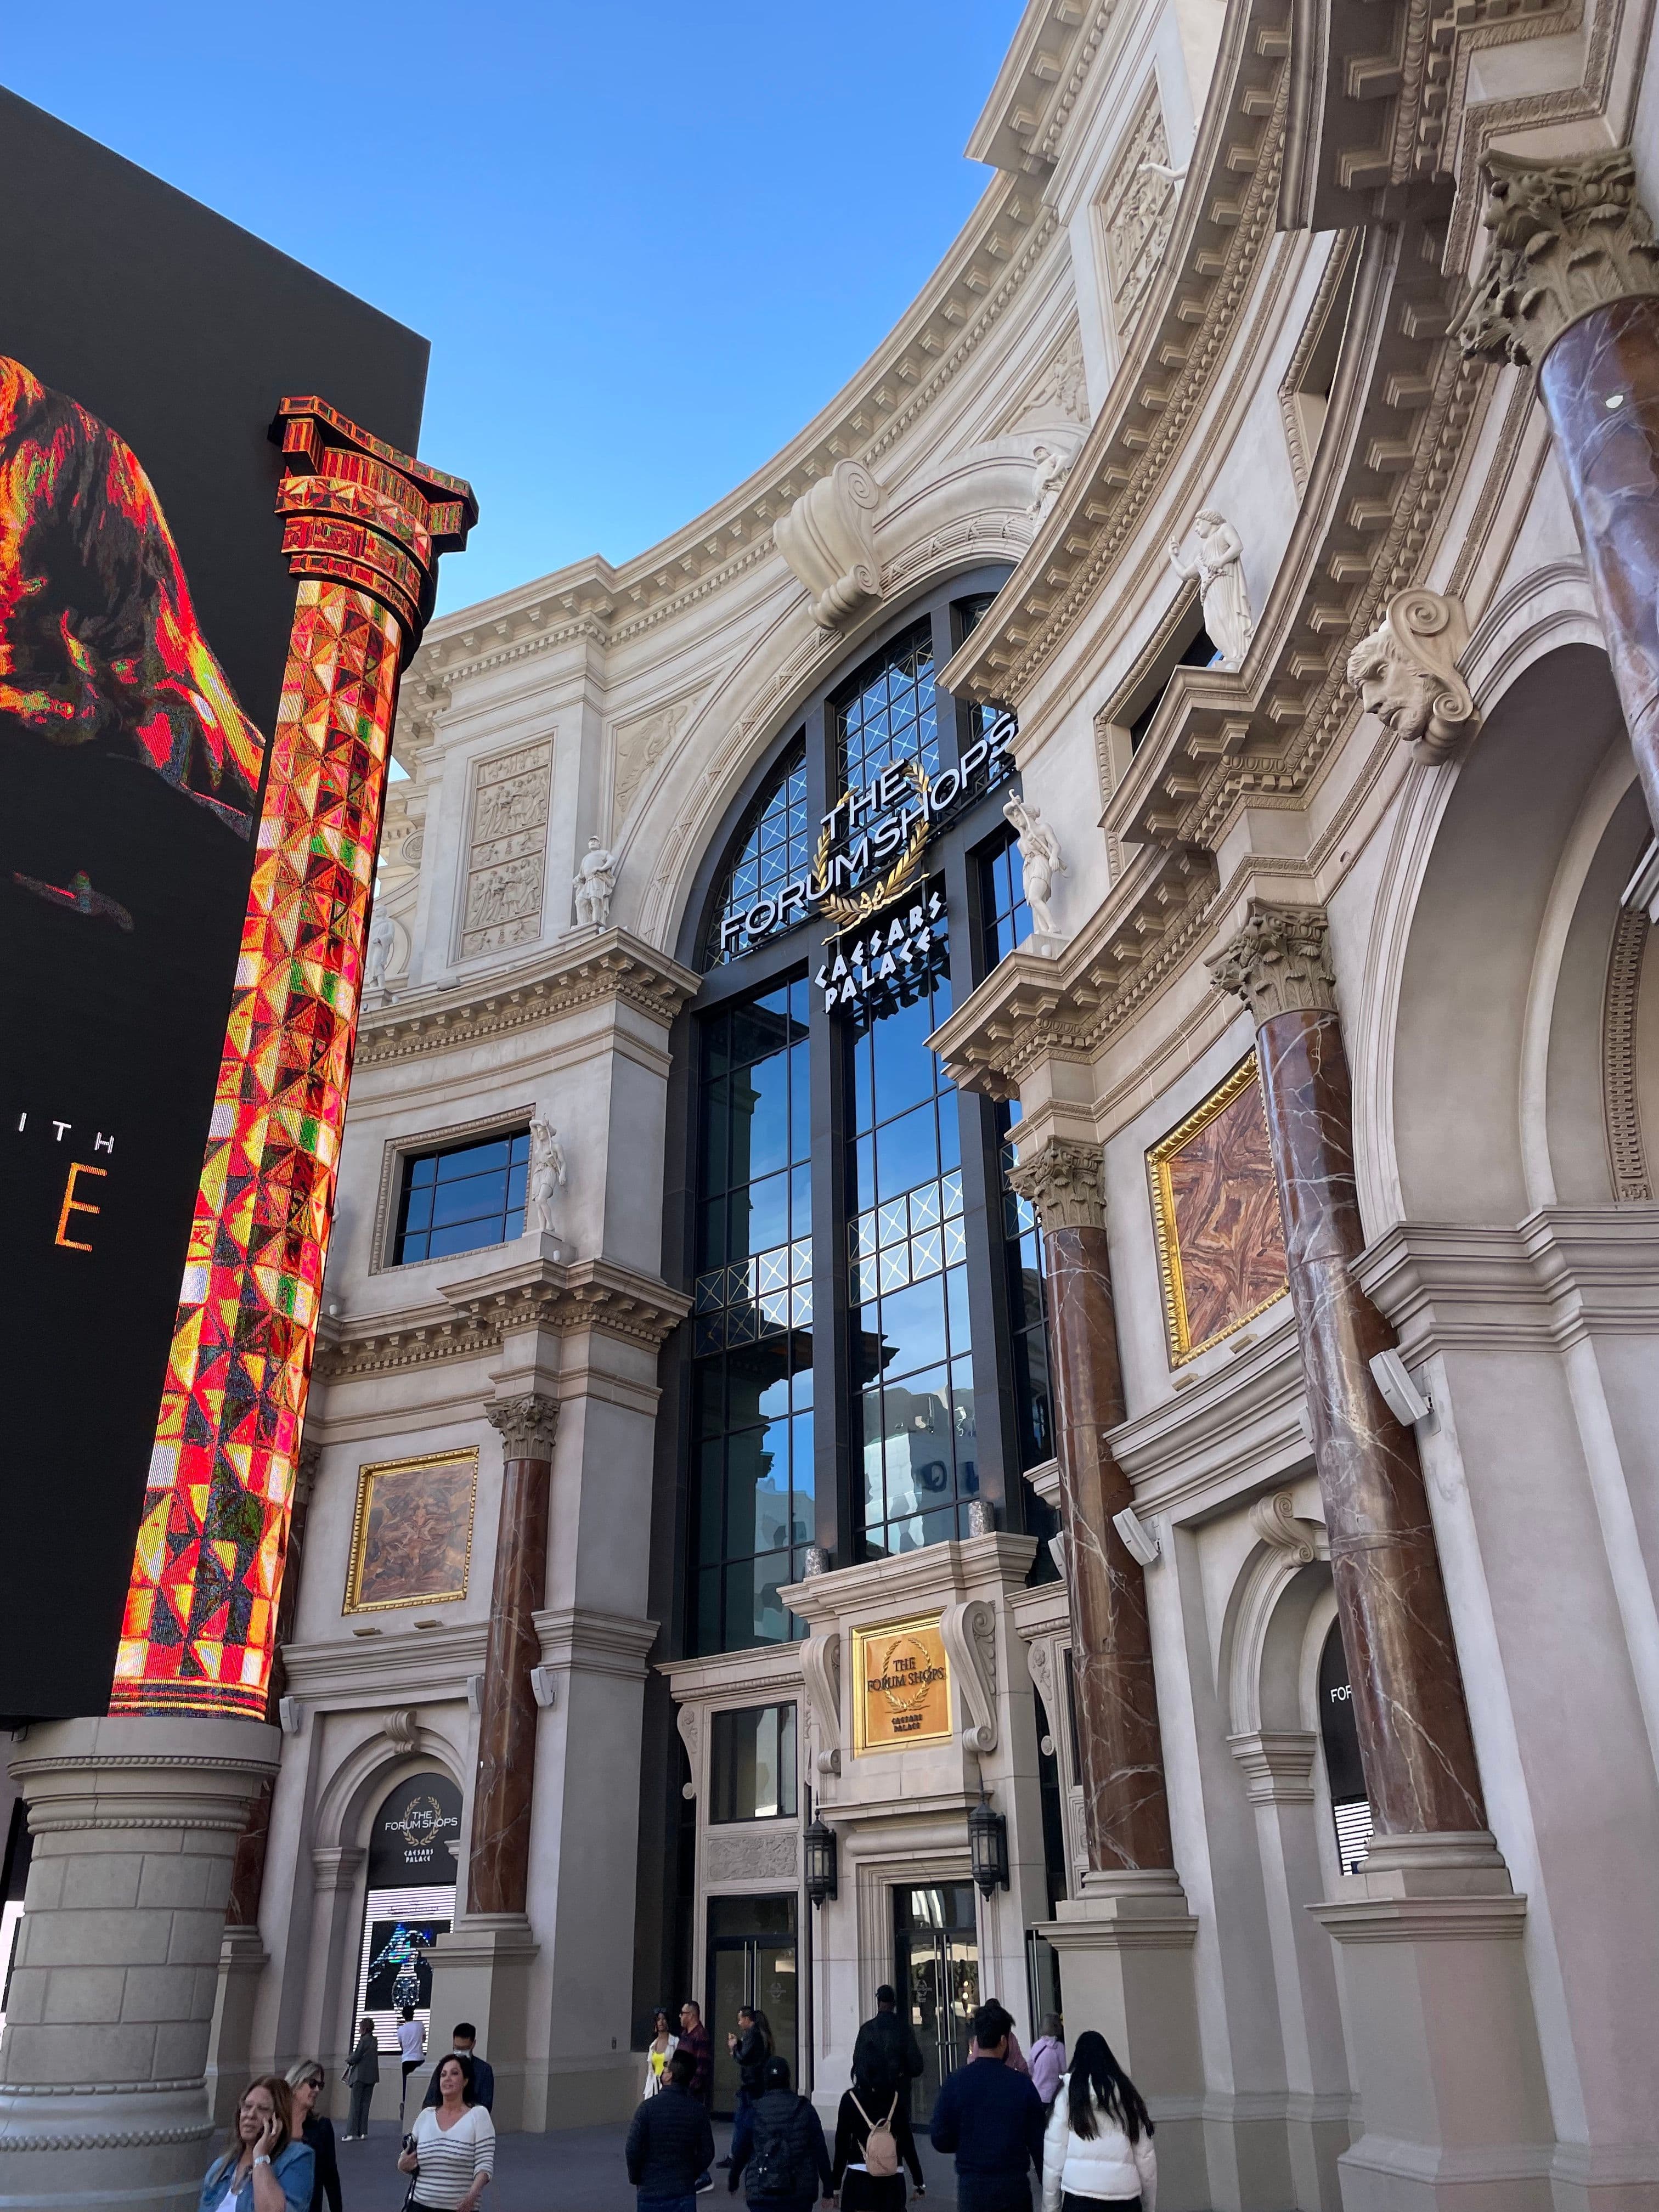
Caesars Palace
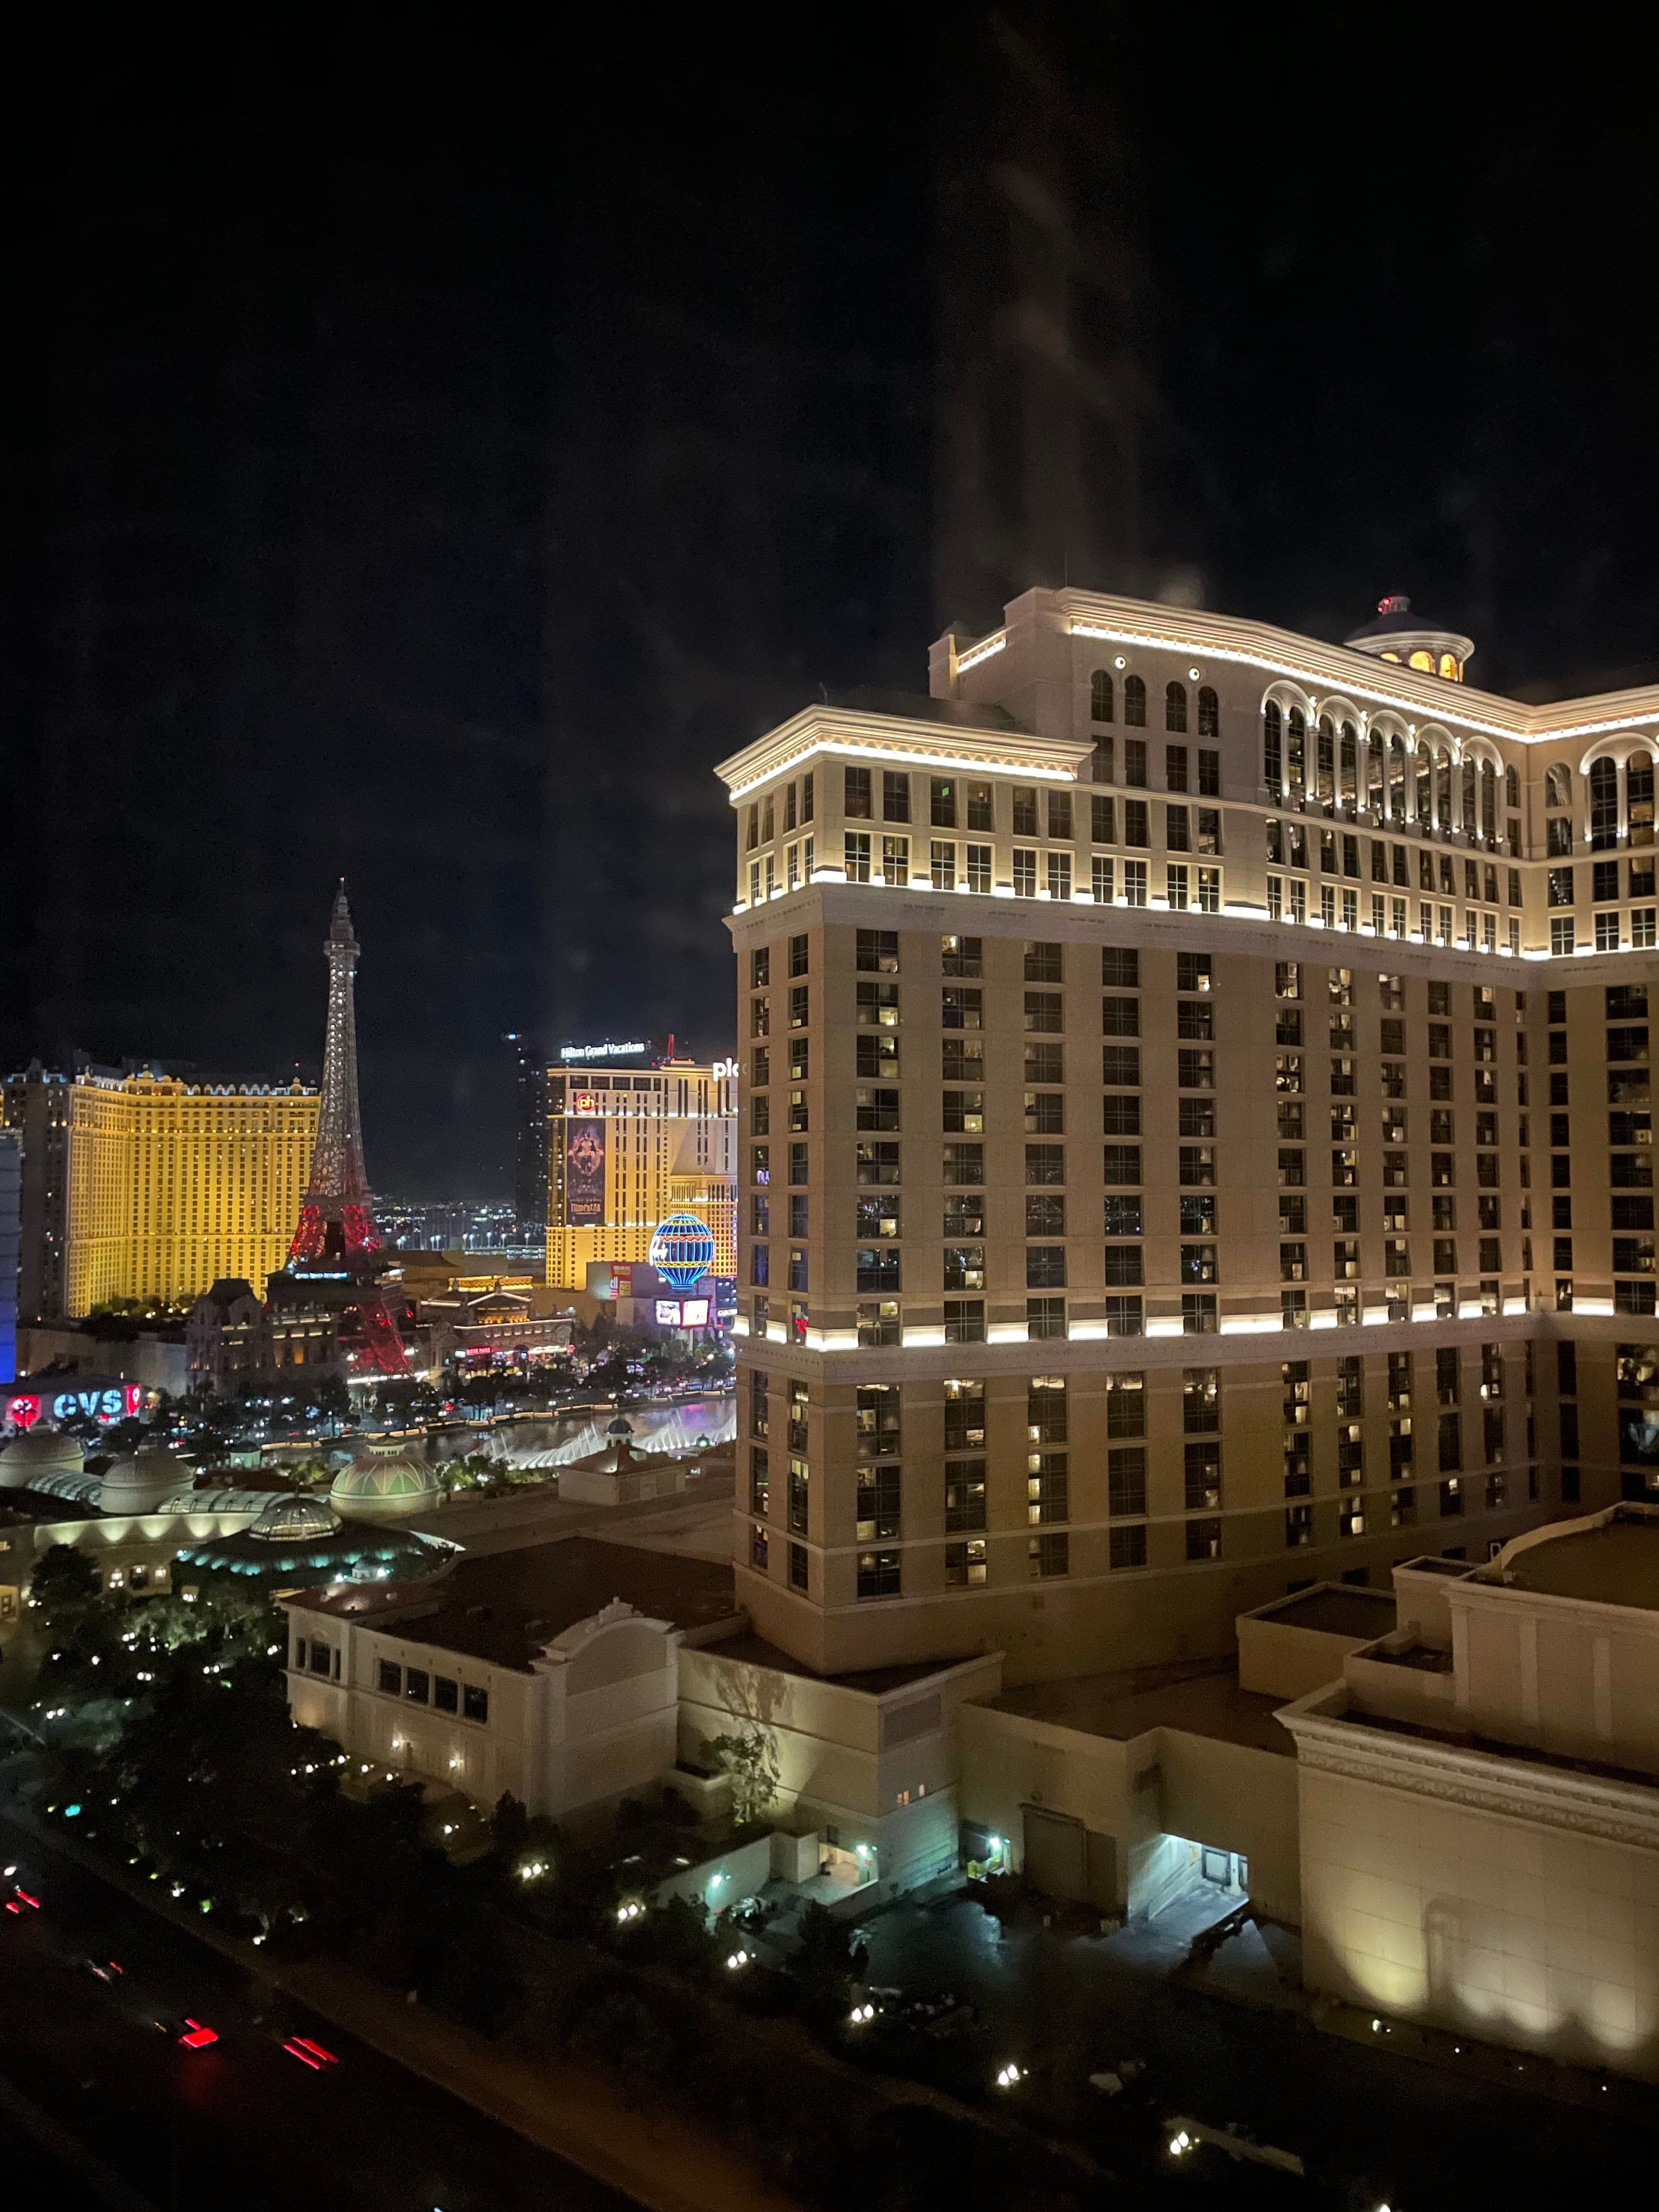
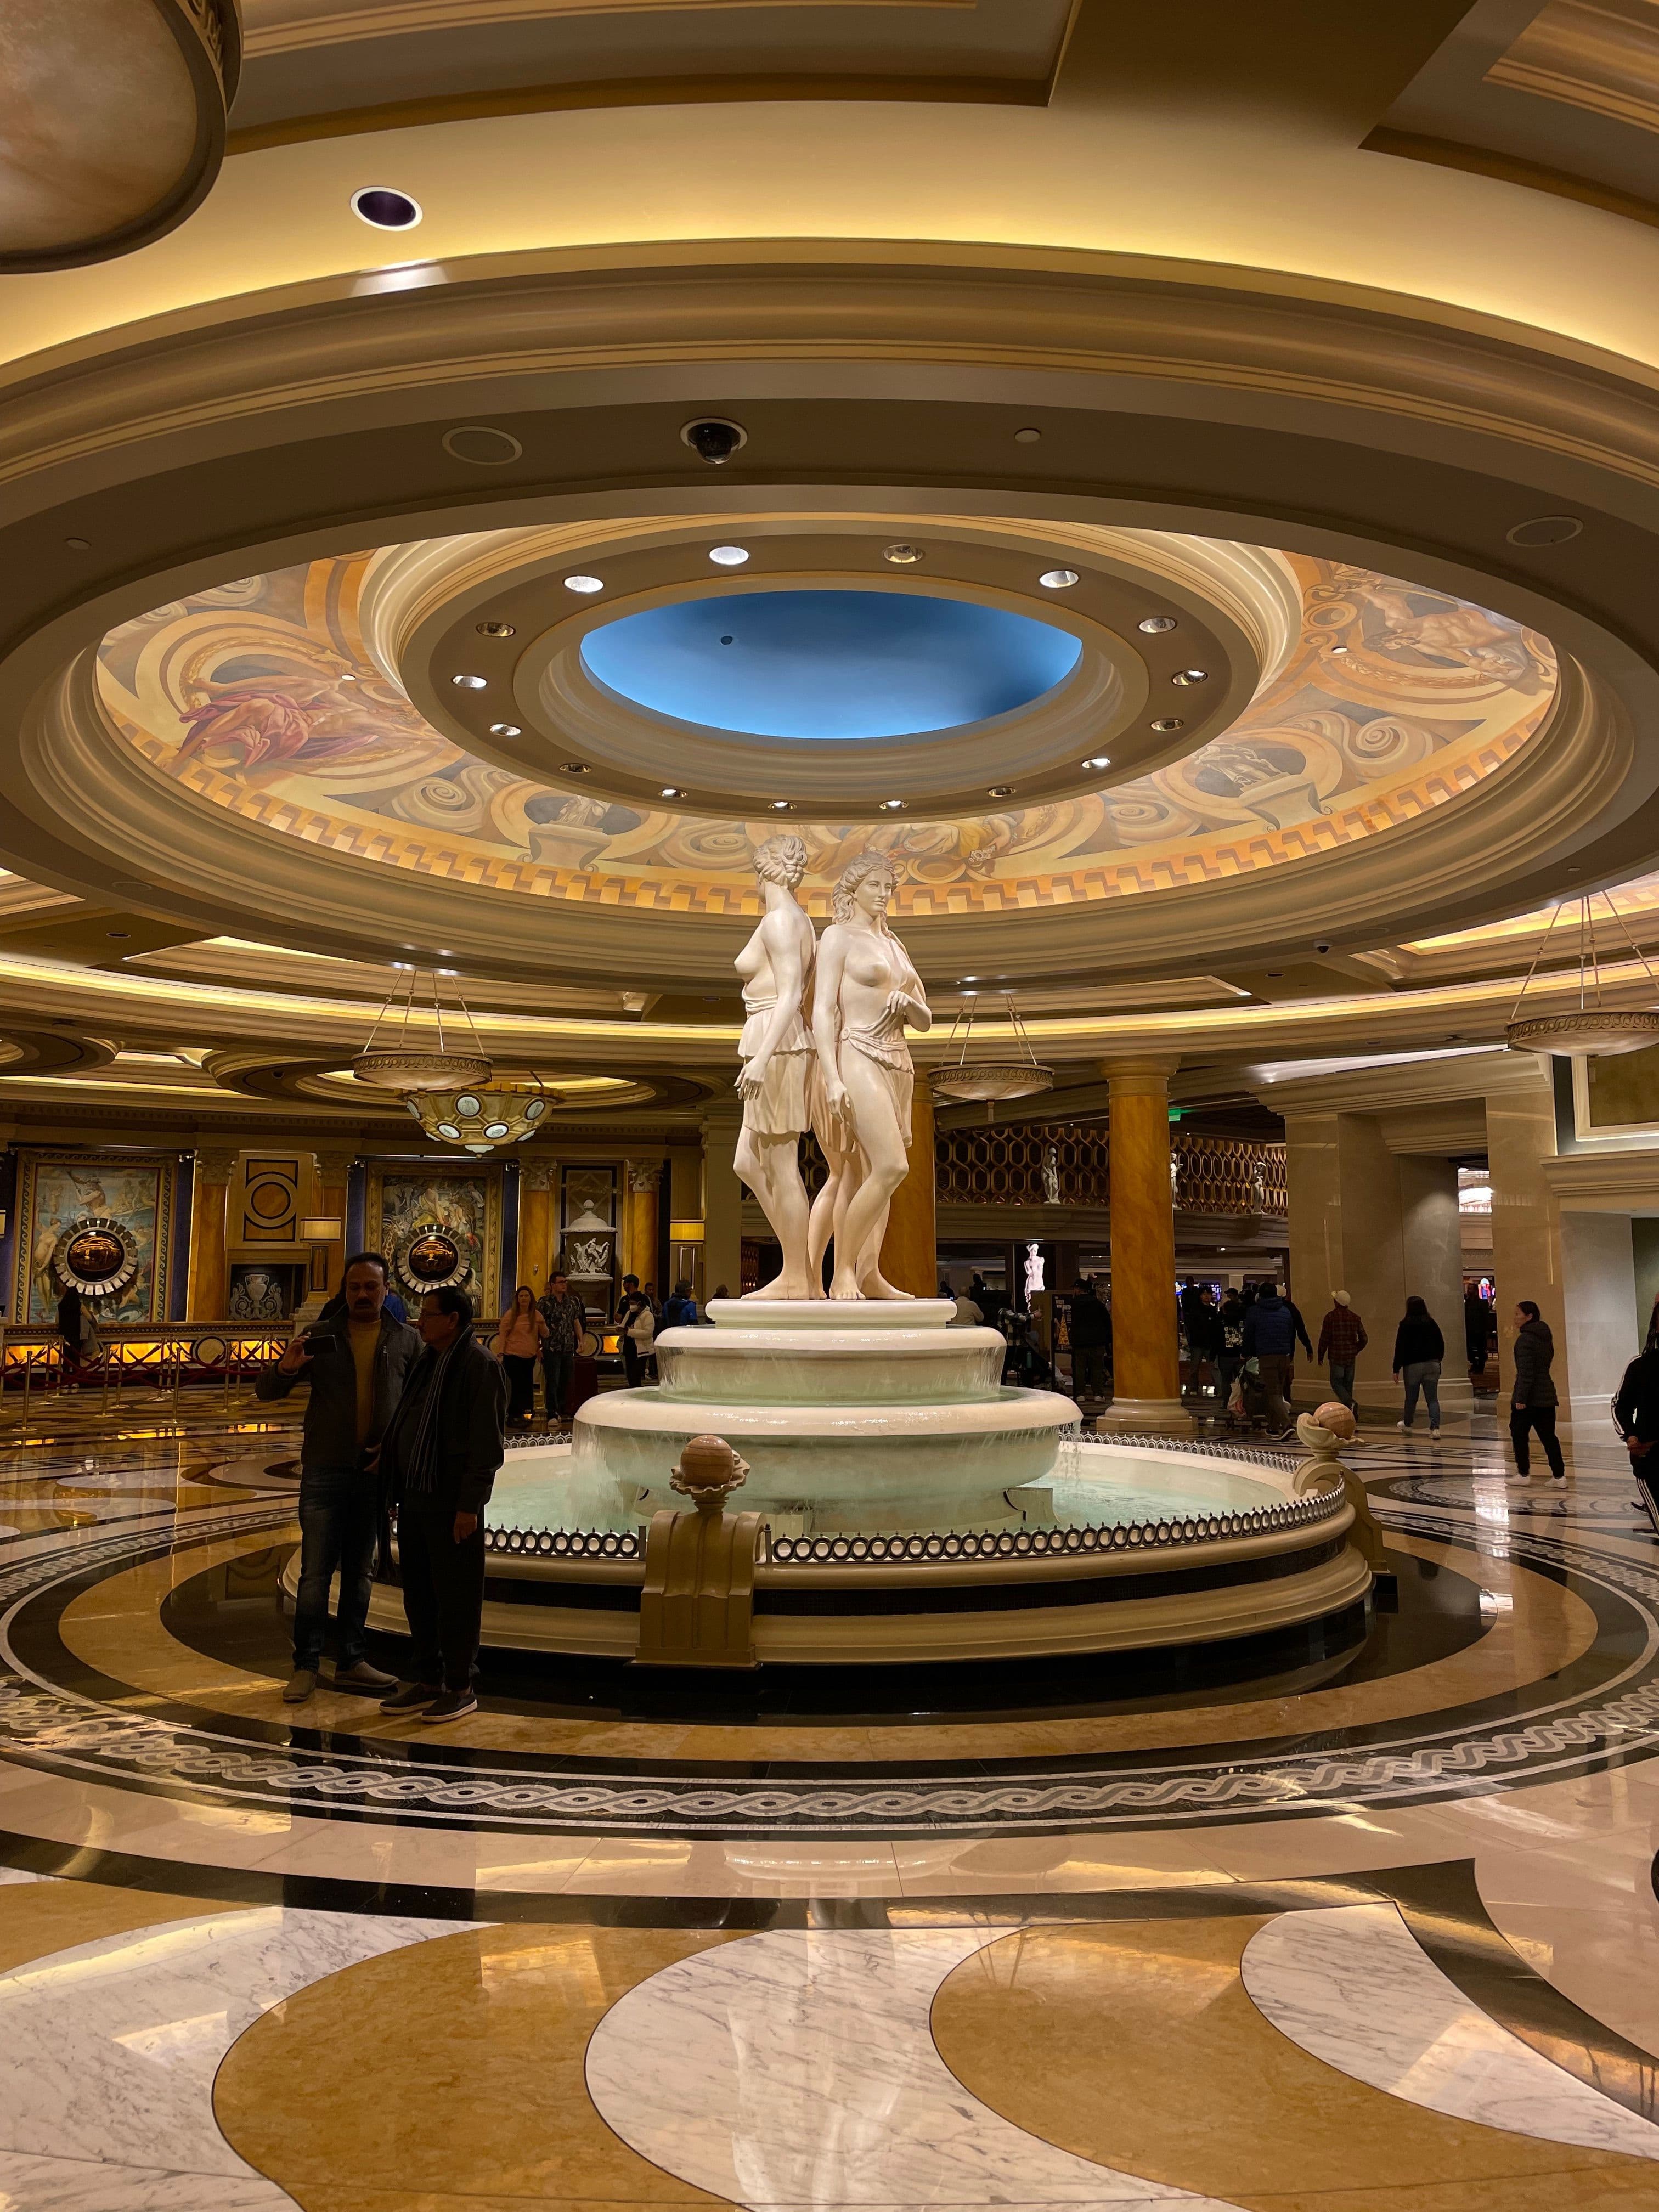

Night 6: We decided to stay at Caesar’s Palace during our time in Vegas for a few different reasons! First, it is located in the perfect location on the strip, close to other hotels and the Bellagio fountain! Second, there are many great restaurant options in the palace making it easy to always find something to eat! And lastly, it is a classic hotel and we wanted the full Vegas experience!
Caesars also has a free bag check, which was helpful as we weren’t leaving until later in the day. It allowed us to explore Las Vegas without having to haul our bags around.
Day 1: Las Vegas
- 1
Land in Las Vegas
- 2
Pick up Car Rental
We used Discover Cars to find a great deal!
- 3
Drive to Zion National Park
3hr·12:00PM - 3:00PM
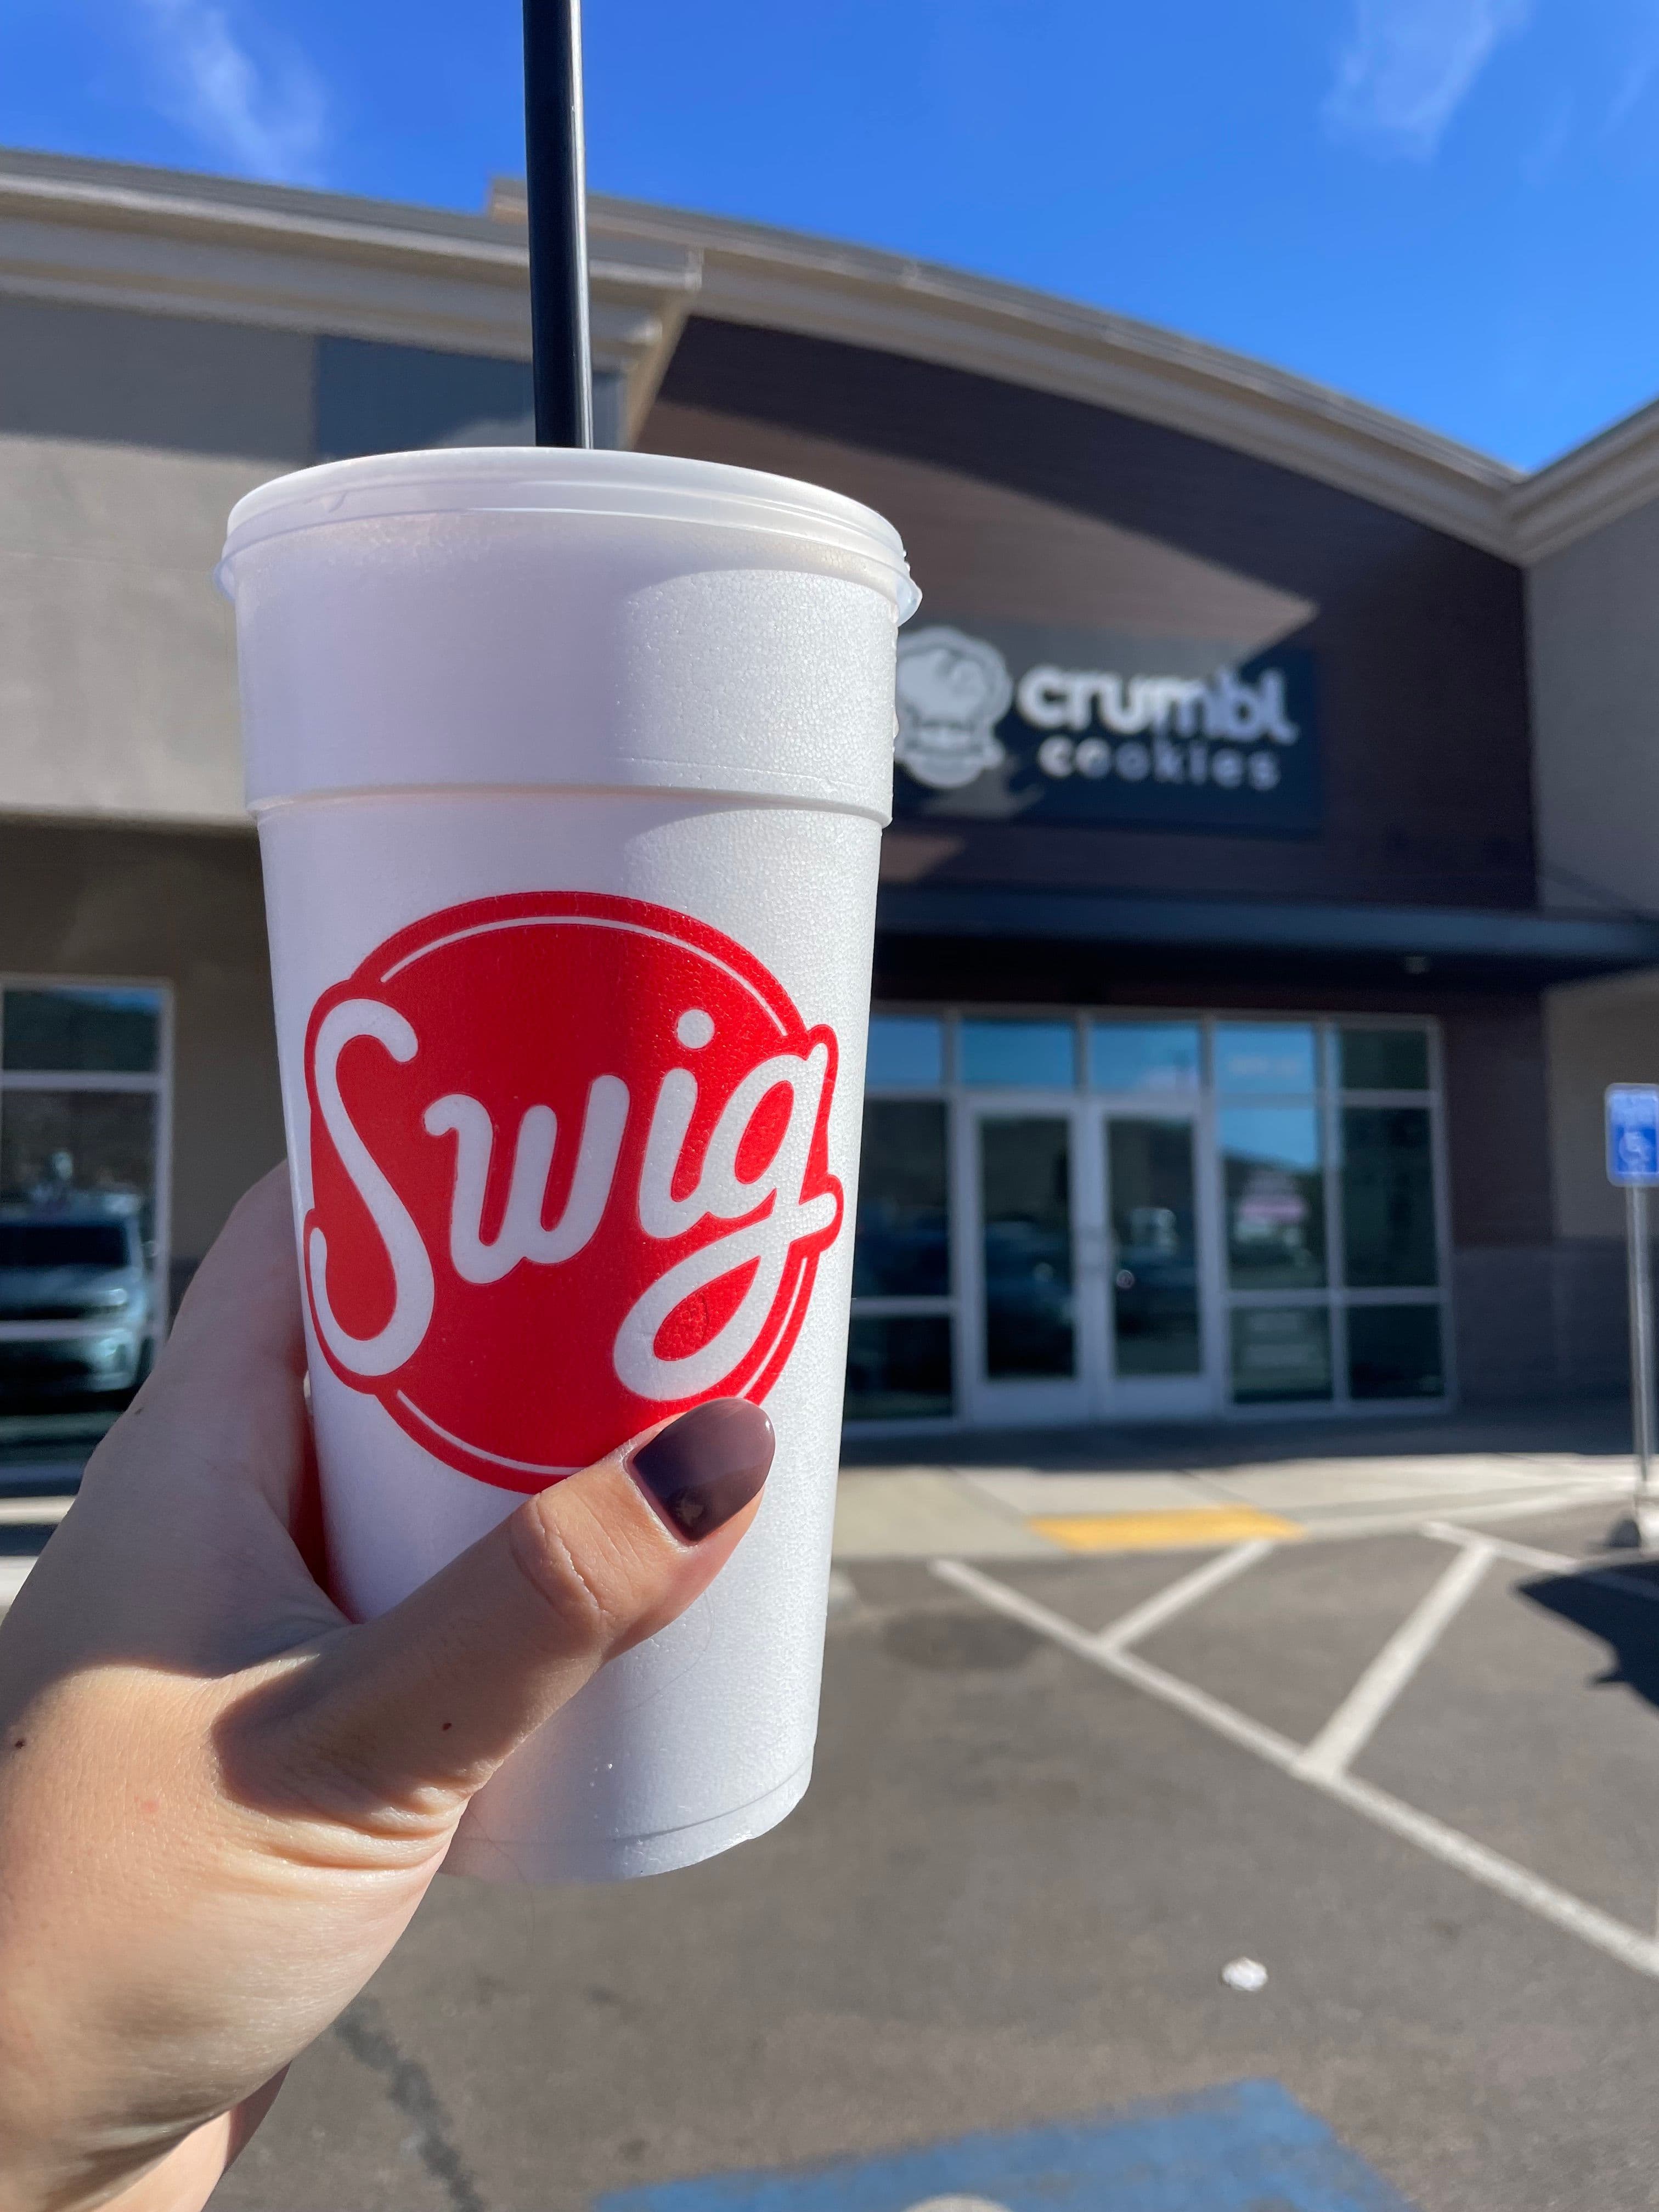
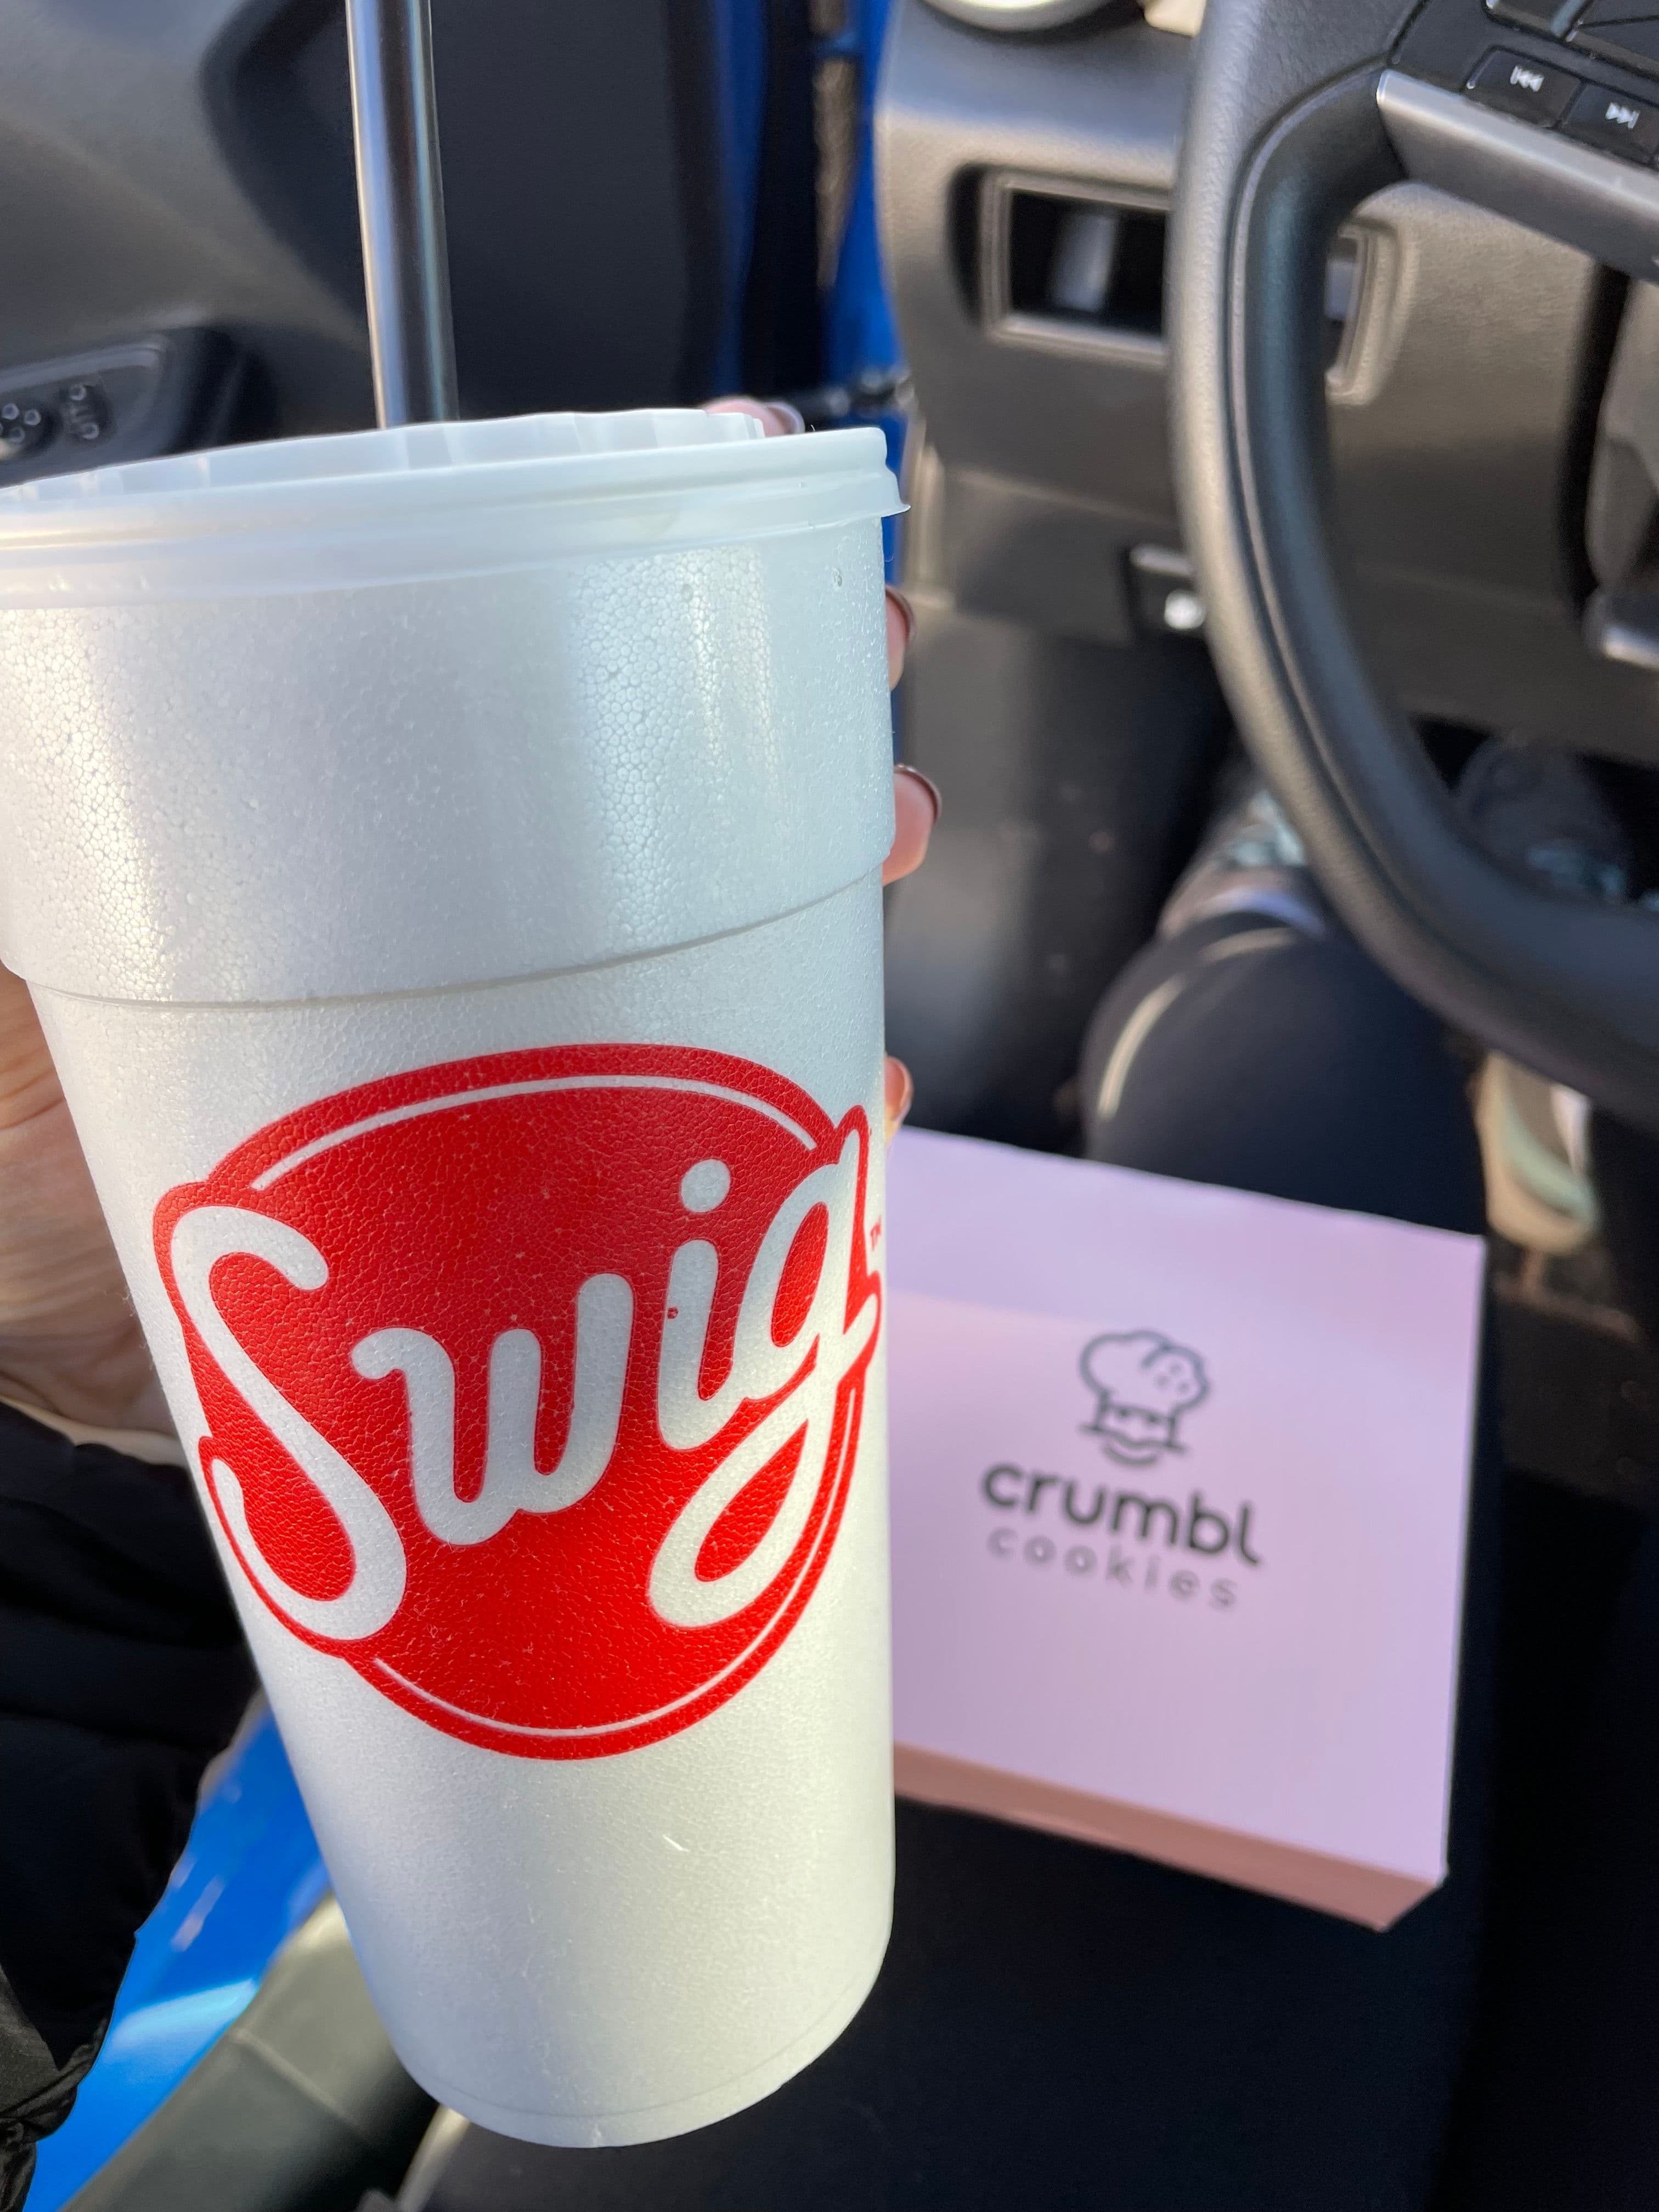
On our way to Zion, we stopped in St. George for a quick dinner! Being a Canadian in the US, we stopped at Chick-Fil-A, Swig, and Crumbl Cookie and got all the goods for the drive!
We also stopped at Walmart and grabbed some breakfast foods and snacks for the rest of our trip. I would highly recommend doing this as we were often hiking during lunch time and having snacks and food available was very helpful!
- 4
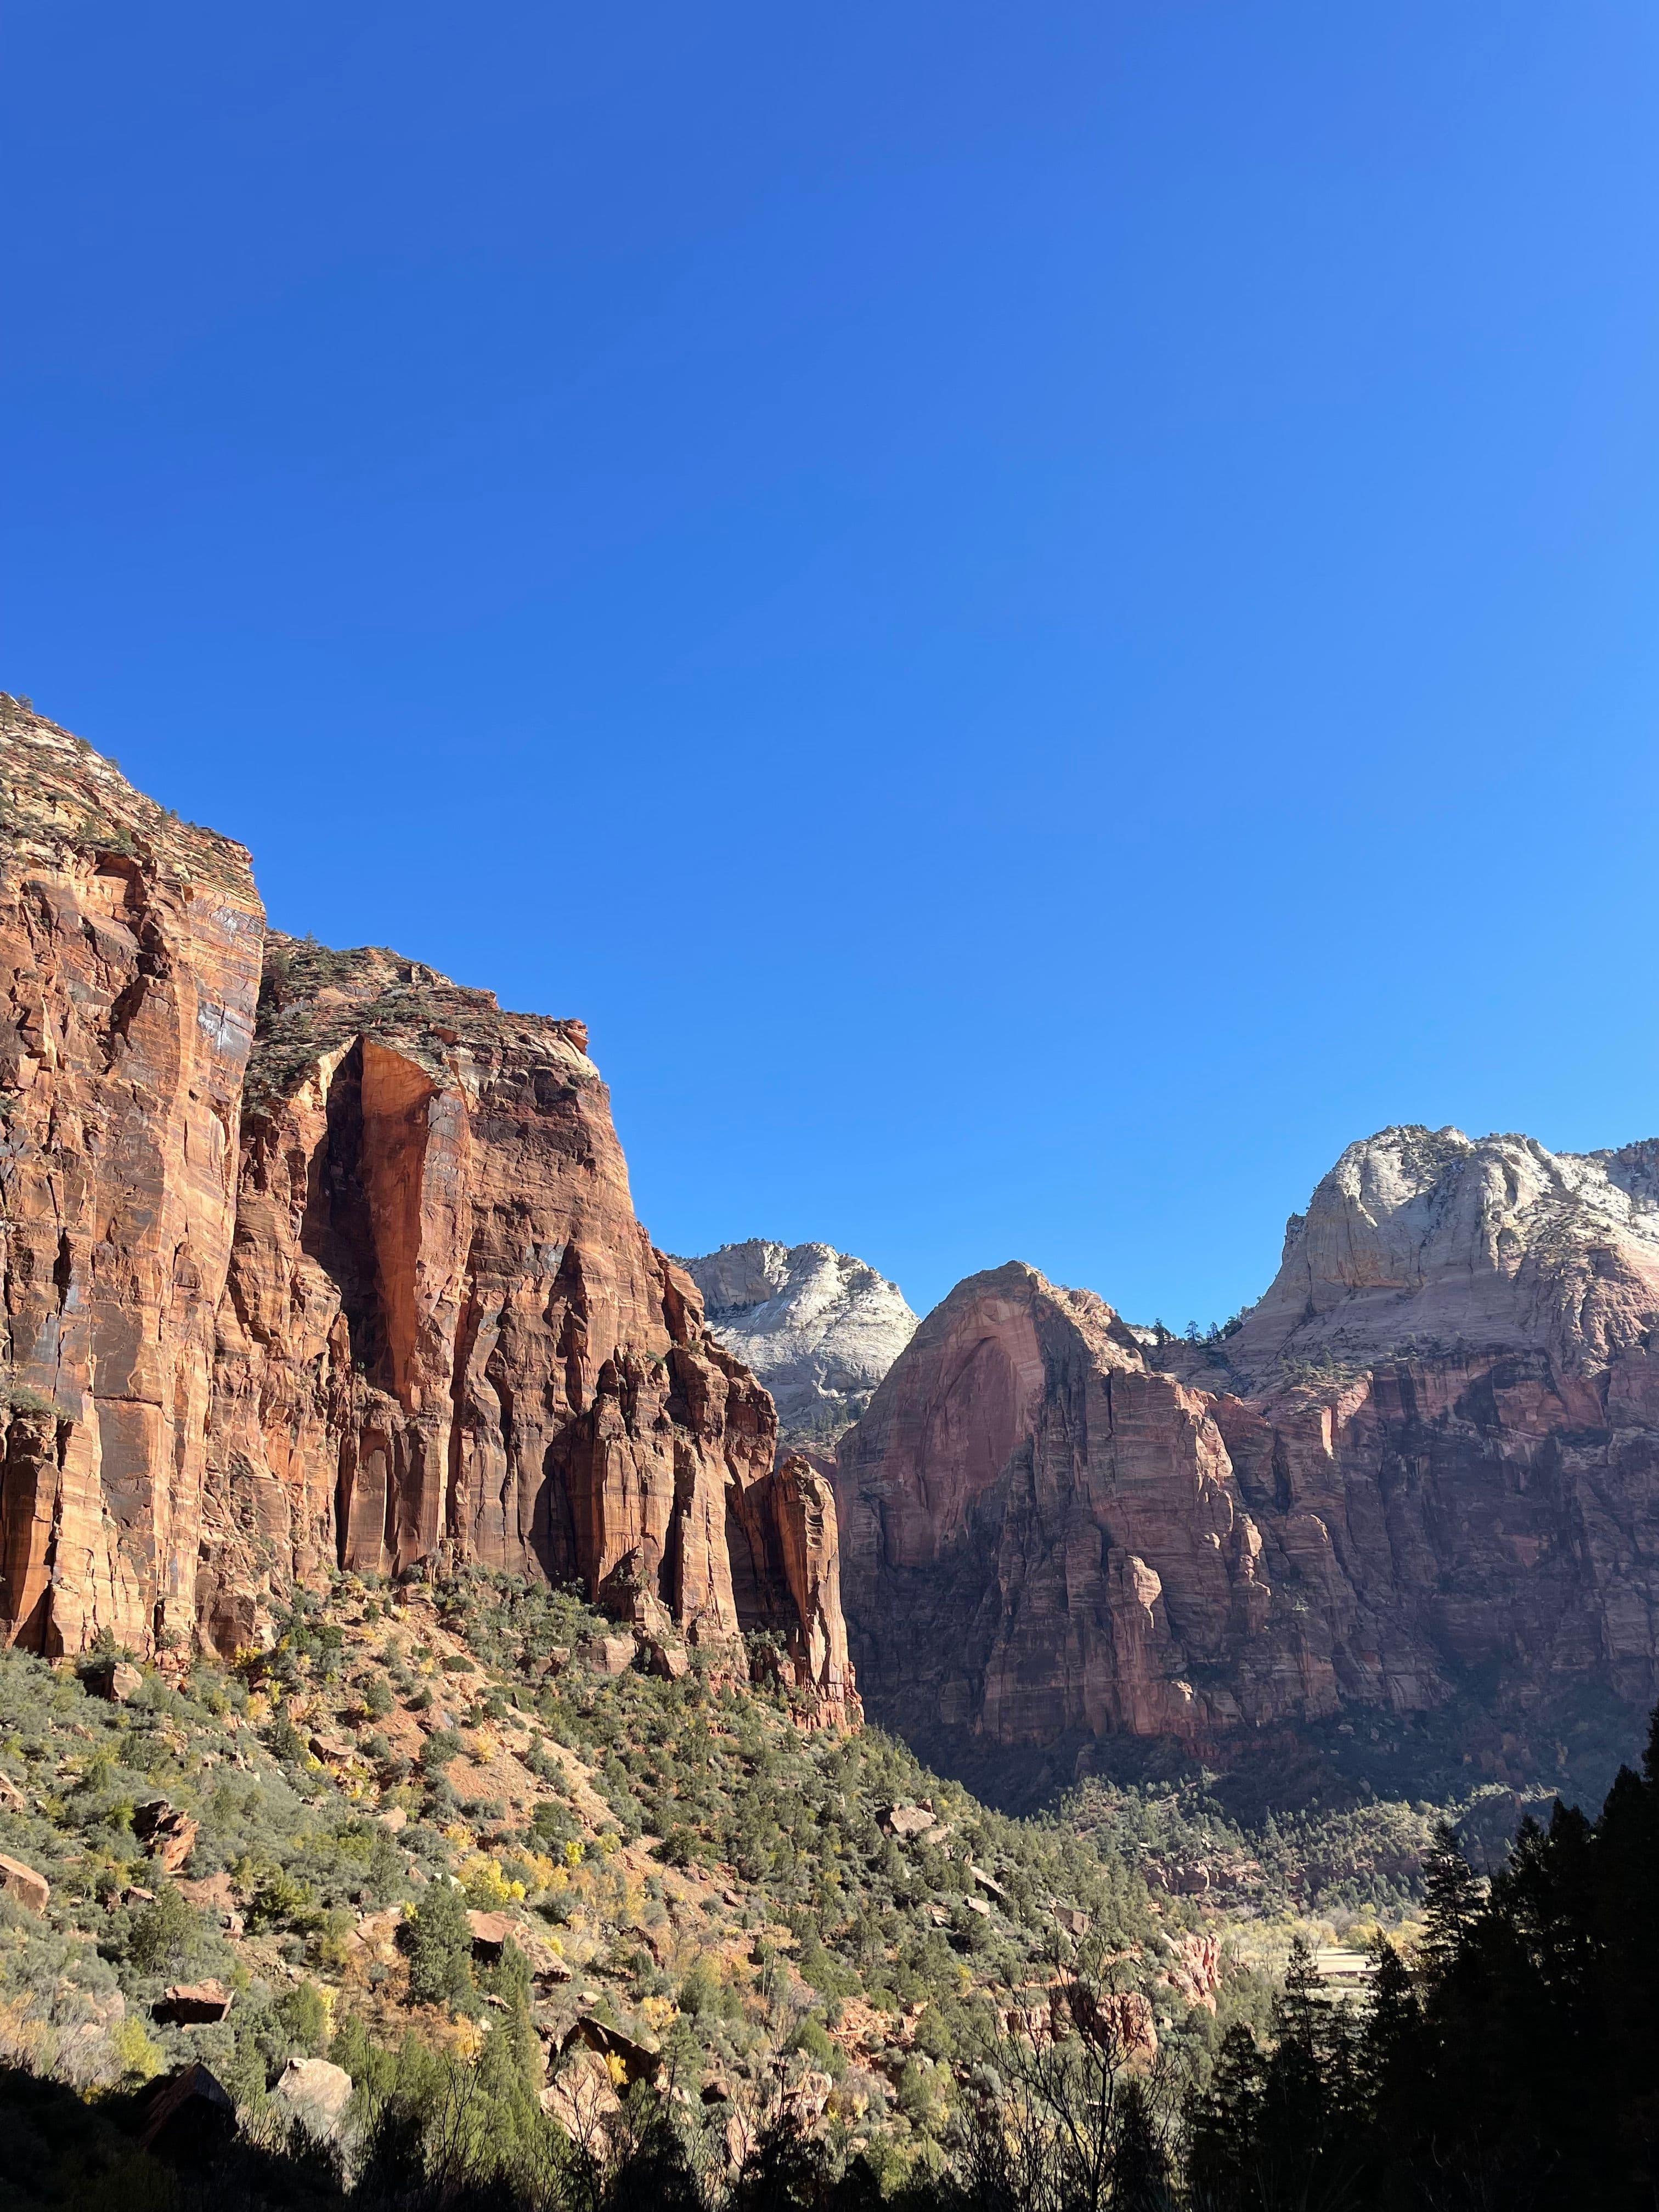
Arrive at Zion National Park
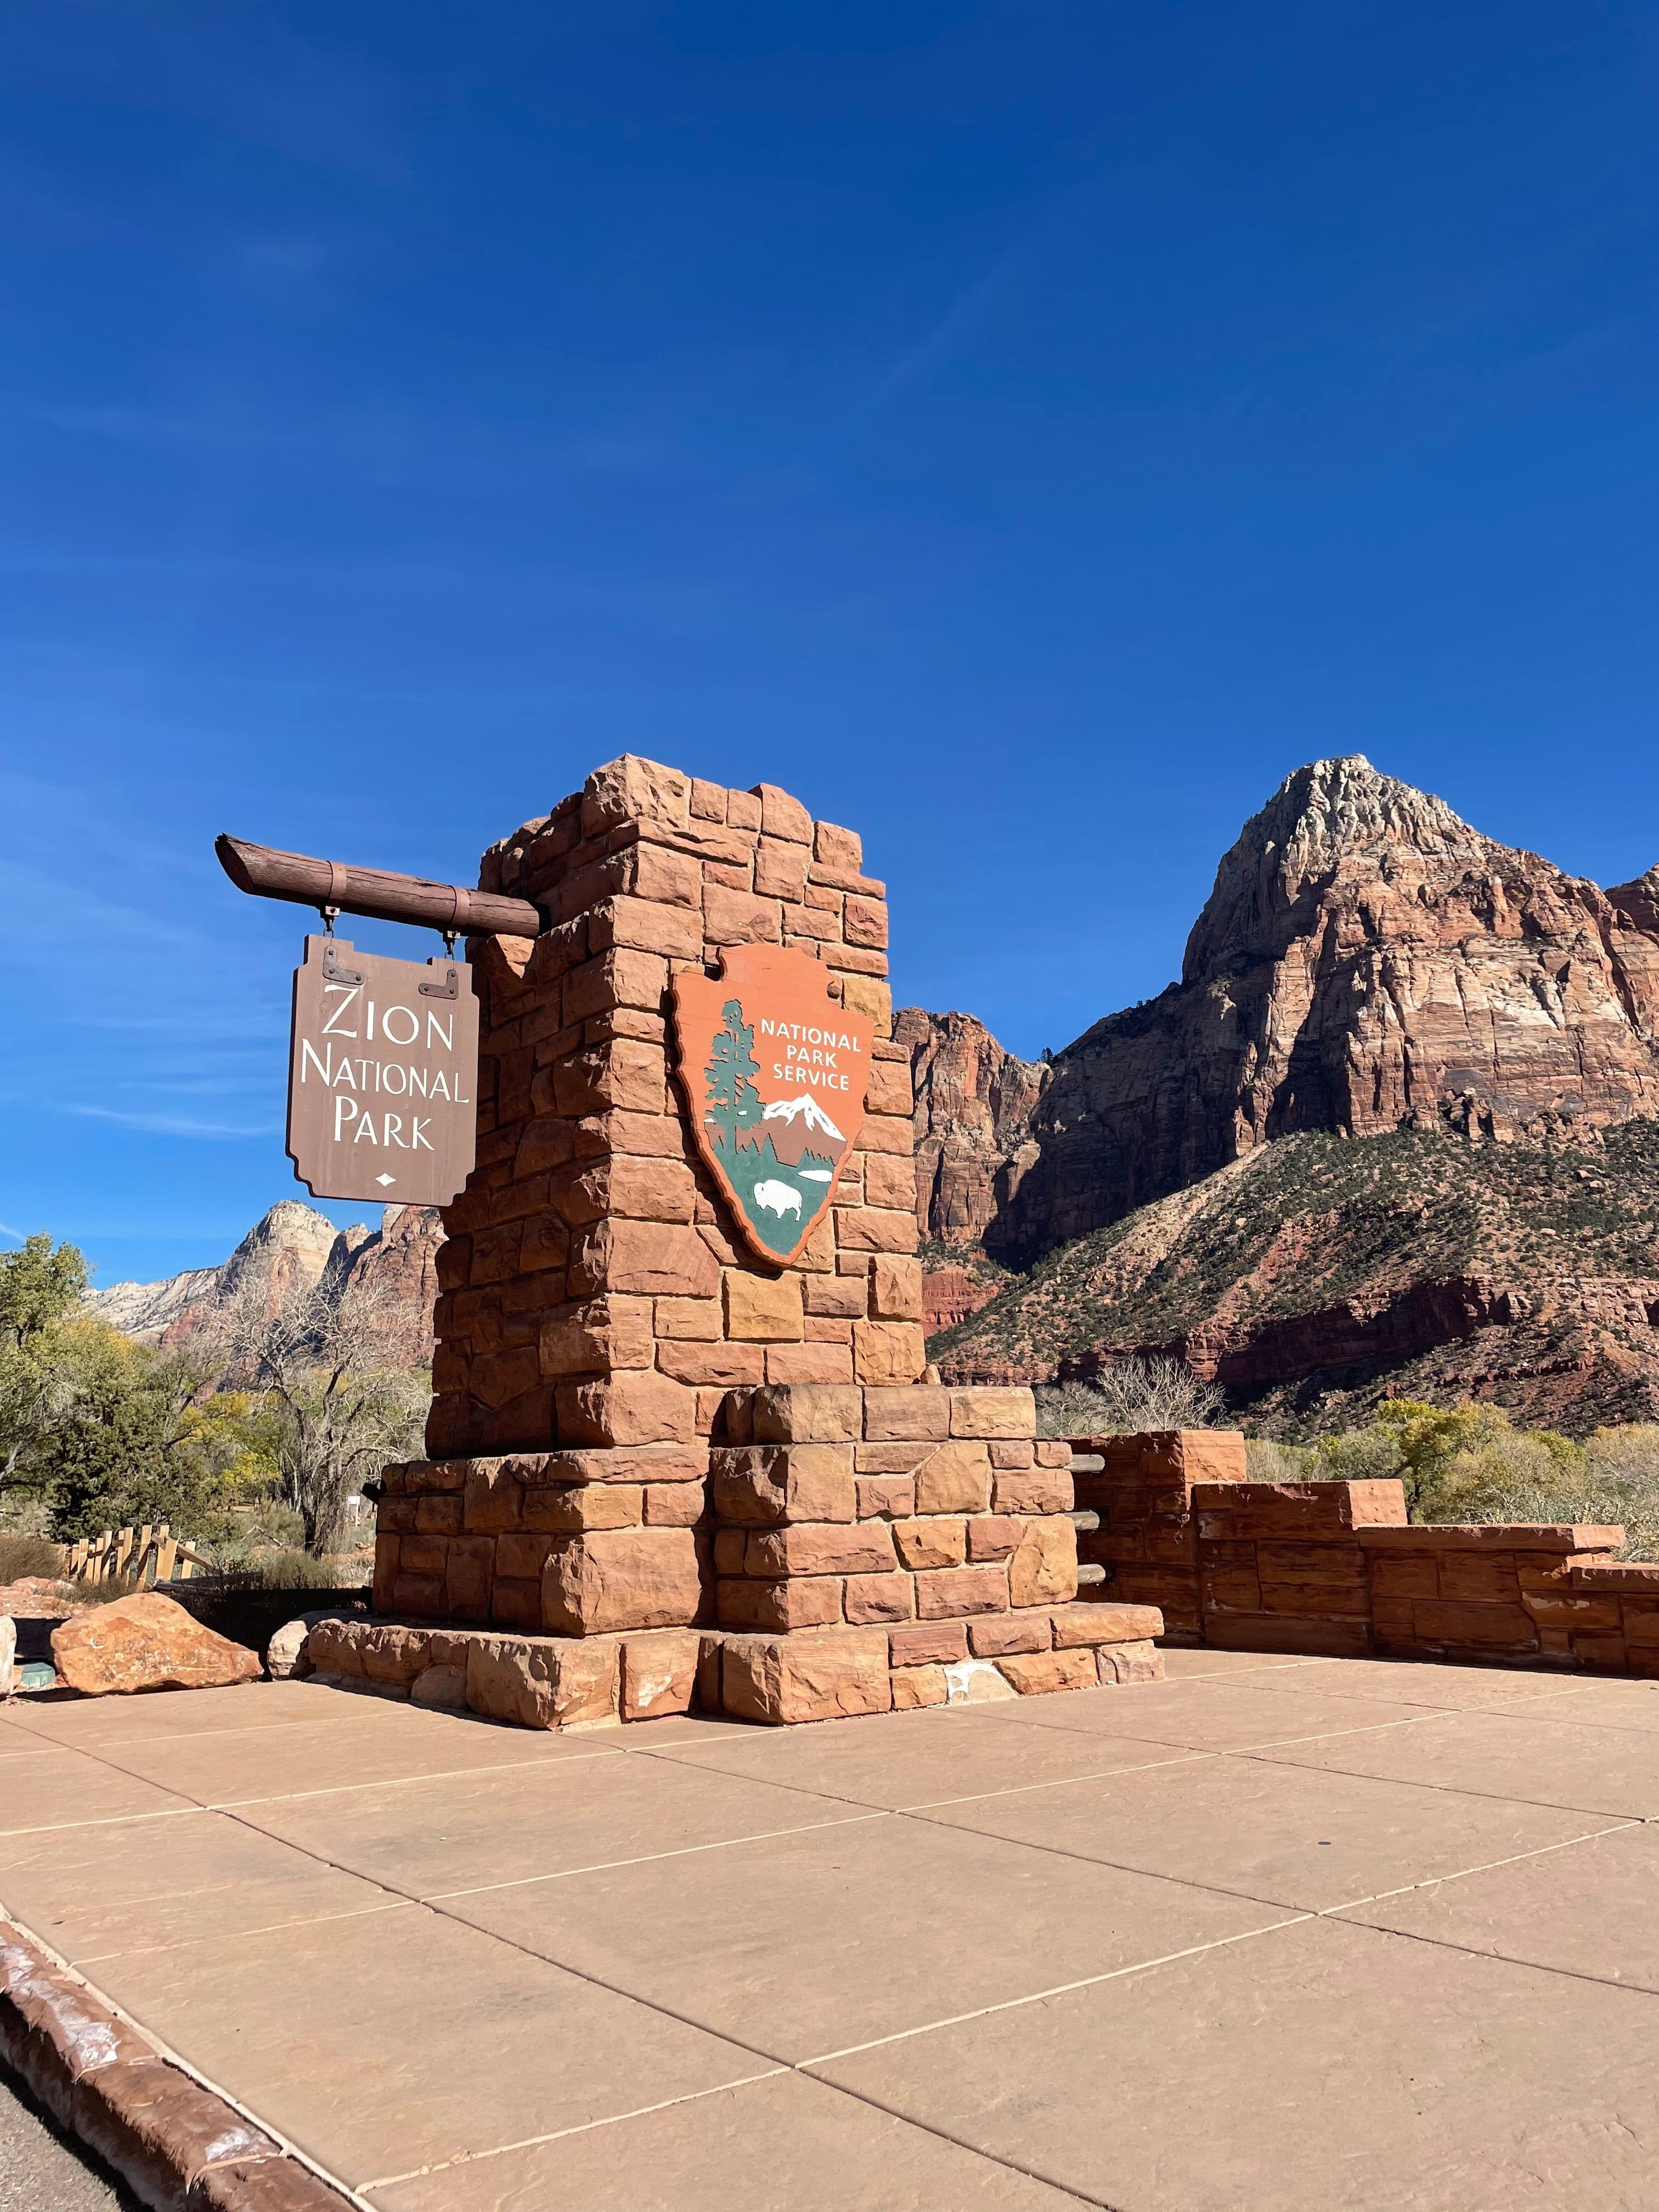
To enter Zion, you must pay the $35 fee (this gets you 7 days in Zion).
You can also park your car outside the entrance and walk in via the Park River Entrance, click here for more details! This is likely more helpful if you are staying in Springdale.
Give yourself time at the entrance. It was under construction when we went so that line was quite long!
It is also important to note that you must park at the Visitor center (unless you are staying at the Lodge) and take shuttles to different areas of the park. Make sure to factor this into your timing as it will add extra time to your day. Click here for more details on the shuttle.
- 5
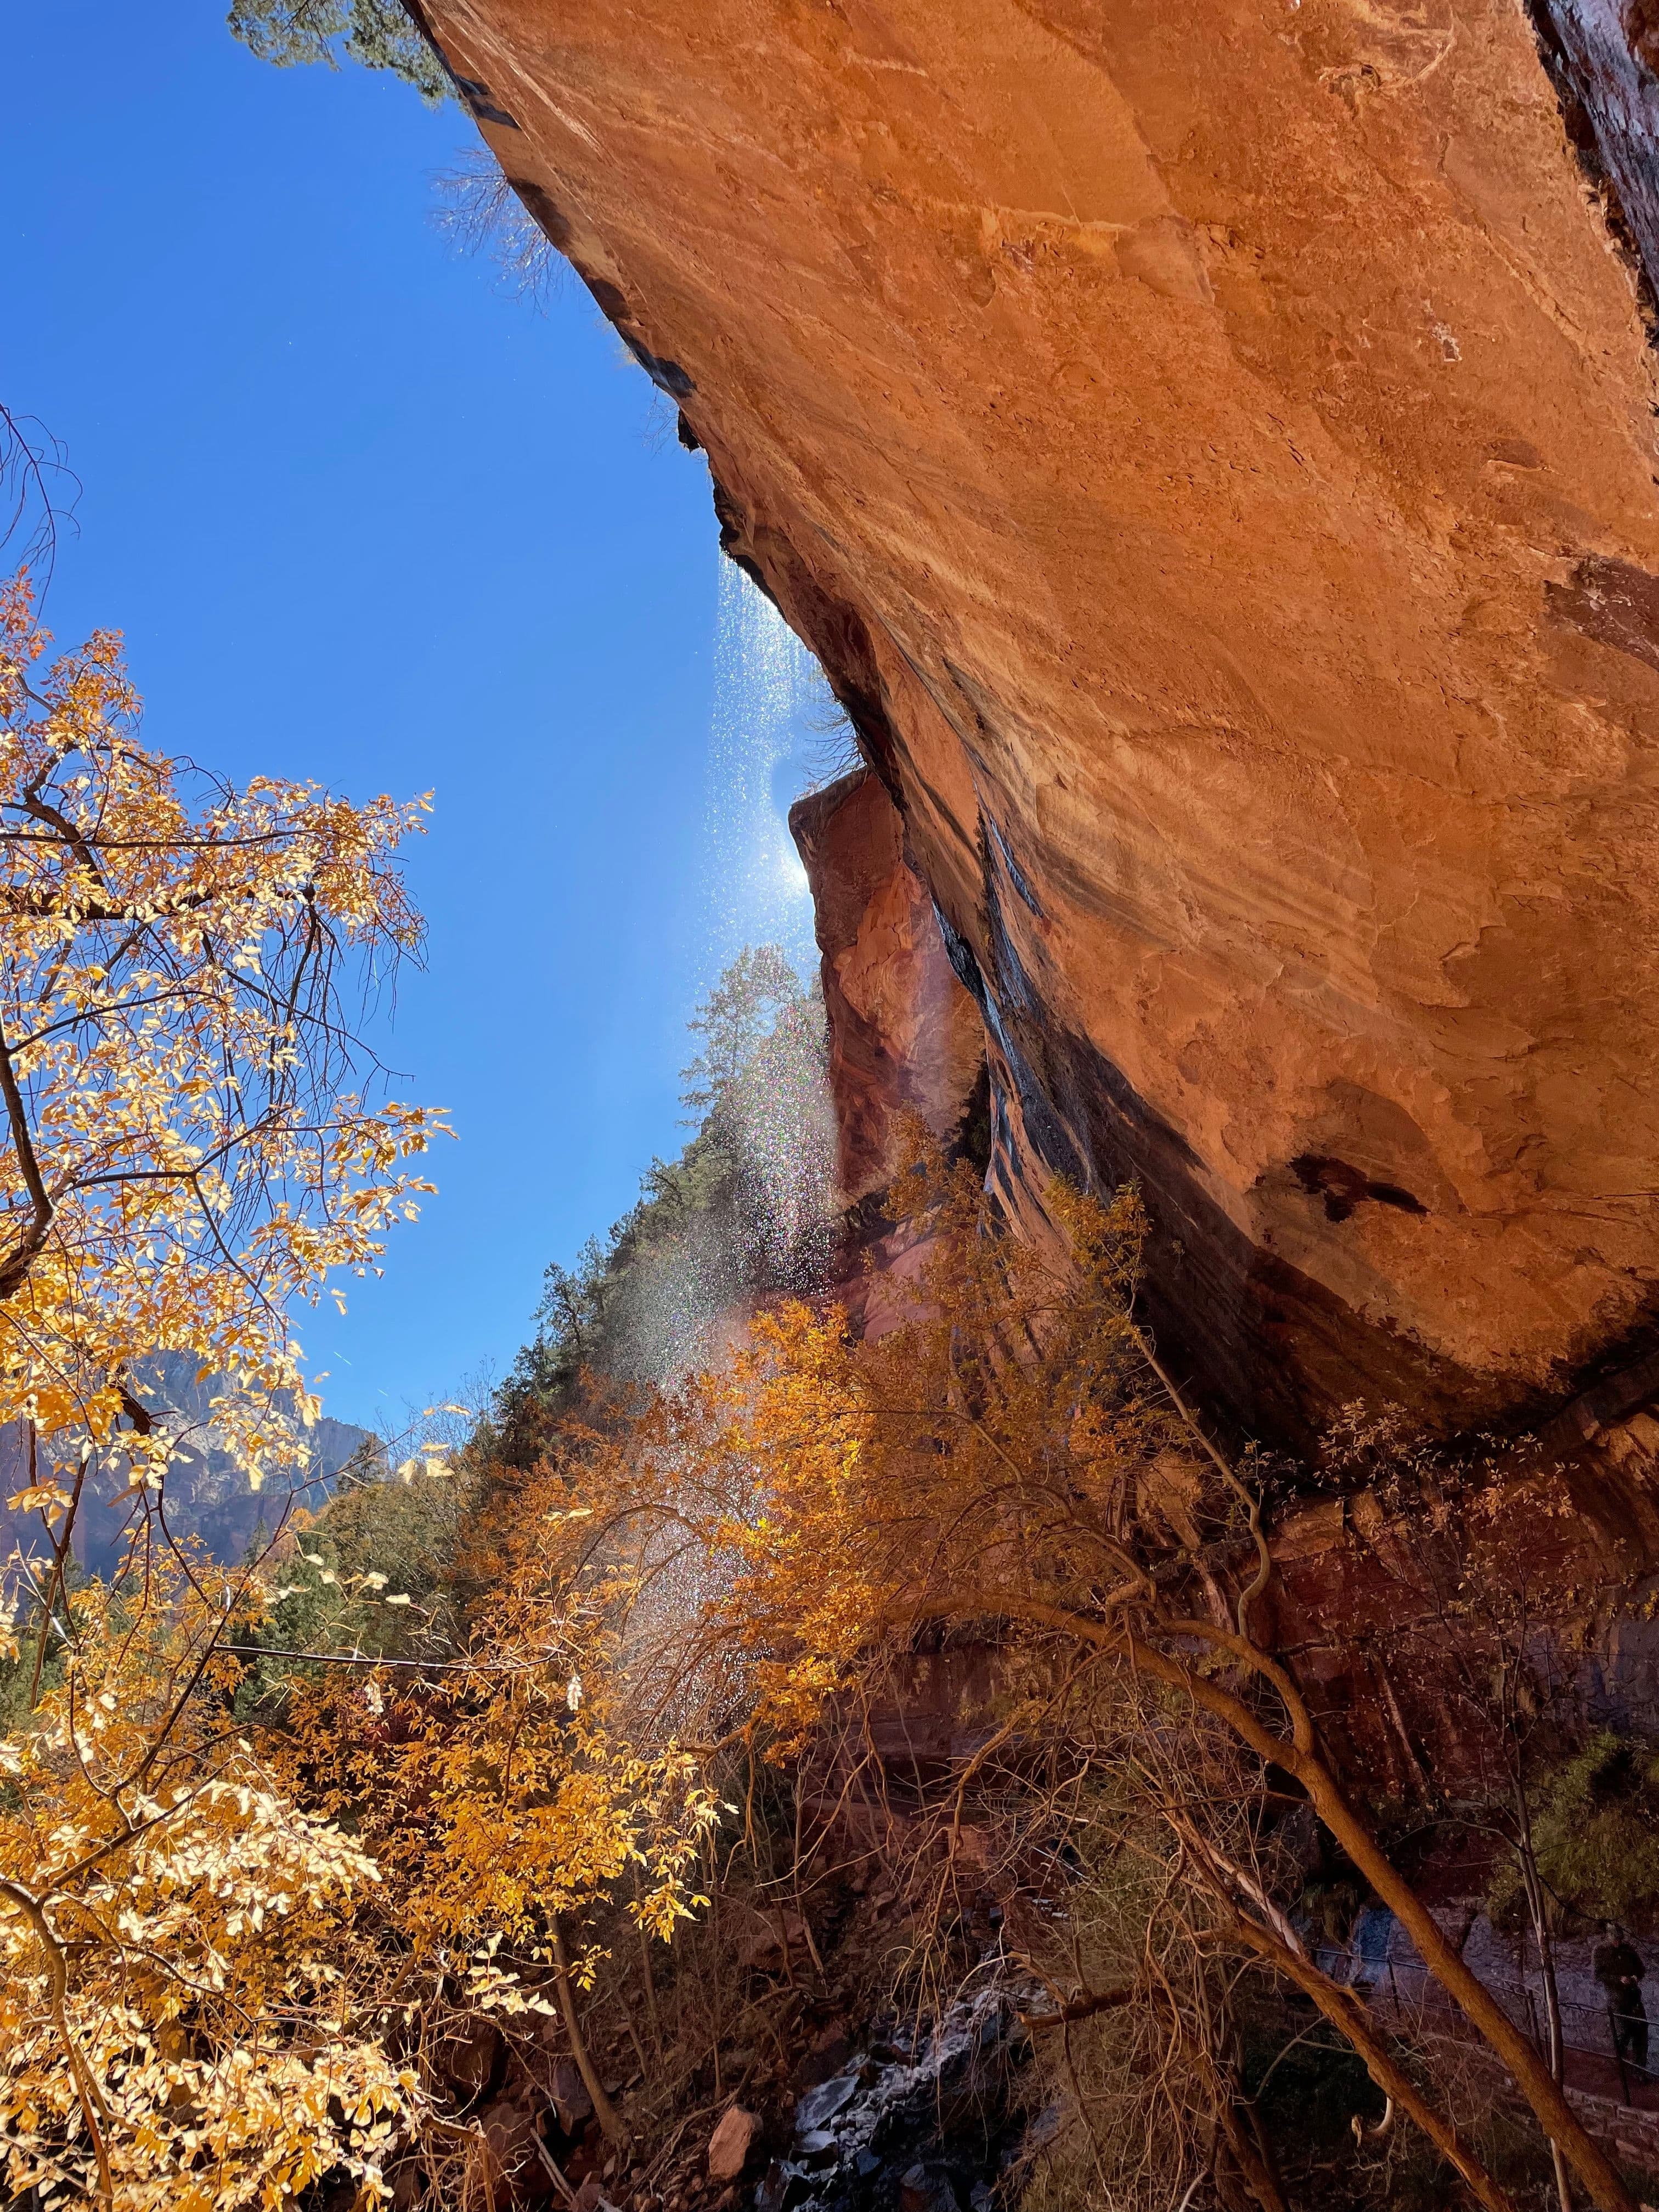
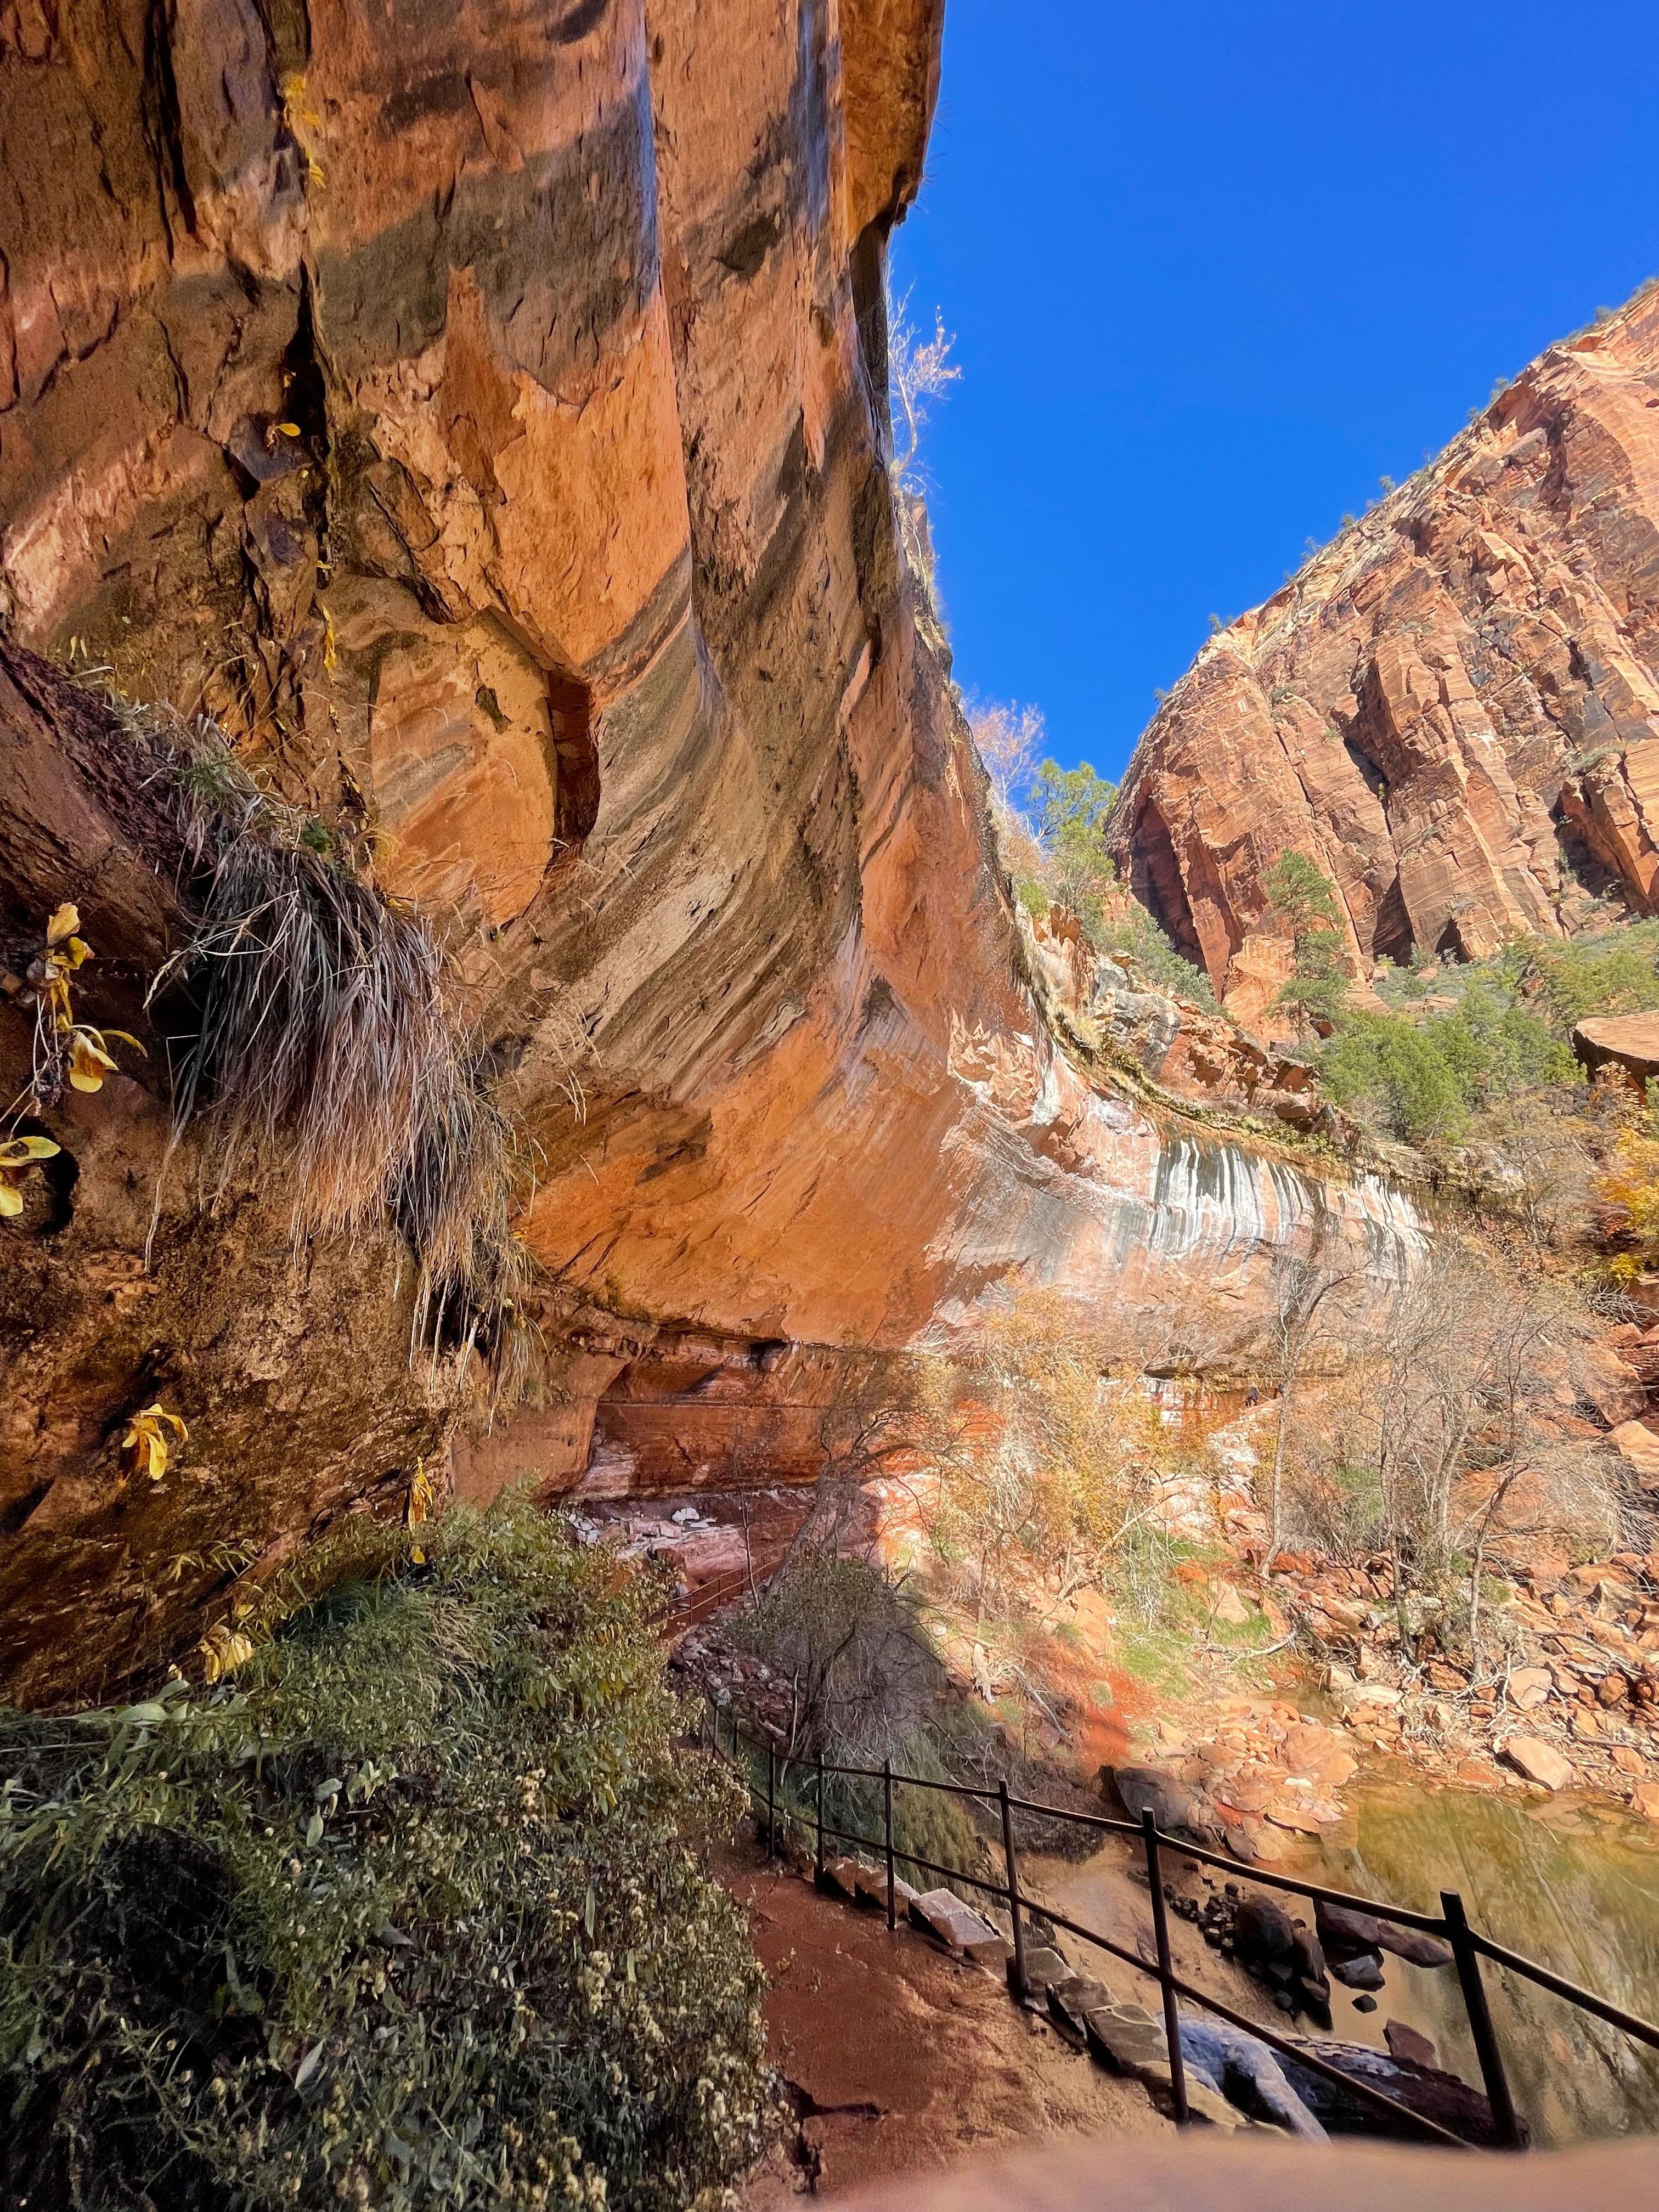
Hike the Emerald Pool Trails
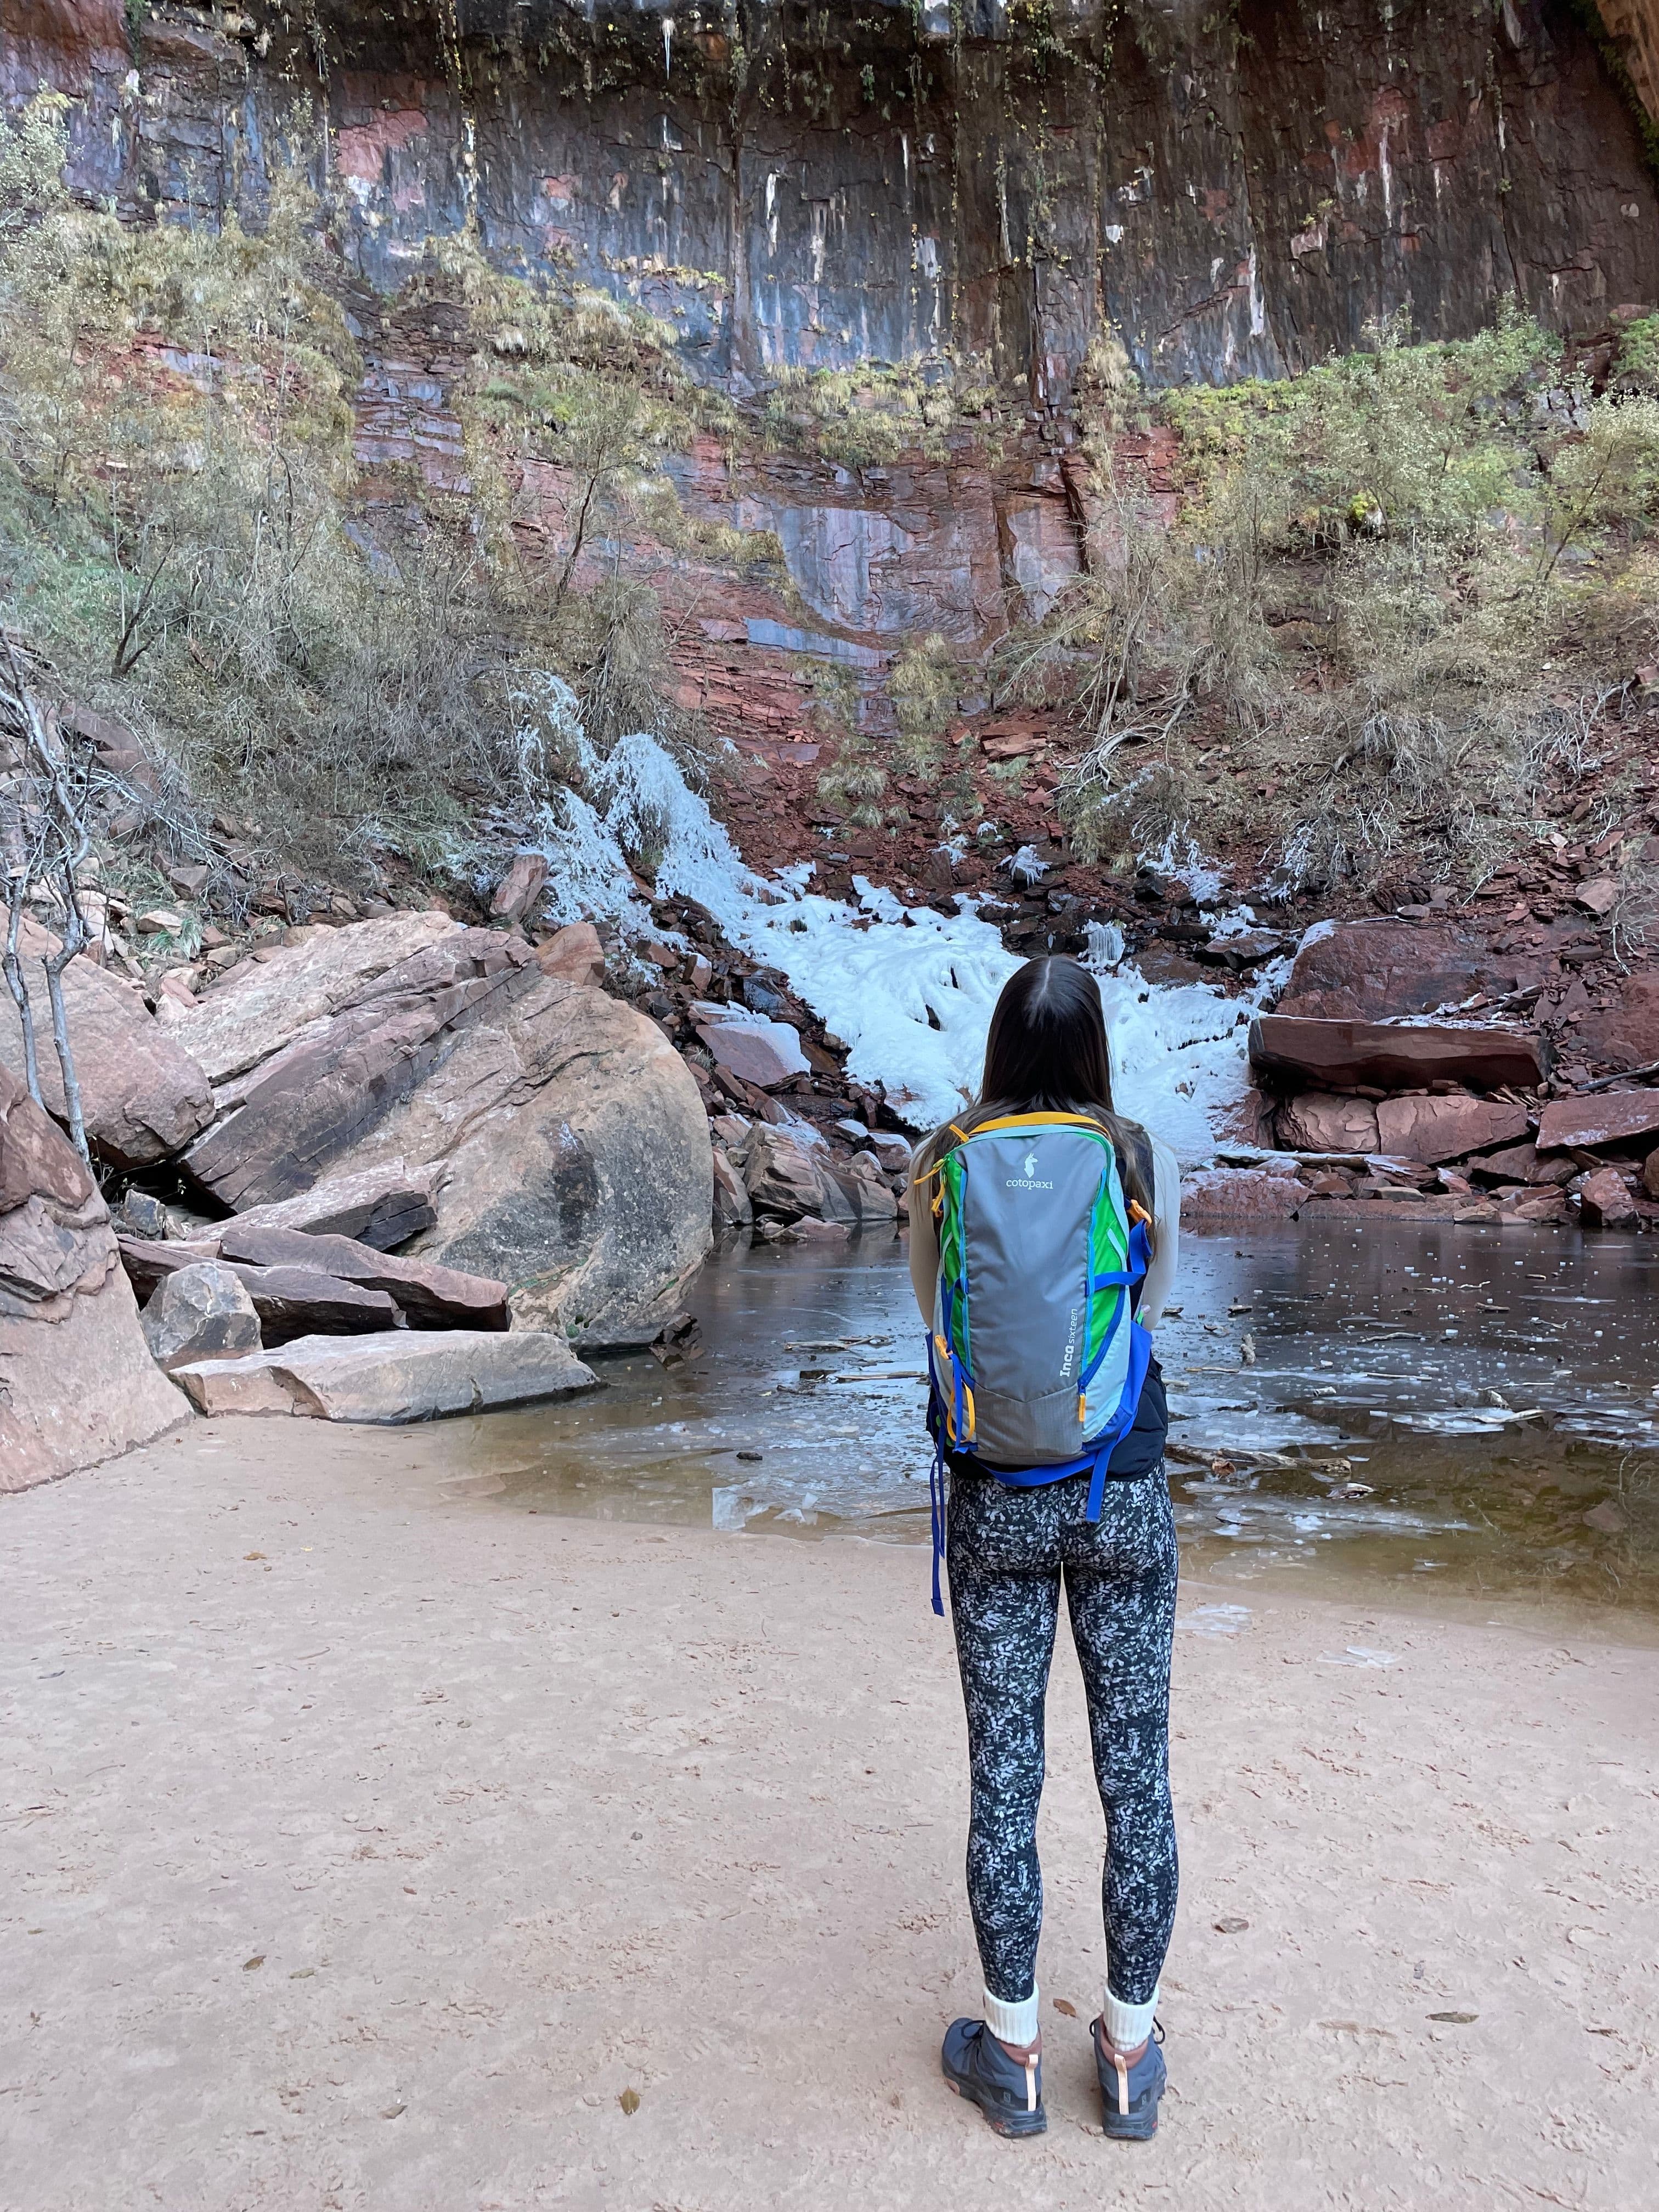

2hr·3:00PM - 5:00PM
Our first activity in Zion was to hike the Emerald Pools. The hike starts at the Park Lodge which is ideal if you decide to stay there. The hike took about an hour and a half. We visited all three of the pools (lower, middle, and upper). This is a family-friendly hike, and you can opt to just go to the lower pool if you want.
There are so many other neat hikes to do in Zion, make sure to do your research to know which ones would be best for you!
- 6
Check-In at Zion National Park Lodge
- 7
Dinner at the Red Rock Grill
We enjoyed dinner at the Red Rock Grill. I enjoyed the Red Rock Salad and Quesadilla.
- 8
Stay at Zion National Park Lodge
Day 2: Zion
- 1
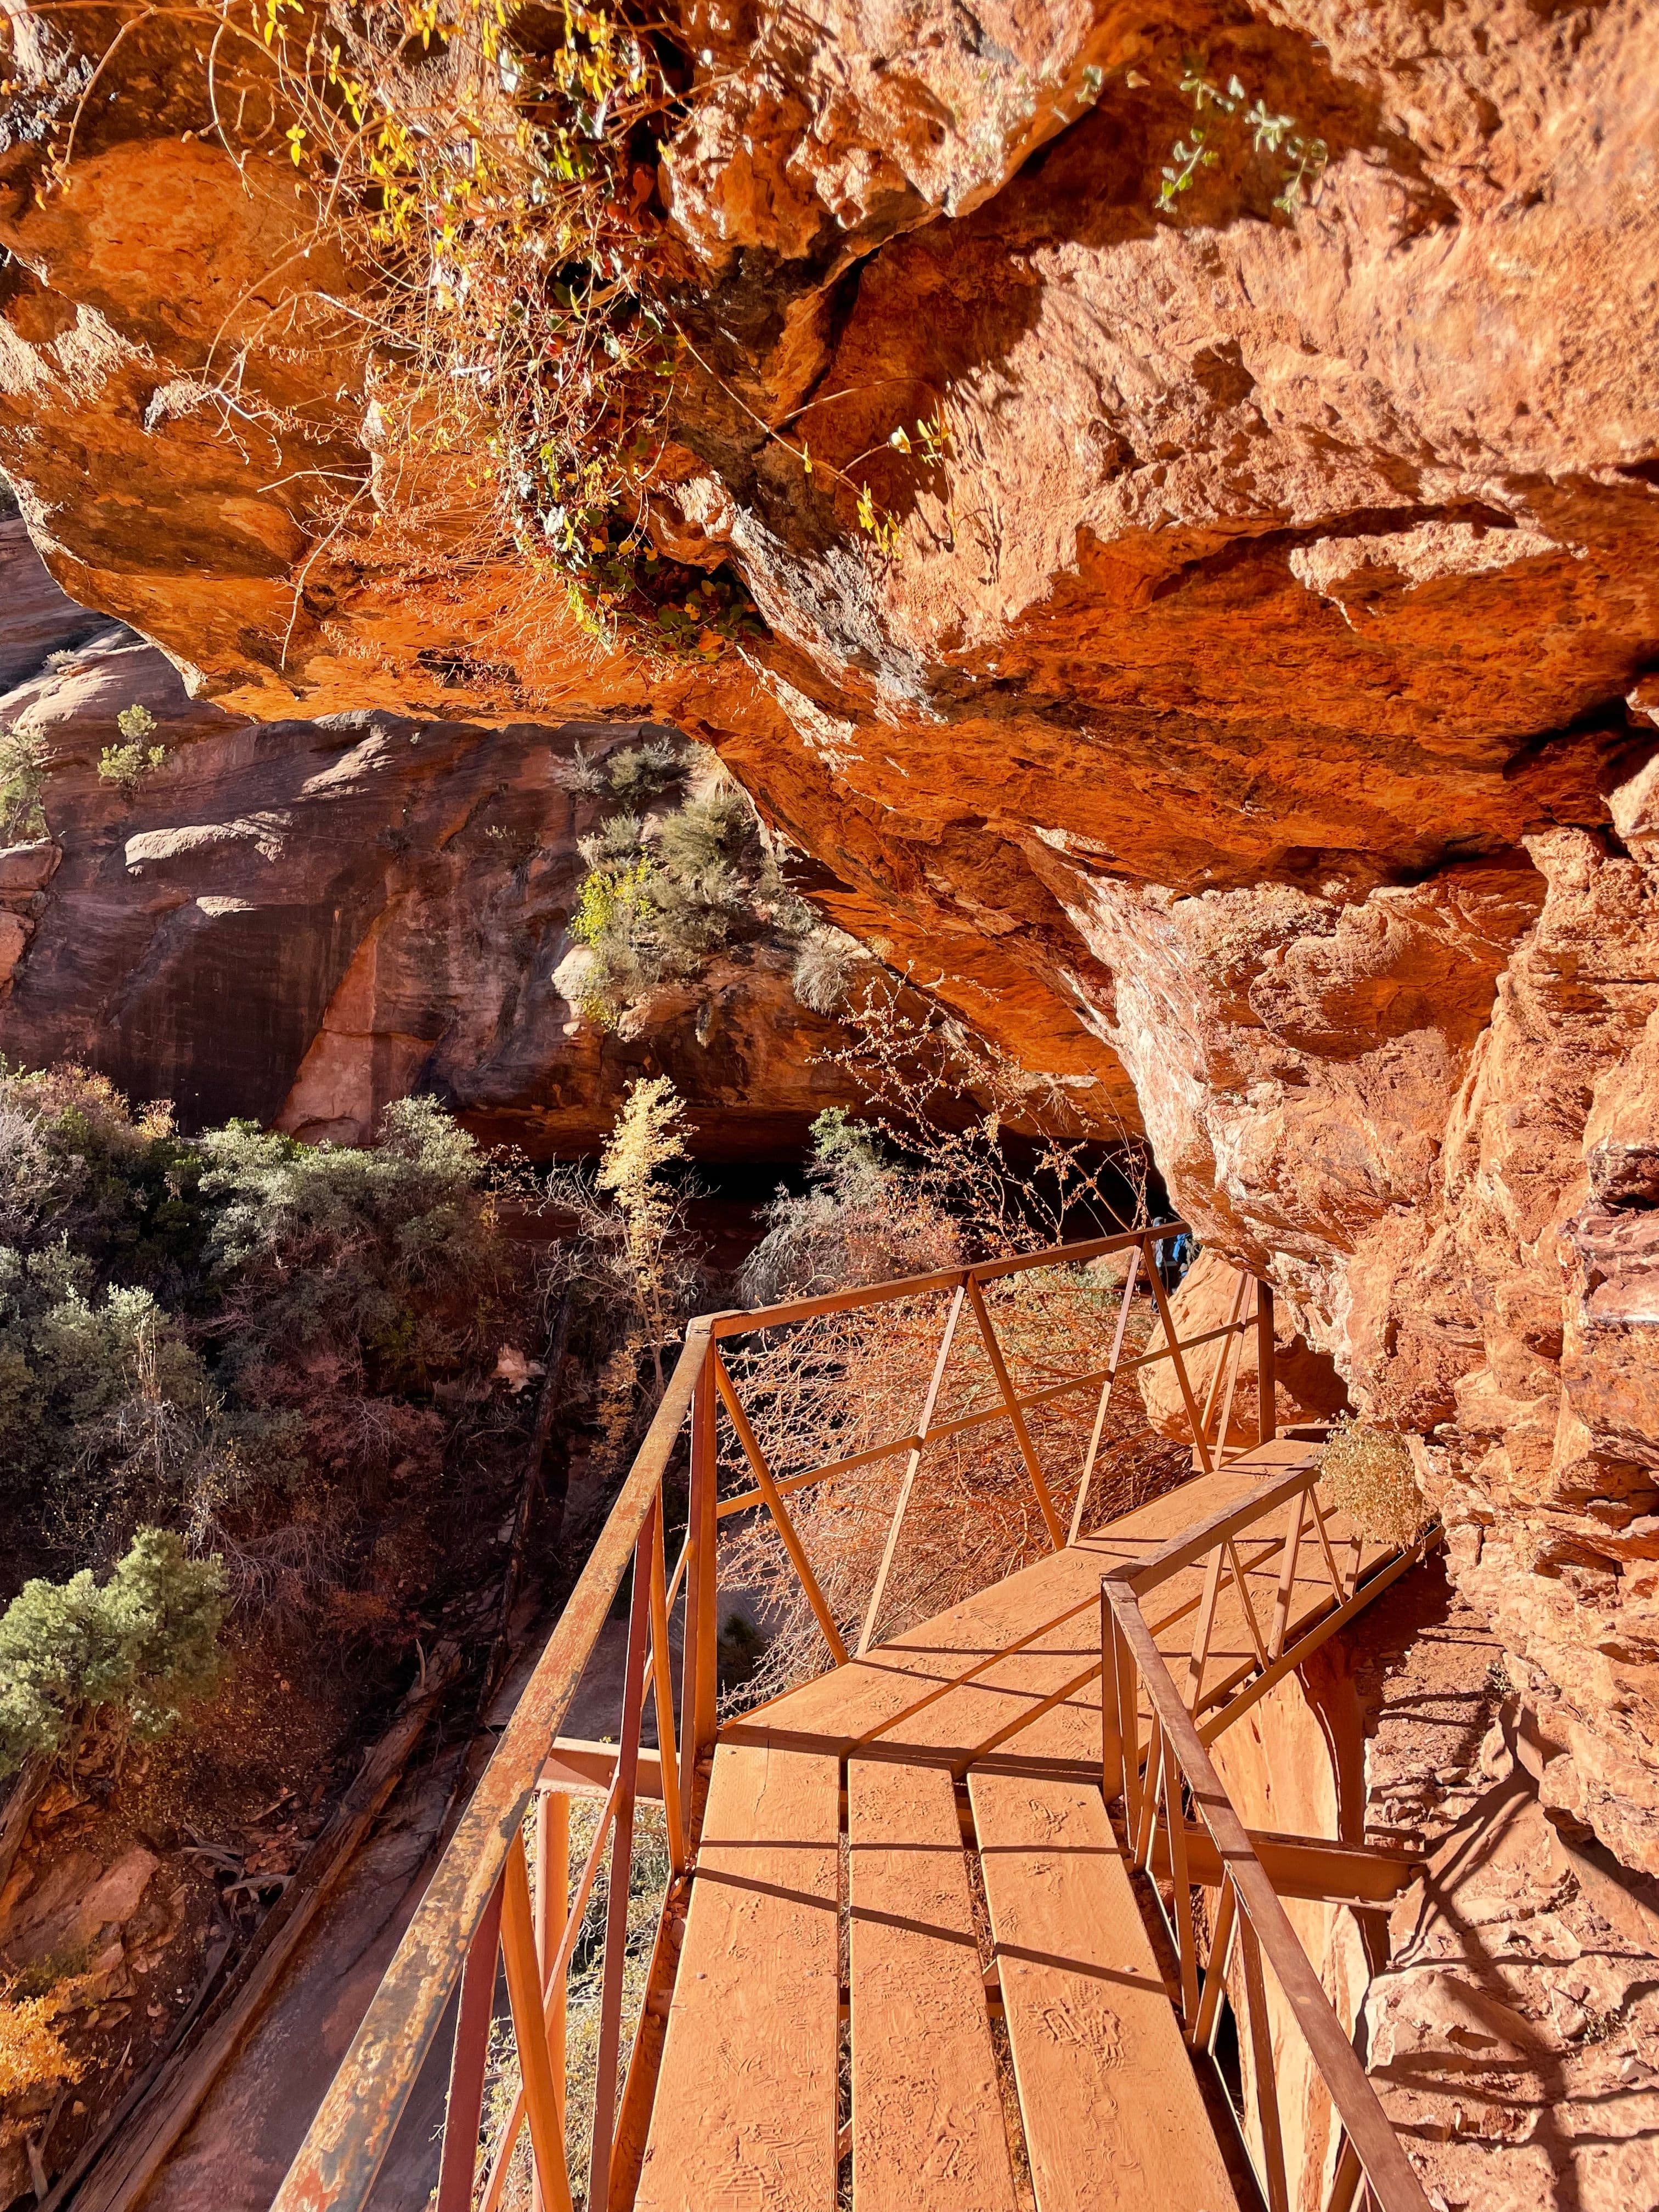
Sunrise at Canyon Overlook Trail
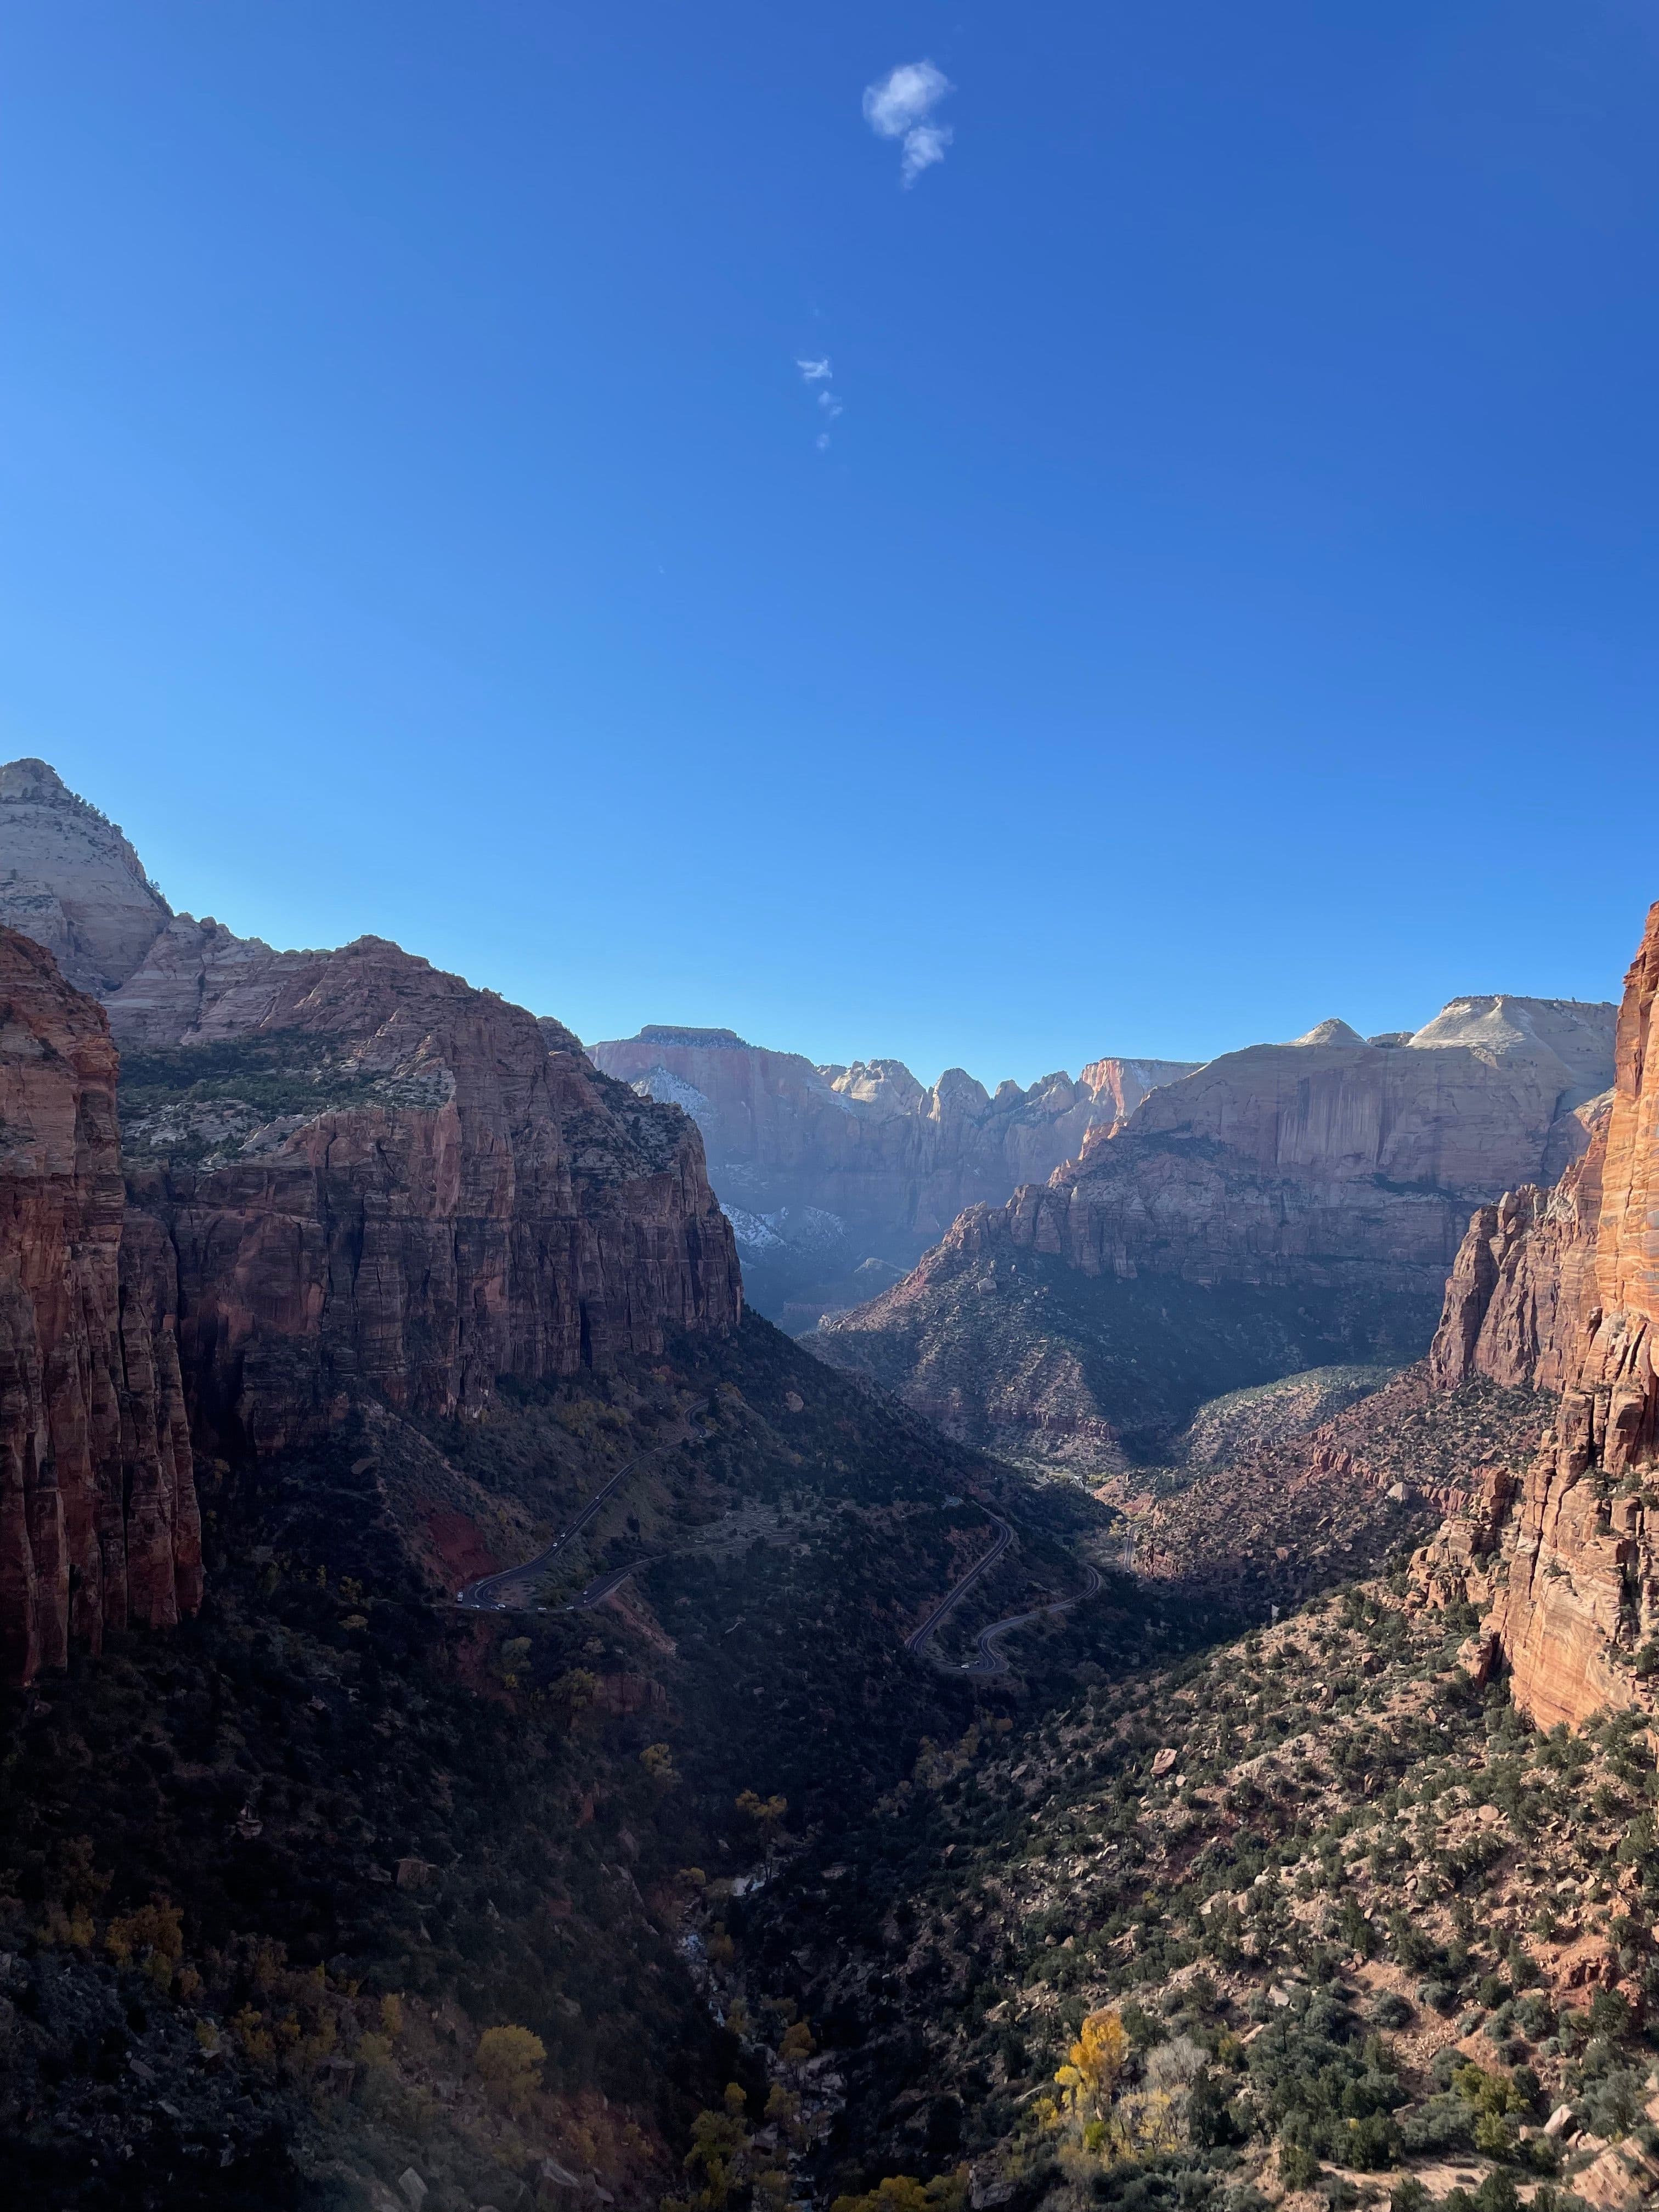
2hr·6:00AM - 8:00AM
We decided to wake up early and start our day with a small hike along the Canyon Overlook Trail.
This hike took around 20 minutes to the Overlook and is suitable for families.
If you are already in Zion, you must drive through the Zion-Mount Carmel Tunnel to access the trailhead. Once through the tunnel, park in the first parking lot on your right. The tunnel is a really neat experience, but be prepared to wait at the entrance if a larger vehicle is coming the other direction.
- 2
Breakfast at FeelLove Cafe
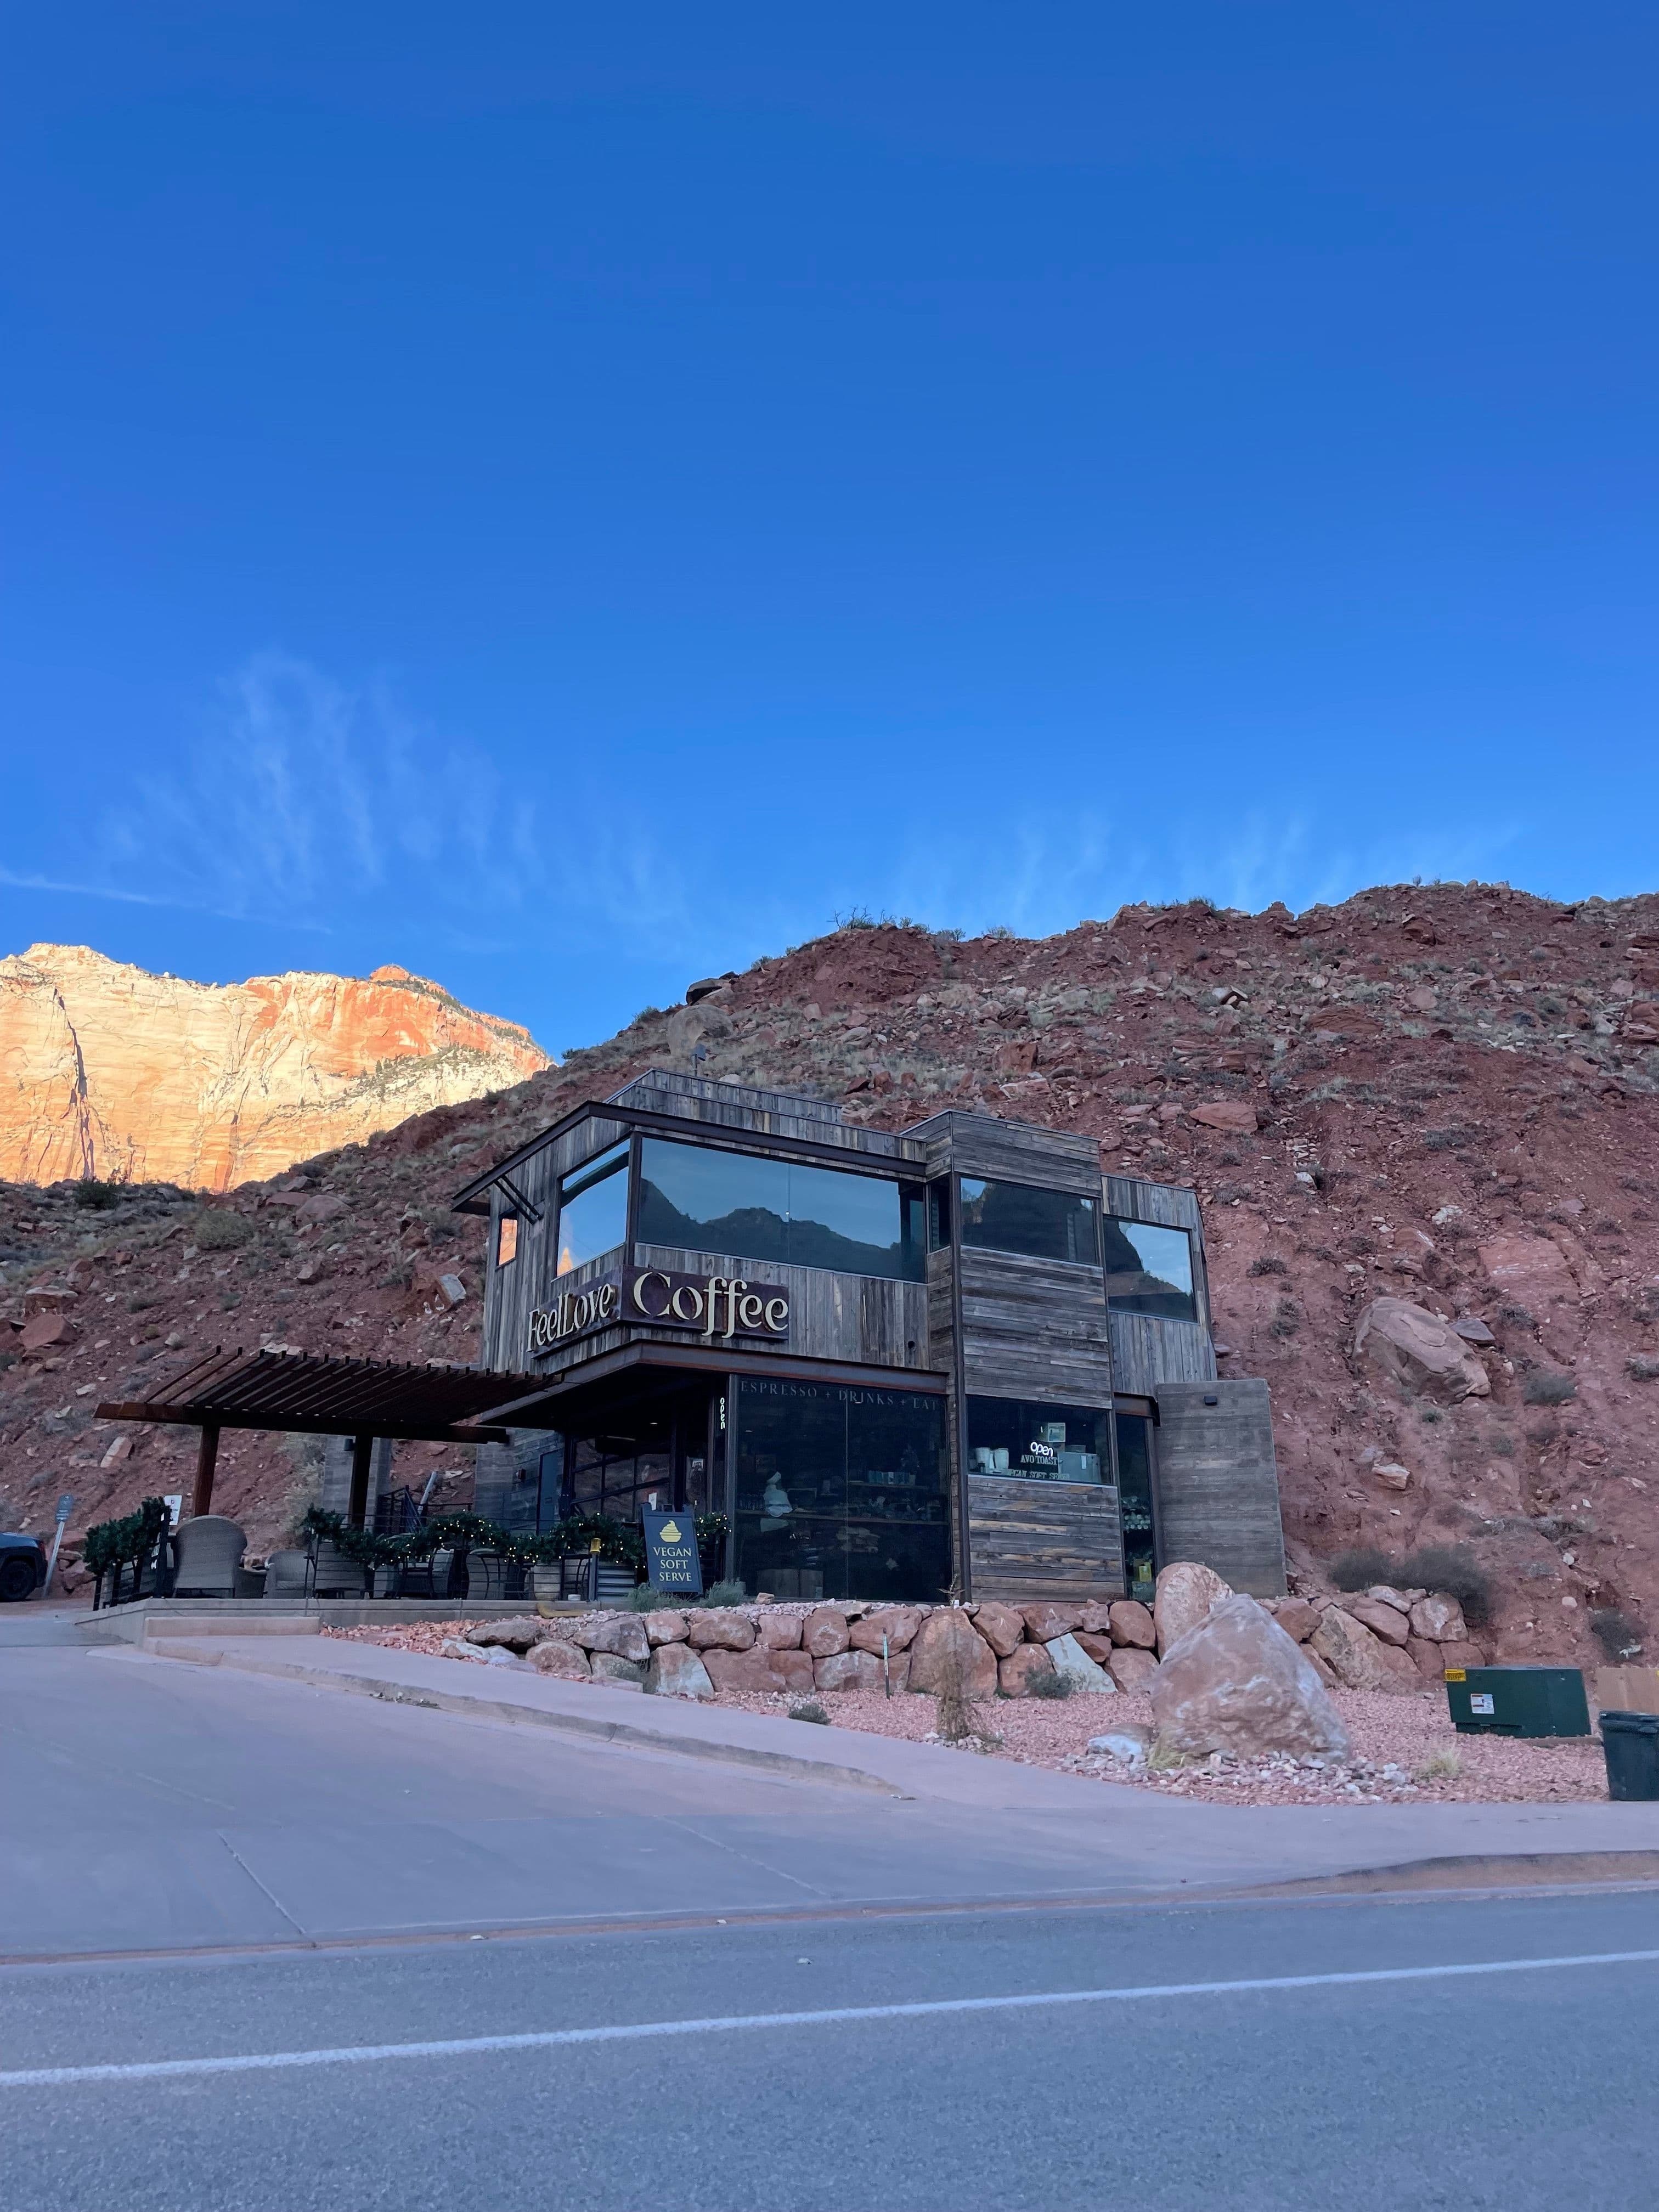
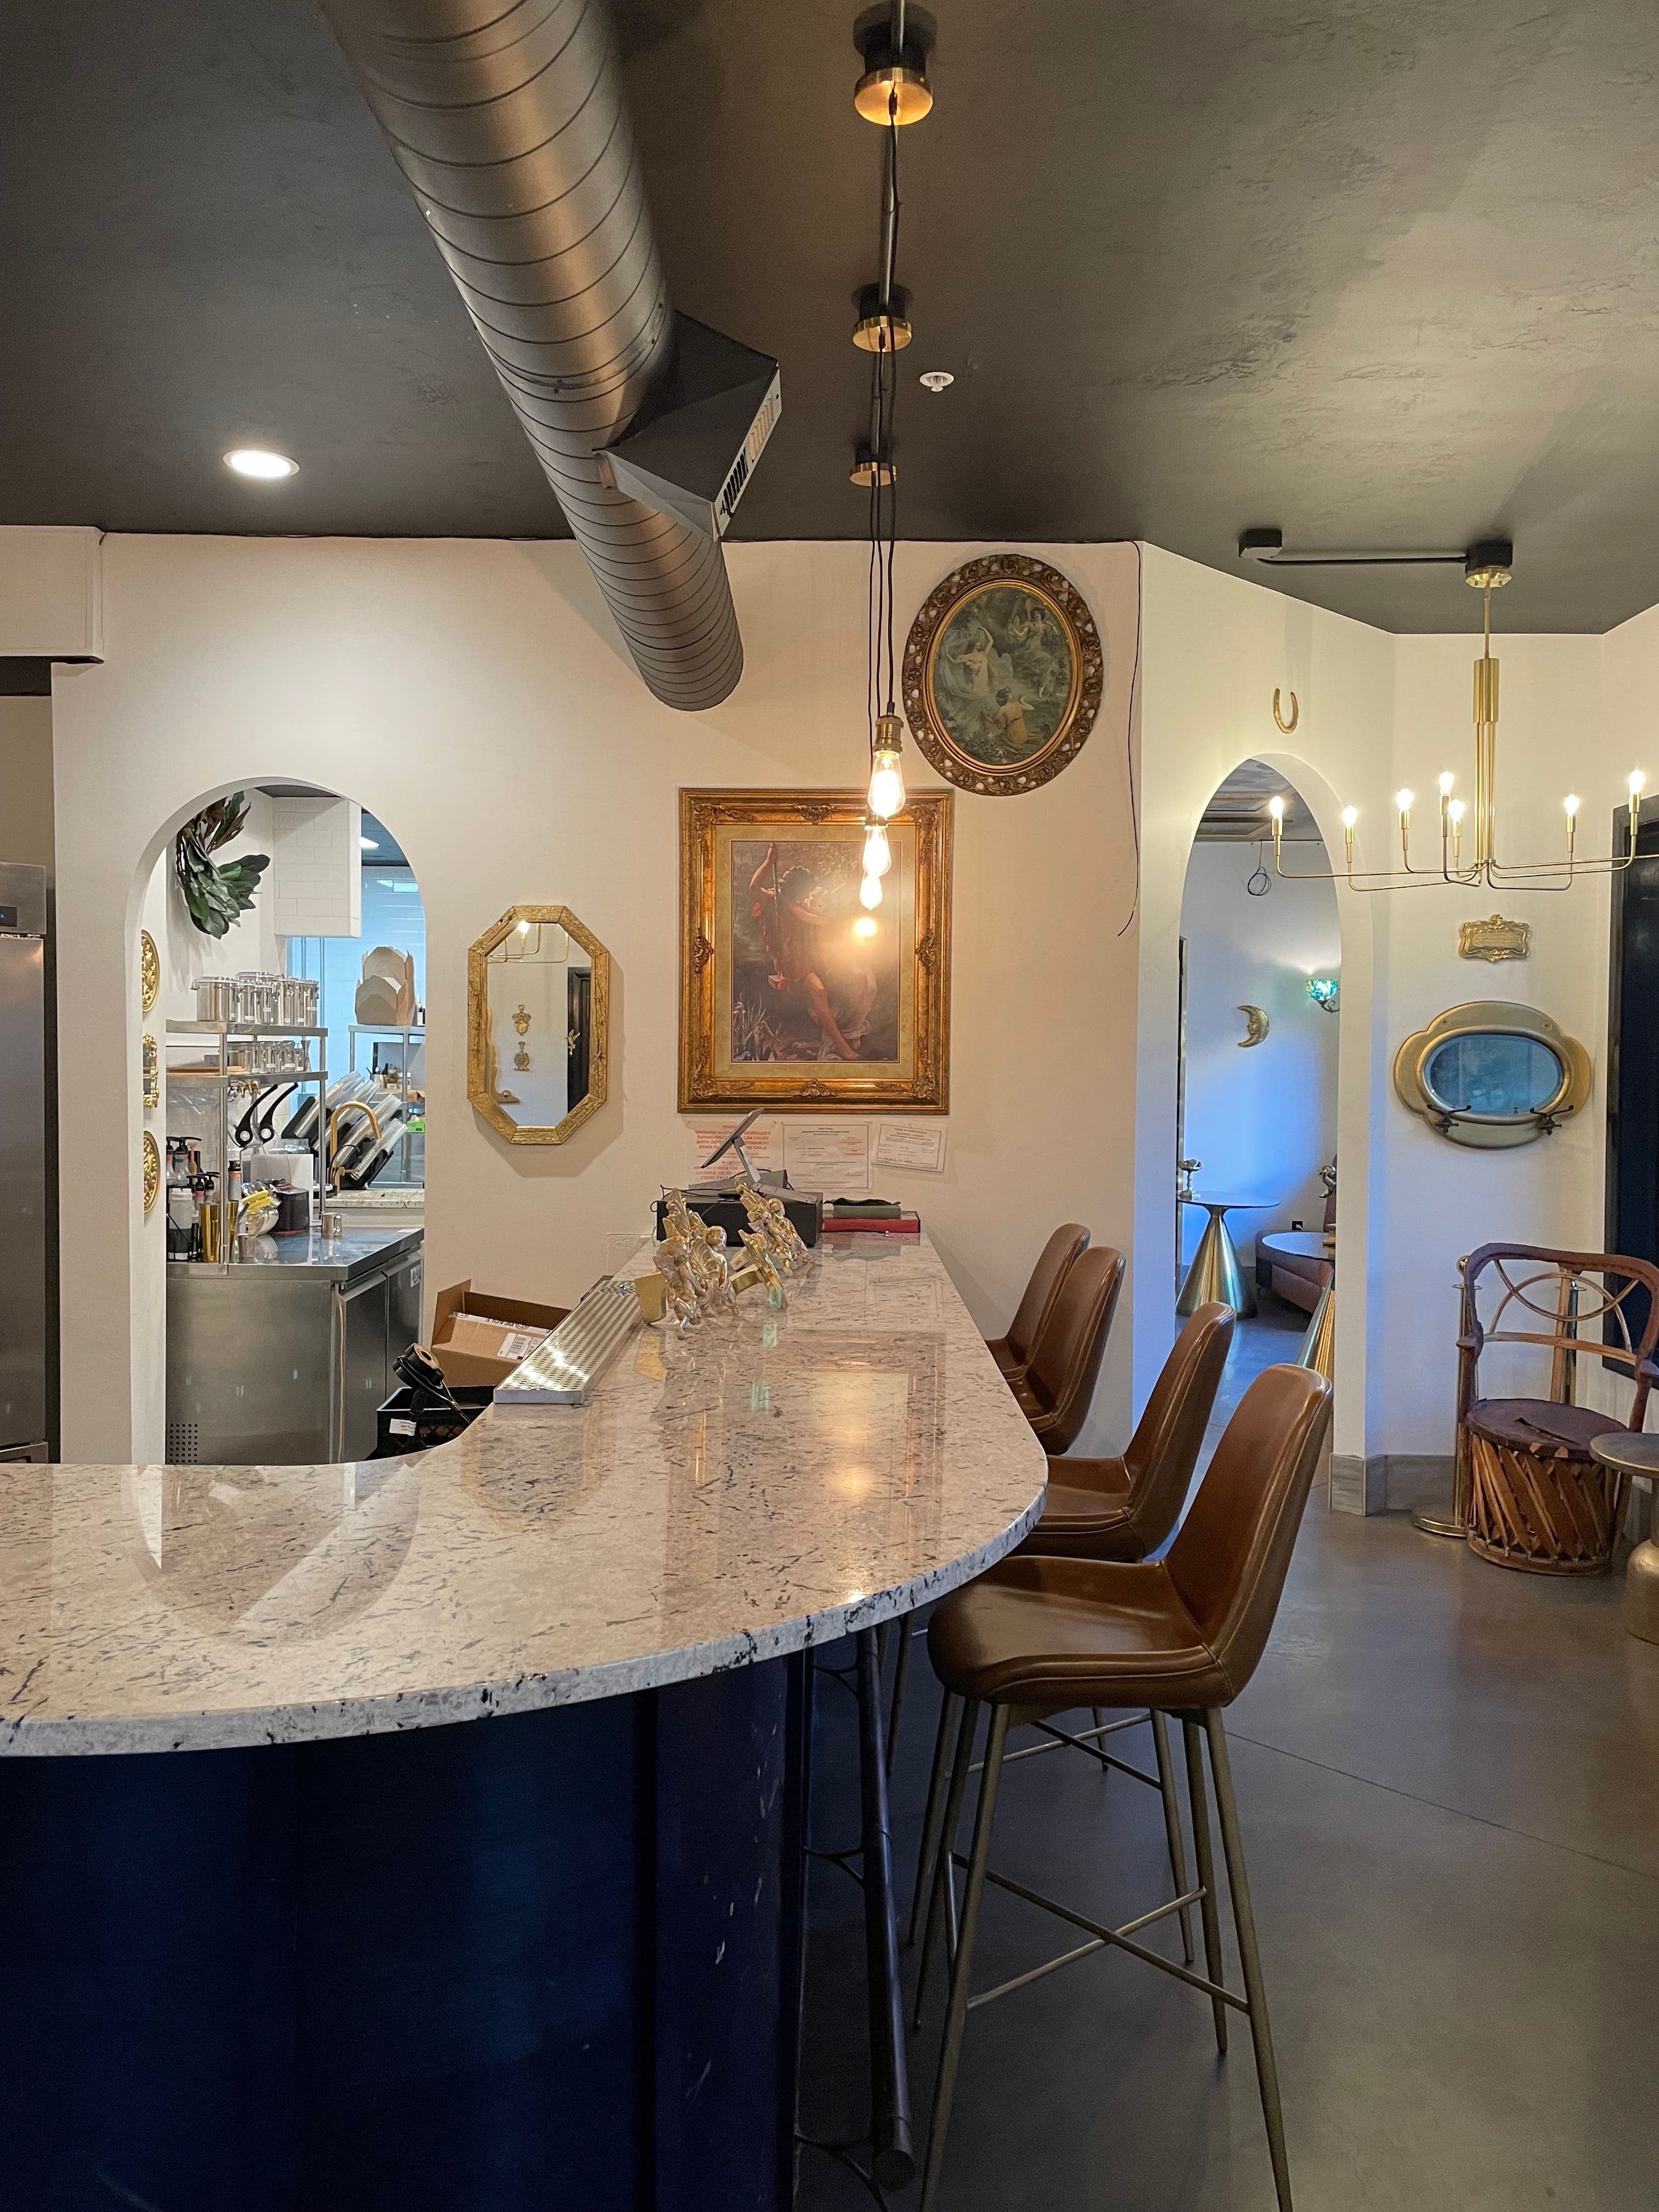
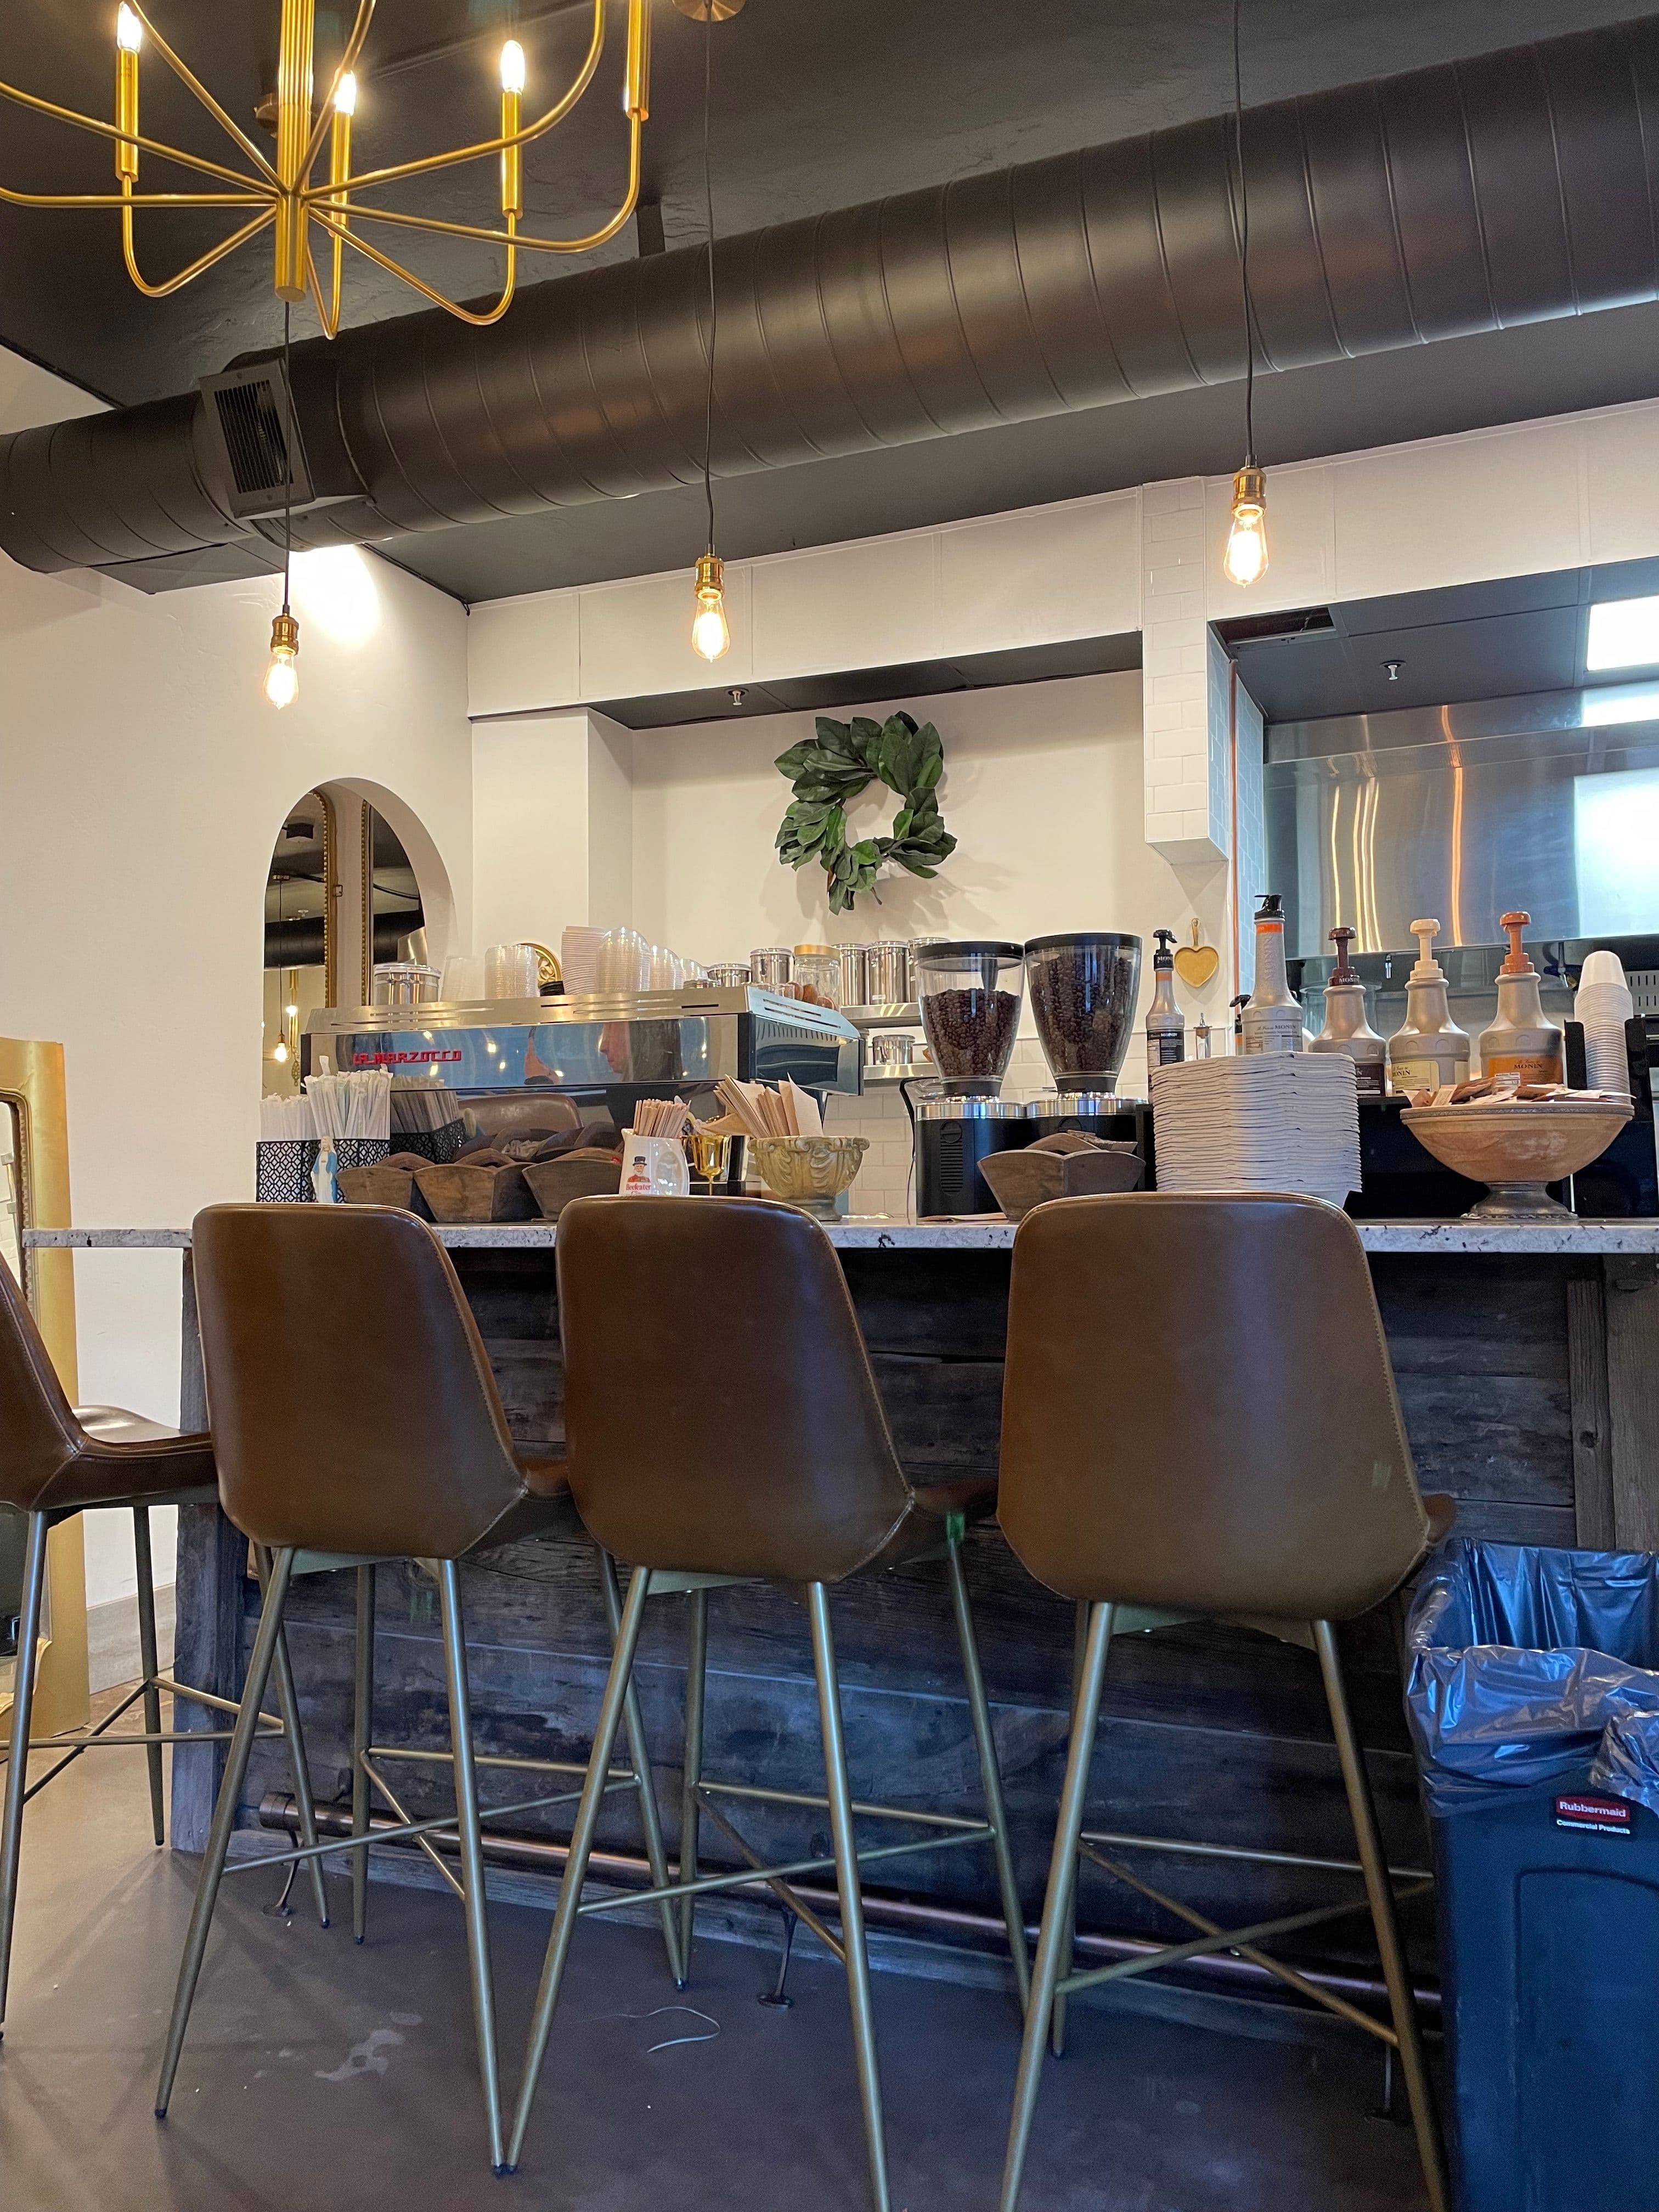
Only a few minute drive away from the lodge and with two locations in Springdale, this is a great stop for a quick breakfast and a delicious cup of coffee.
- 3
Park at Zion National Park Visitor Centre
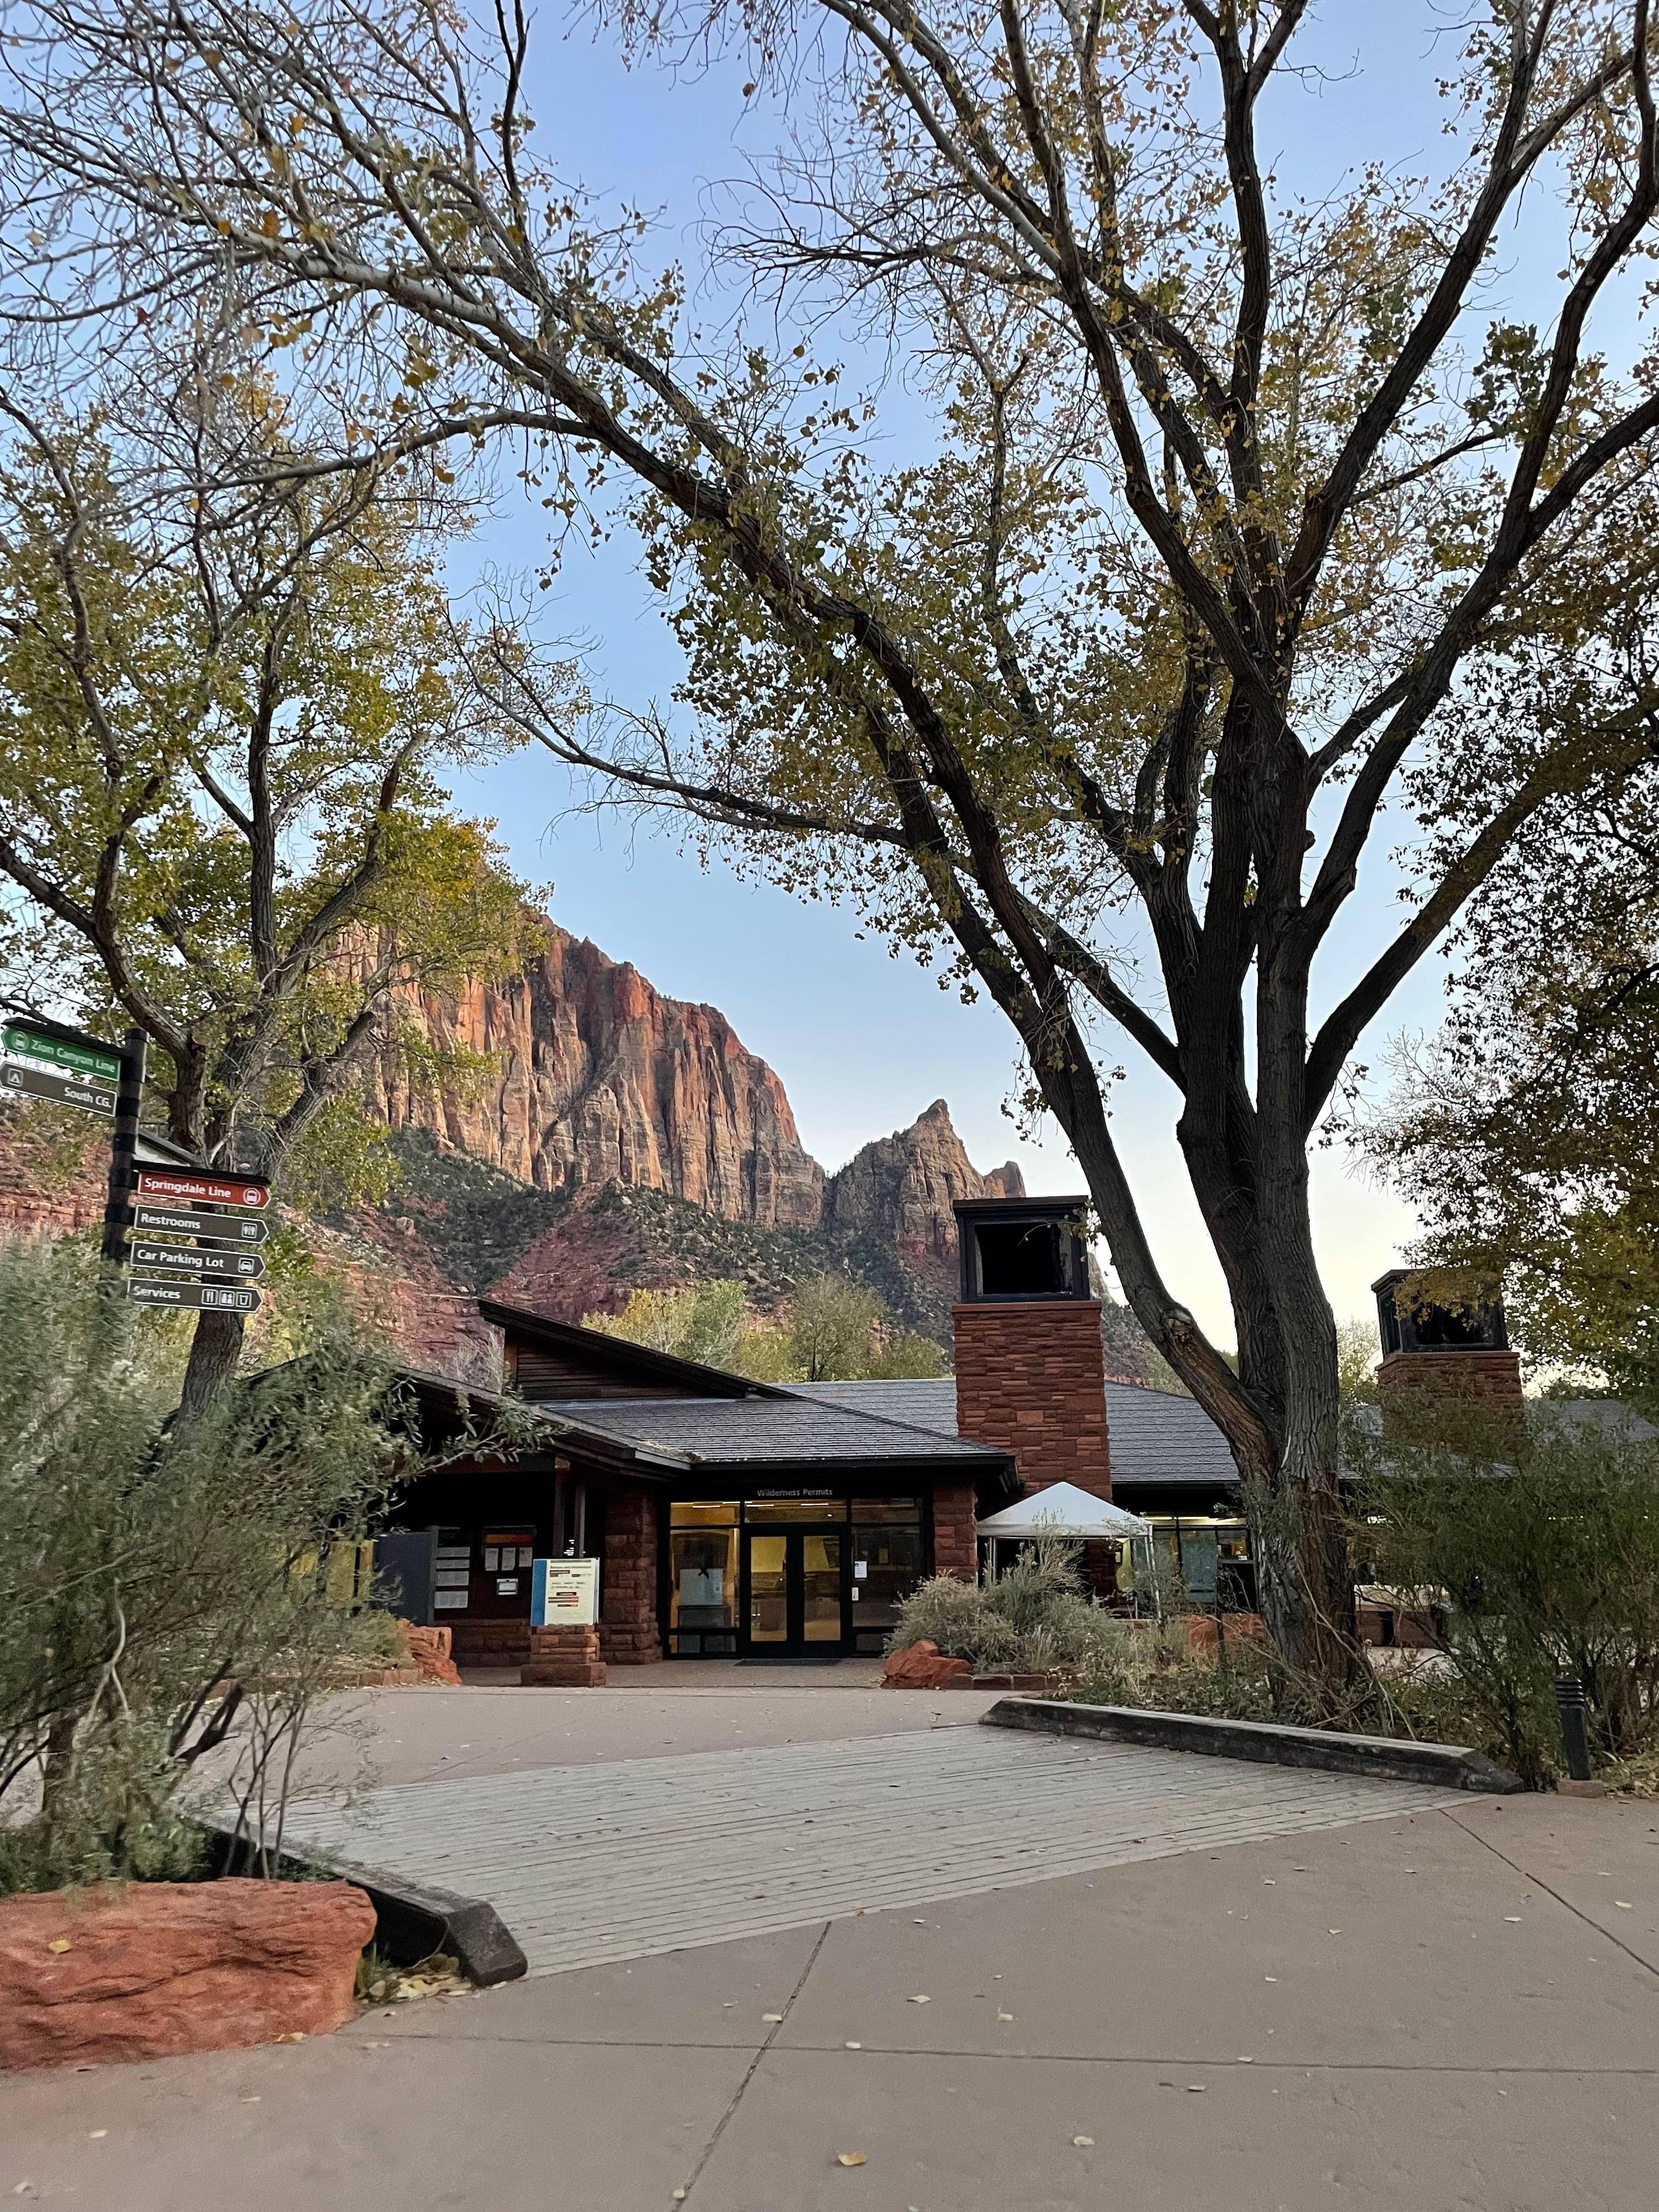
The visitor centre is the main place to park when visiting Zion National Park. With plenty of parking, washrooms, and the visitor information centre, it is a great place to start your day at Zion. Both shuttle lines leave from the Visitor Centre as well.
If you are not staying at Zion National Park Lodge this is likely where you will want to park. Parking is free with the $35 park entrance fee.
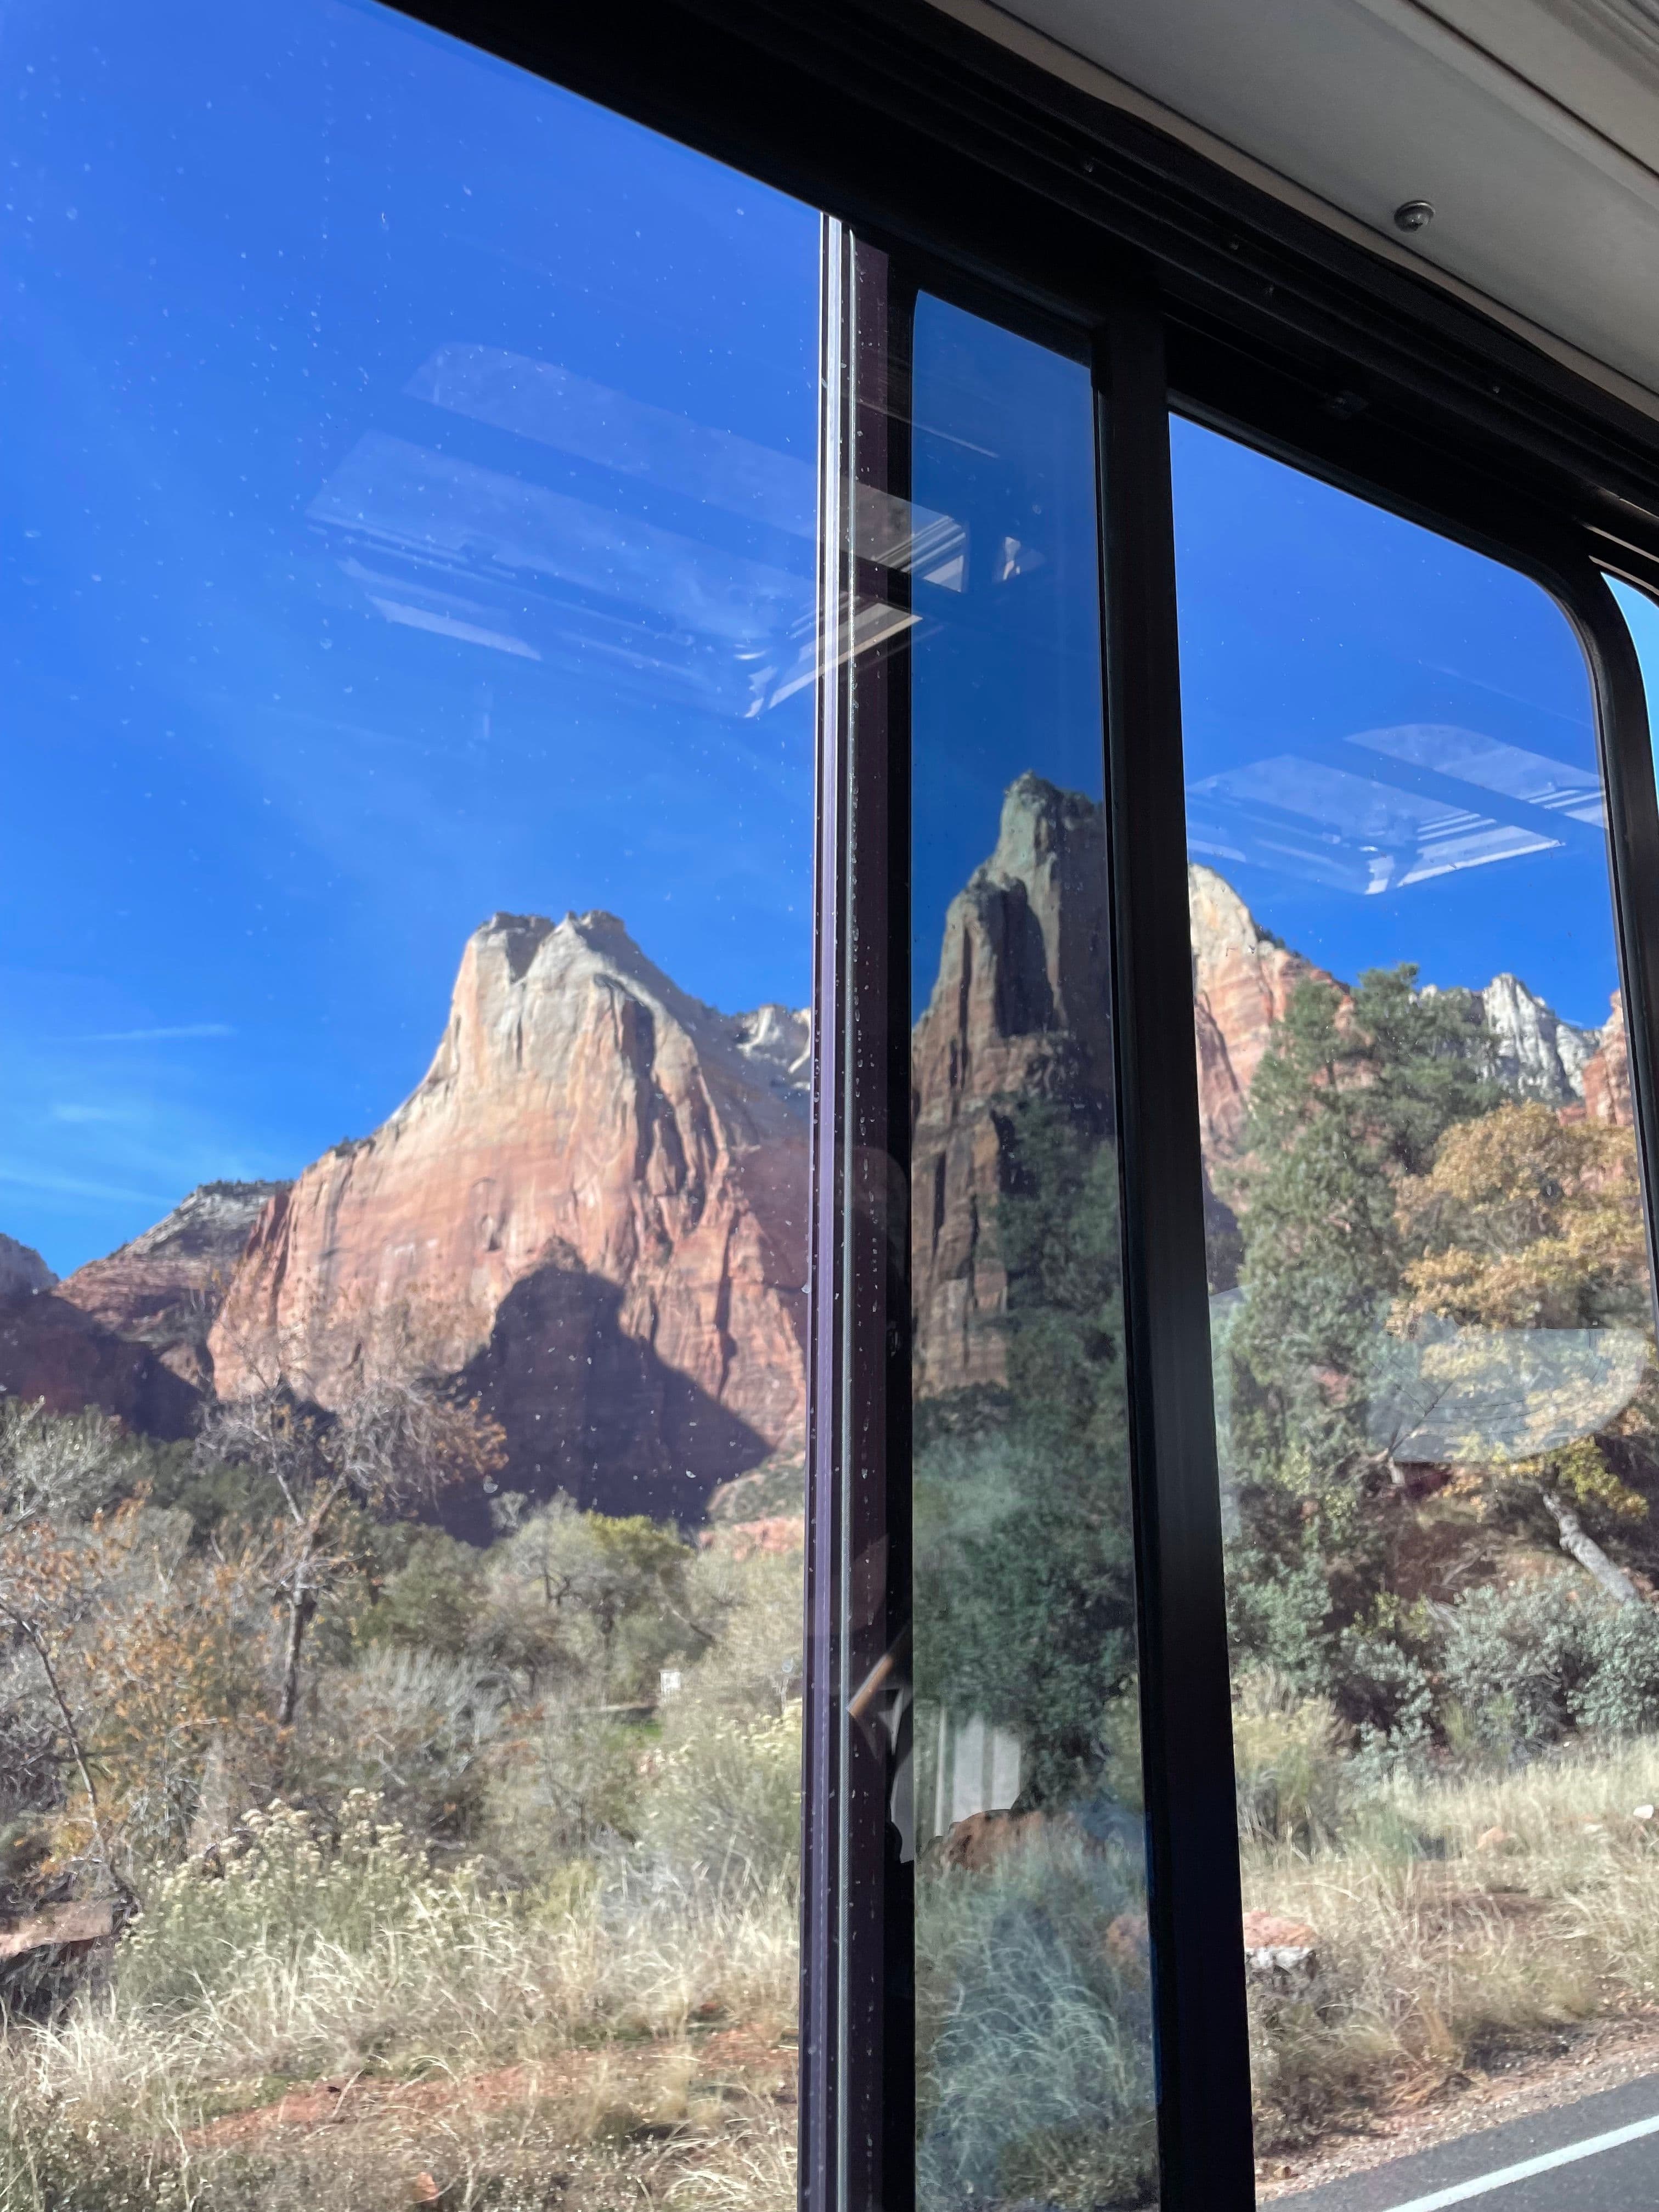
Catch the Zion Canyon Line Shuttle
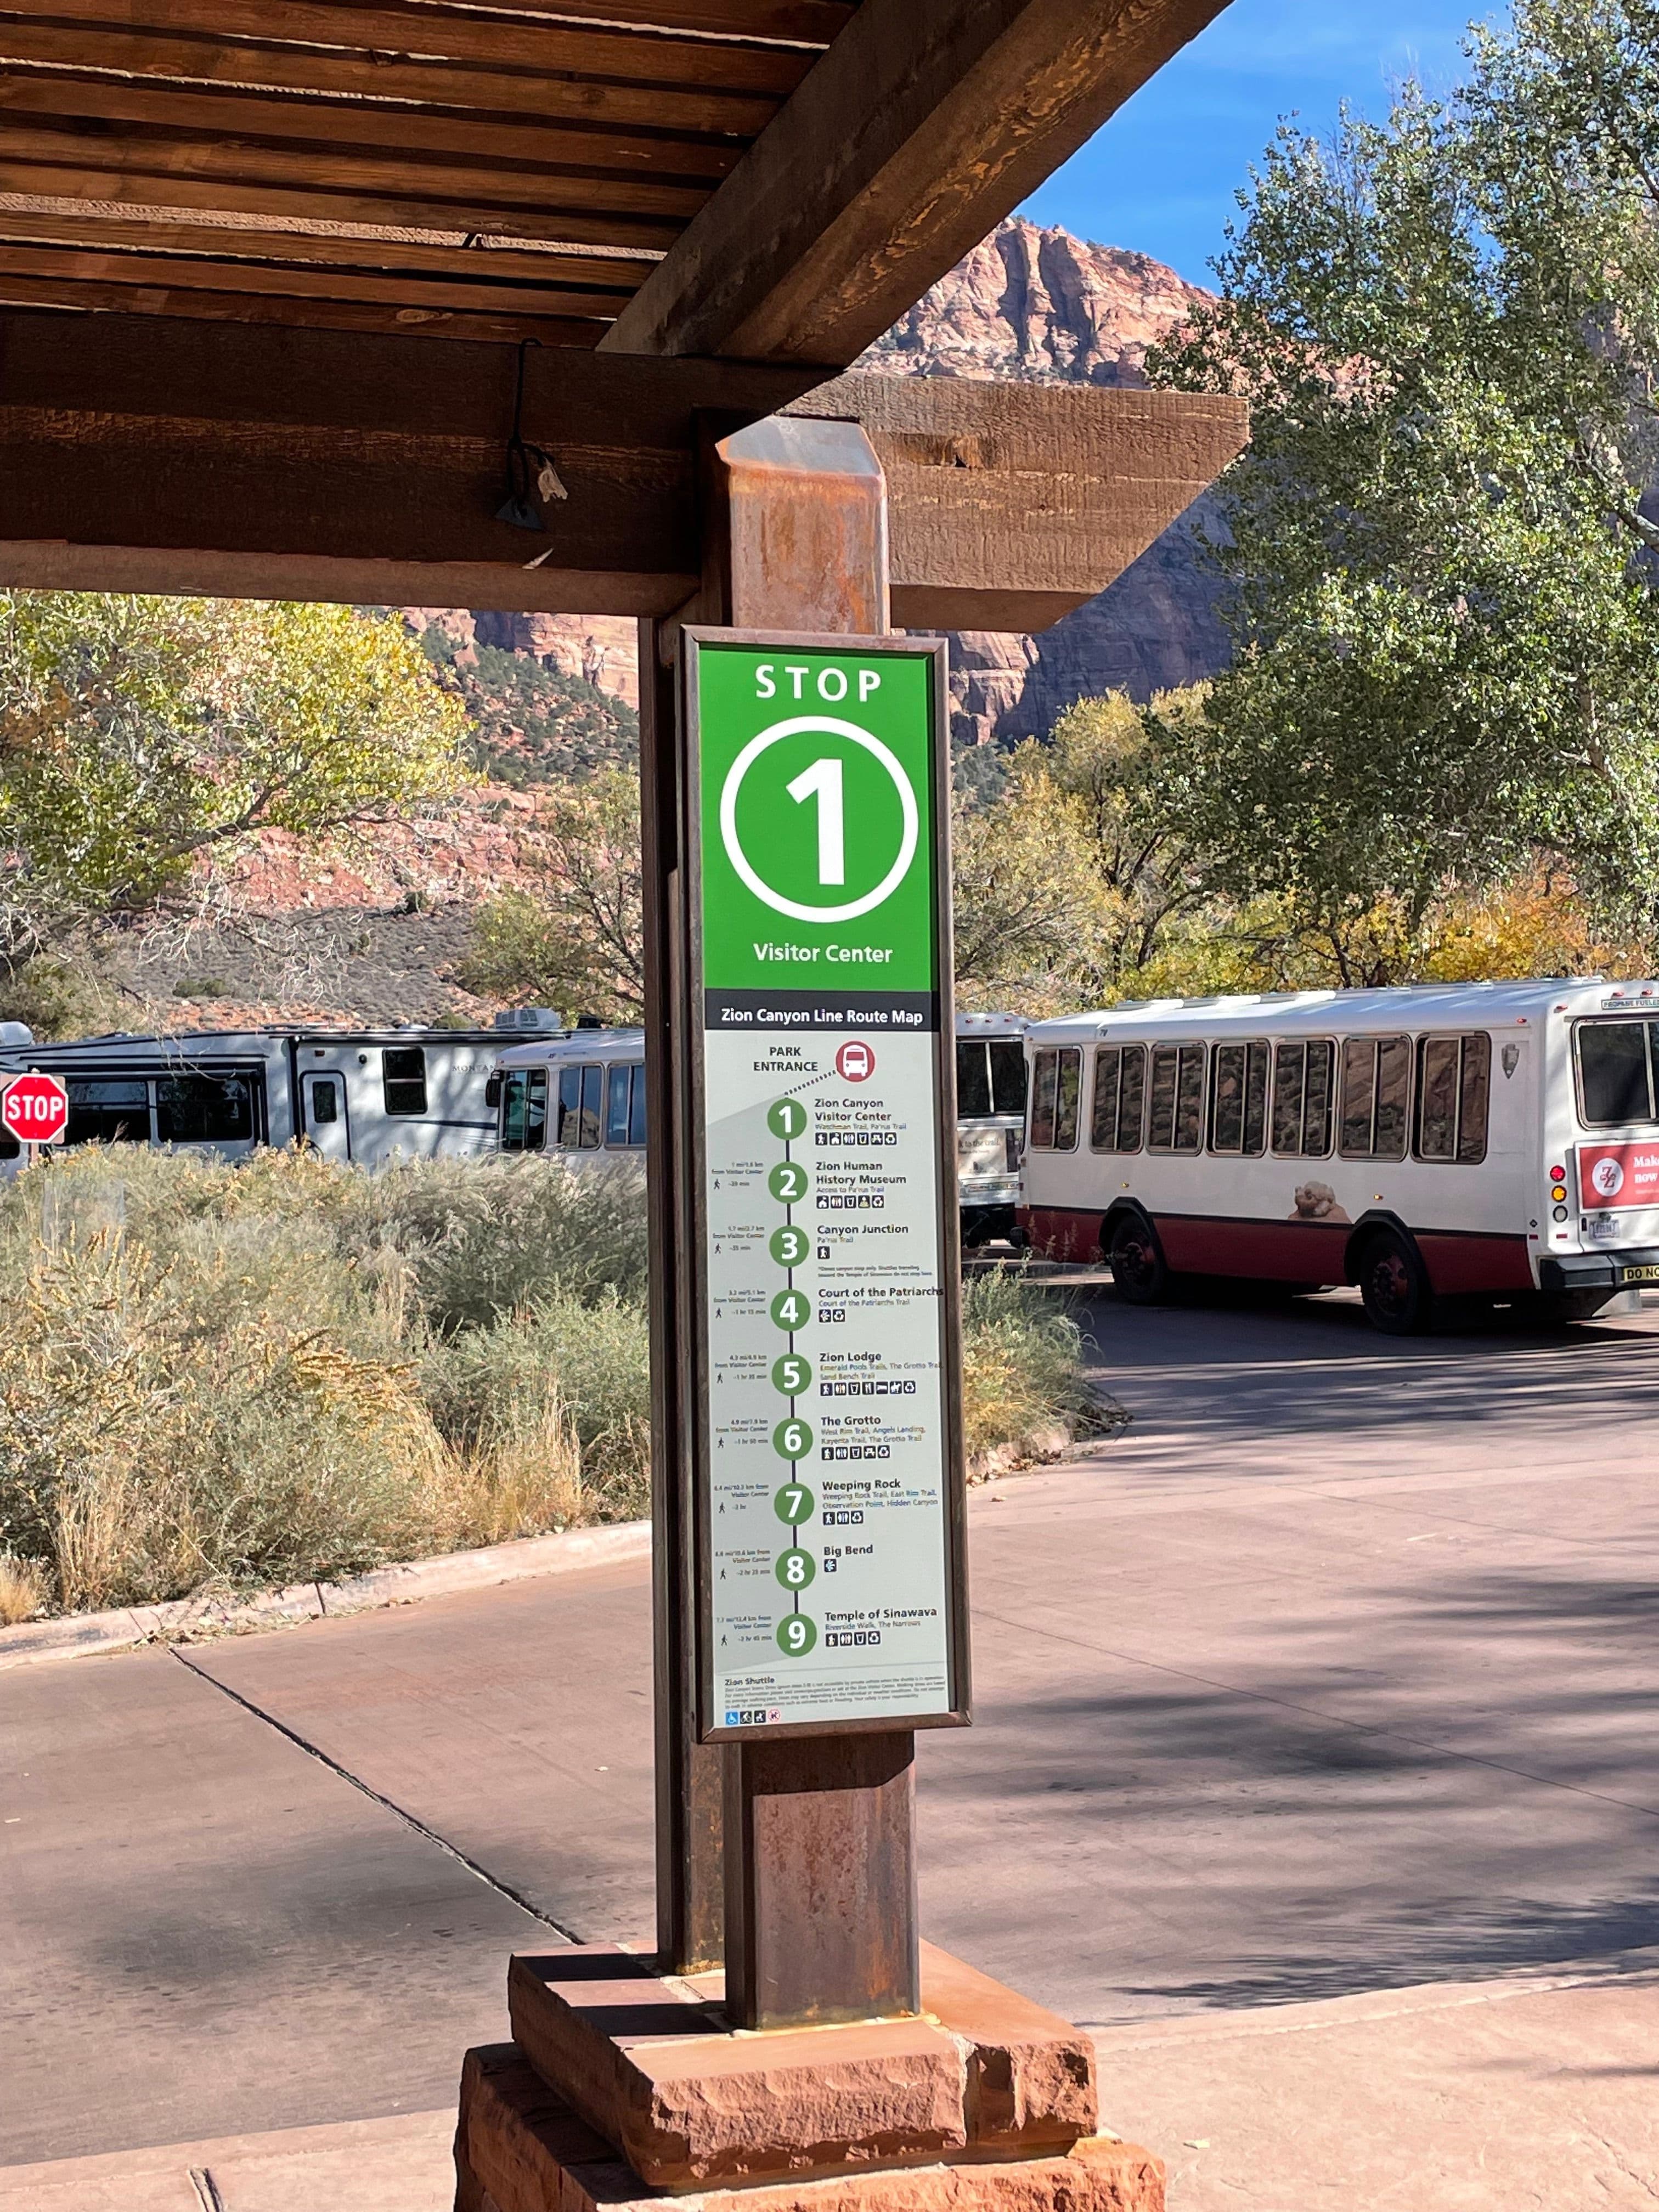
10:00AM
Catch the shuttle to The Grotto. This is where you will begin the hike to Angel’s Landing. Click here for more details about the shuttle.
- 4
Hike Angel’s Landing
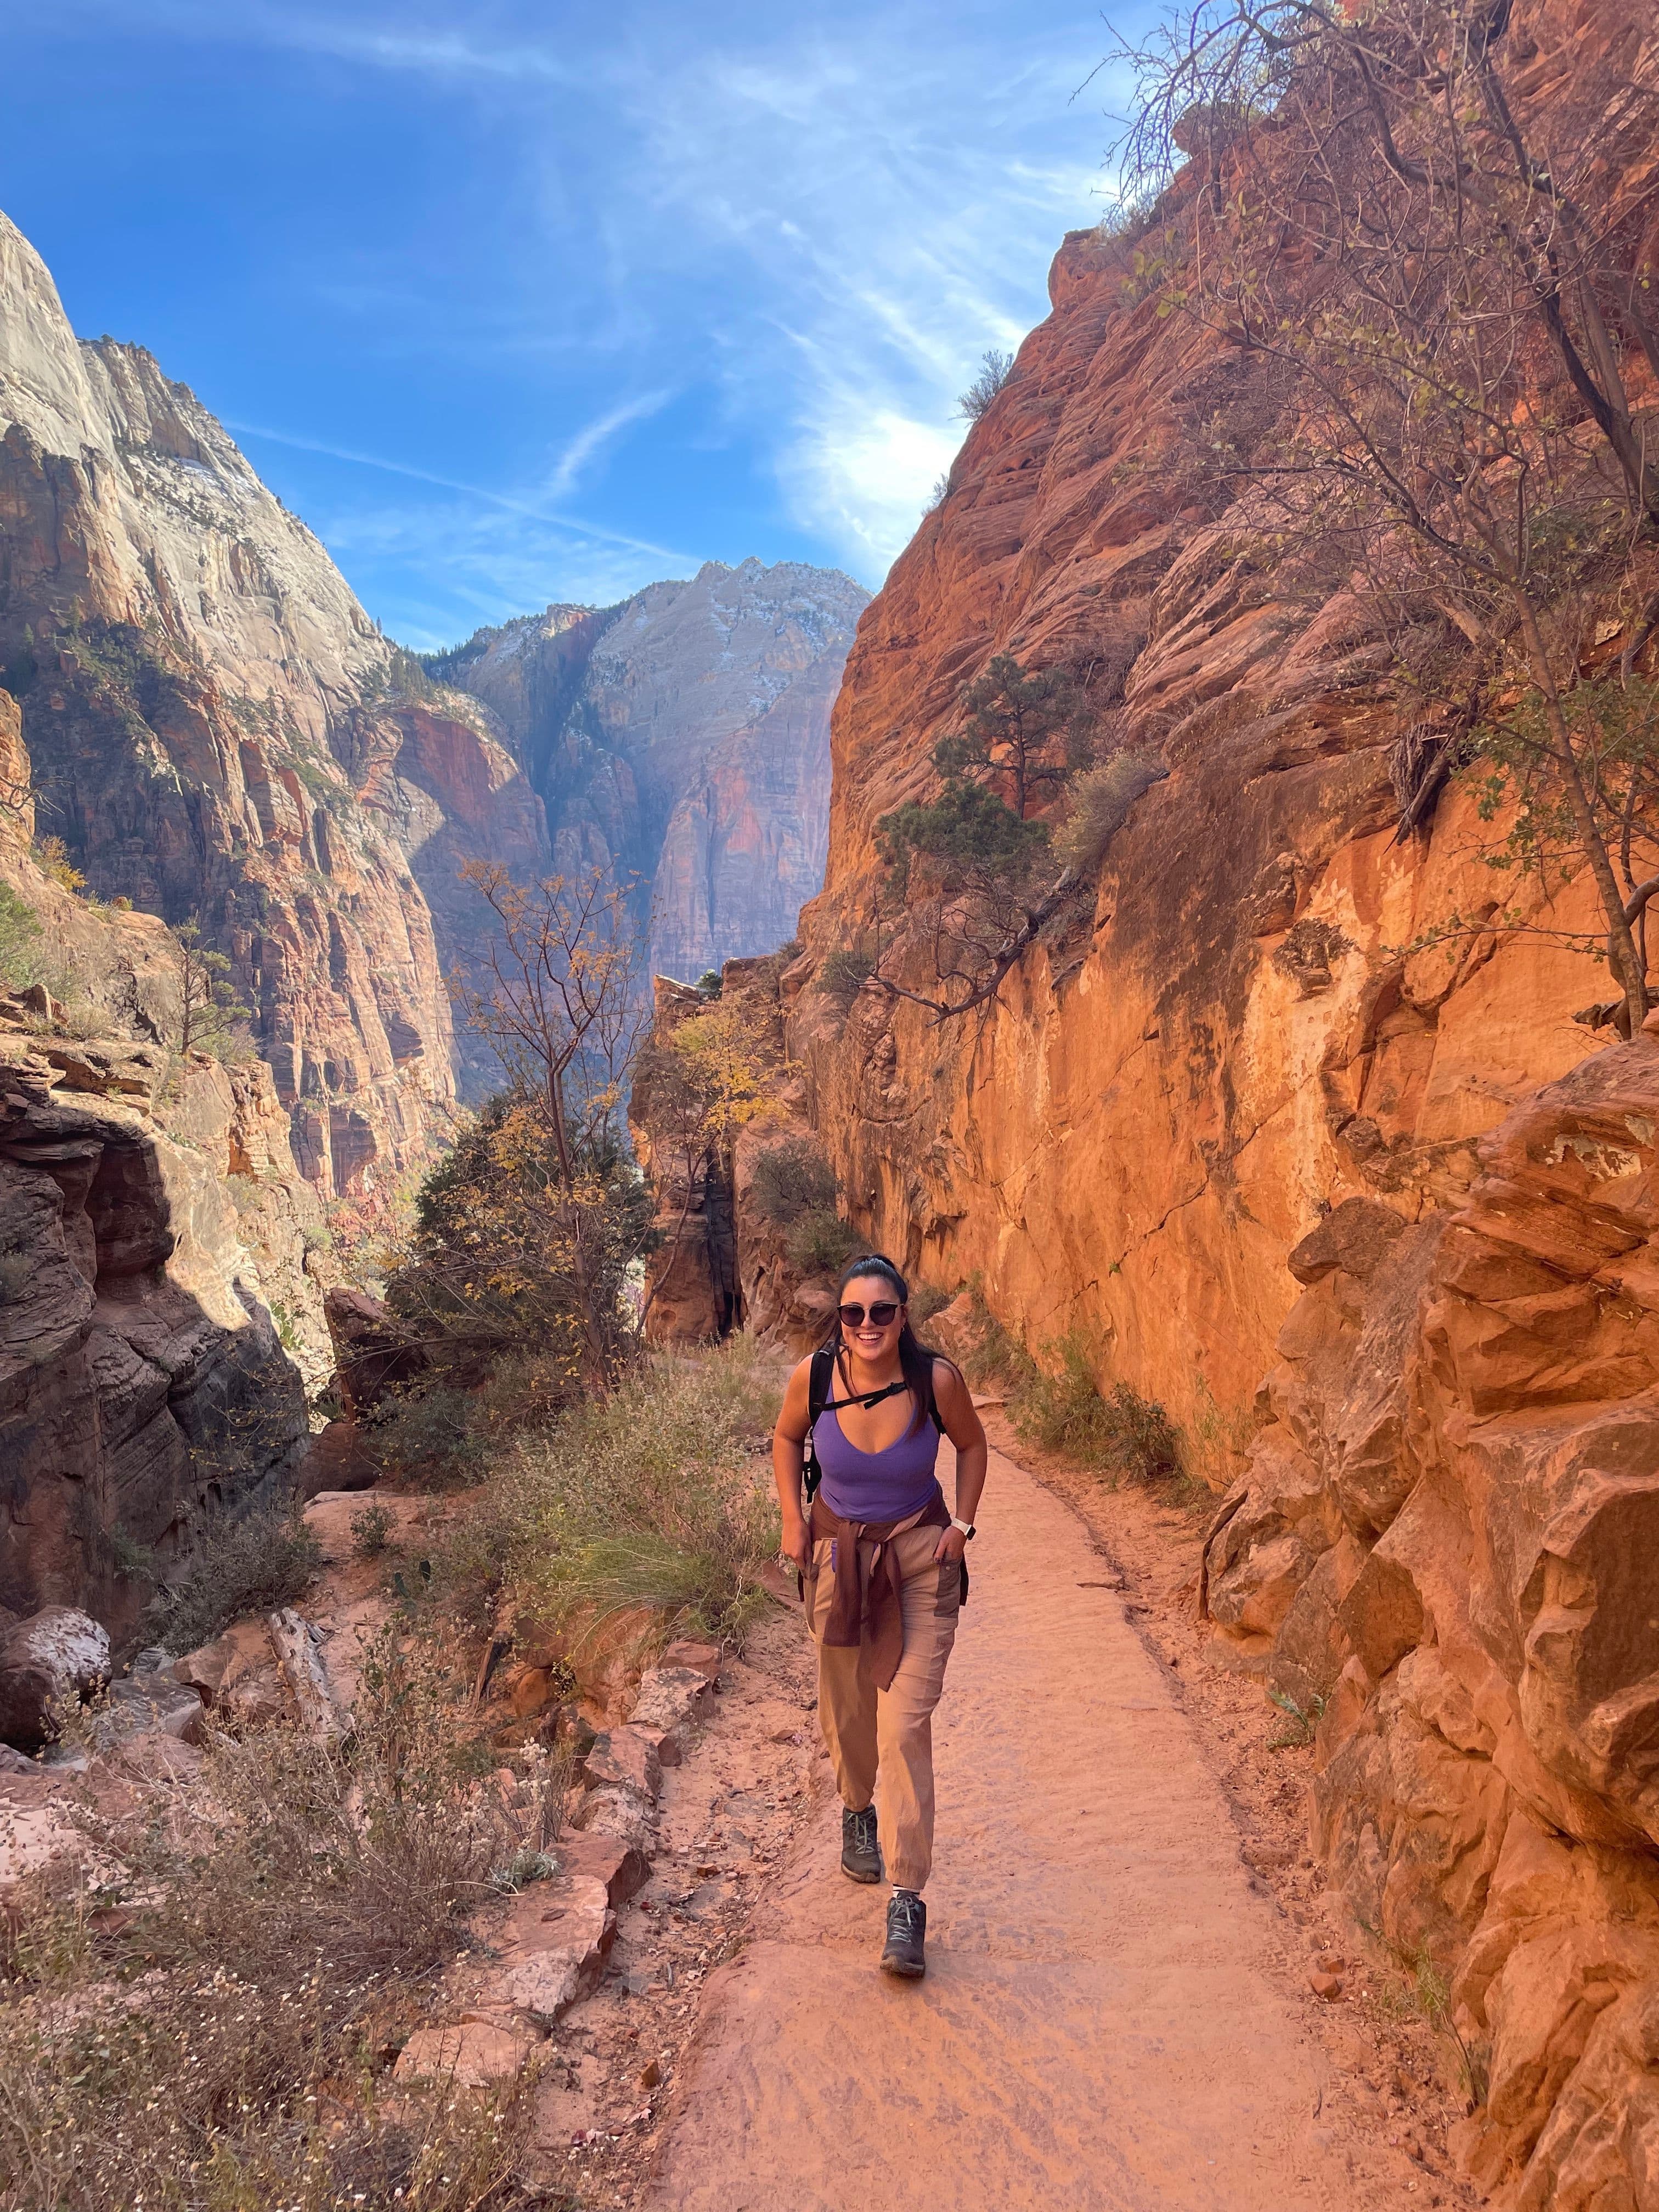
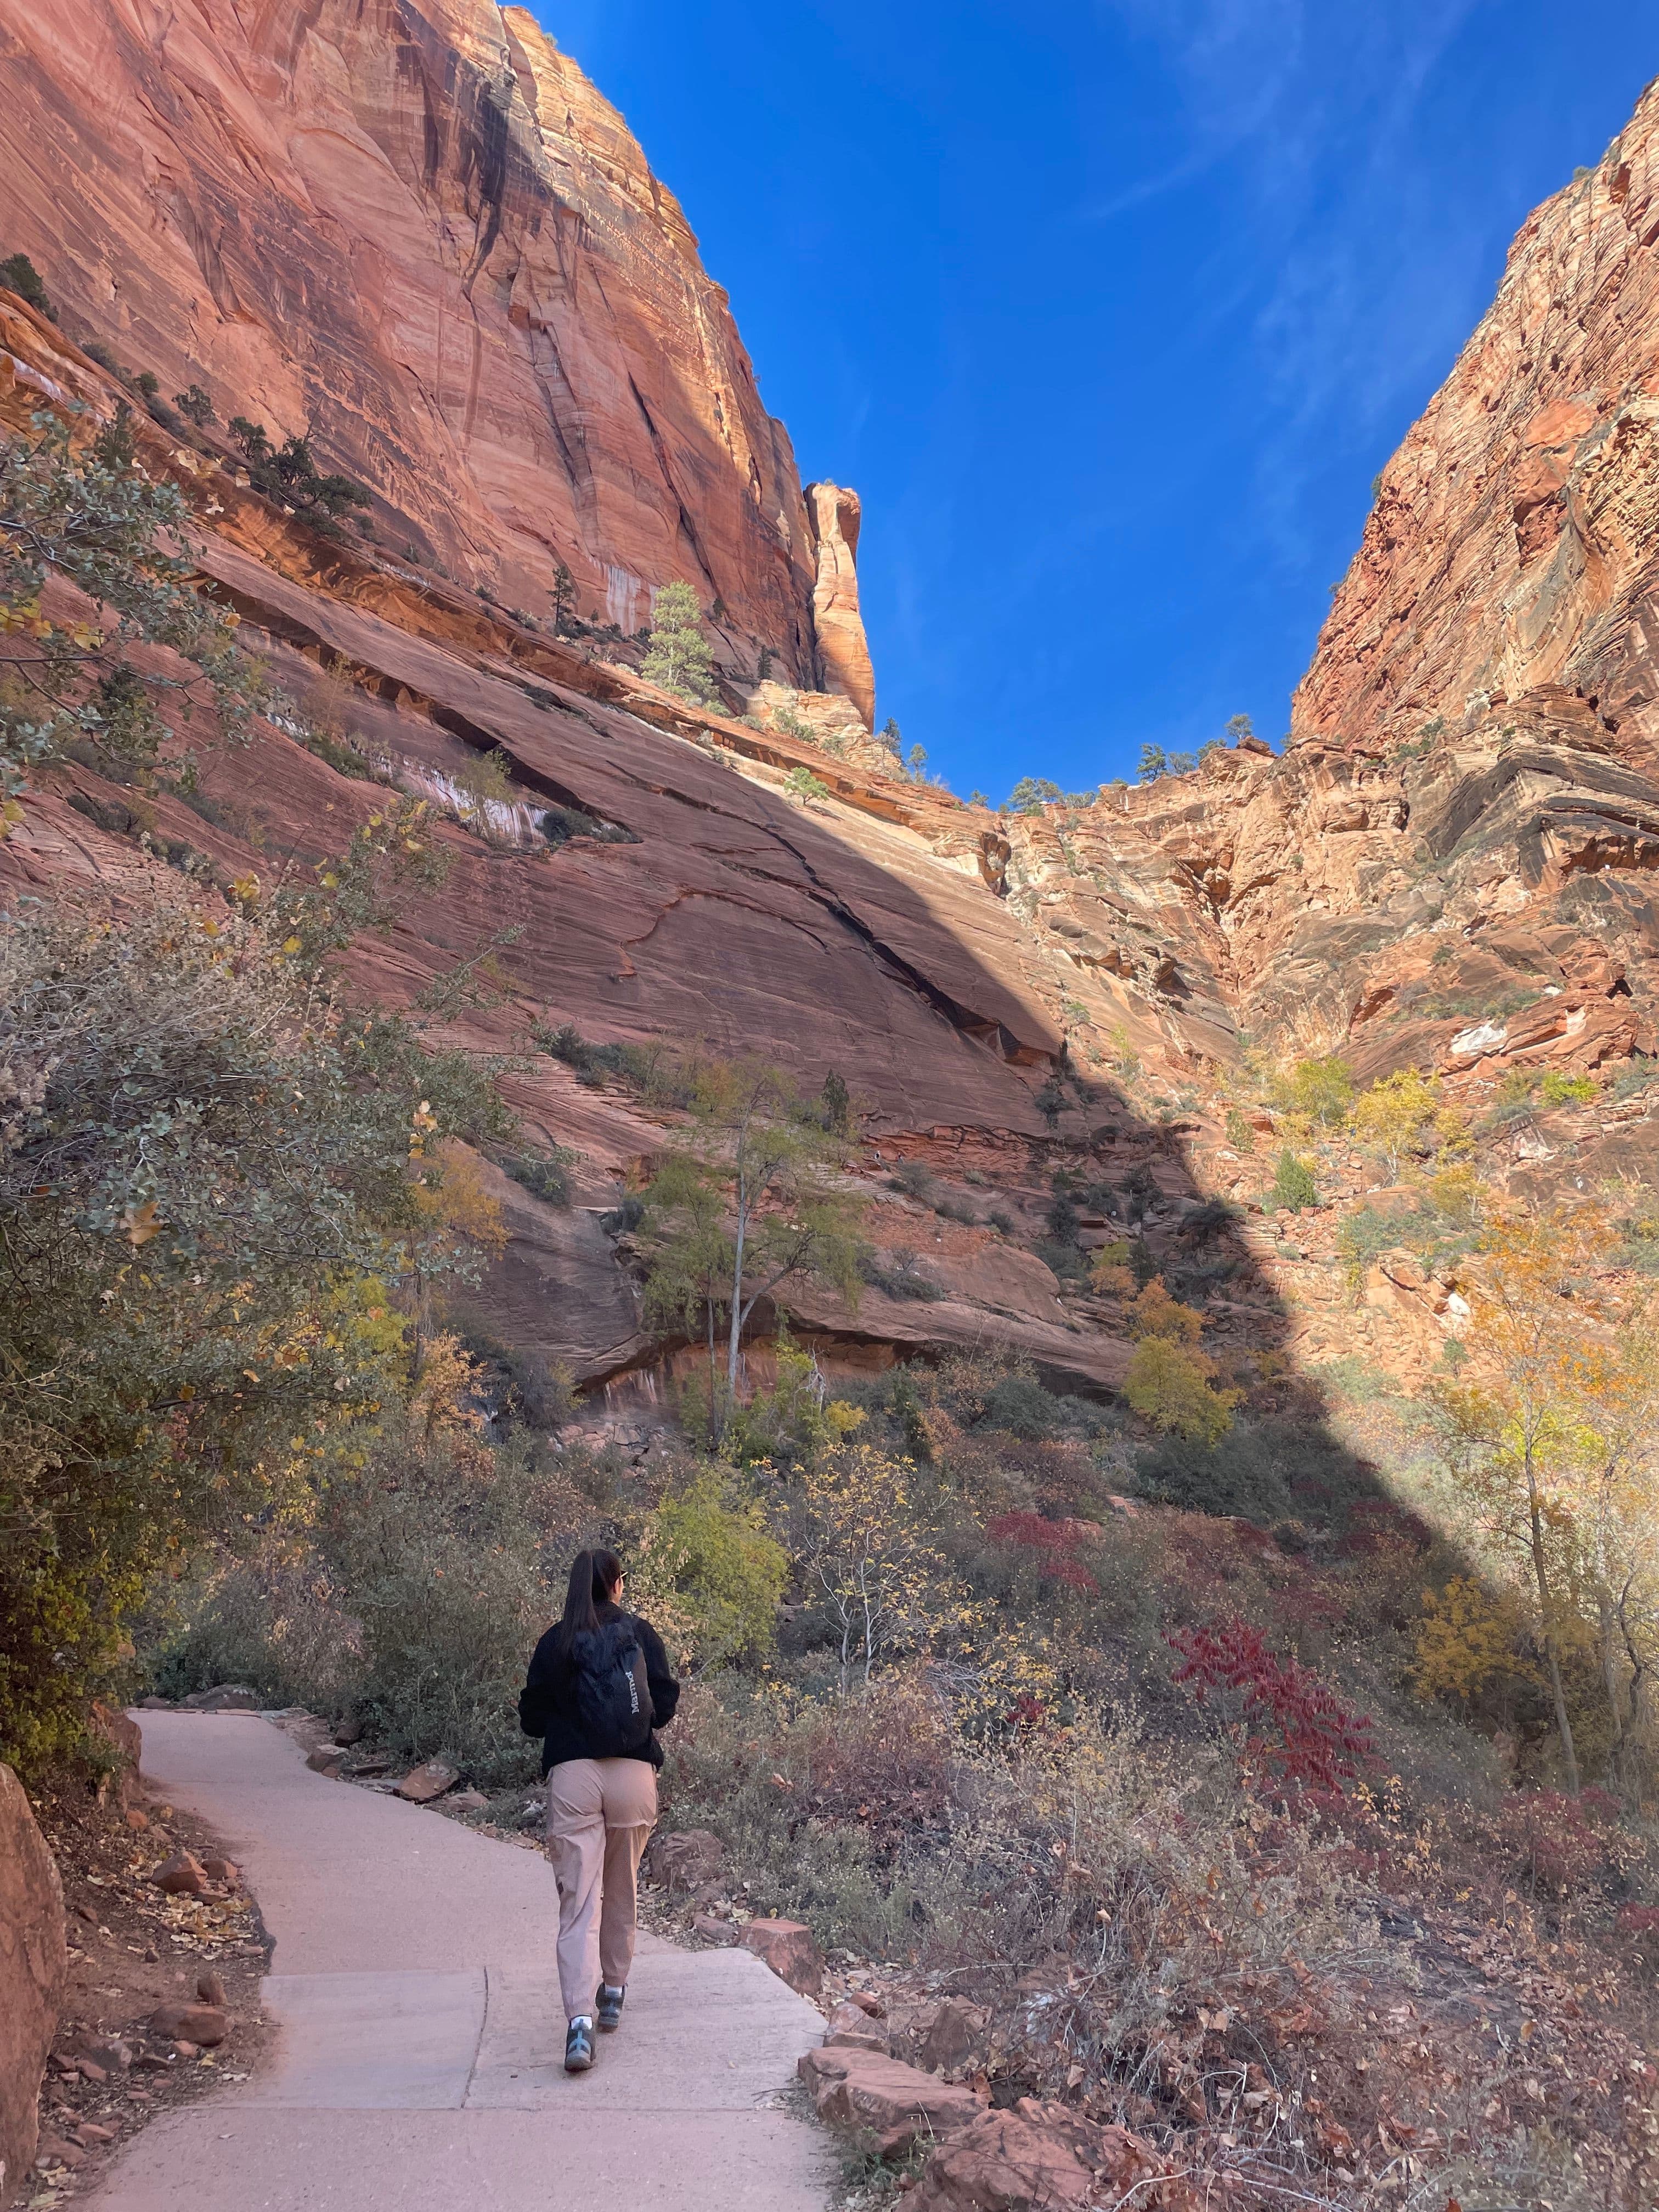
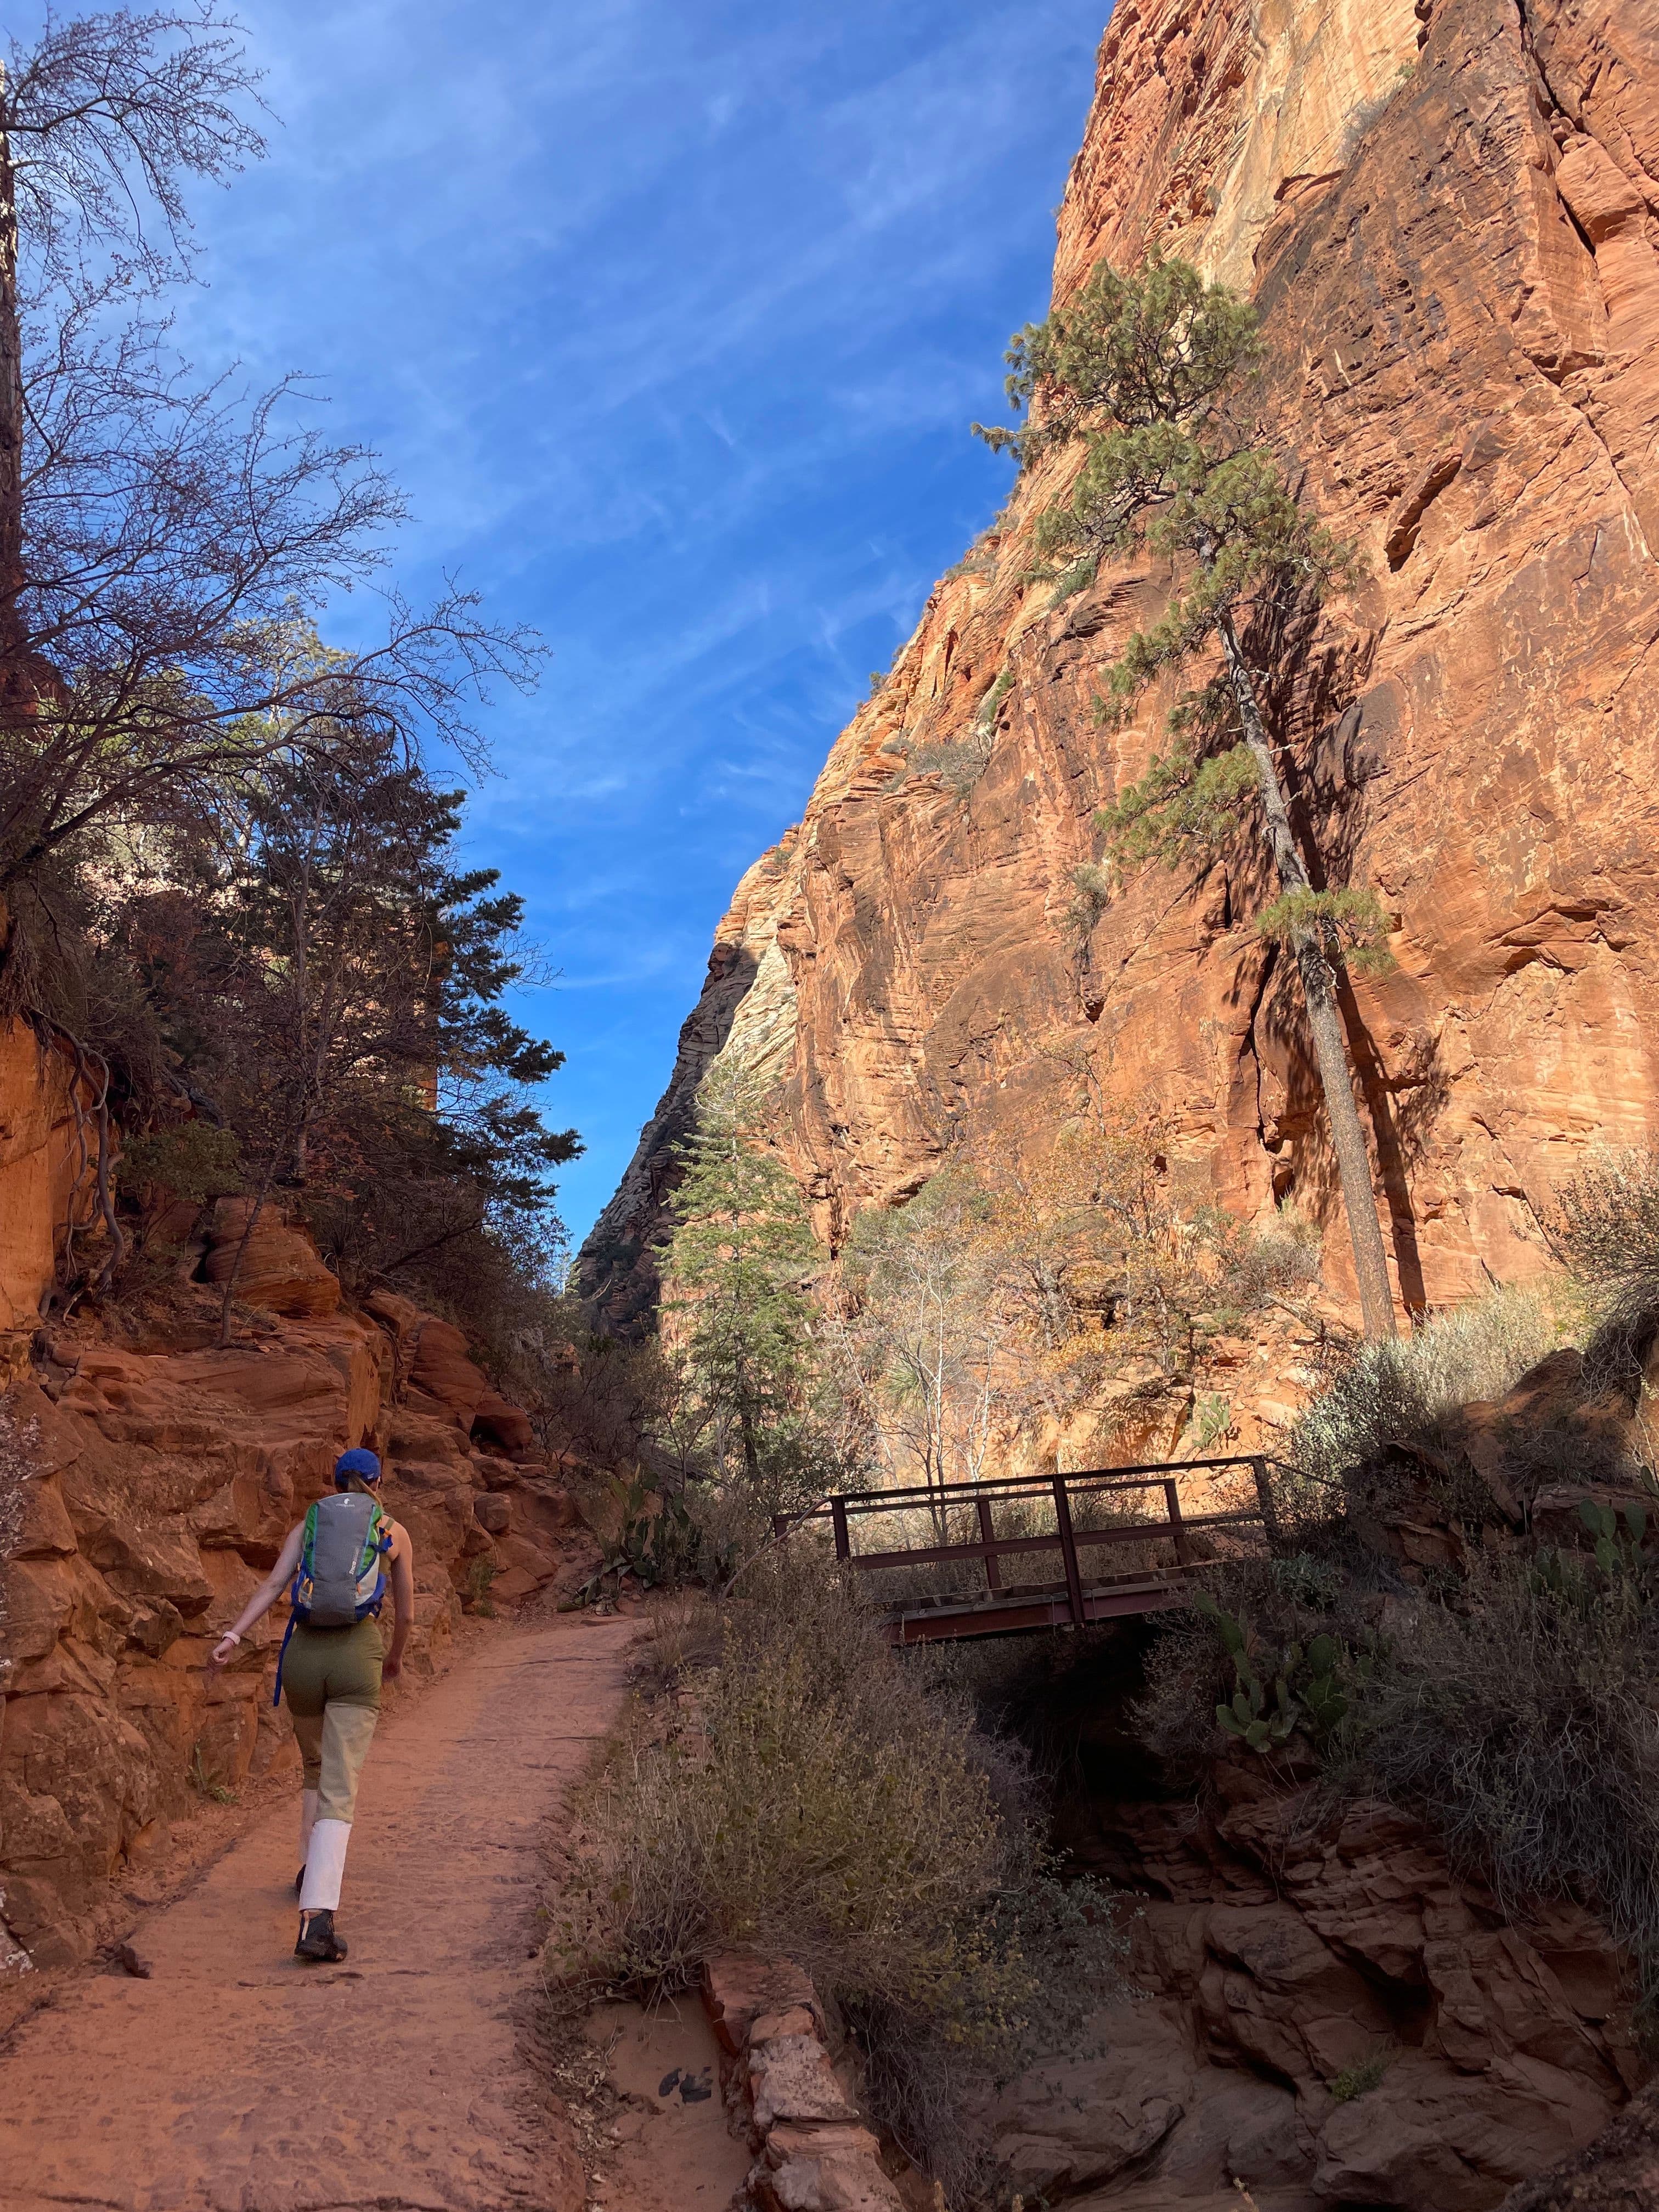
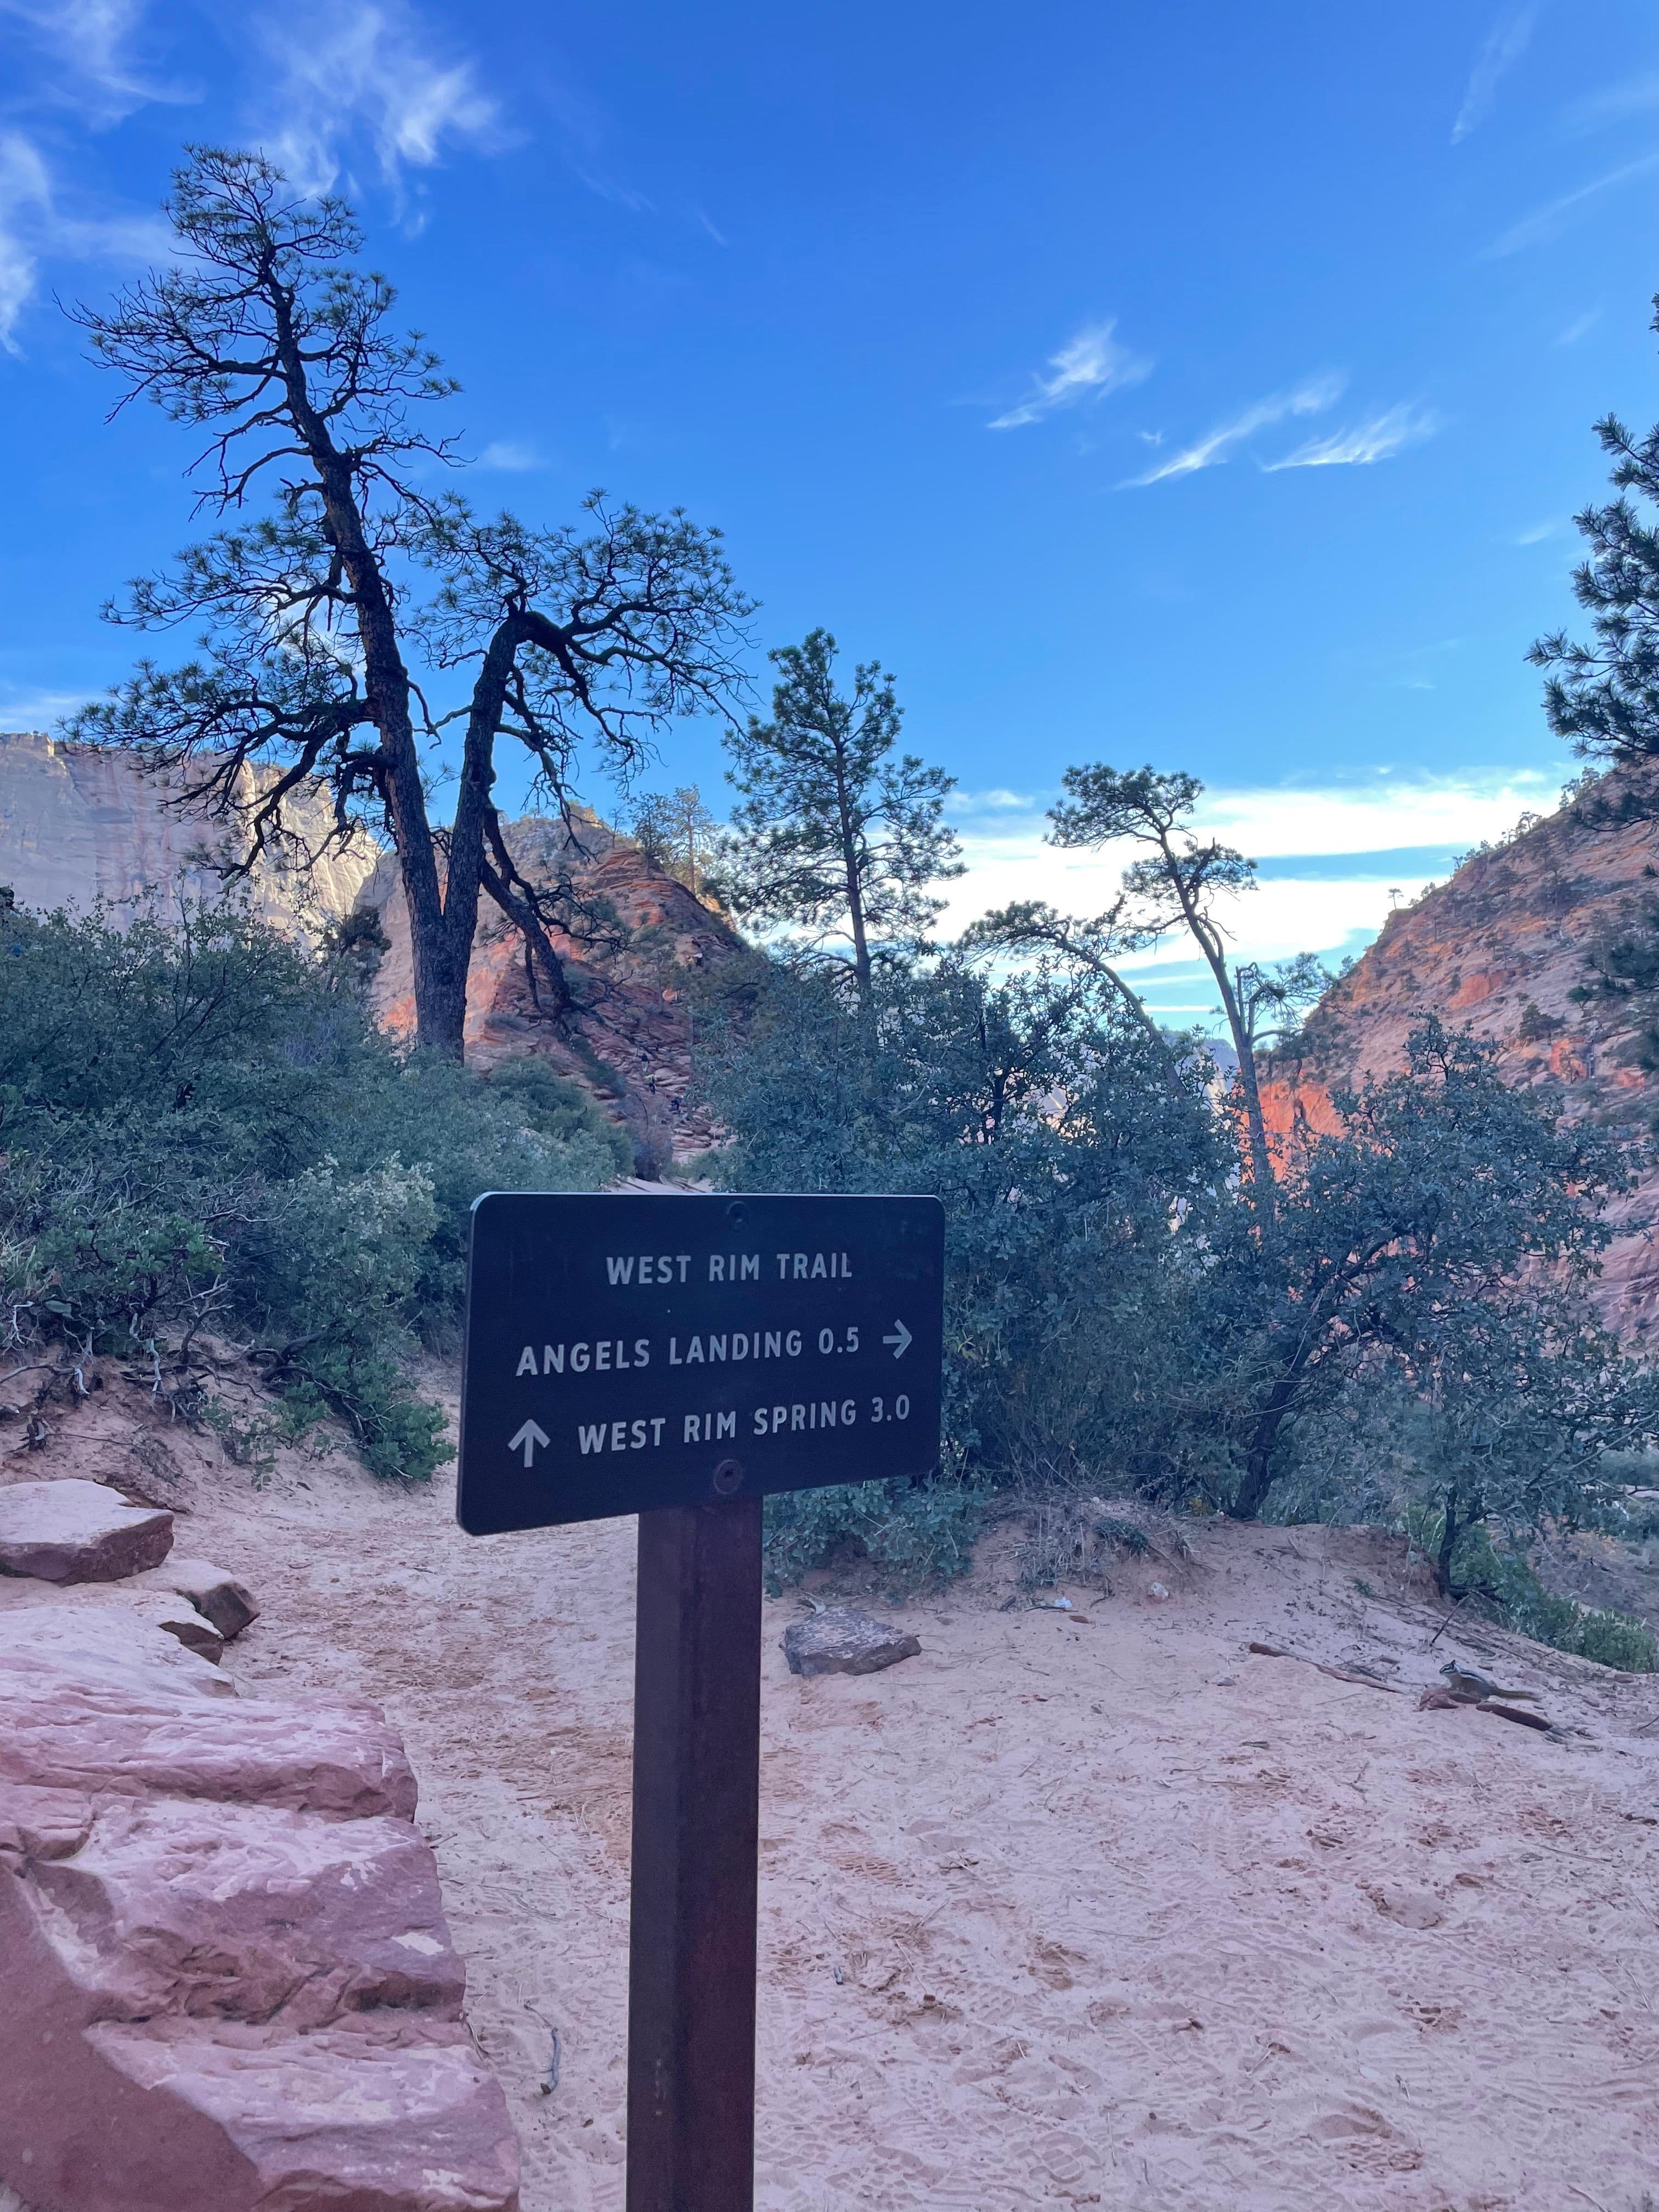
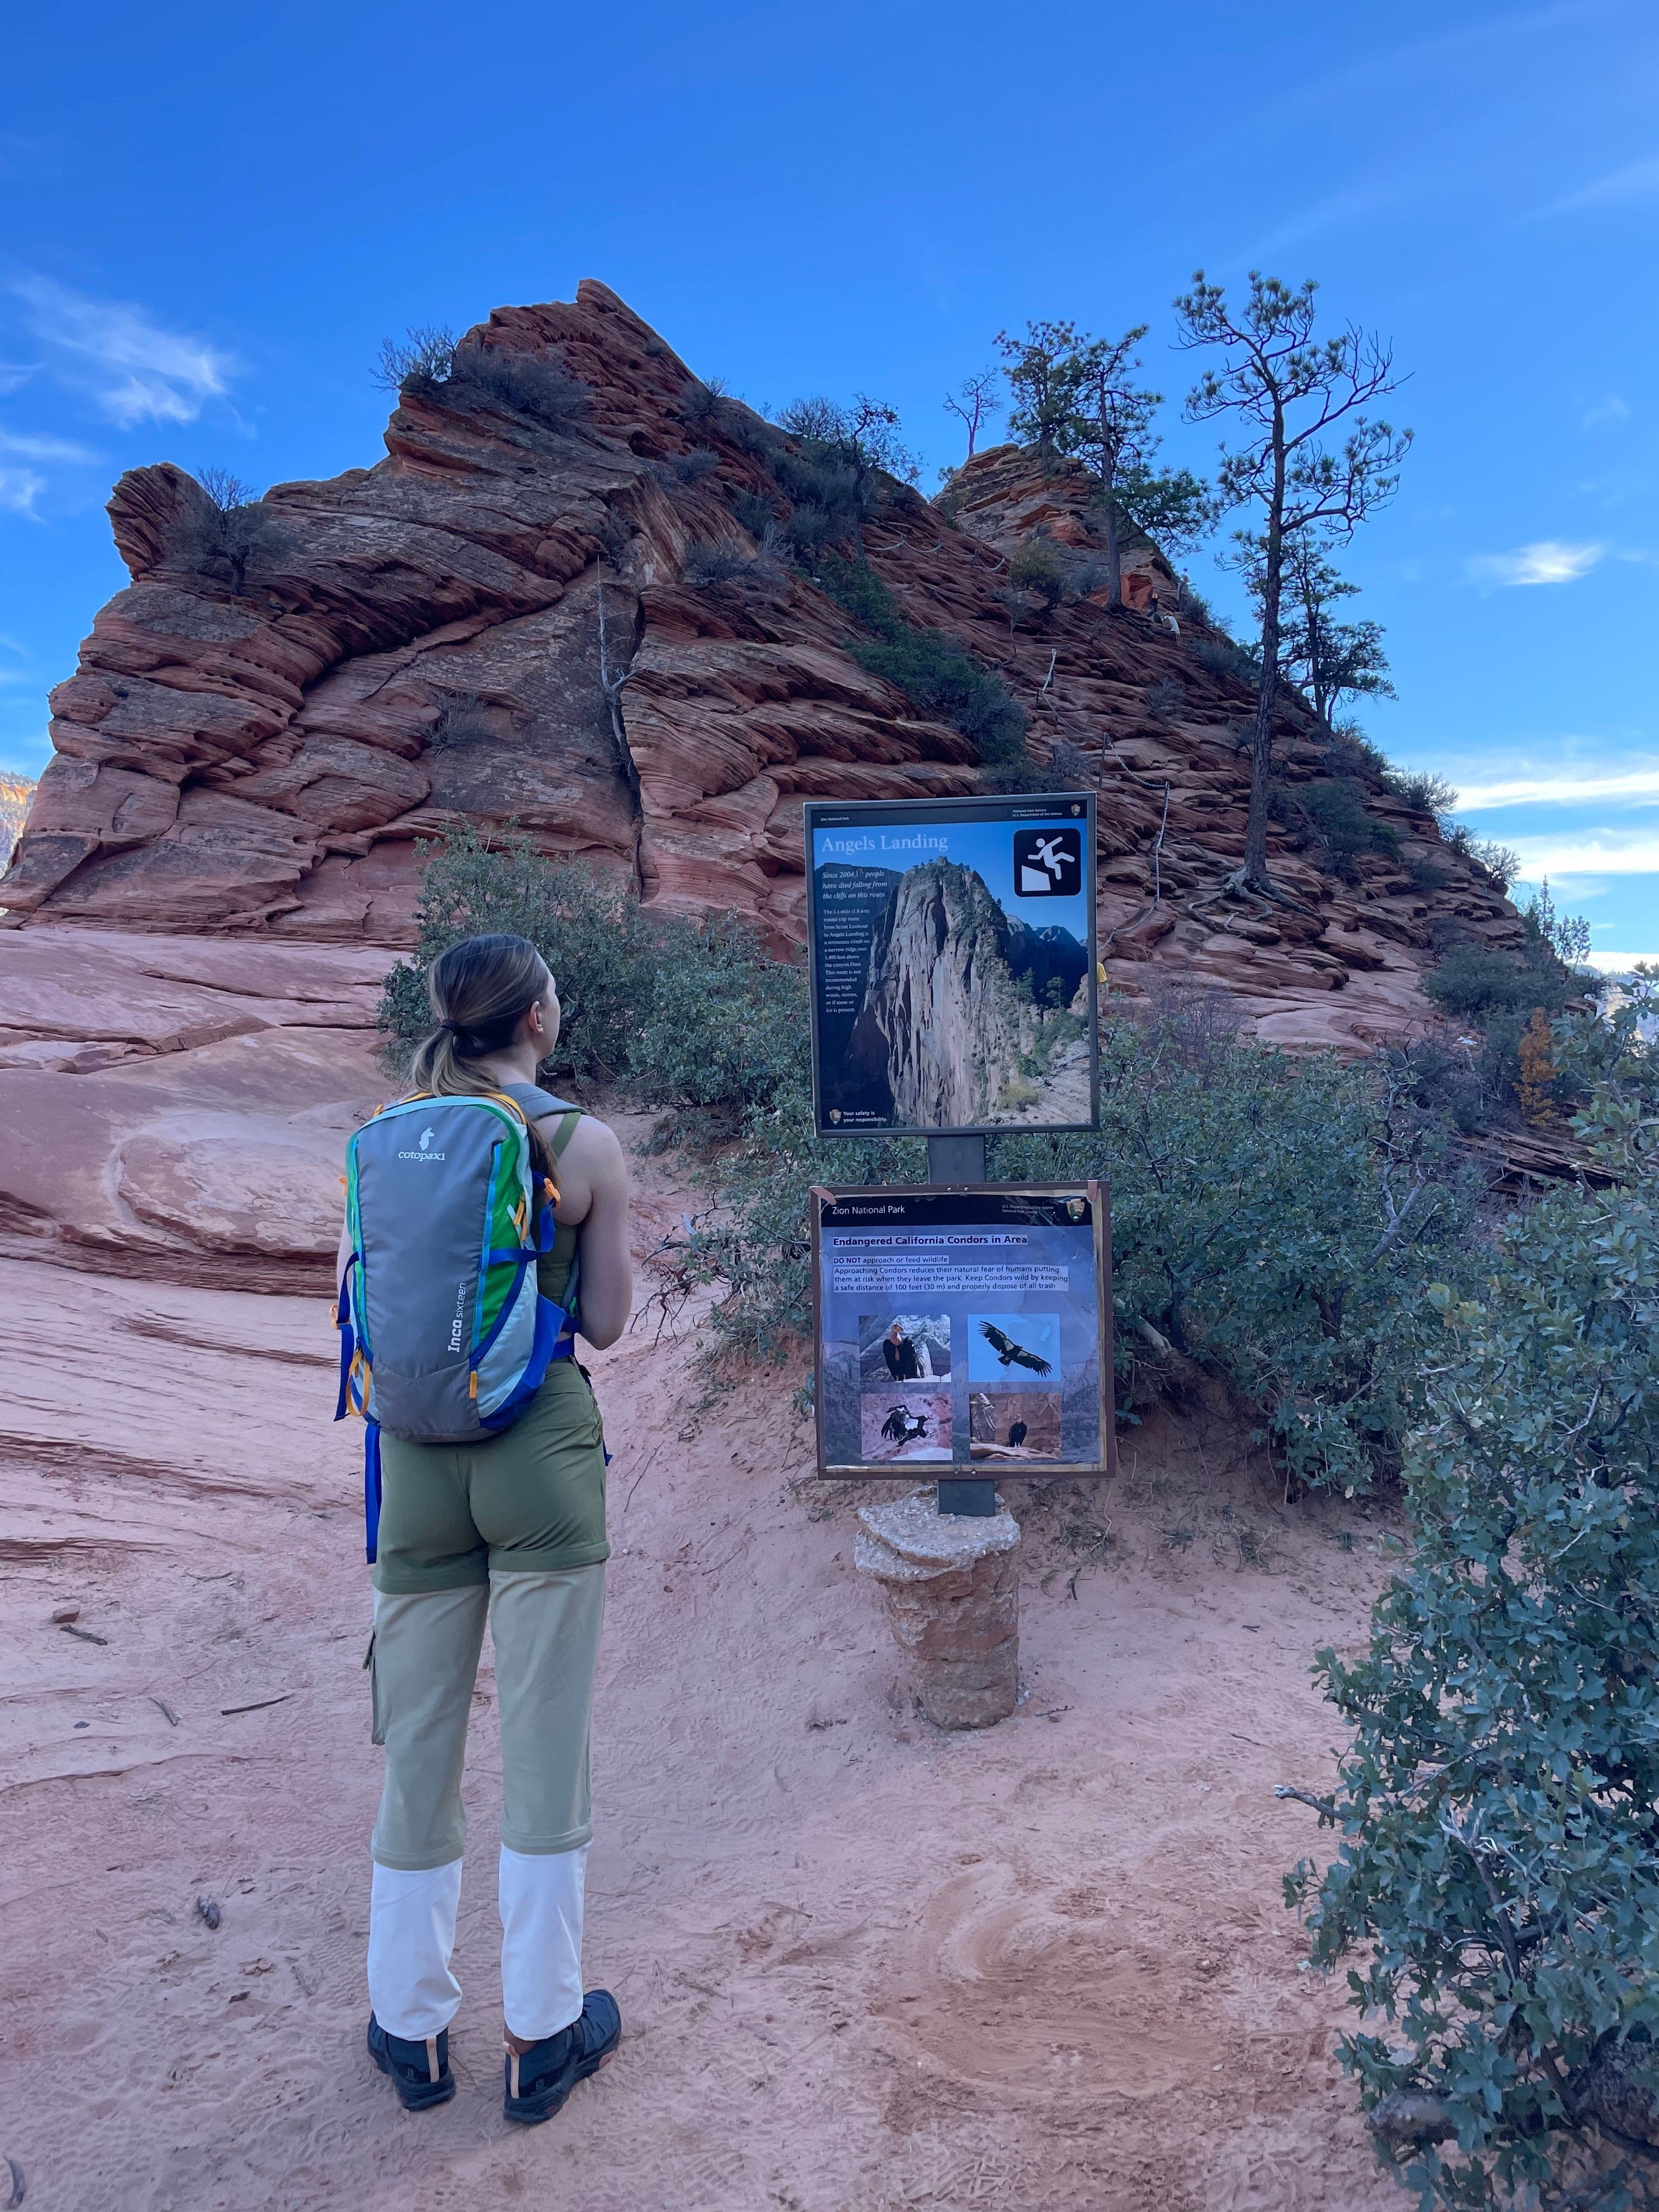

4hr·11:00AM - 3:00PM
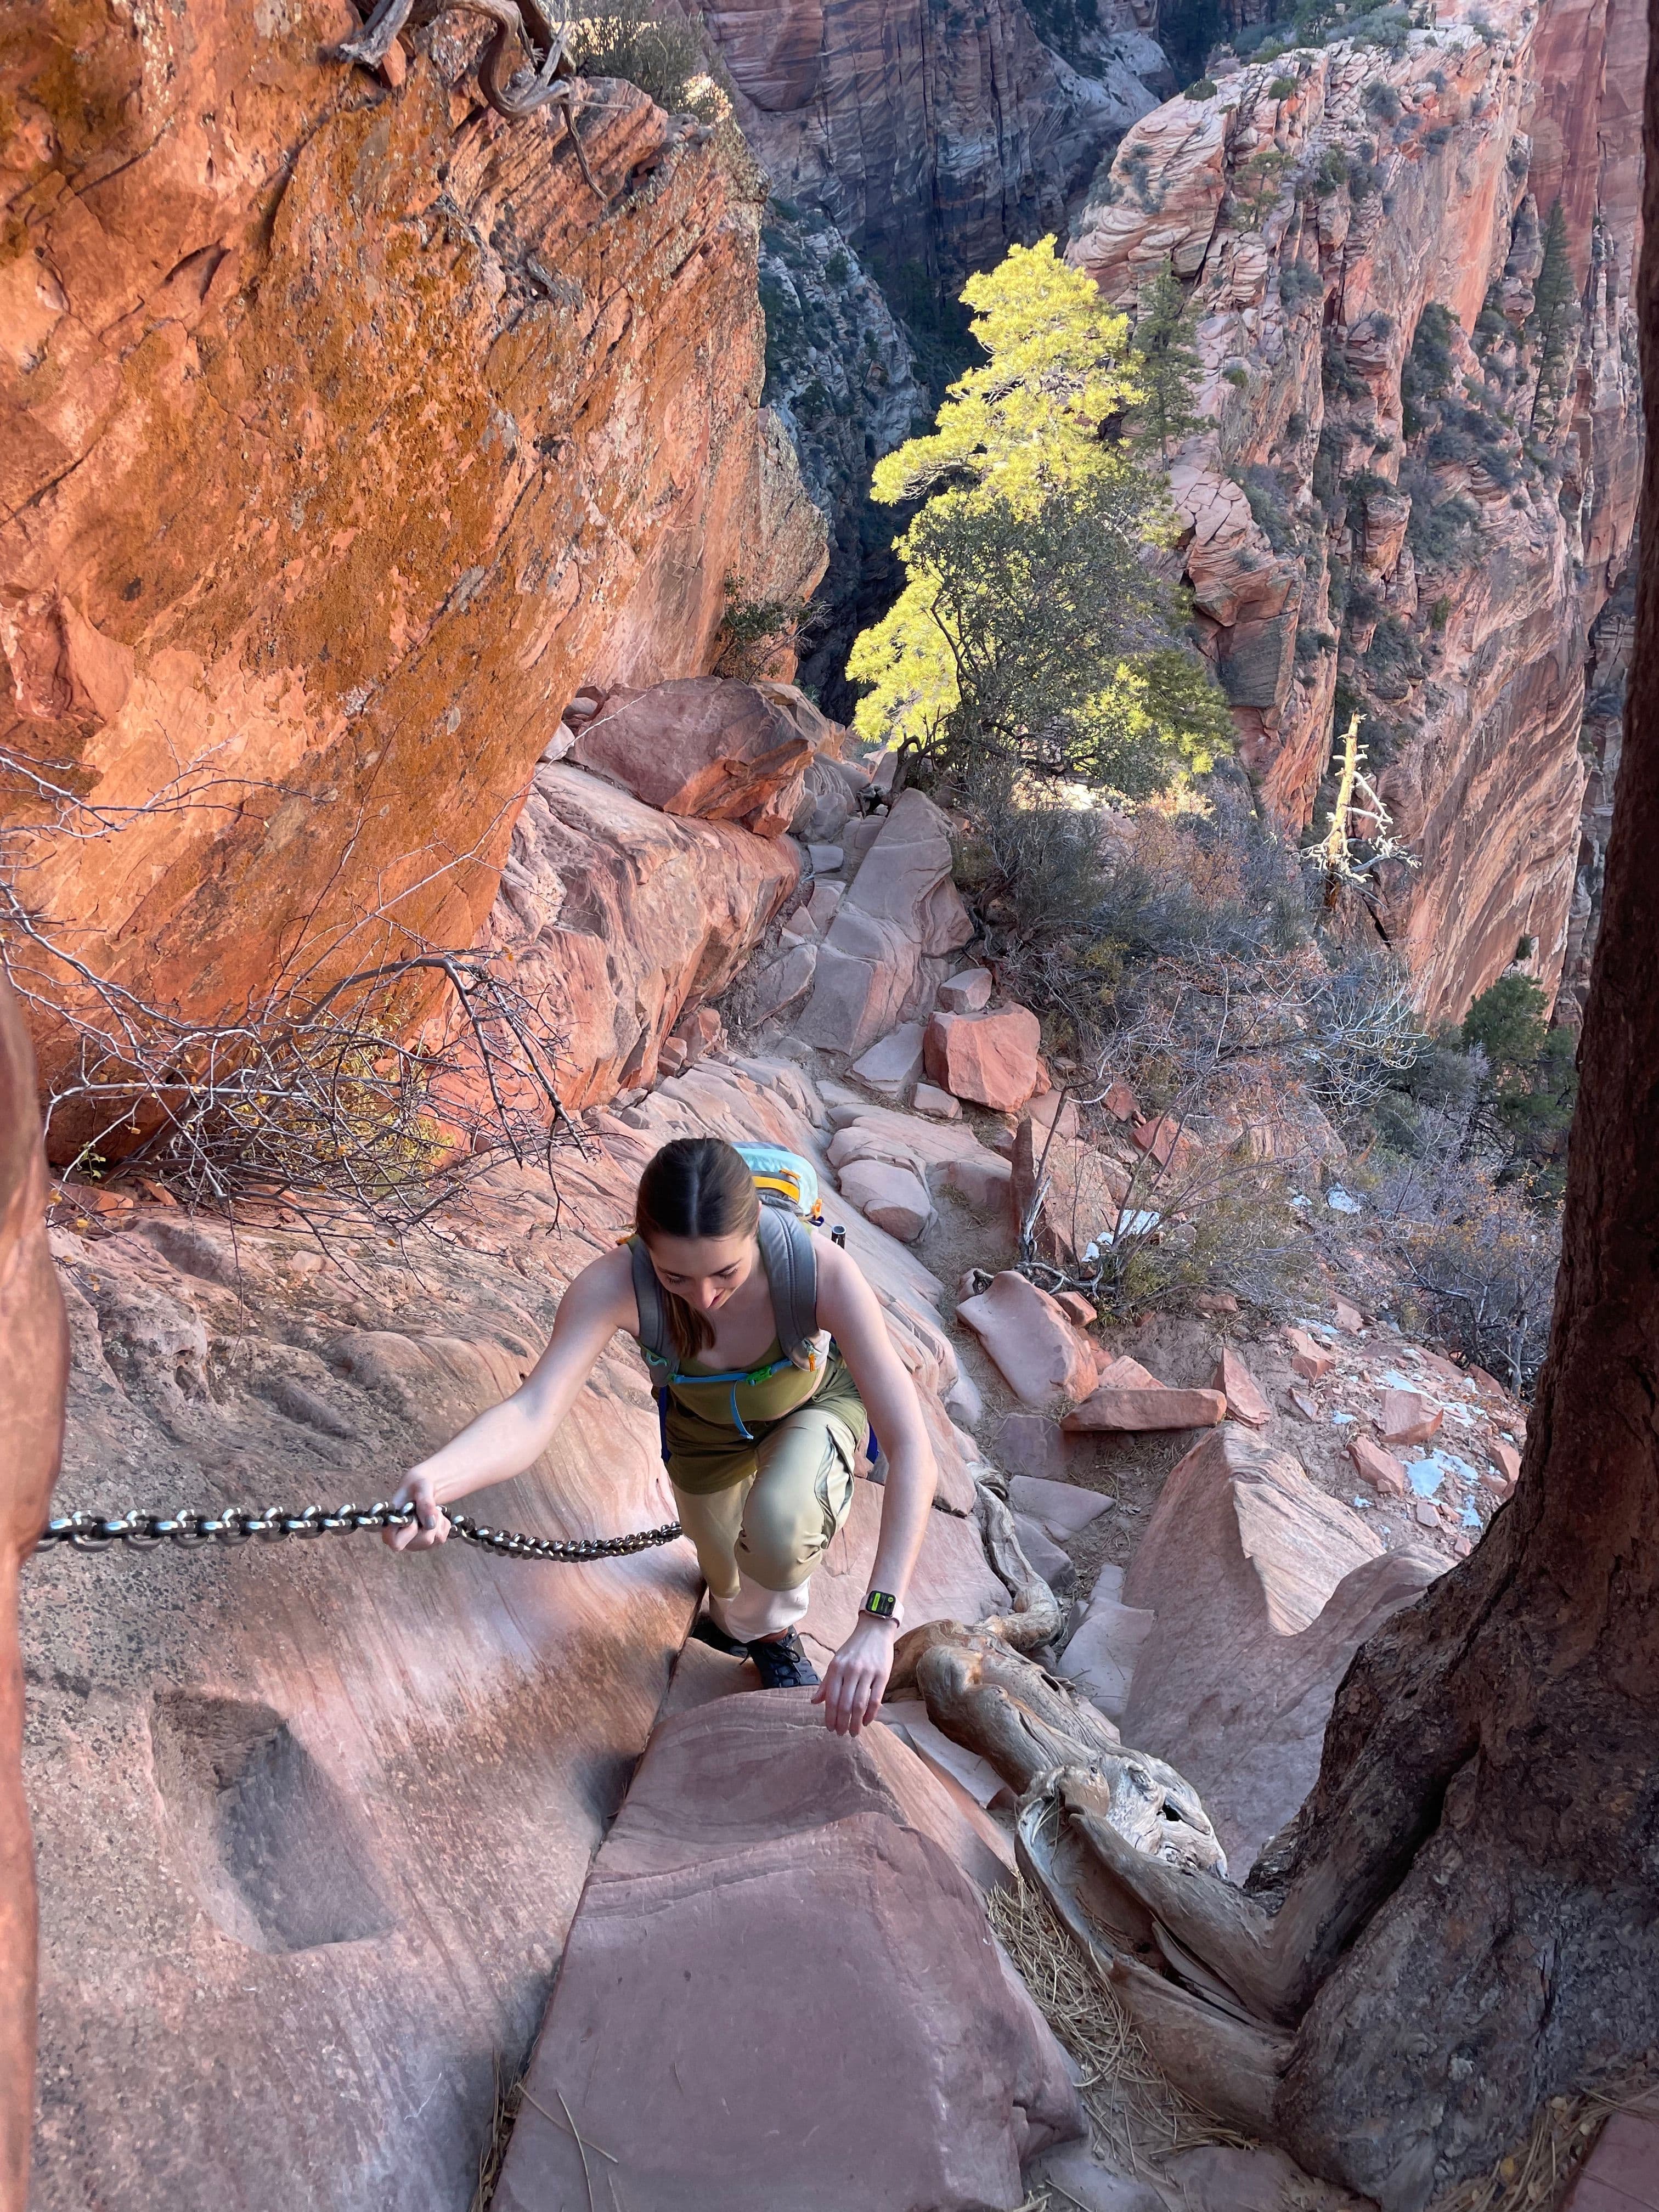
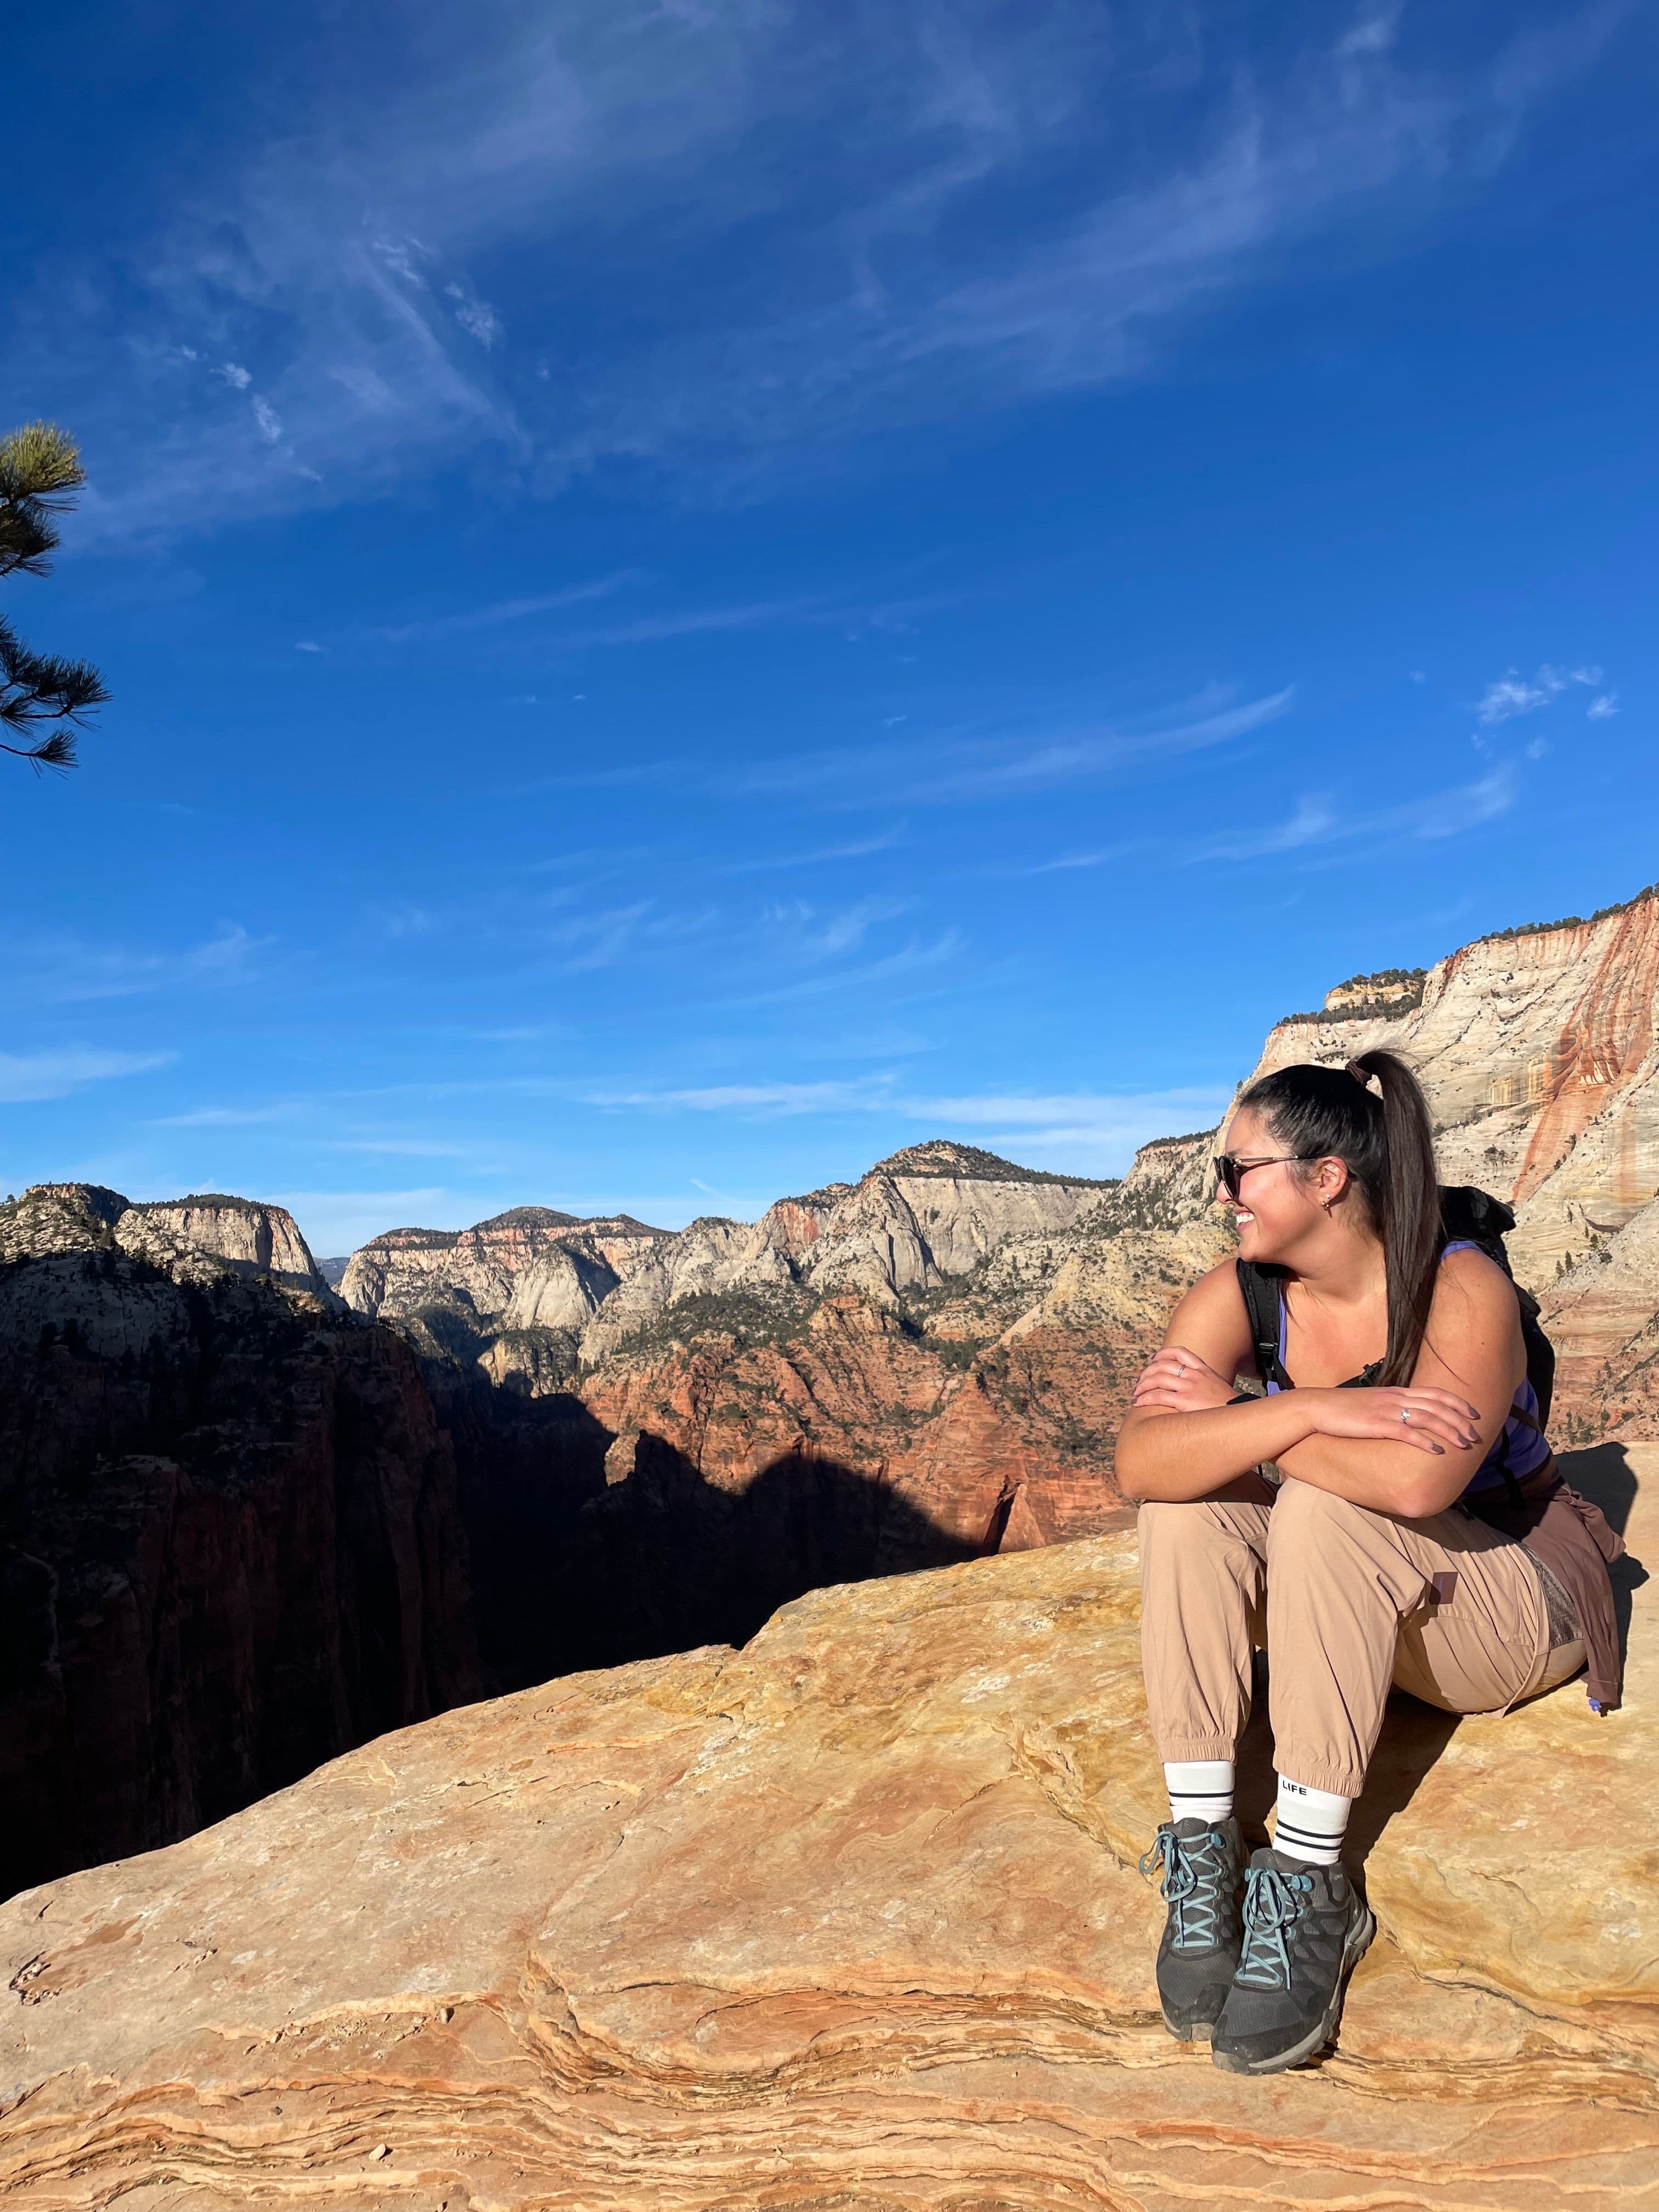
One of the top things we wanted to do at Zion was to Hike Angel’s Landing! To hike, you need to enter a lottery system and win a “spot”. You apply the day before your group wants to hike, for more information click here.
This was one of our favourite things we did on our trip! If you are scared of heights, this hike might not be for you. However, many of the people we met along the way were scared of heights and were pushing themselves, and I loved that.
- 5
Catch the Zion Canyon Line Shuttle
Catch the shuttle back to your vehicle. It is important to know shuttle times so that you don't miss the last shuttle of the day. For more detail click here.
- 6
Horseback Riding
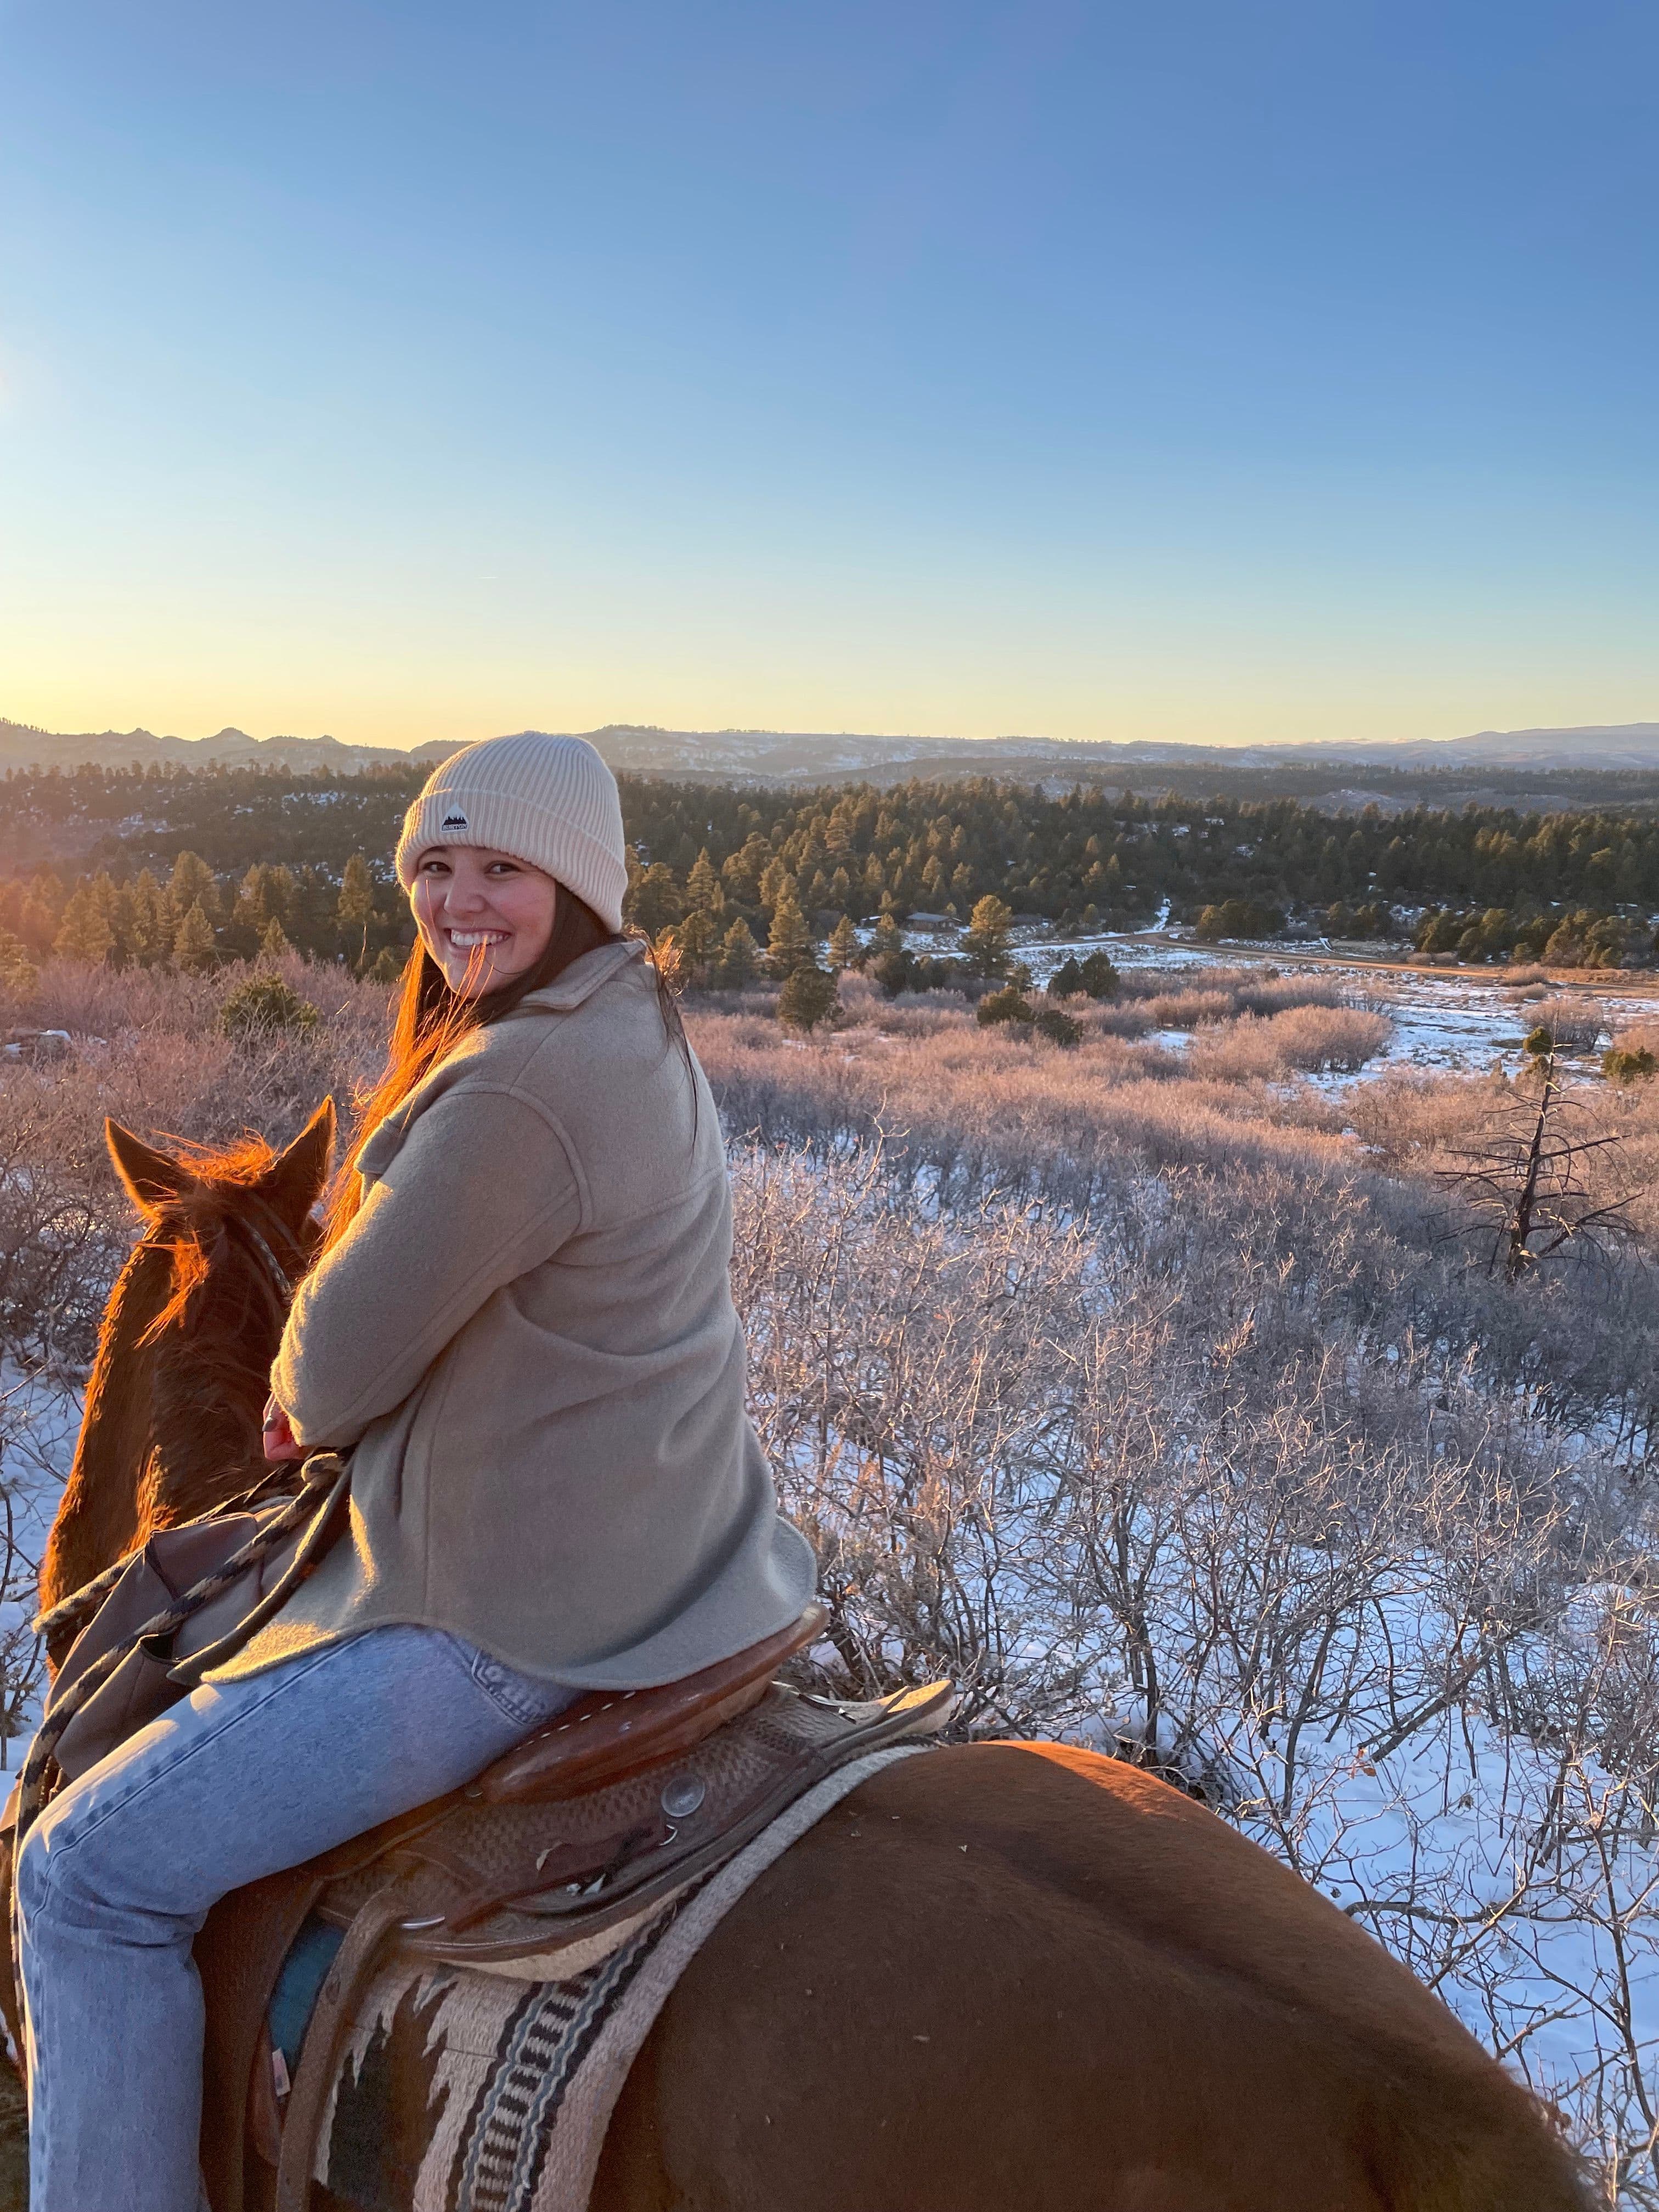
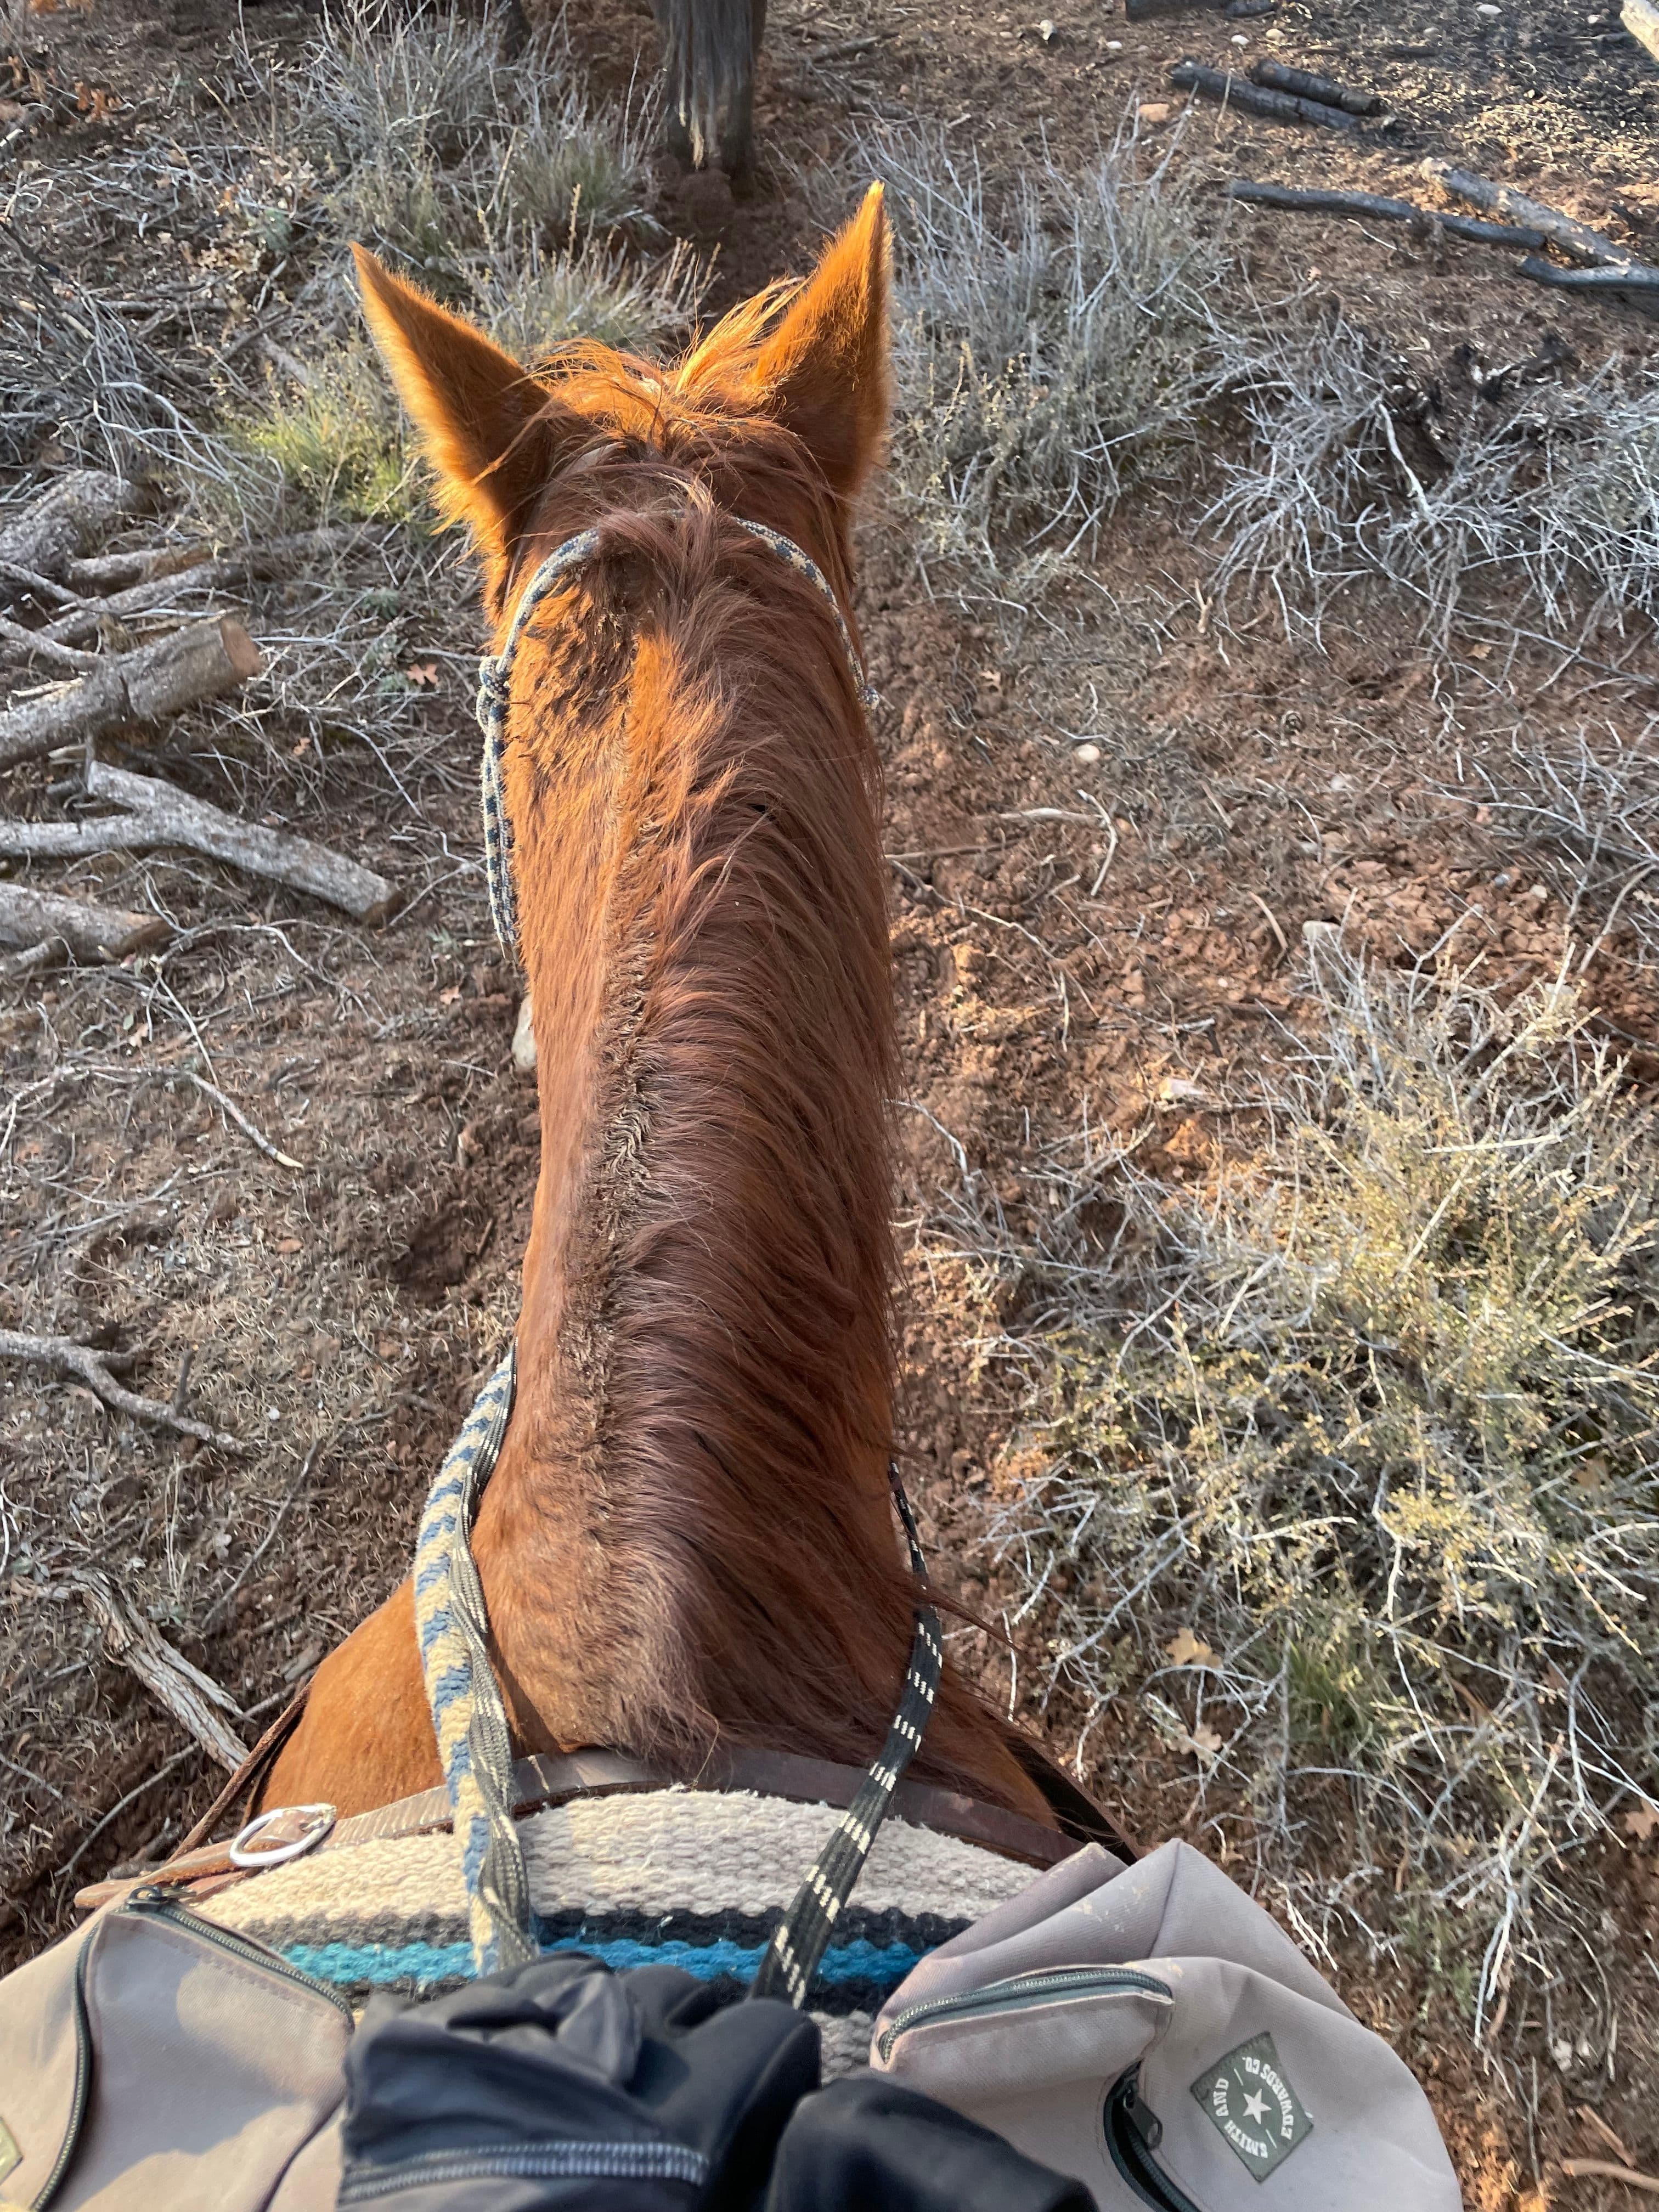
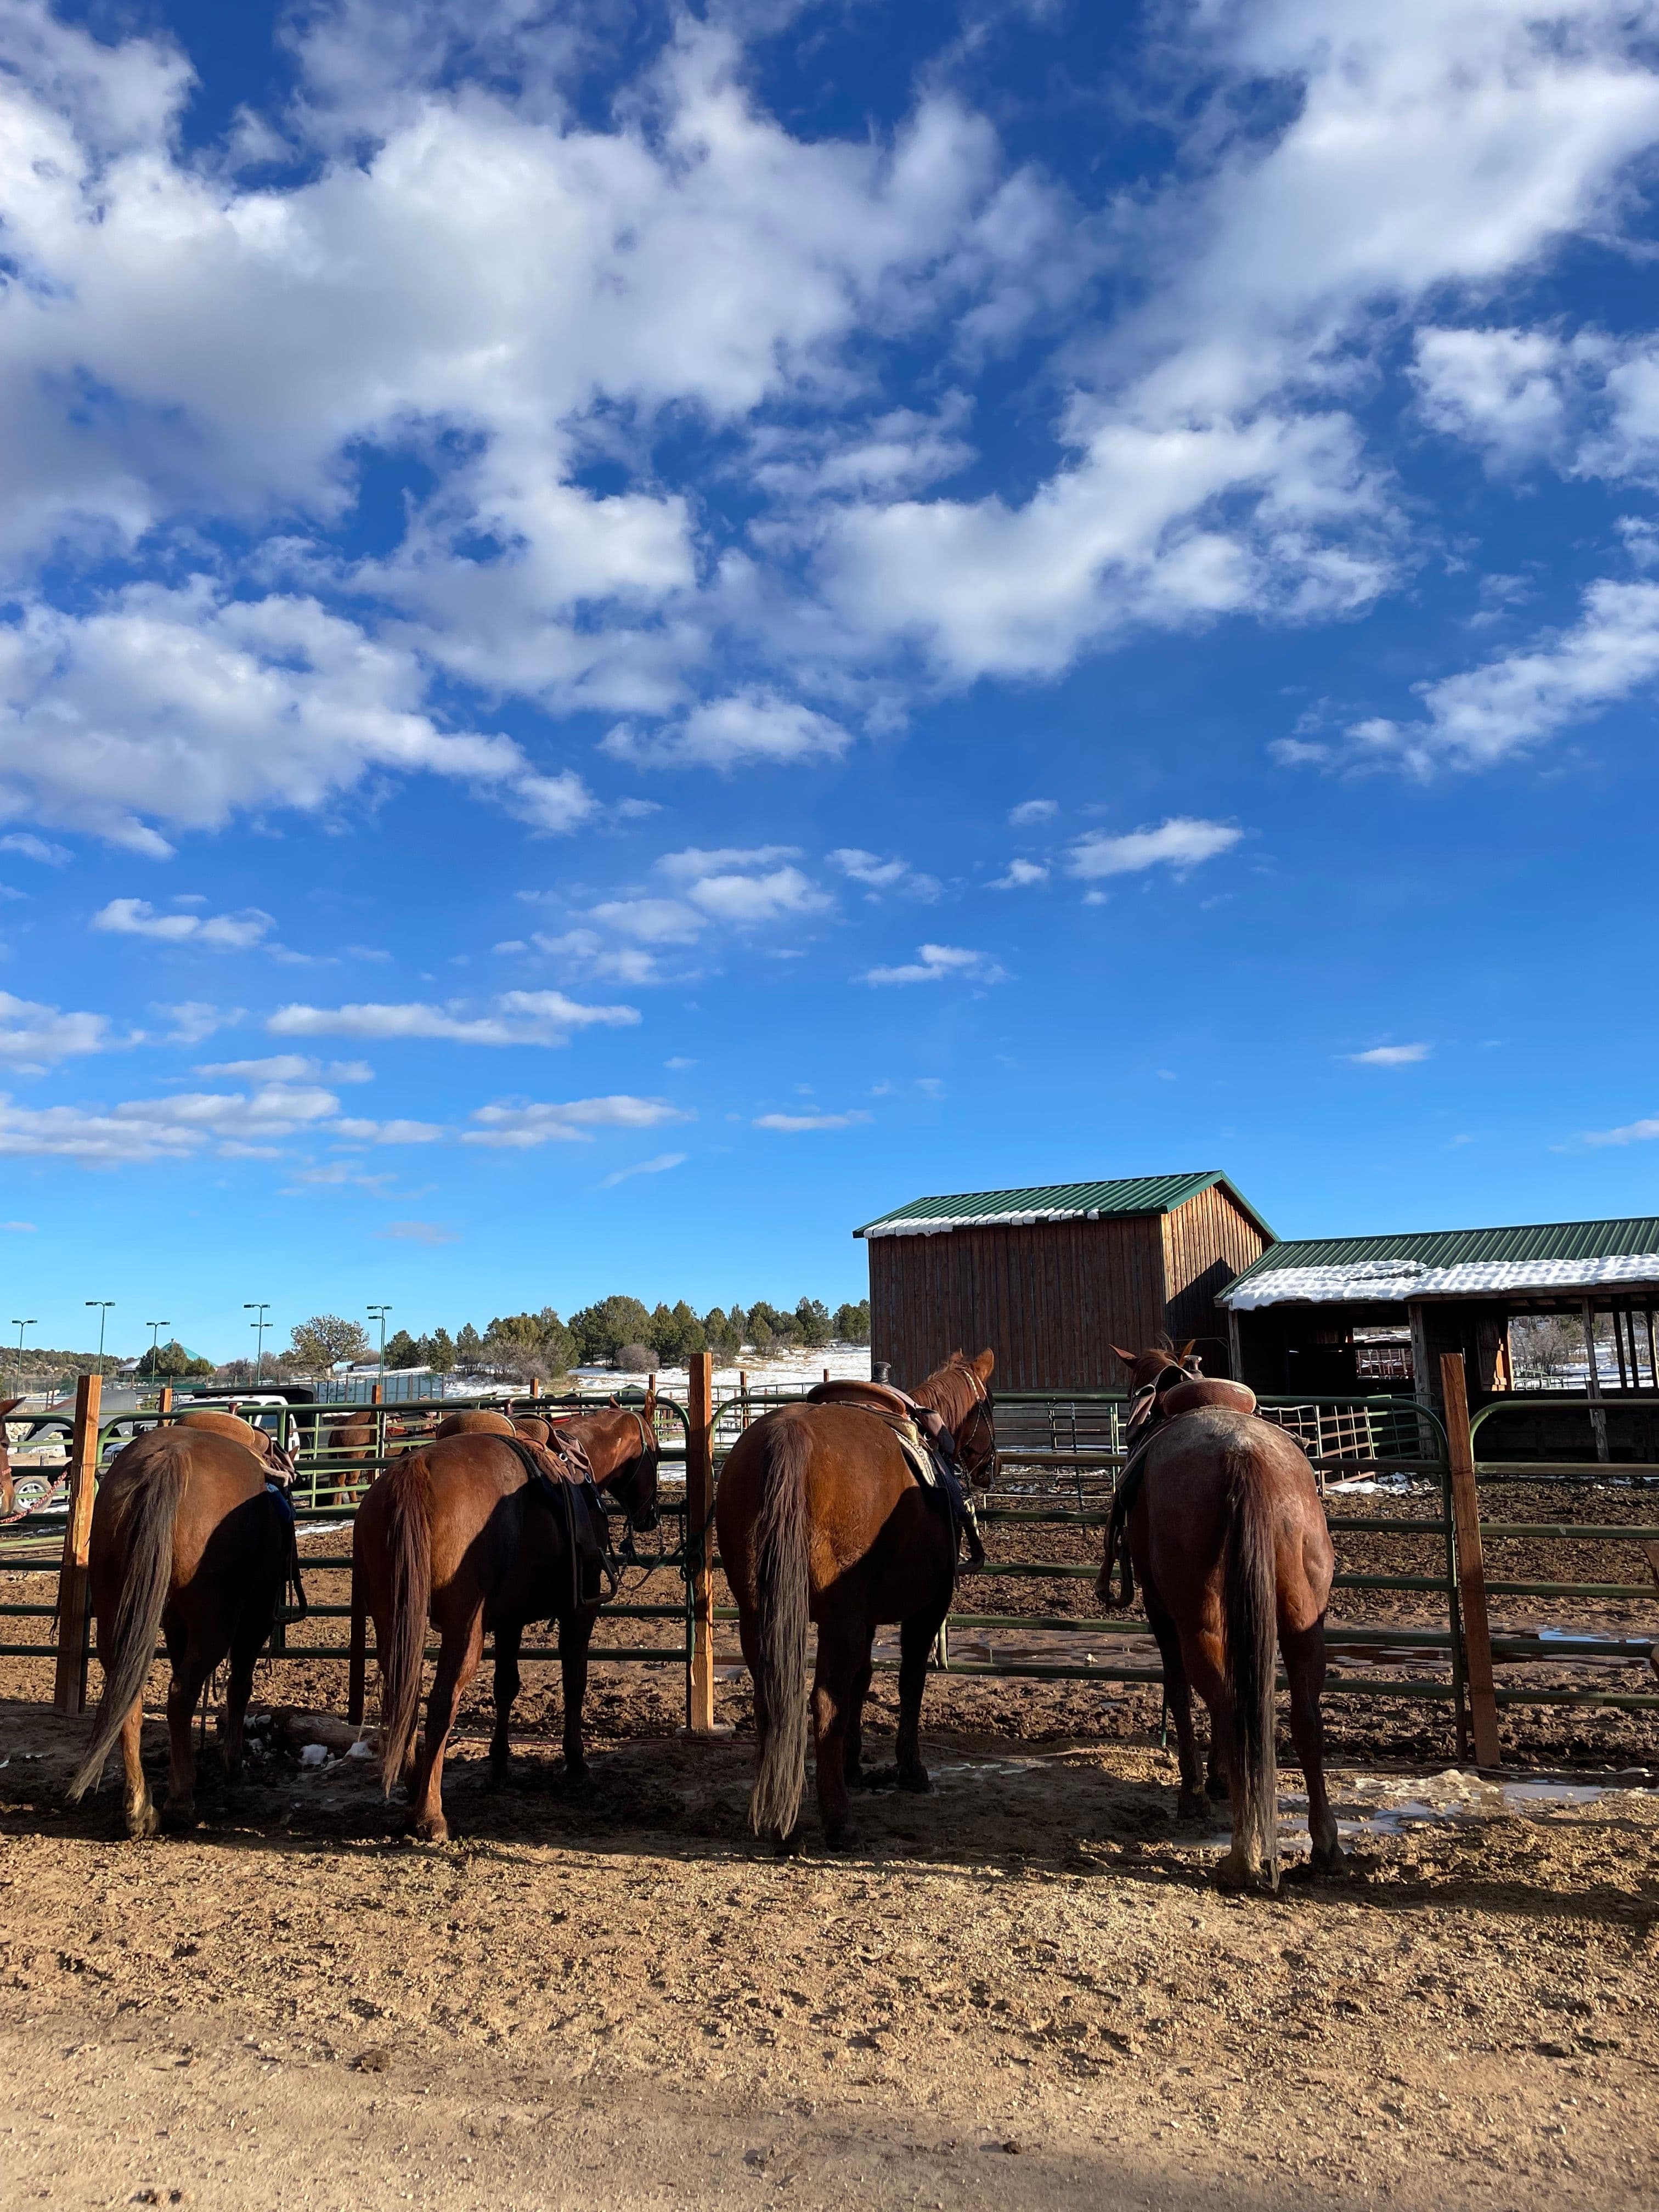
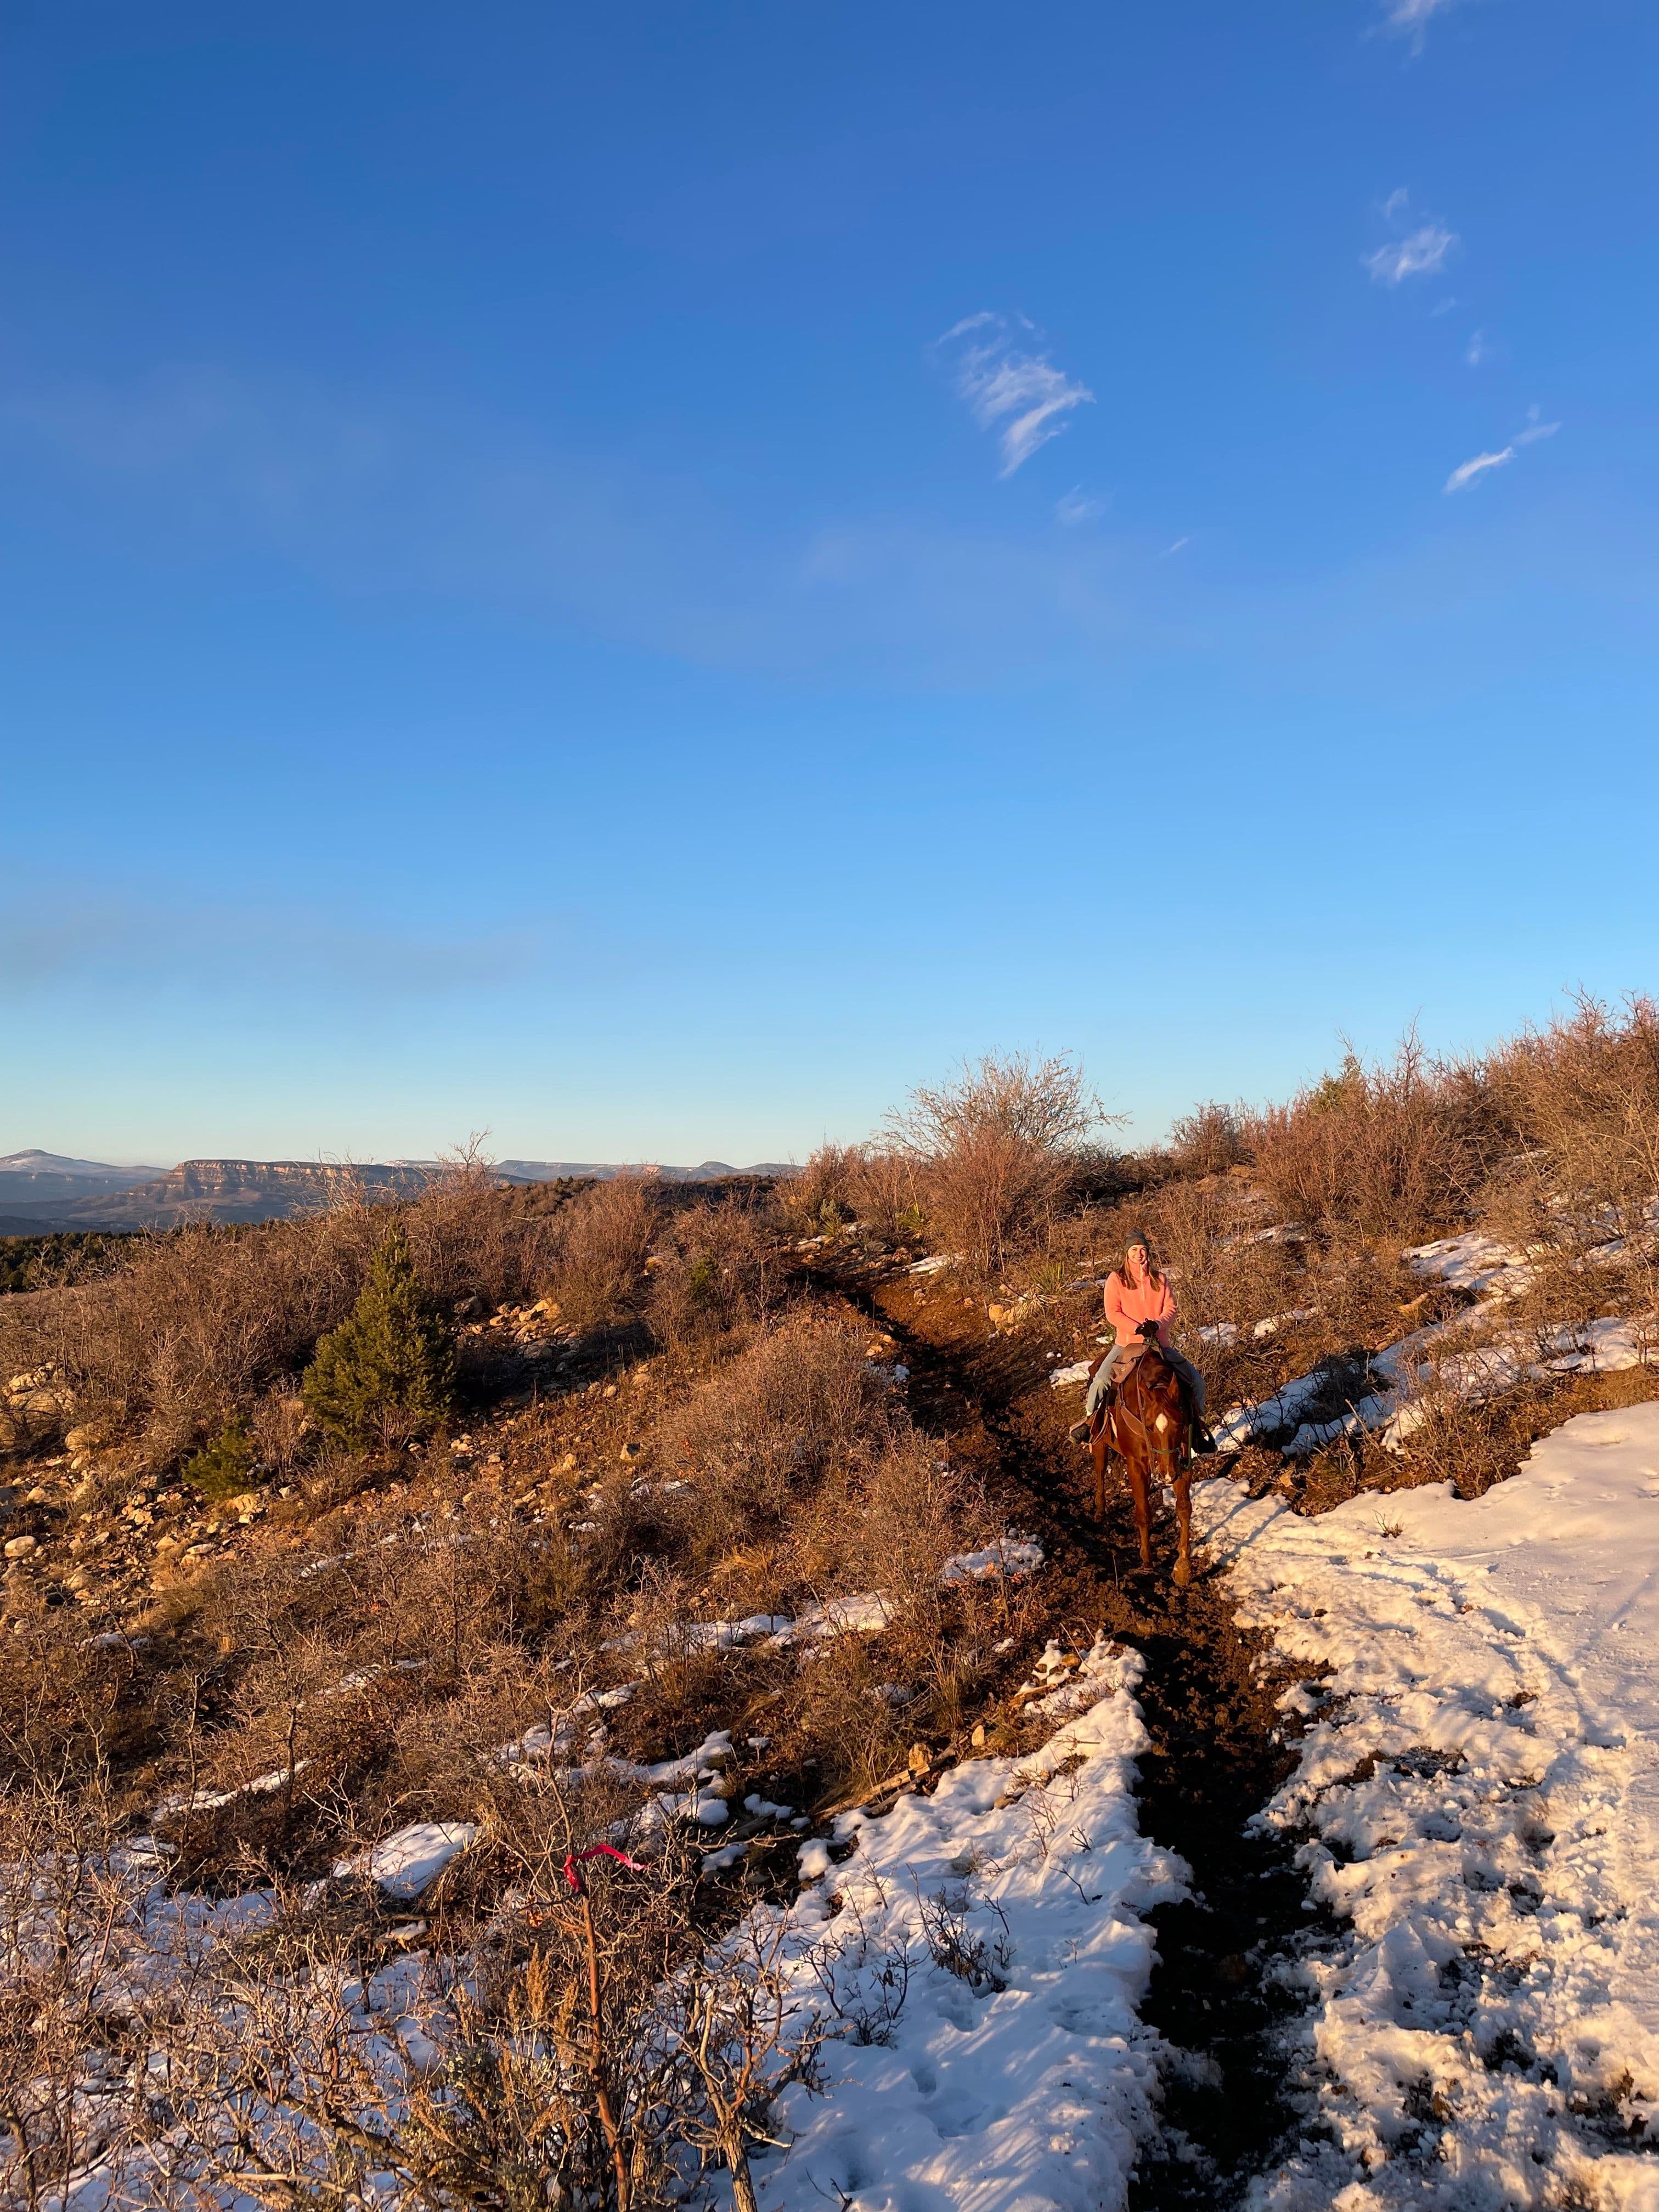
A visit to Zion wouldn’t be complete without a horseback riding tour. We LOVED this experience, and we got to watch the sunset while on horseback. I would highly recommend it.
- 7
Check-In at Zion Mountain Ranch
- 8
Dinner at Zion Mountain Ranch - Cordwood Restaurant
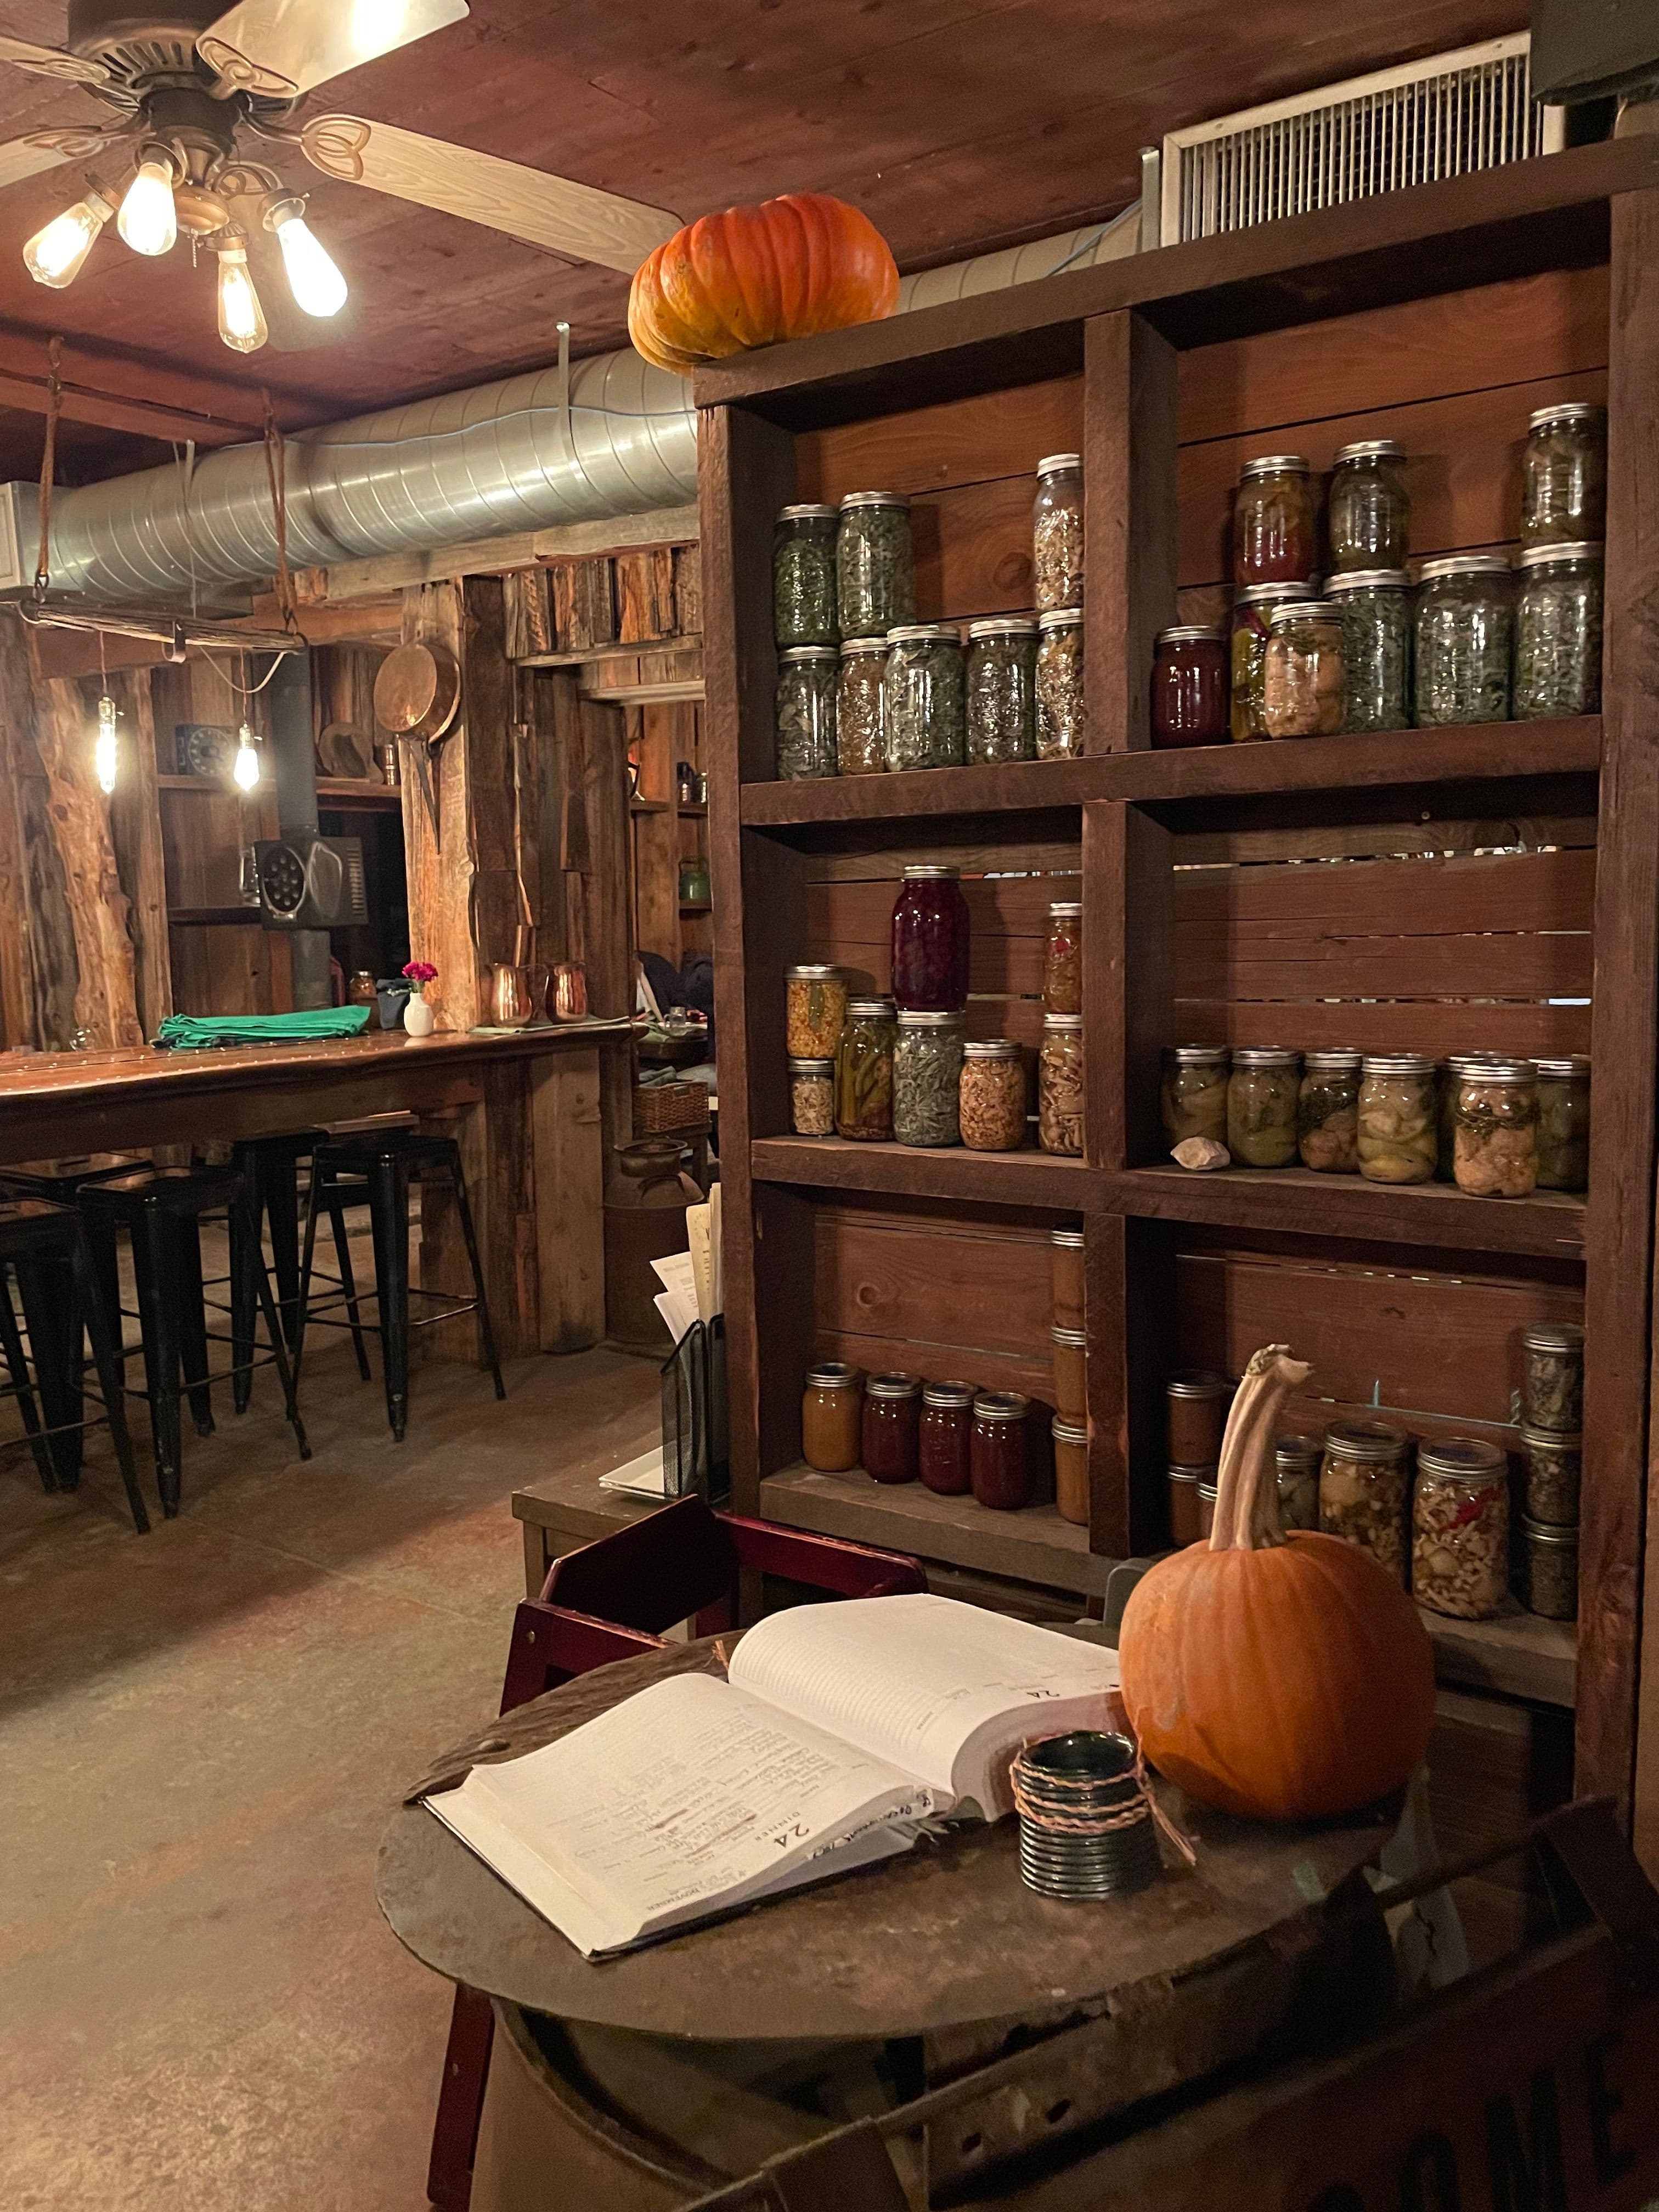
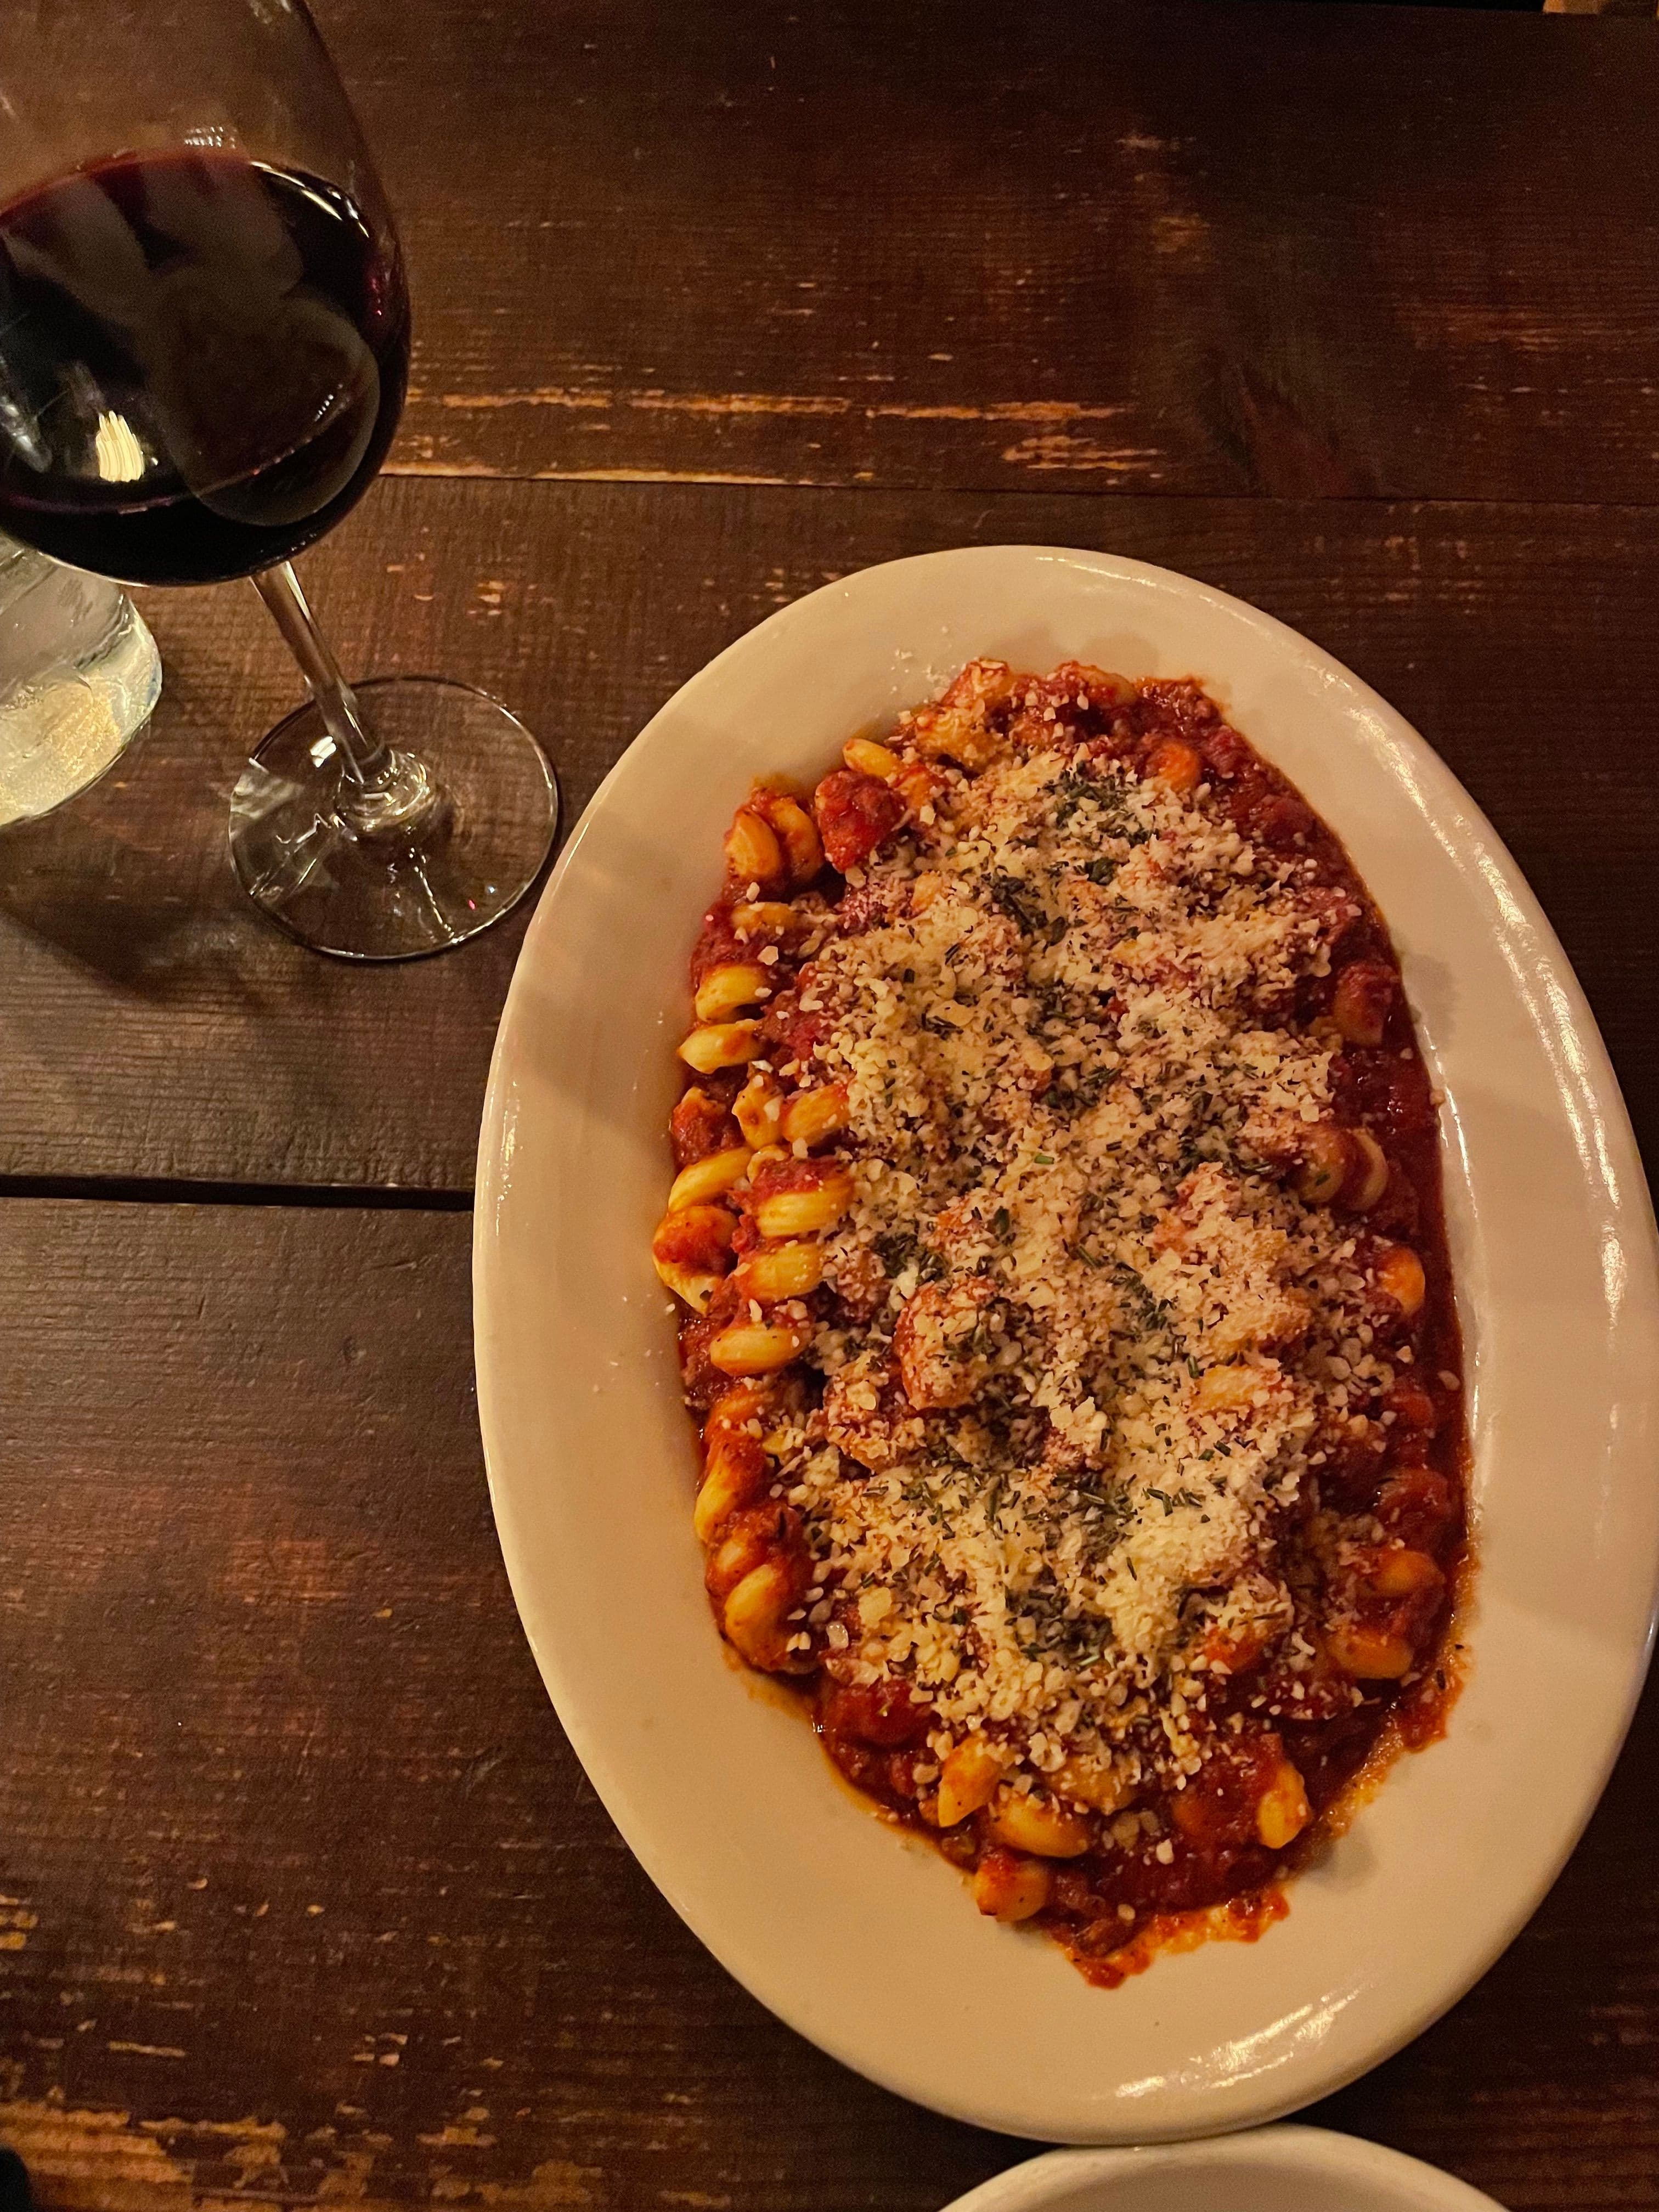
The ranch has a farm-to-table restaurant that was absolutely delicious. We loved the restaurant so much we went back for breakfast the following morning!
- 9
Campfire and Stargazing
There is no better way to finish off a busy day than with some smores.
If you want to go on a stargazing adventure, check this one out for more information.
- 10
Stay at Zion Mountain Ranch
Day 3: Zion to Bryce
- 1
Breakfast at Zion Mountain Ranch
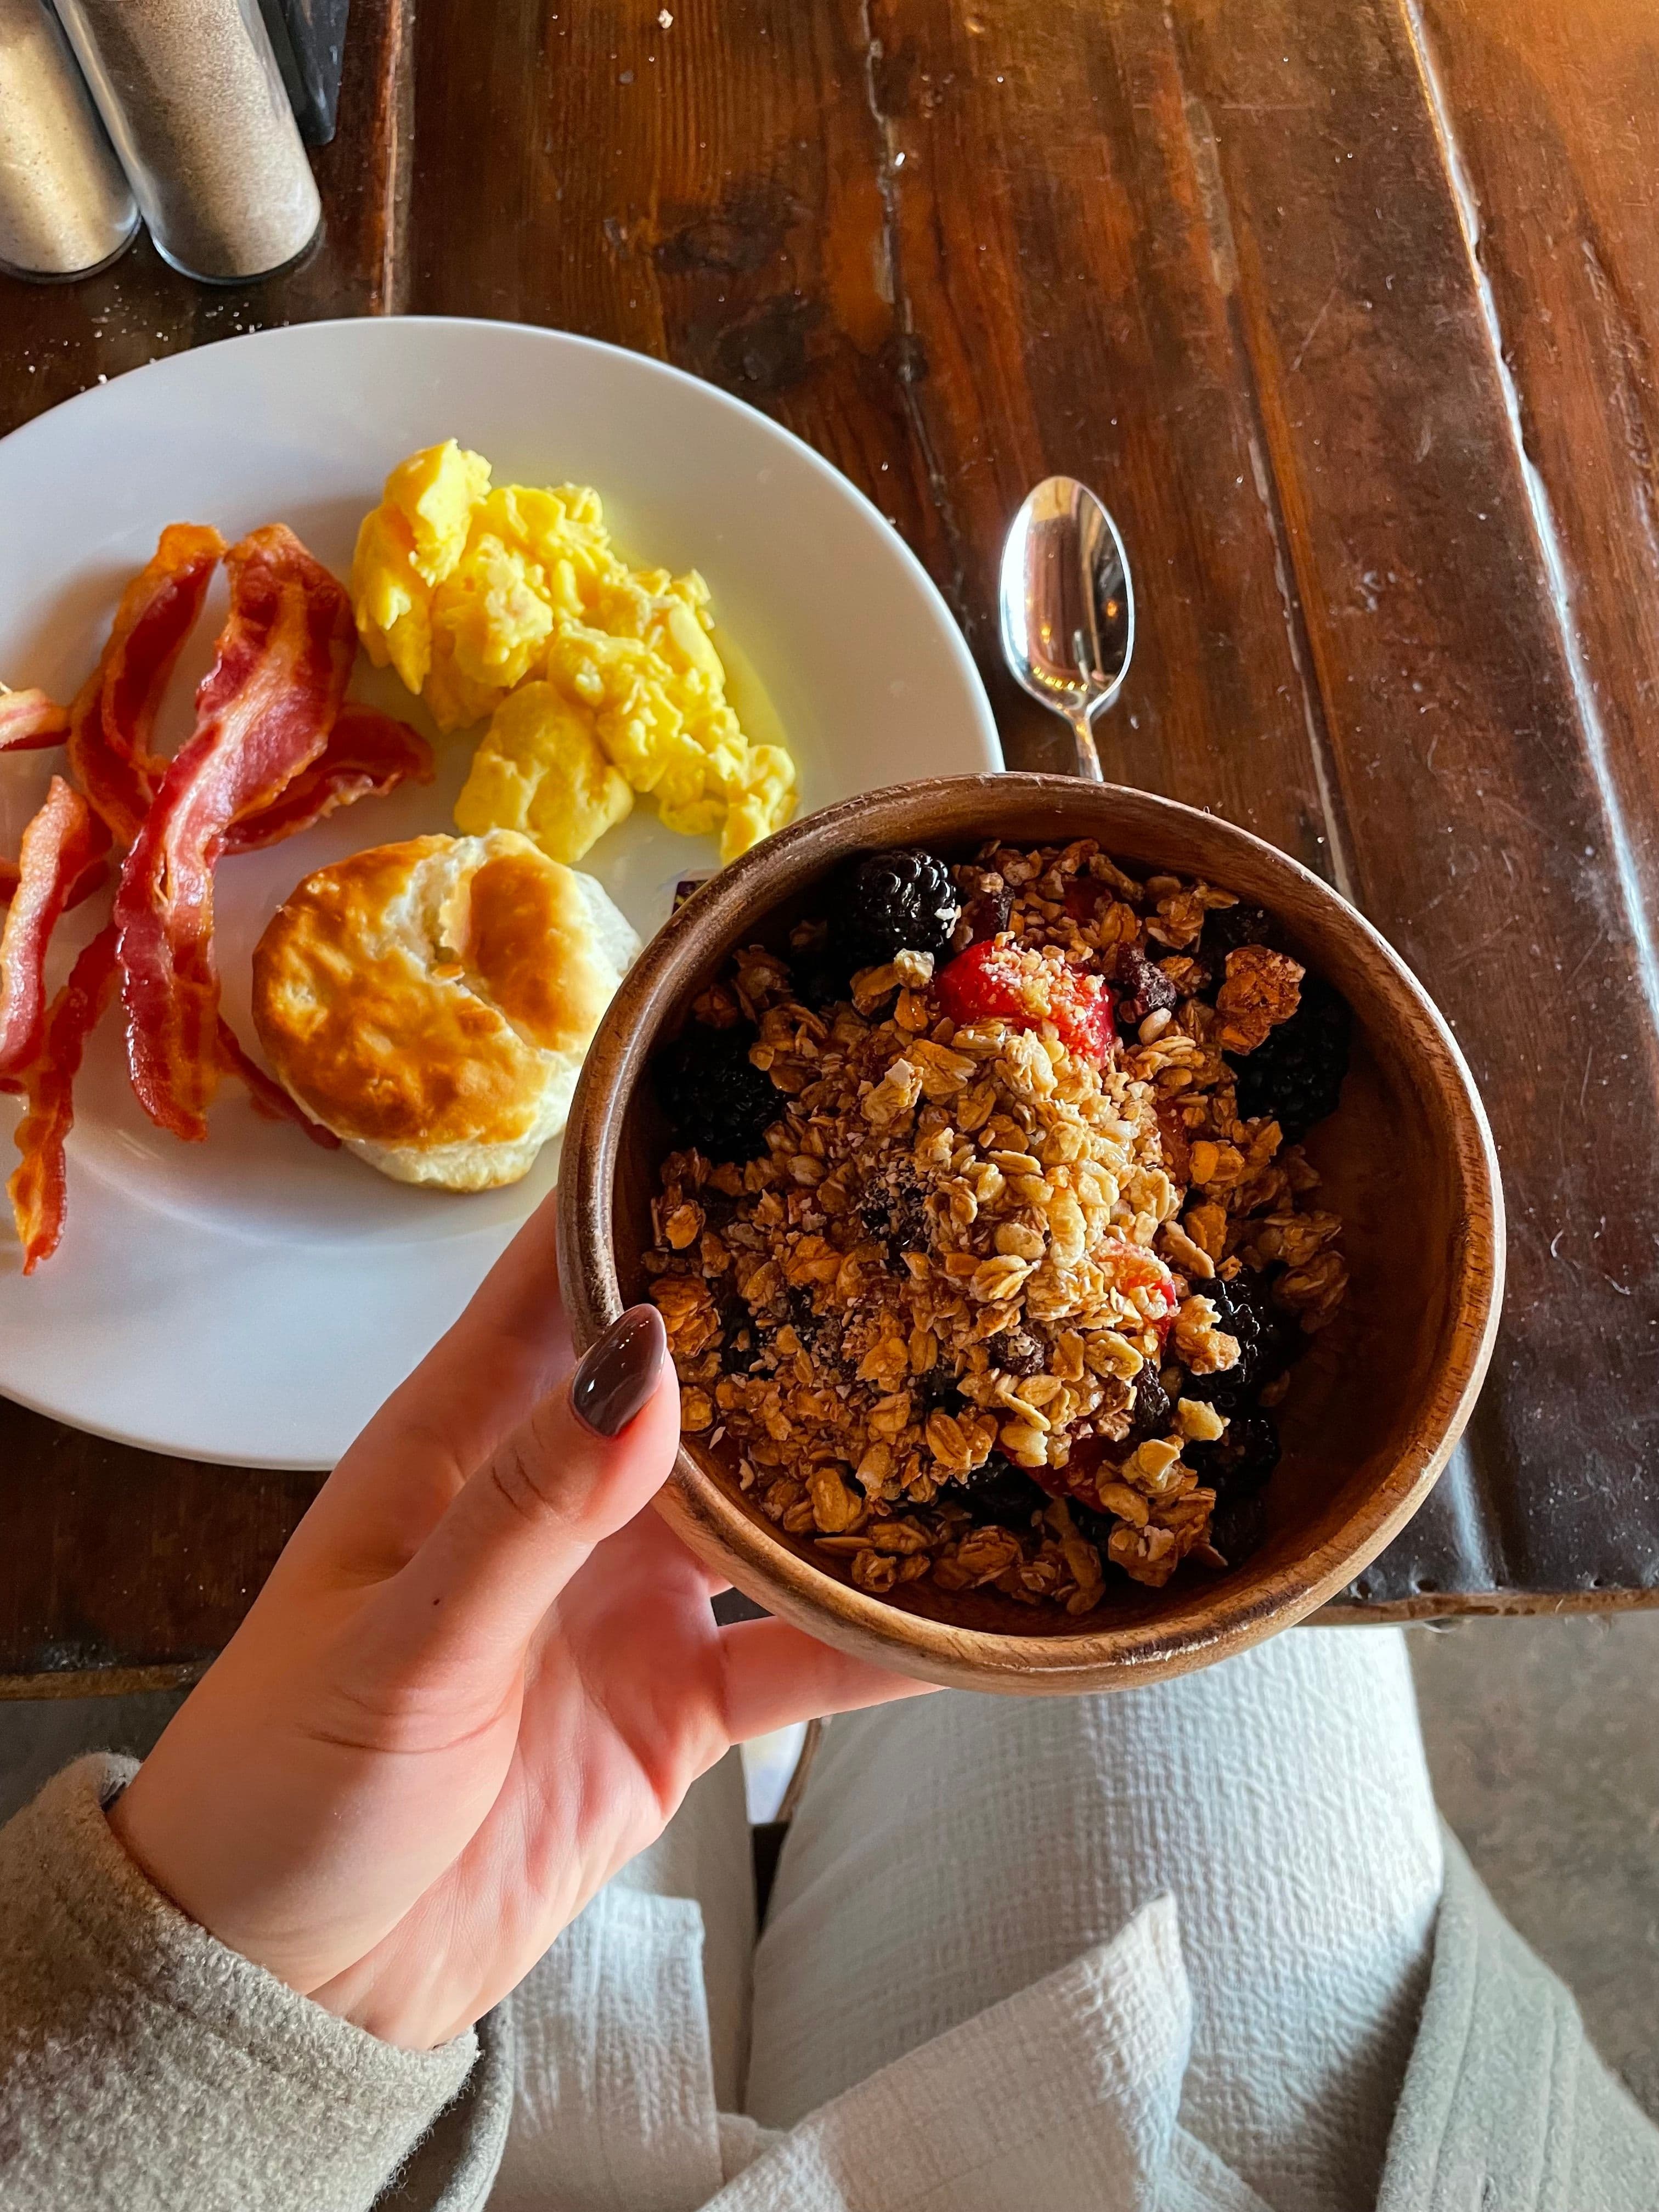
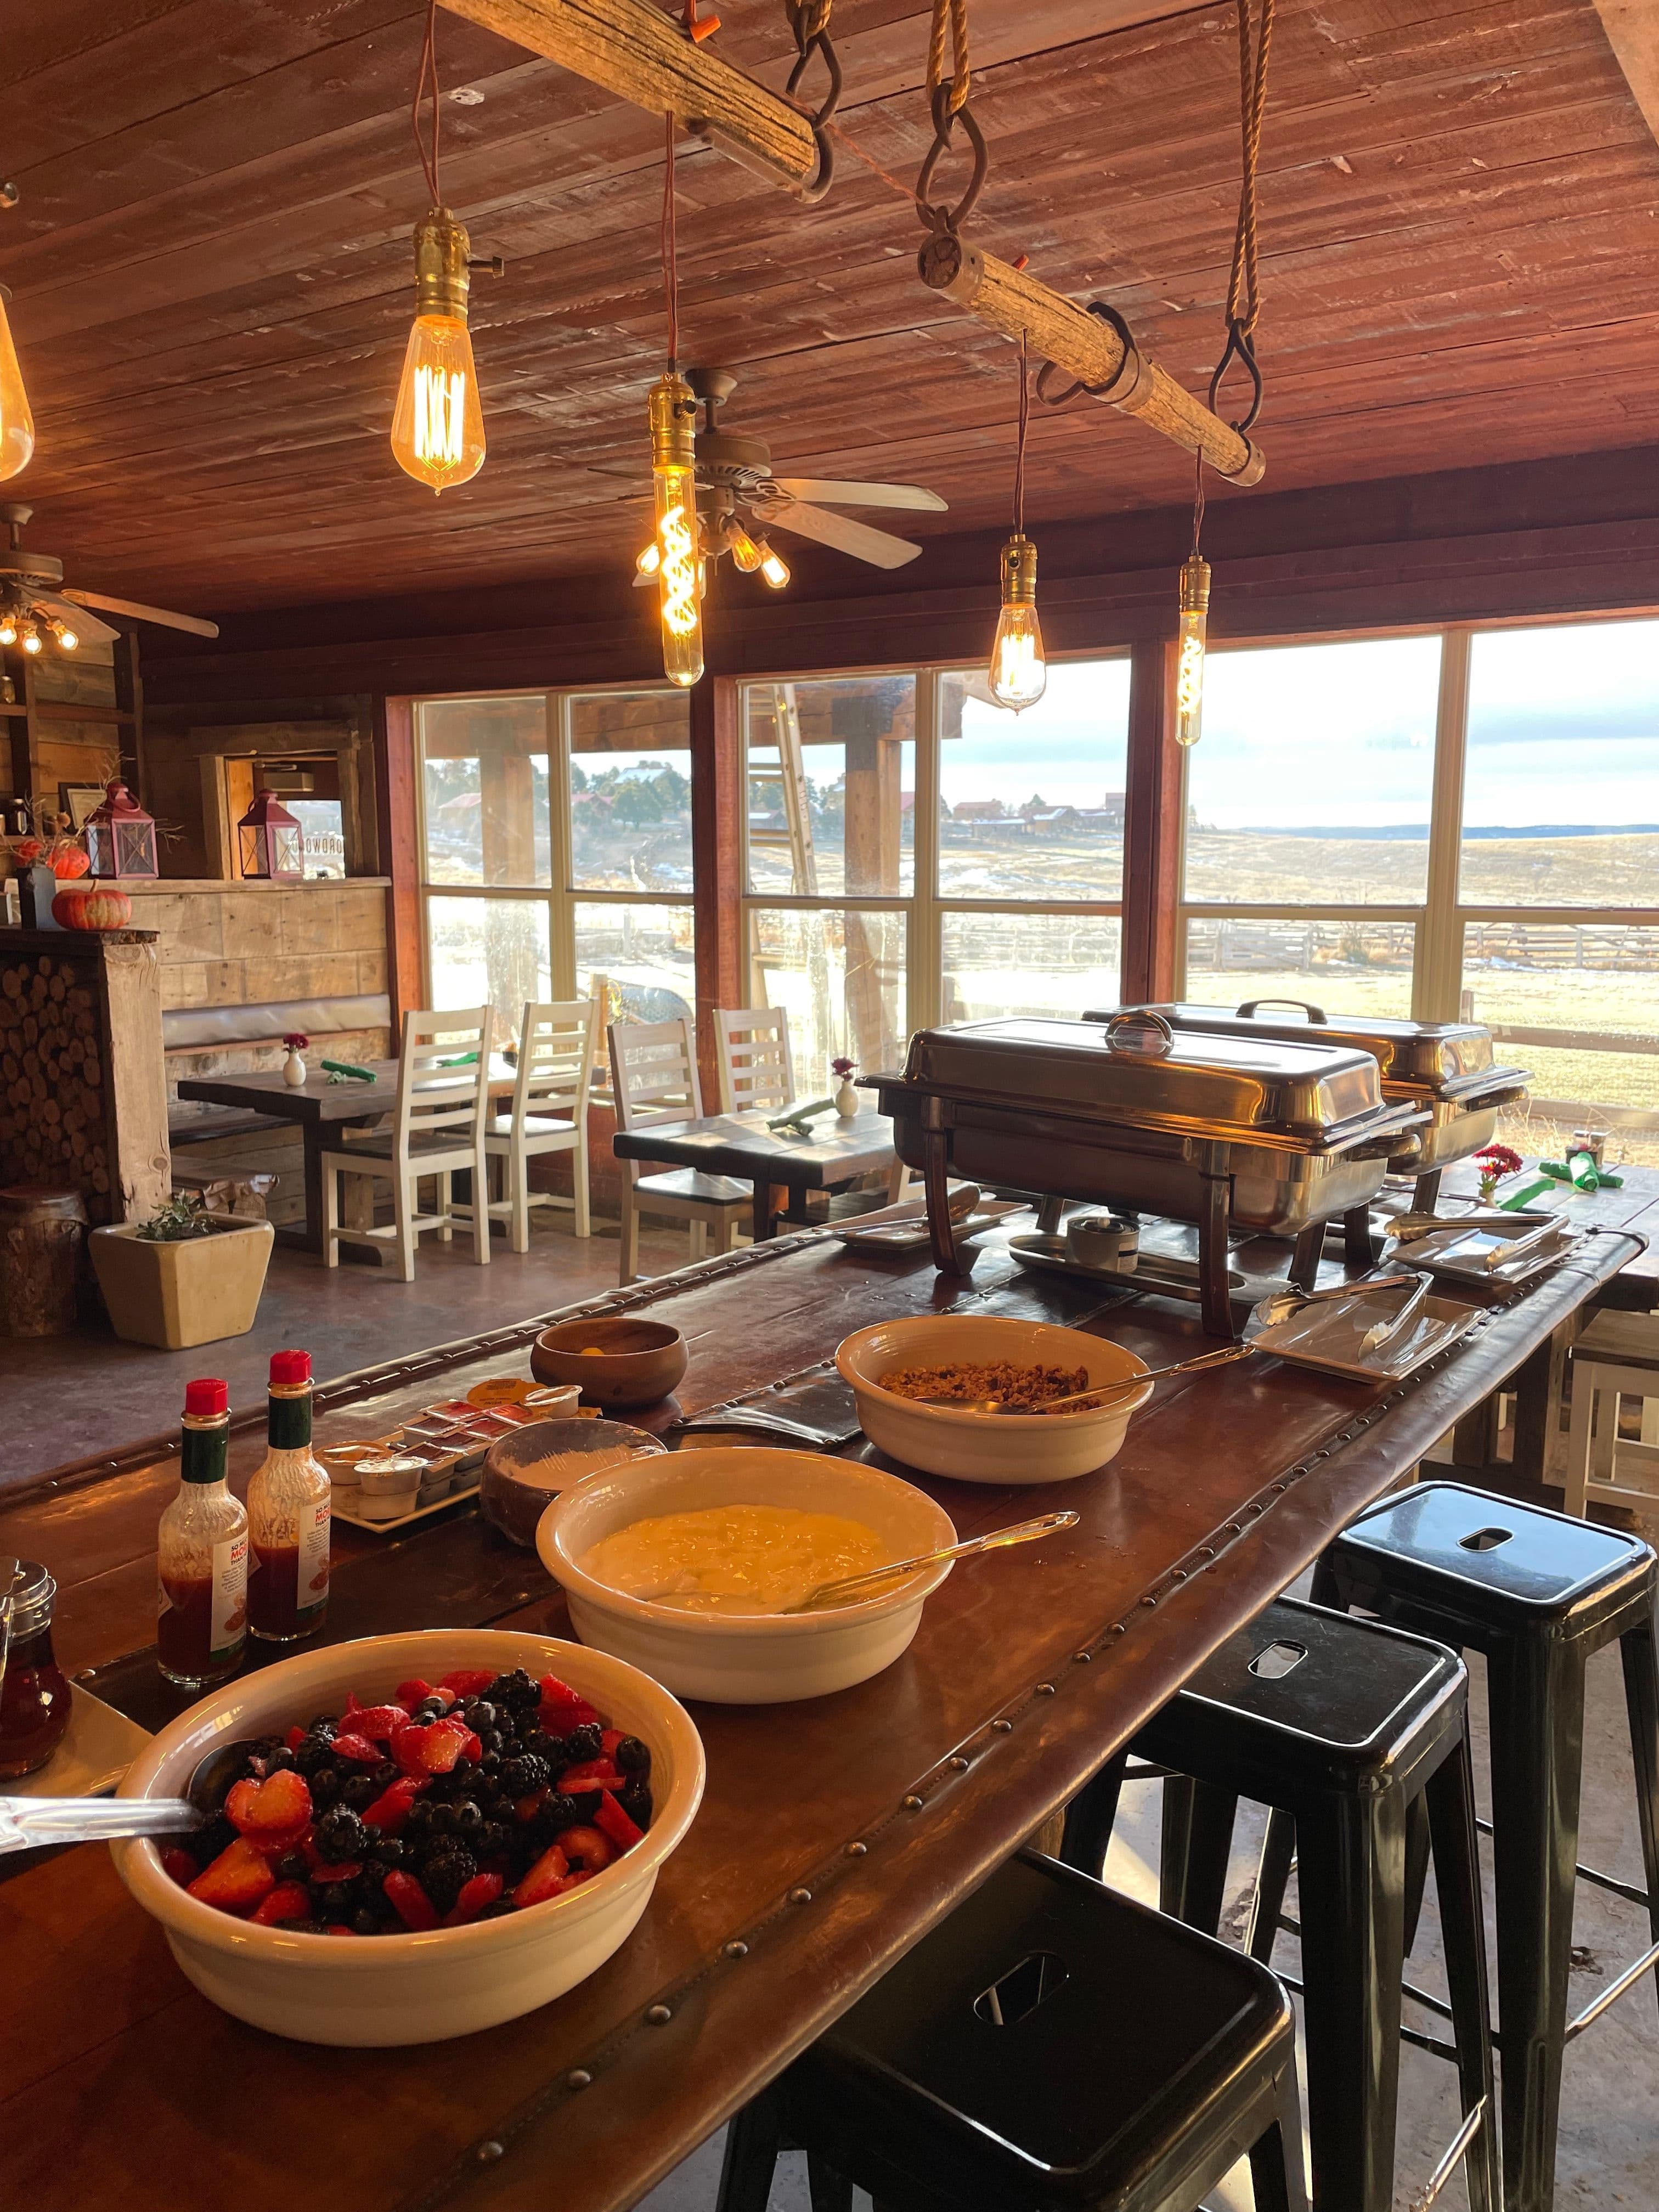
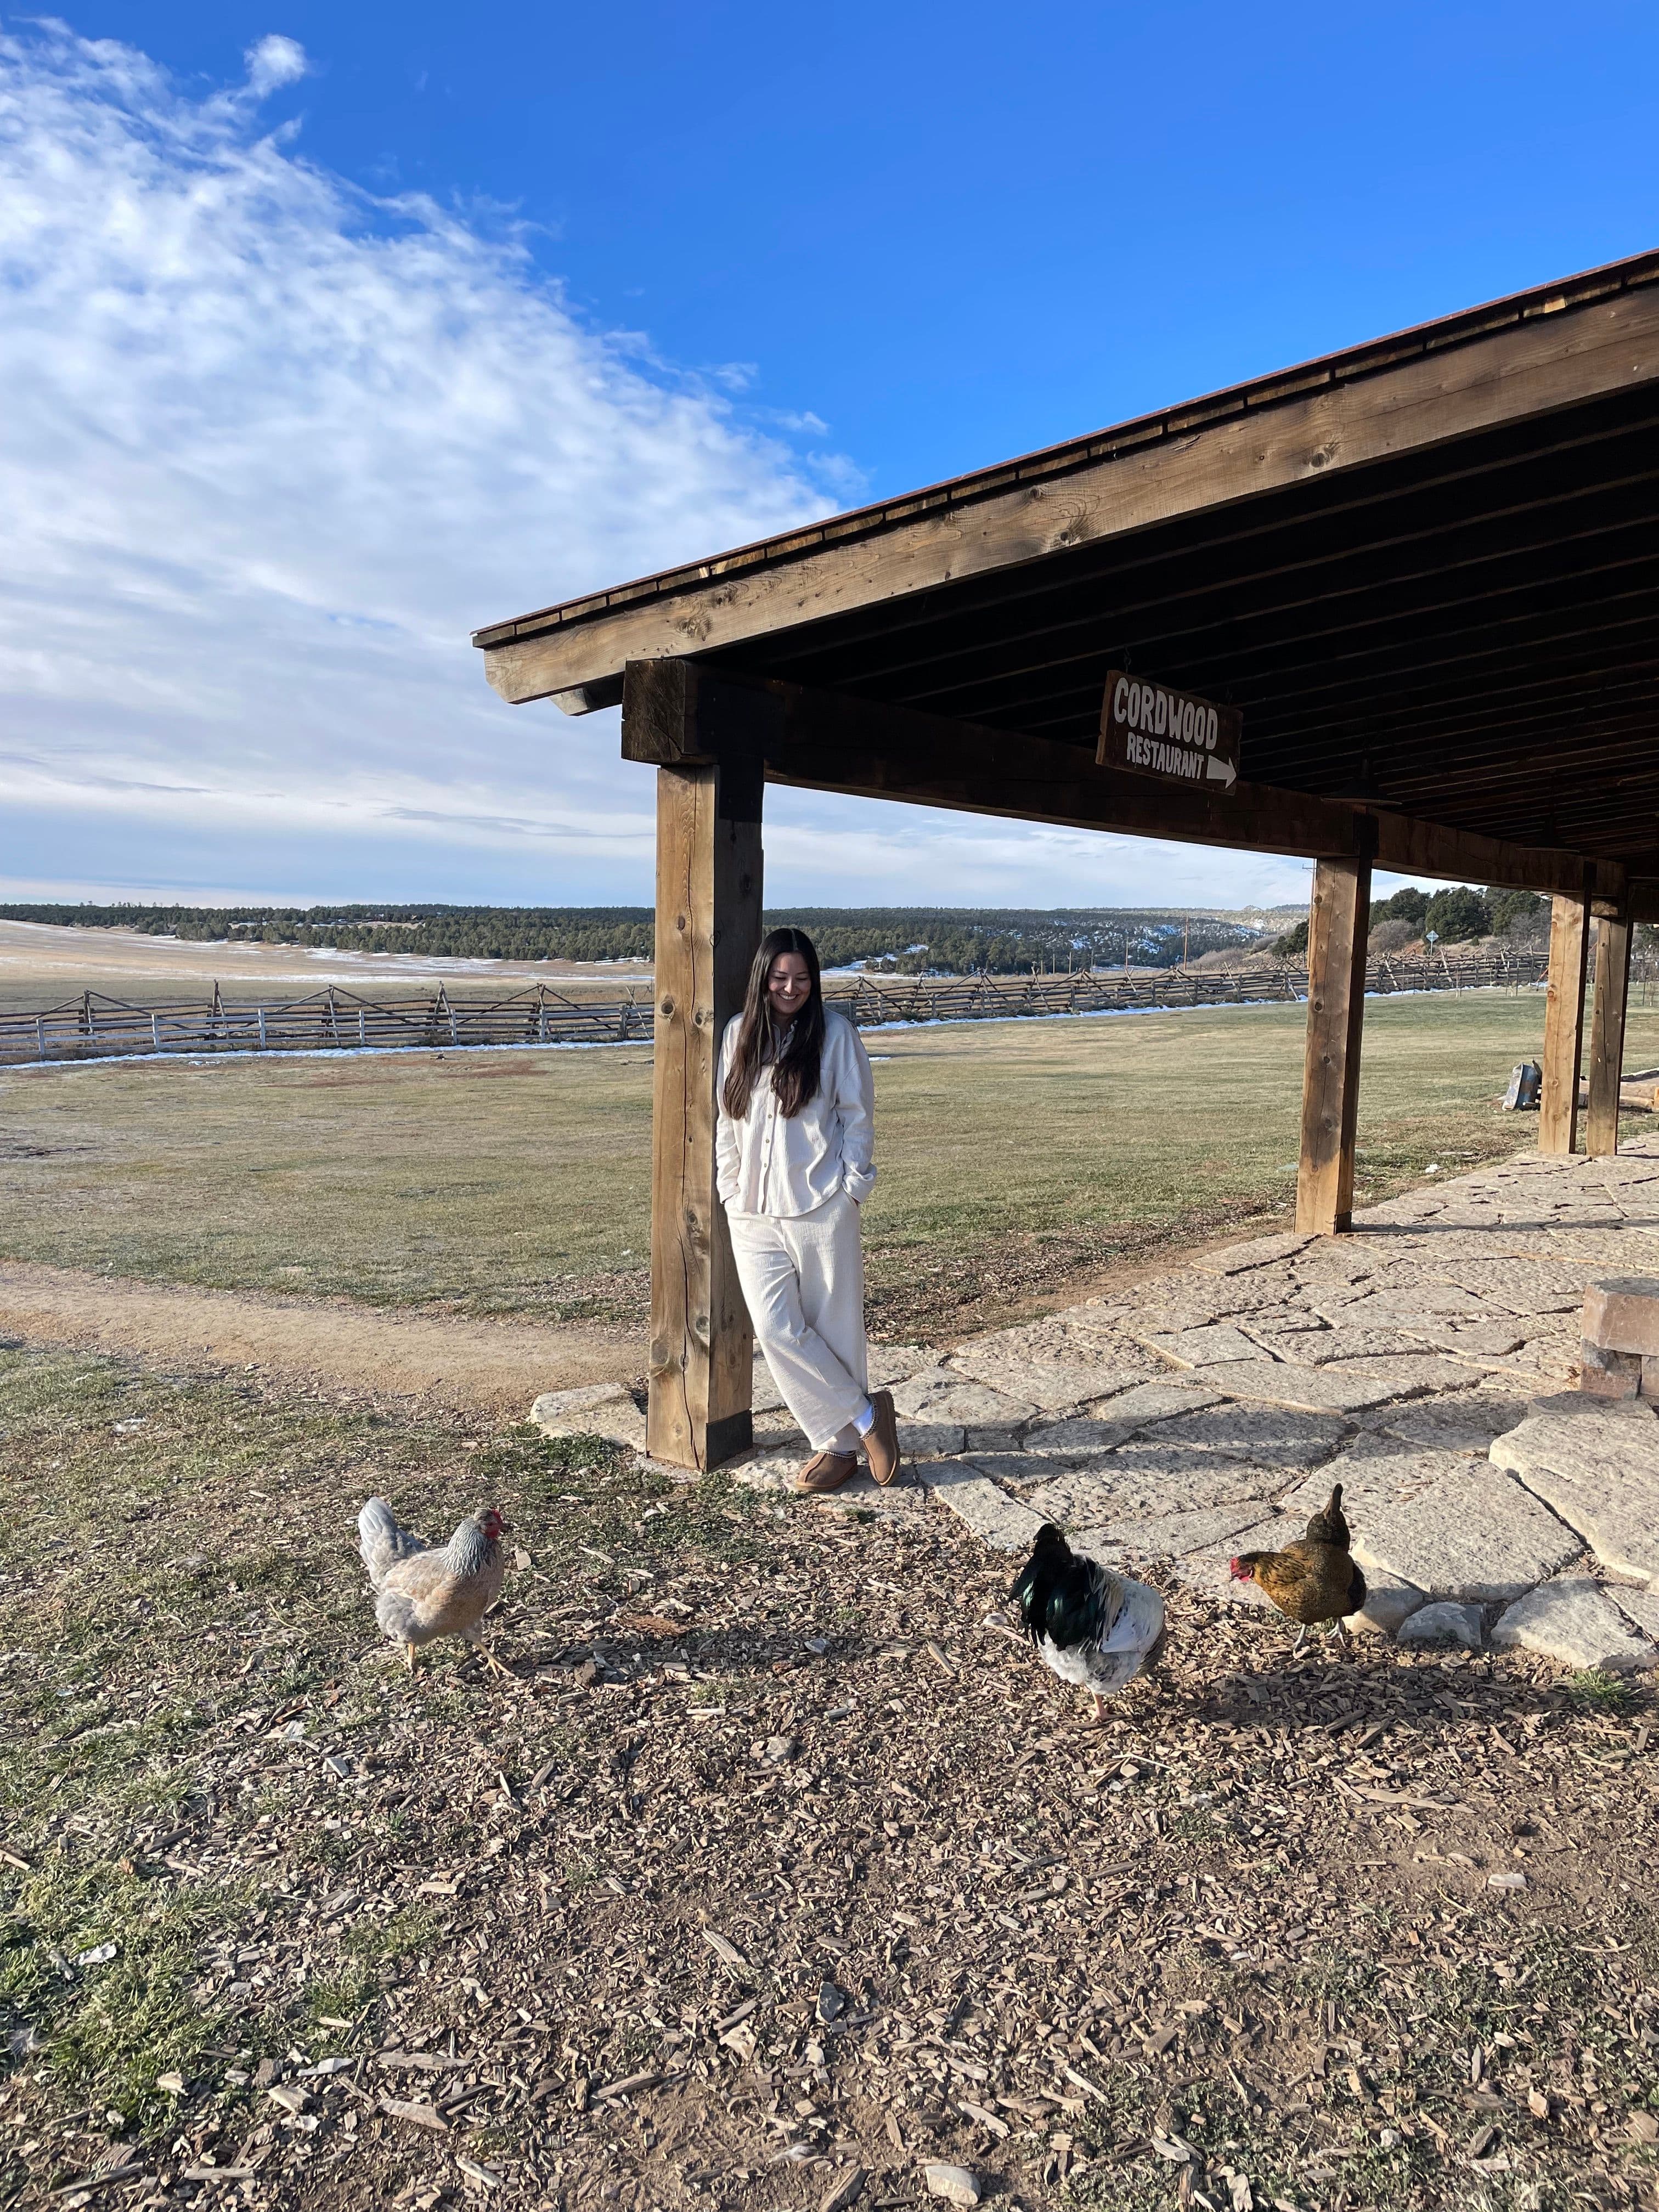
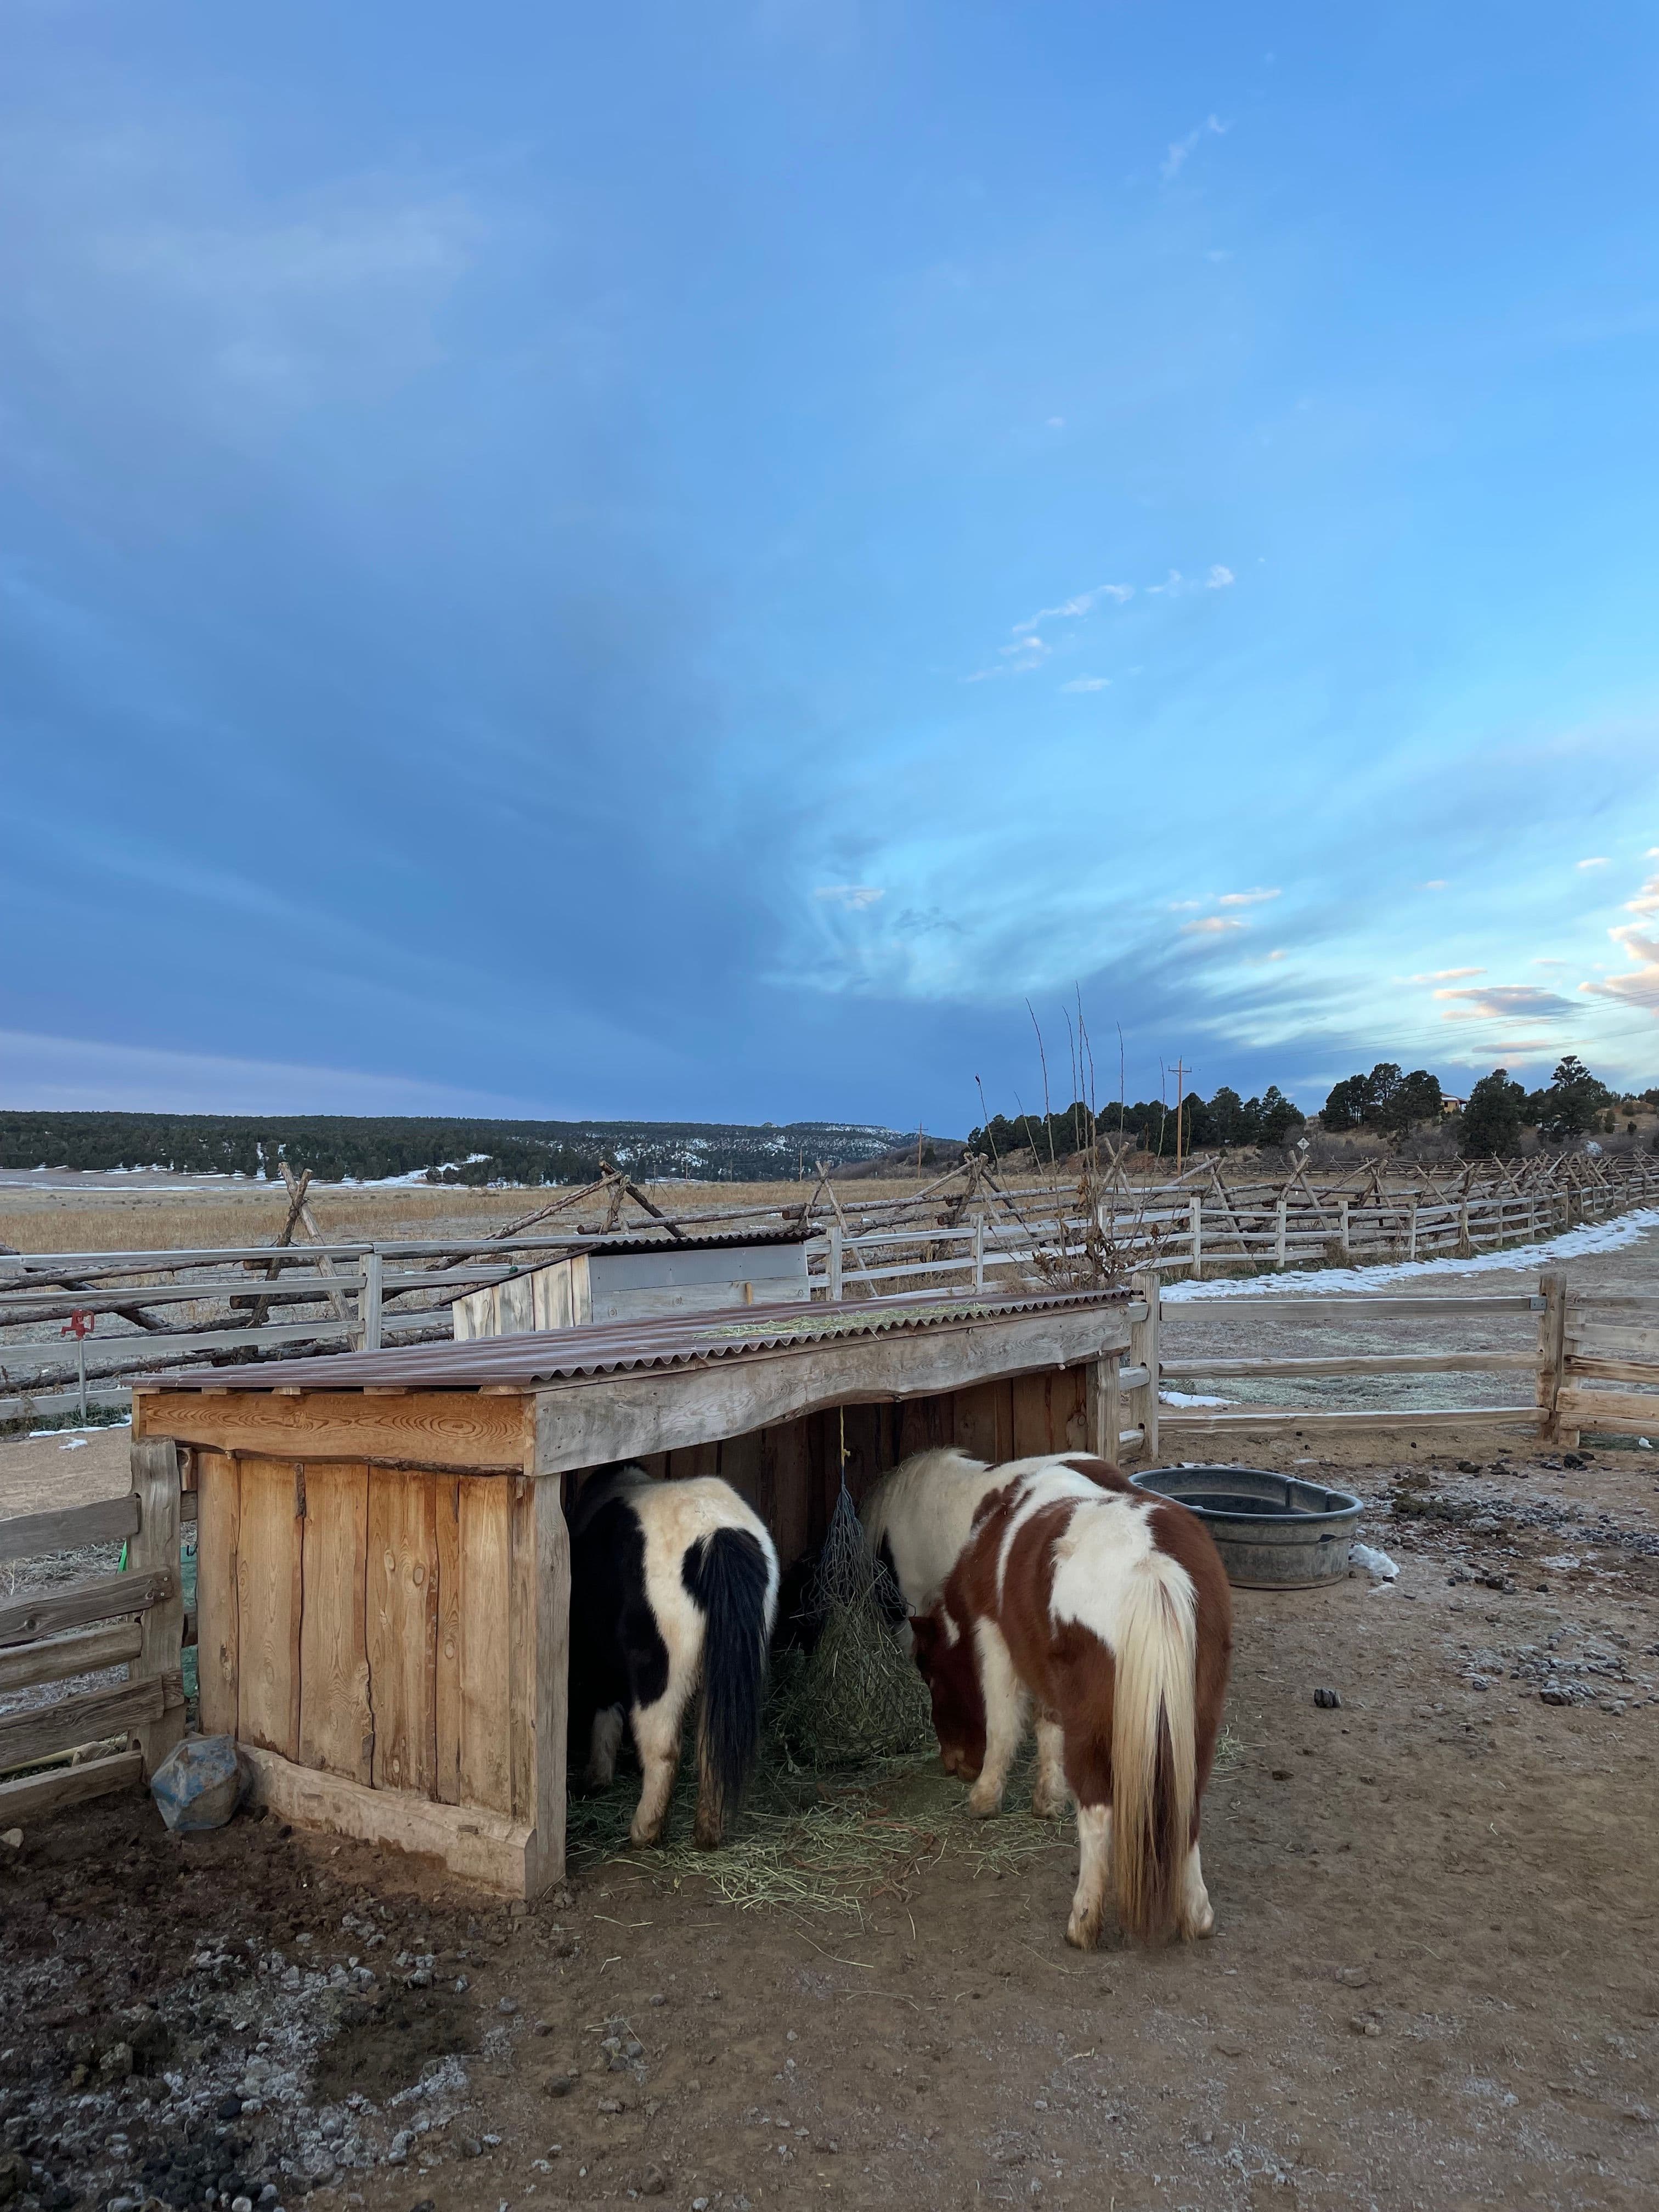
We had a wonderful breakfast buffet at the Ranch. We then spent some time exploring the ranch and meeting all the animals.
- 2
Get rental equipment for The Narrows
Because of the time of year we were visiting Zion, we had to rent hiking equipment to be able to complete the Narrows. We rented from Zion Outfitters, which is located right outside of Zion National Park.
Make sure to do some research to know if you need equipment to complete this hike. Make sure to also be aware of any flash flood warnings.
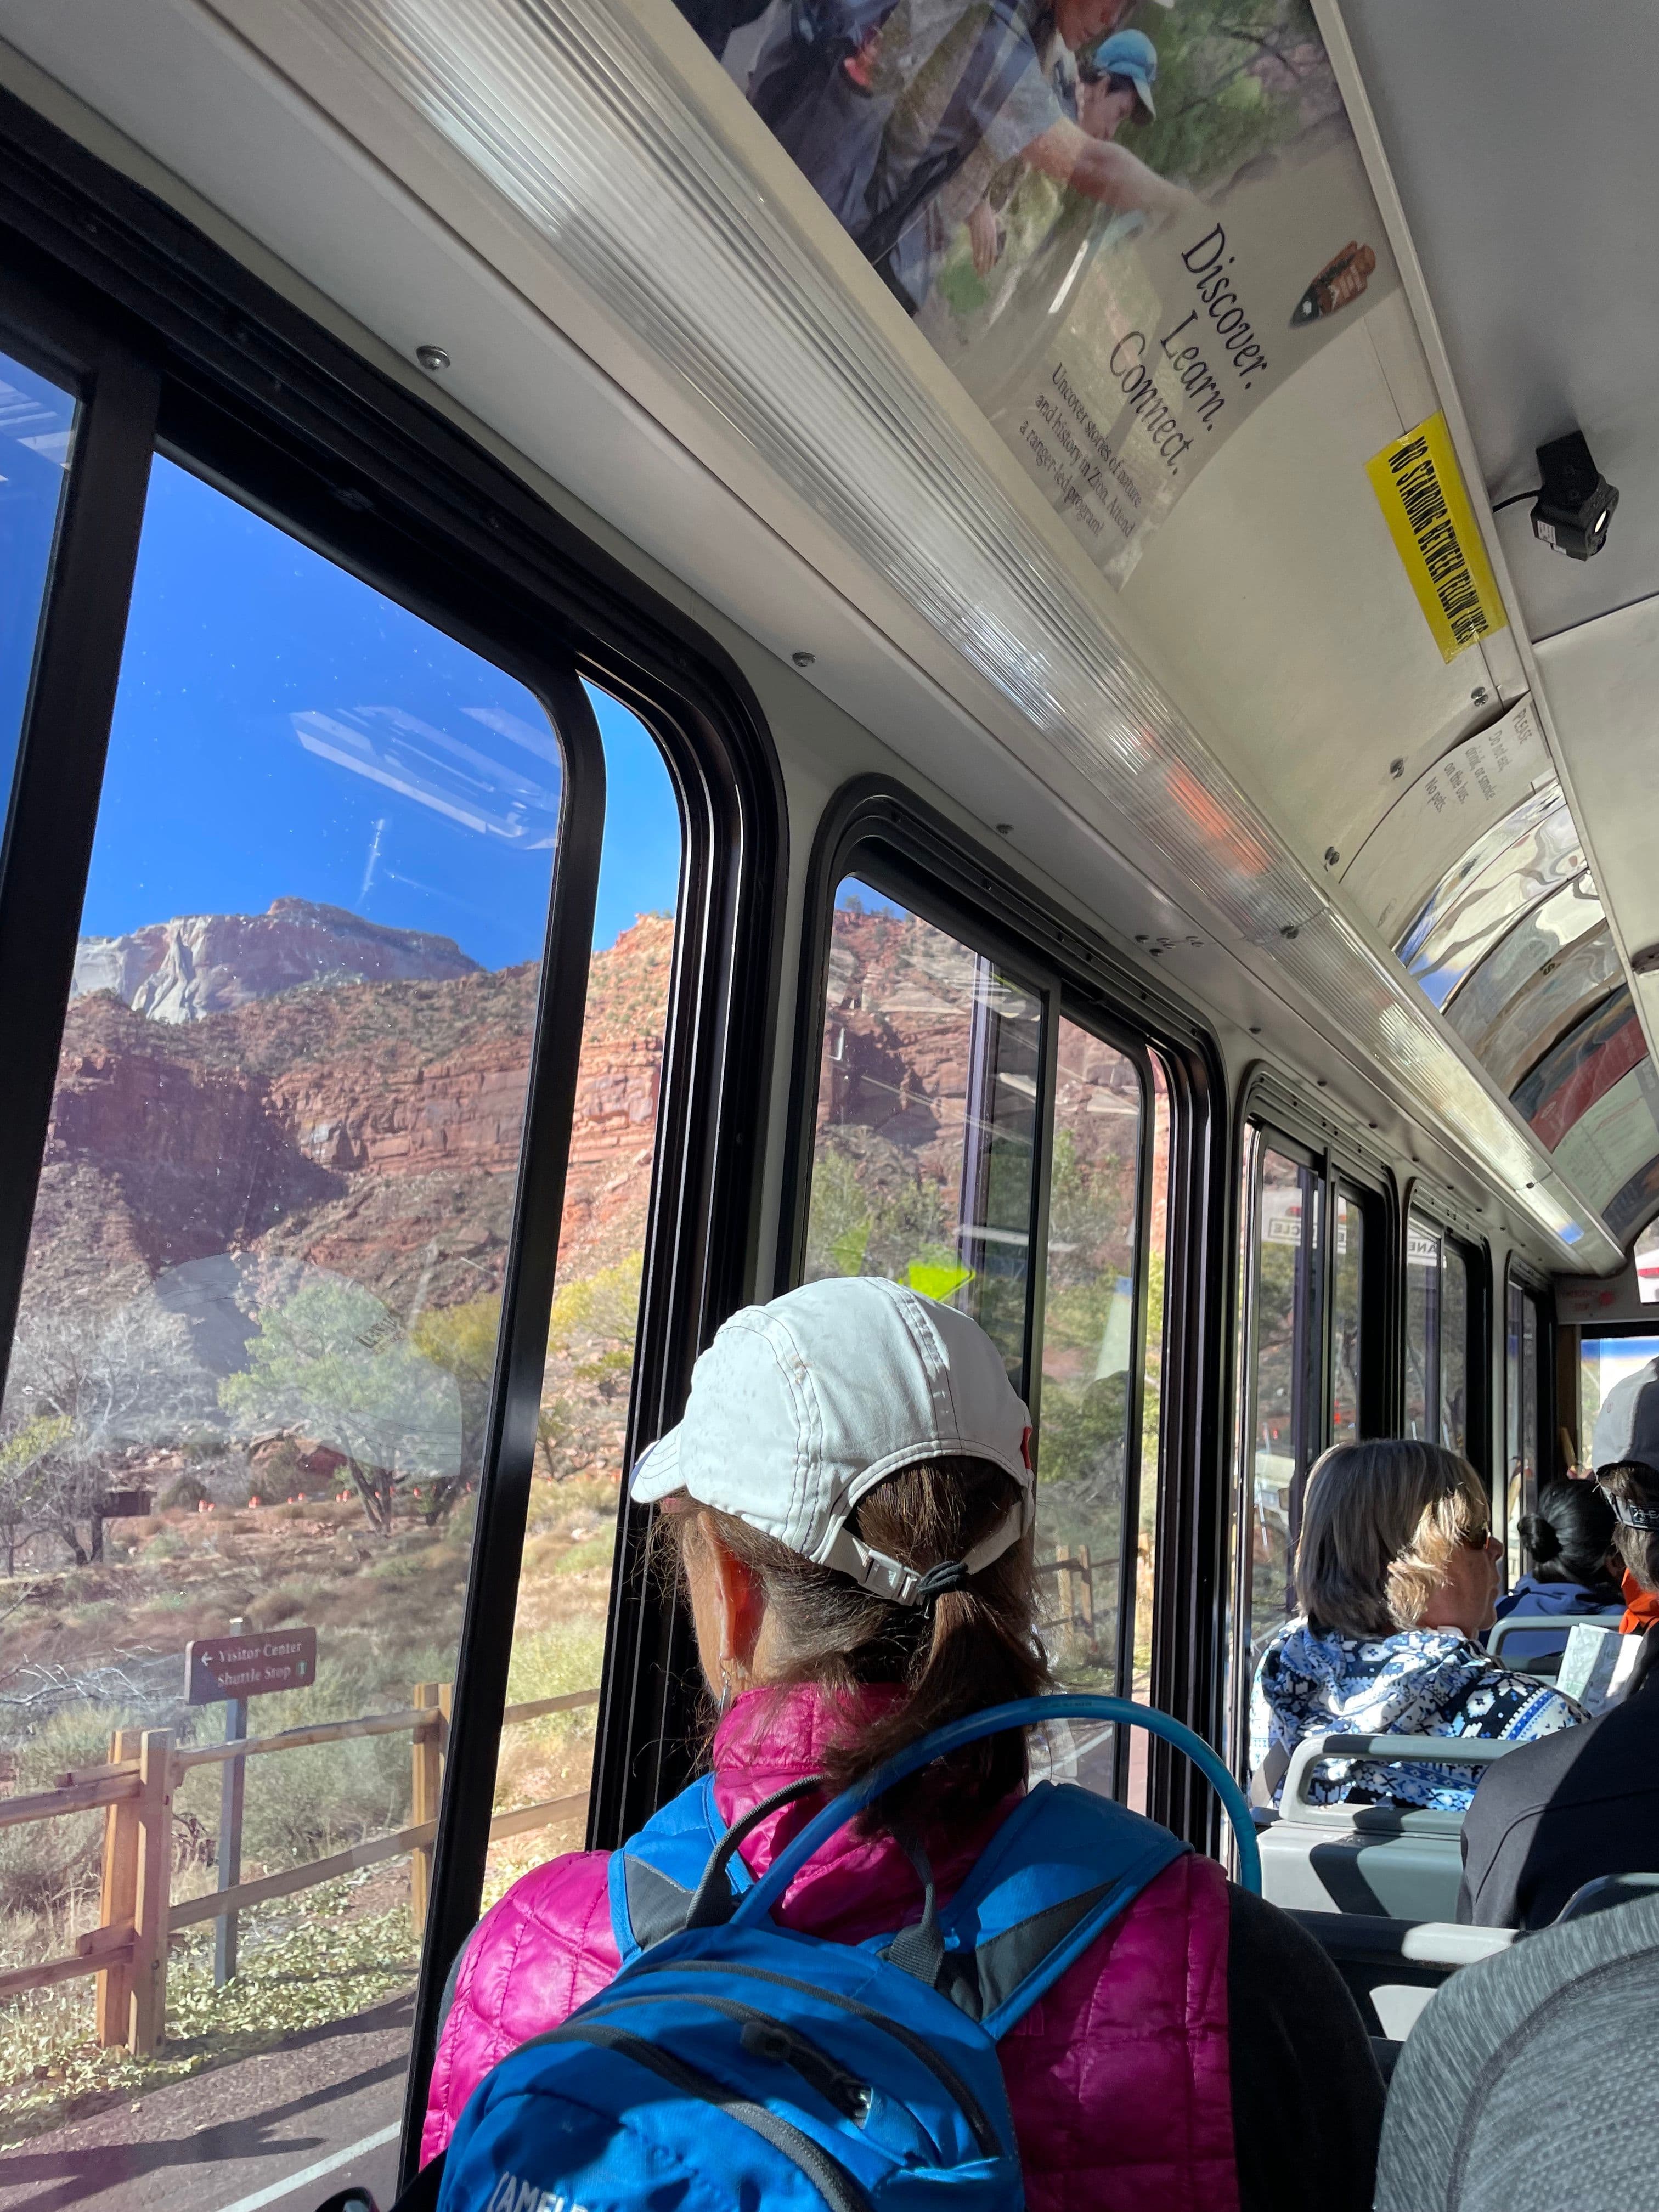
Catch the Zion Canyon Line Shuttle

10:15AM
Catch the shuttle to The Temple of Sinawava. This is where you will begin your Riverside walk to the entrance of the Narrows. For more details about the shuttle, click here.
- 3
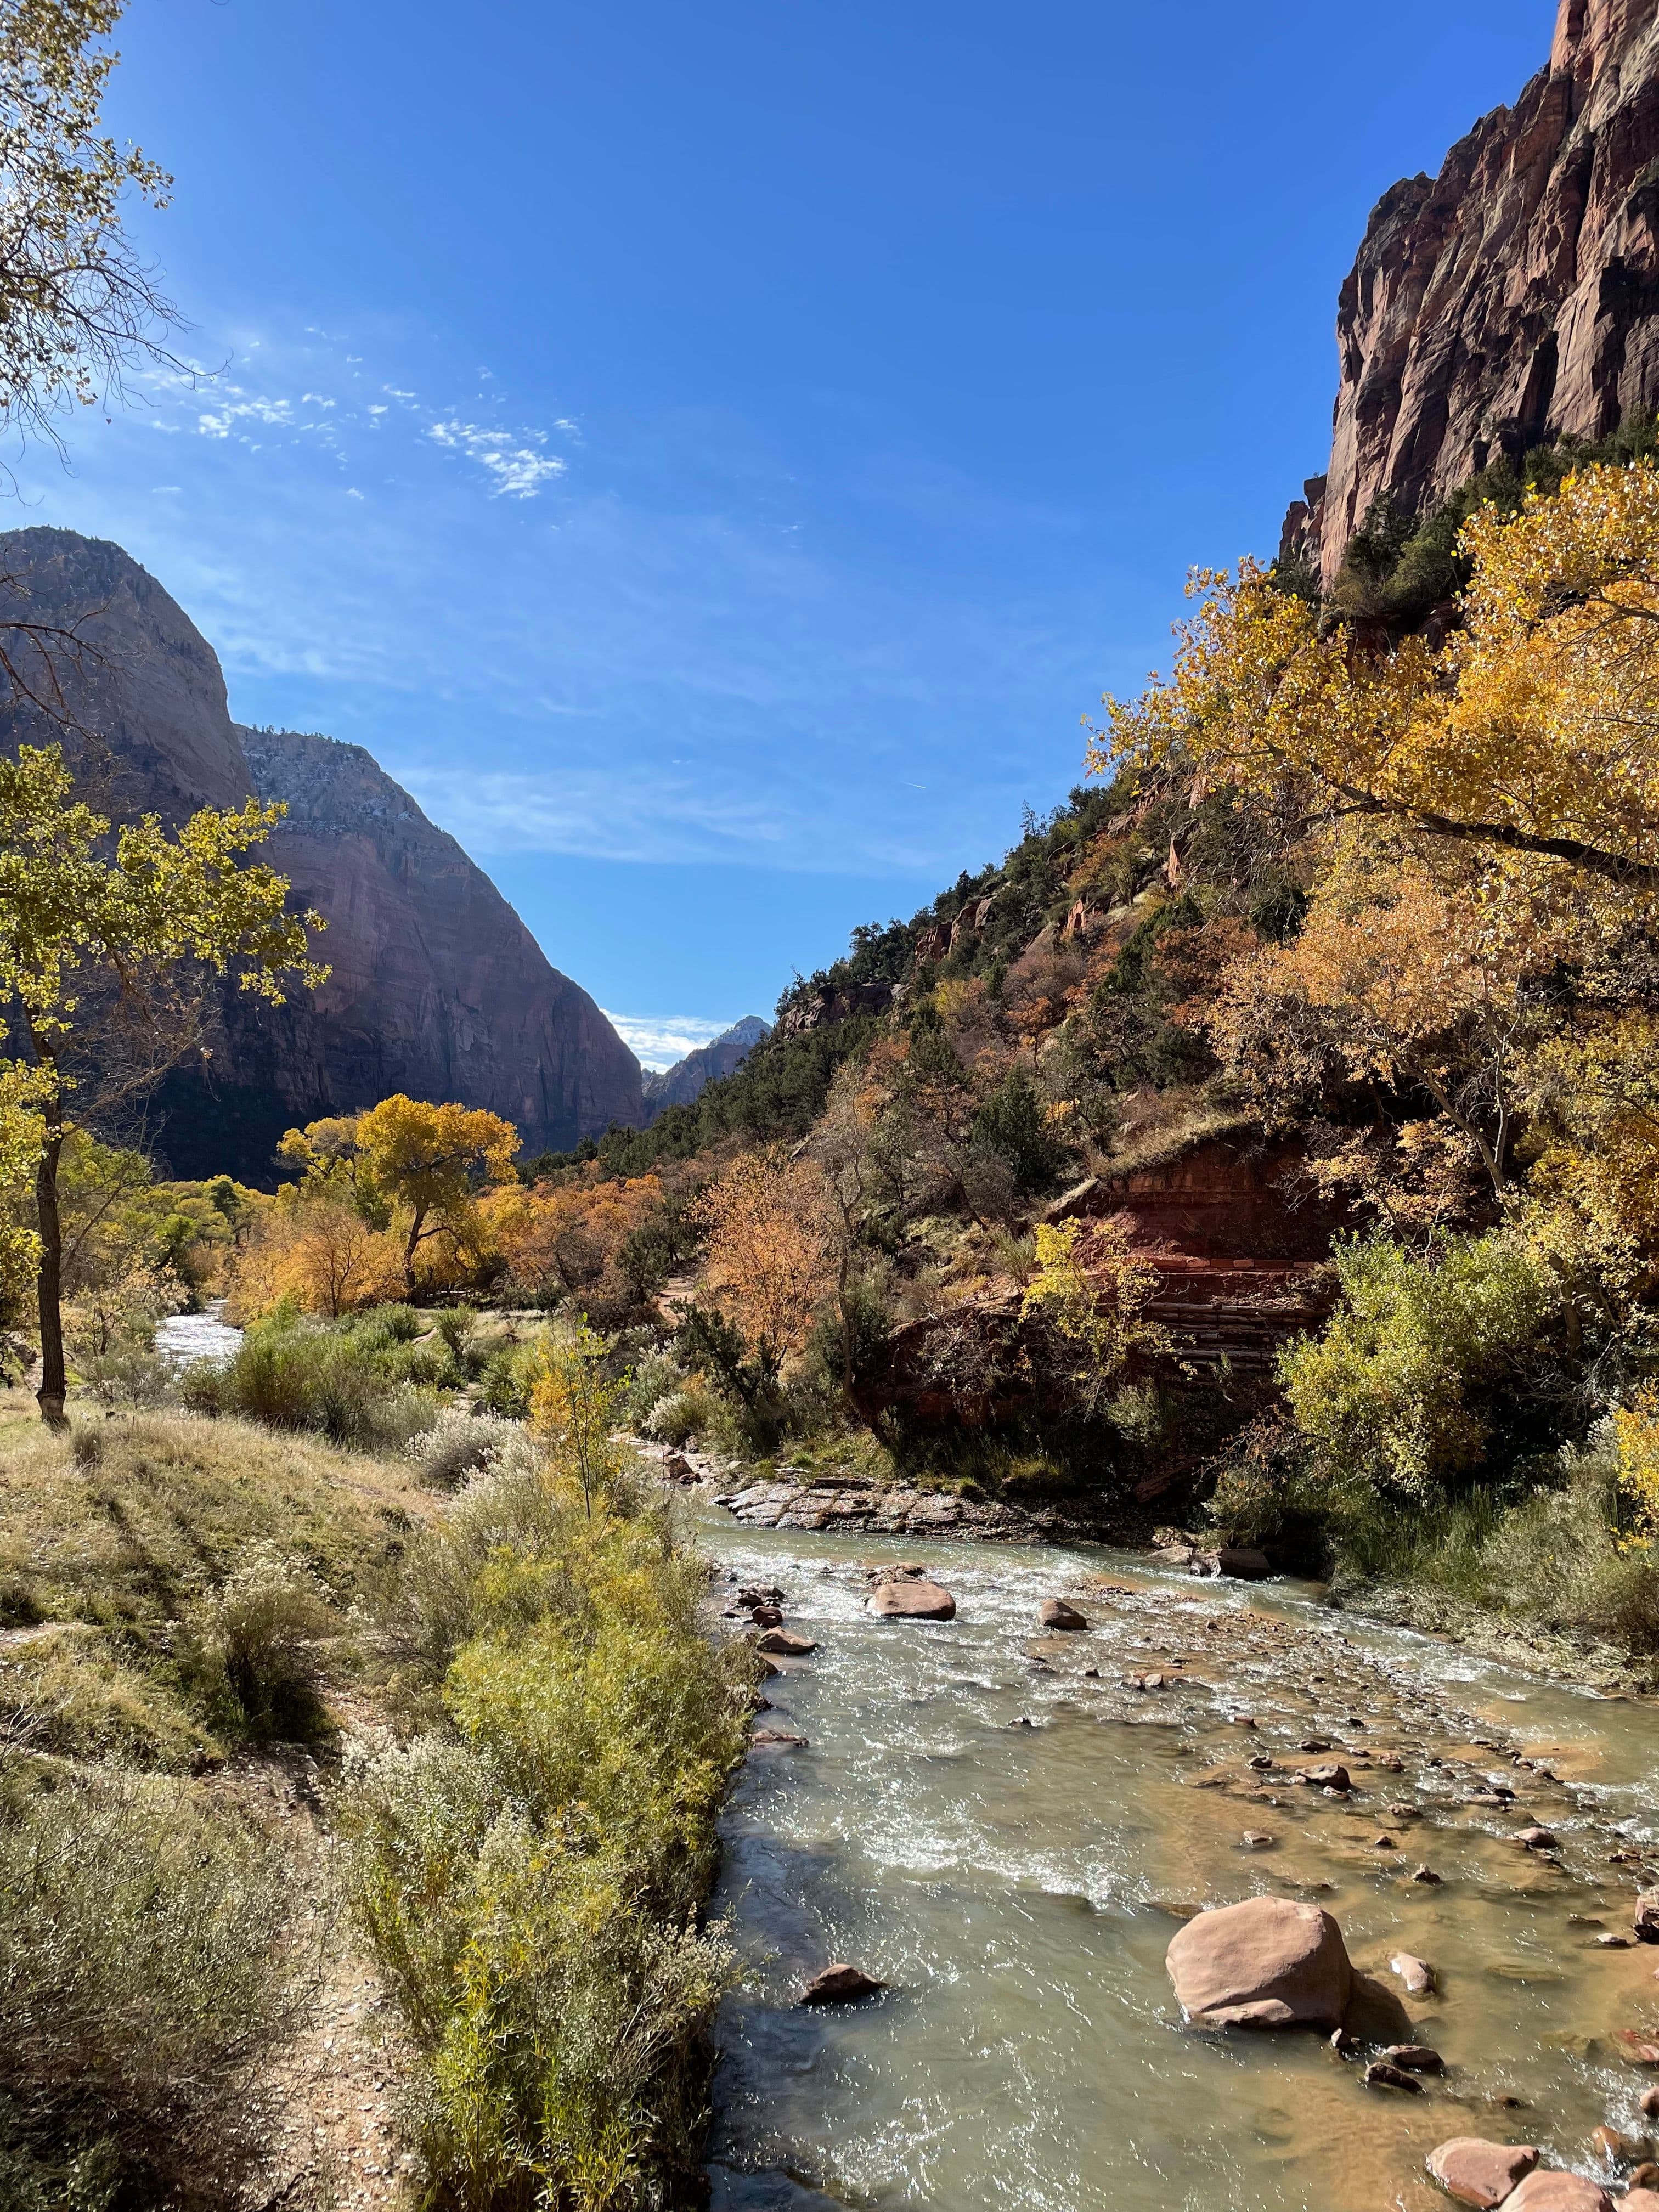
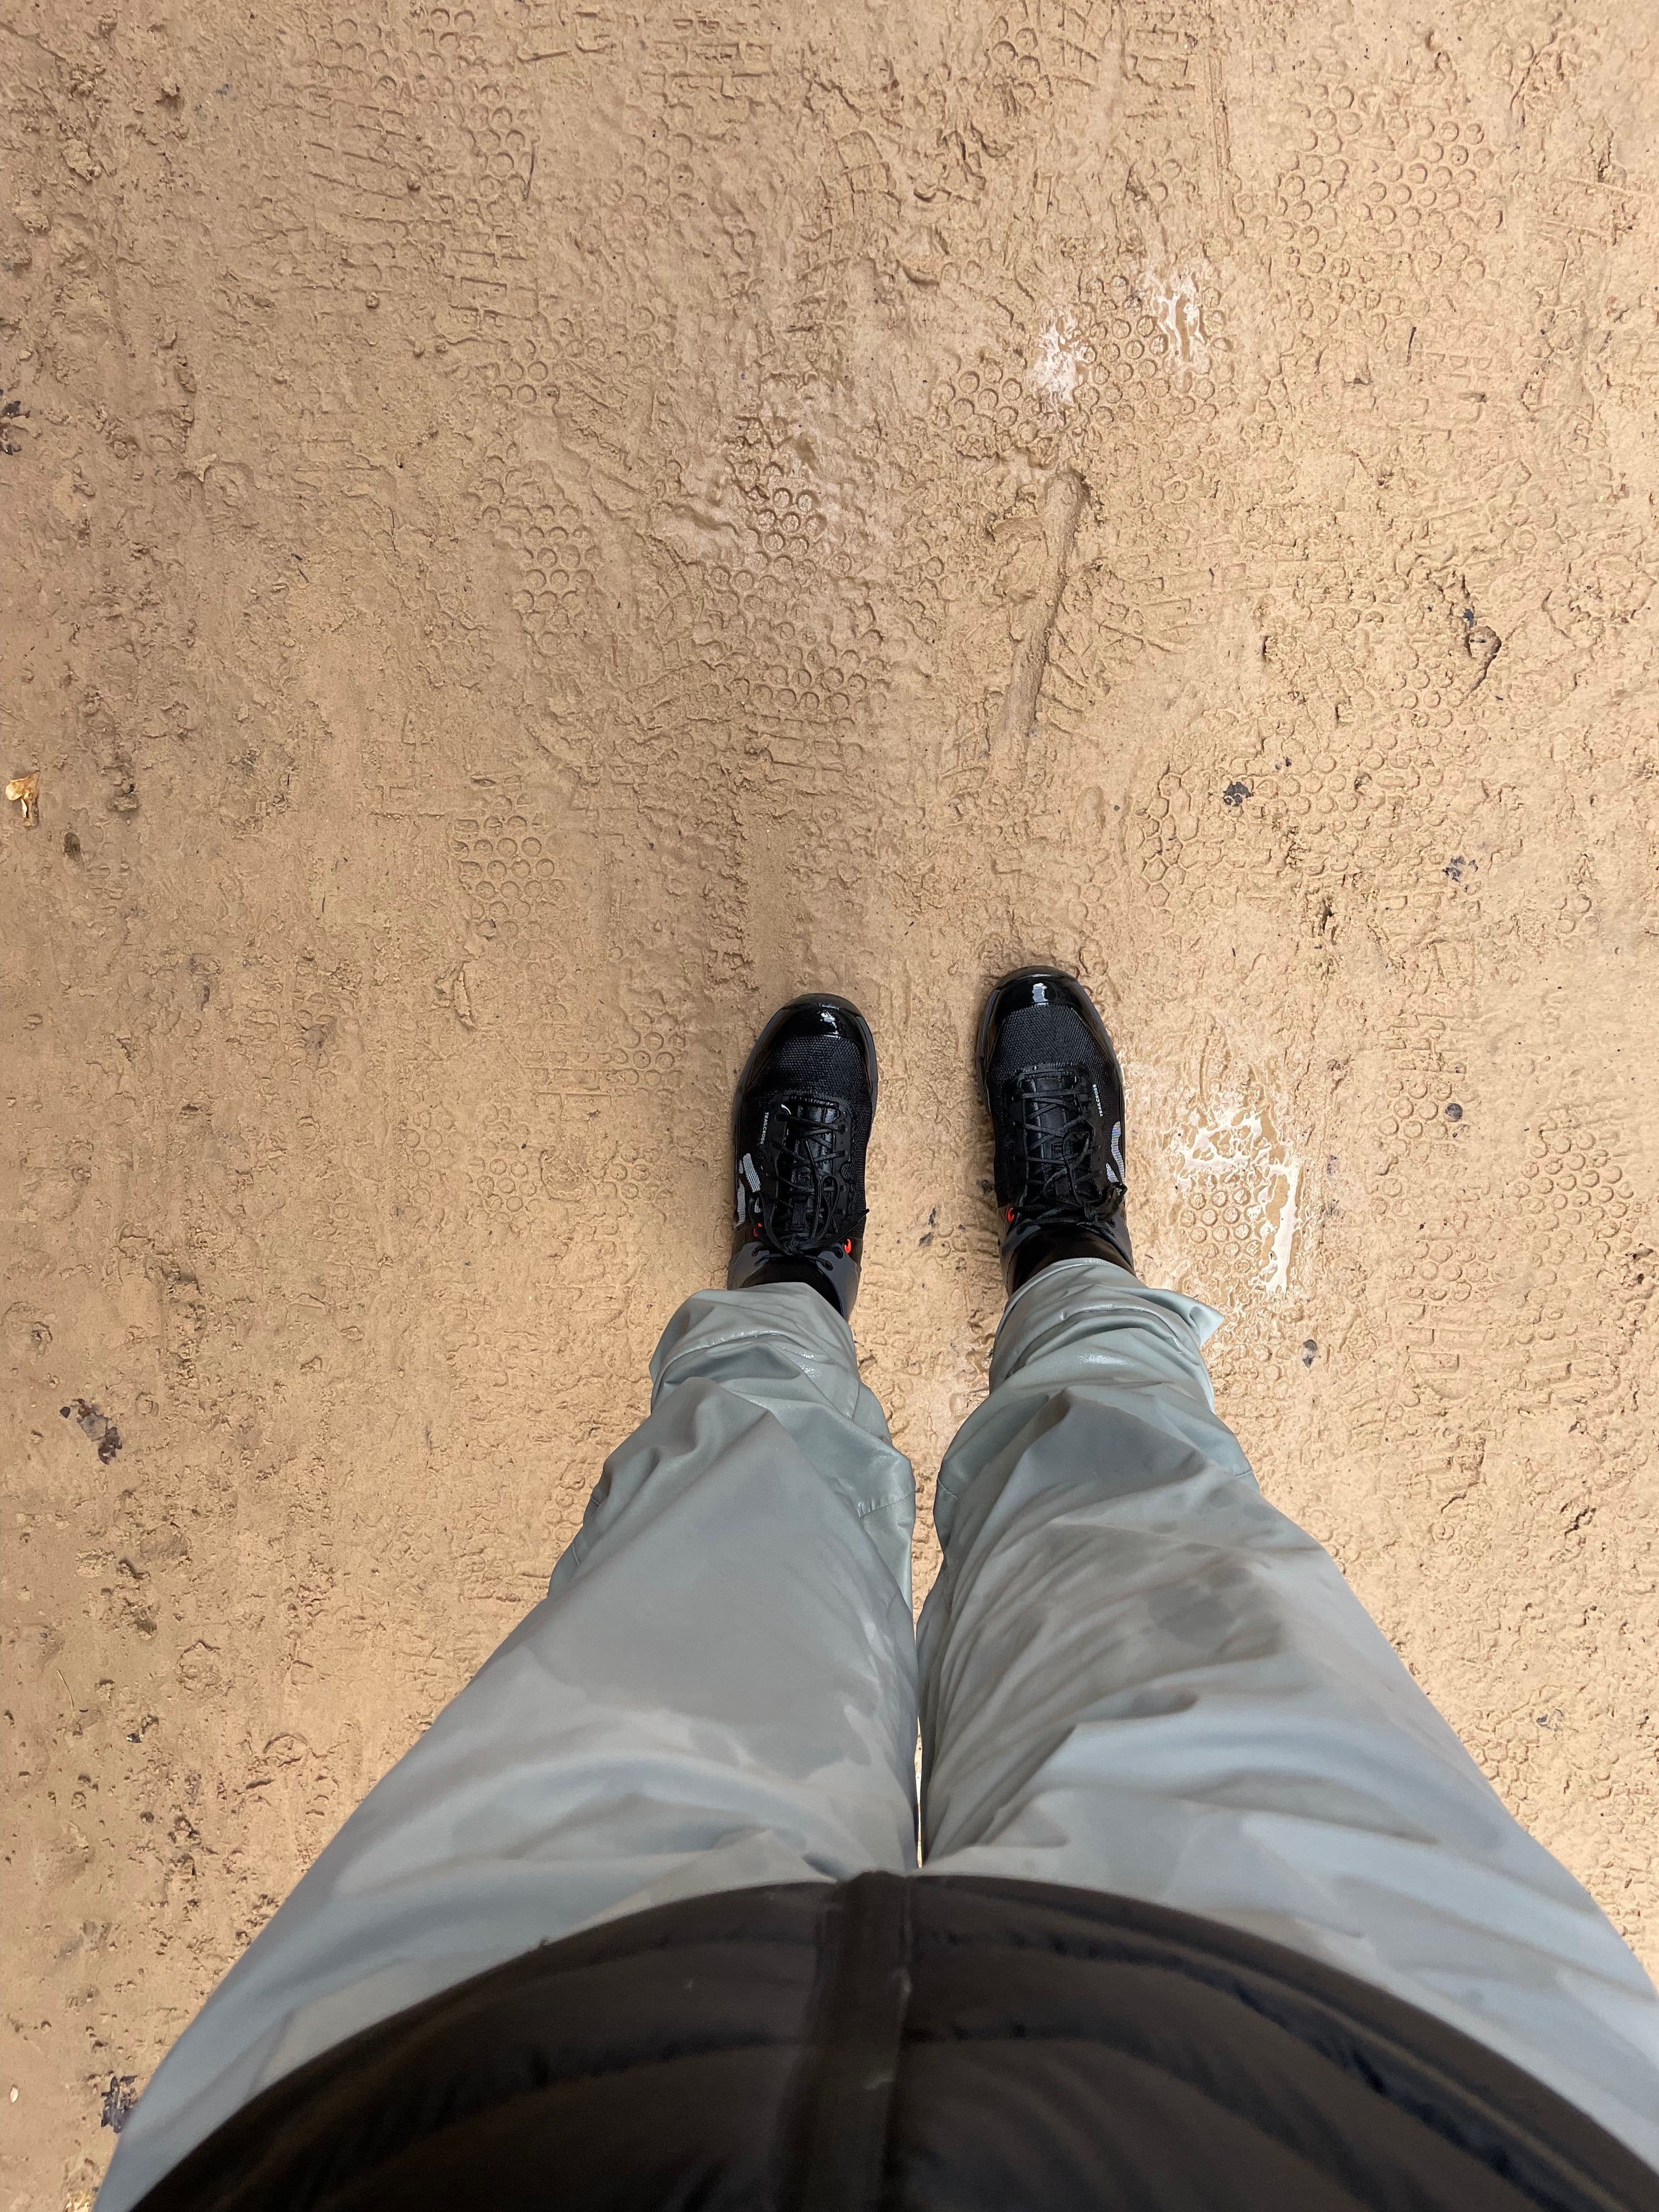
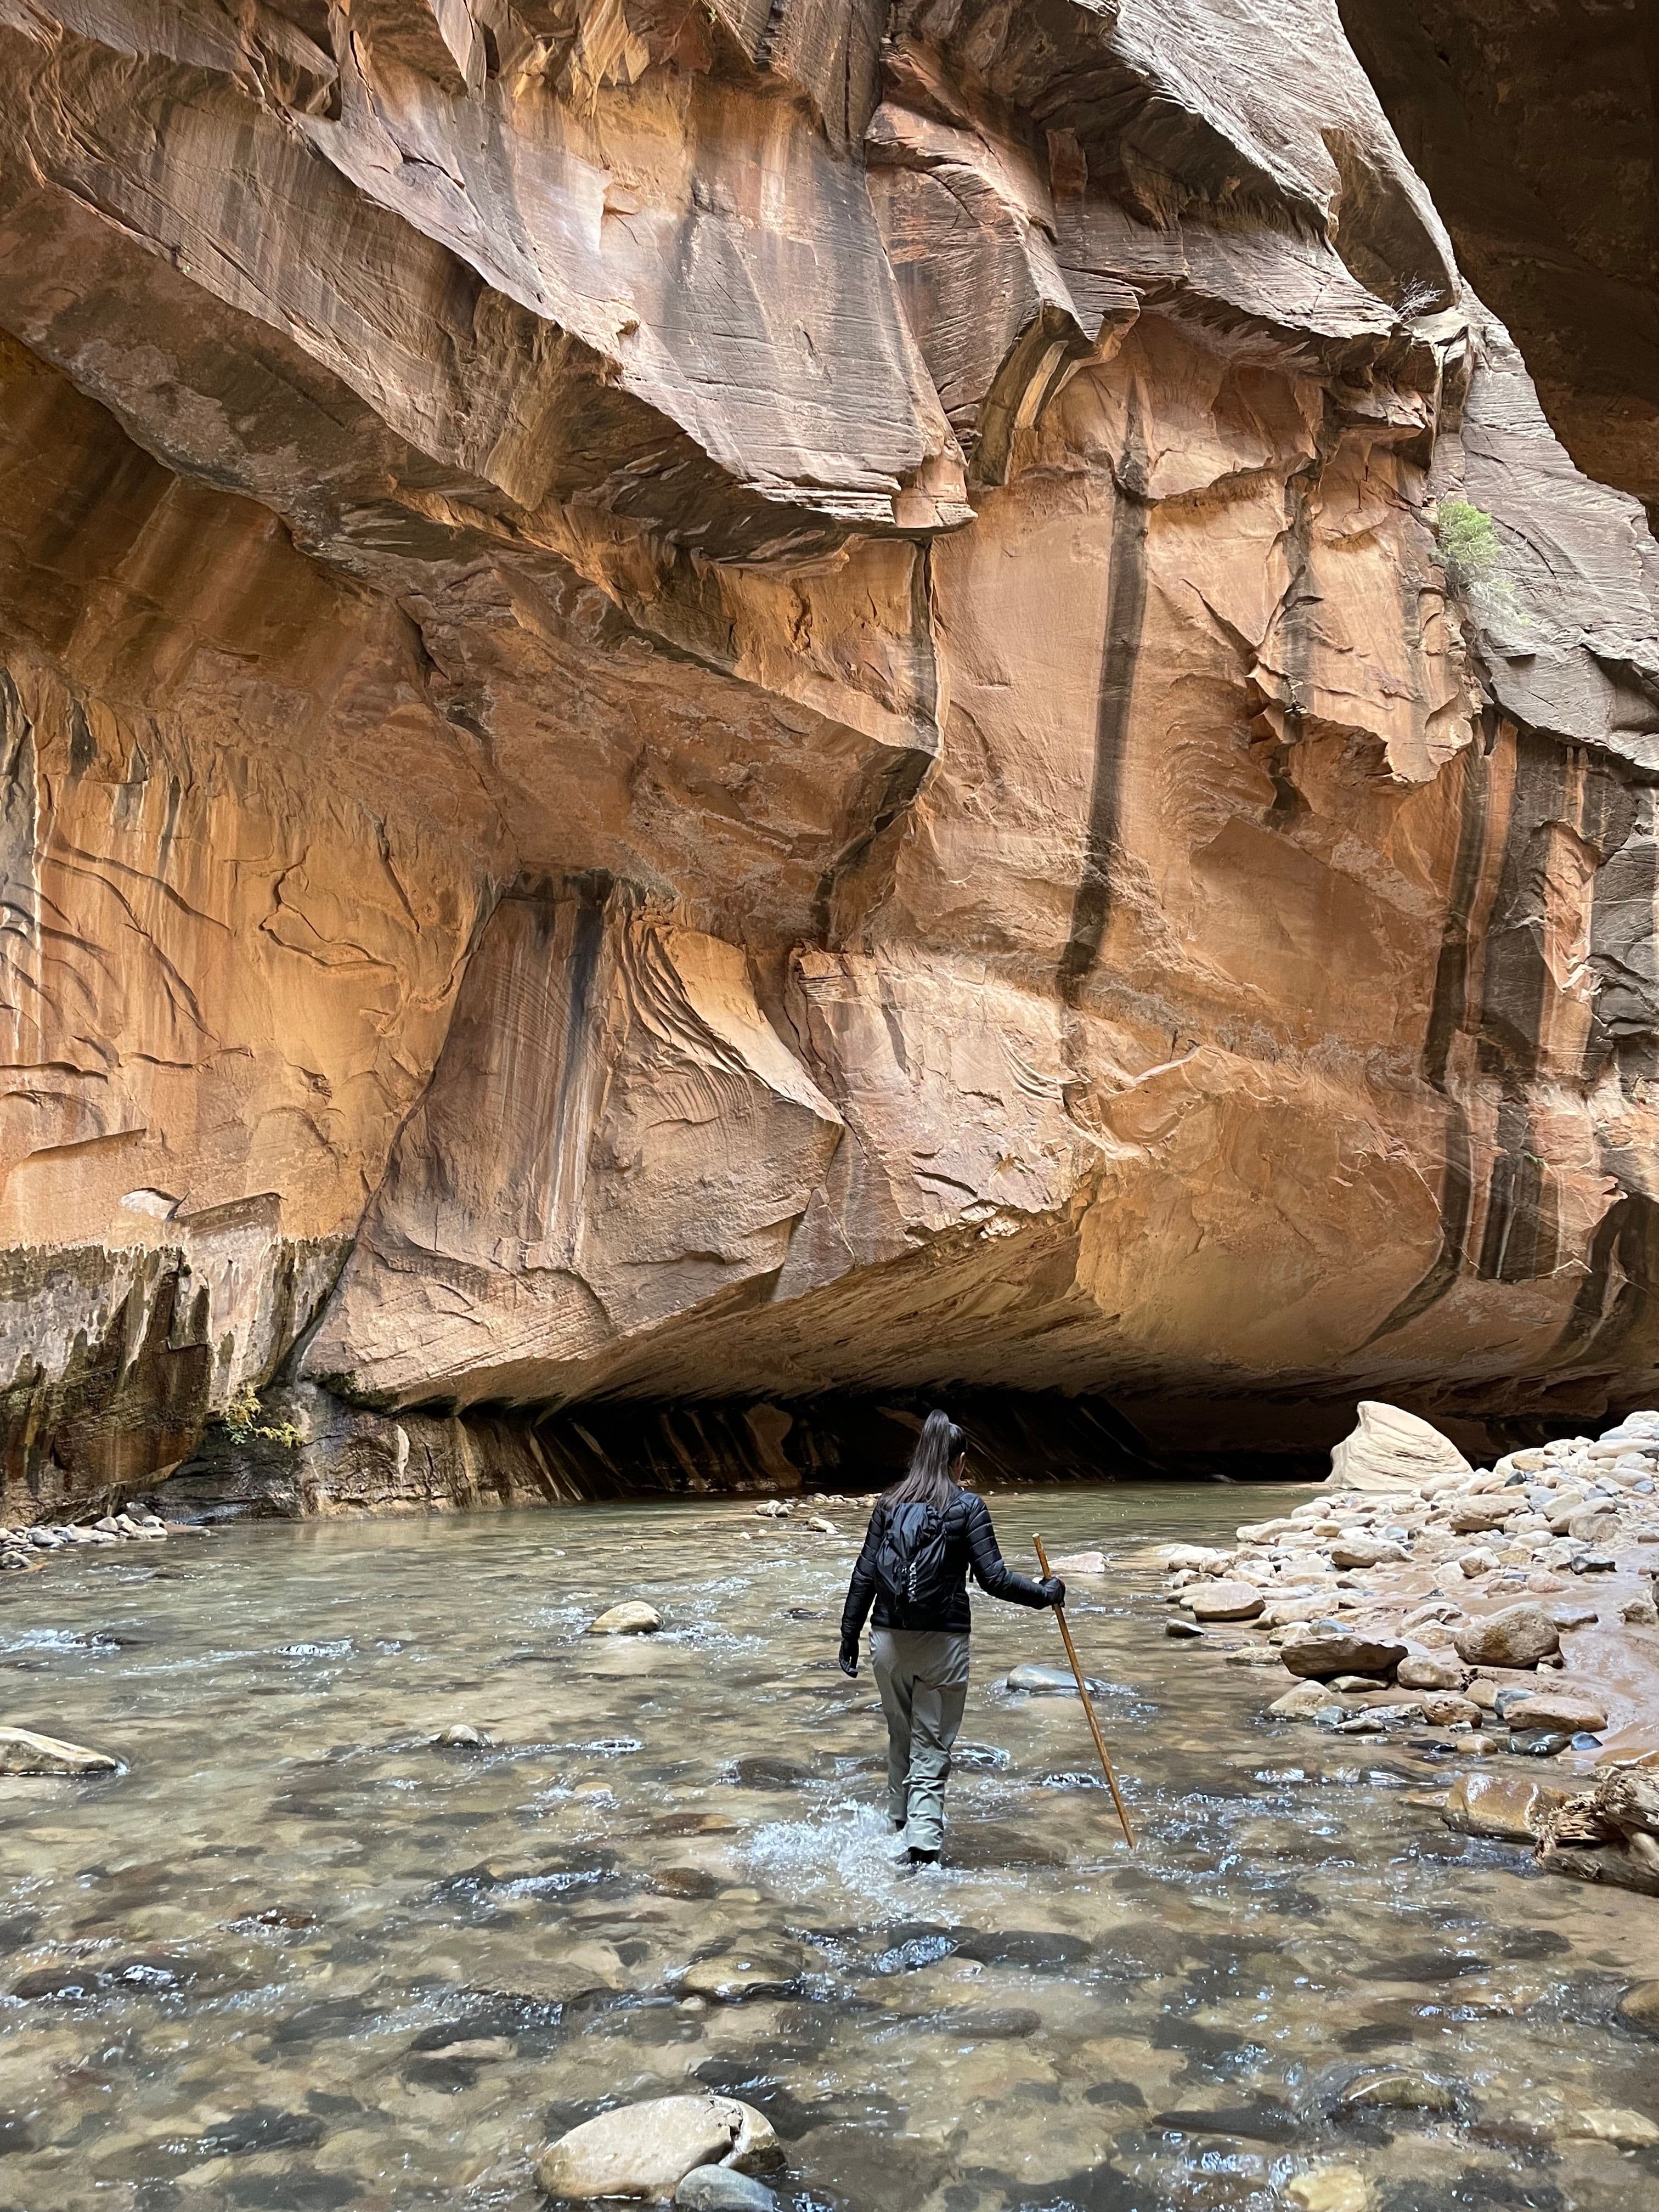
Hike The Narrows
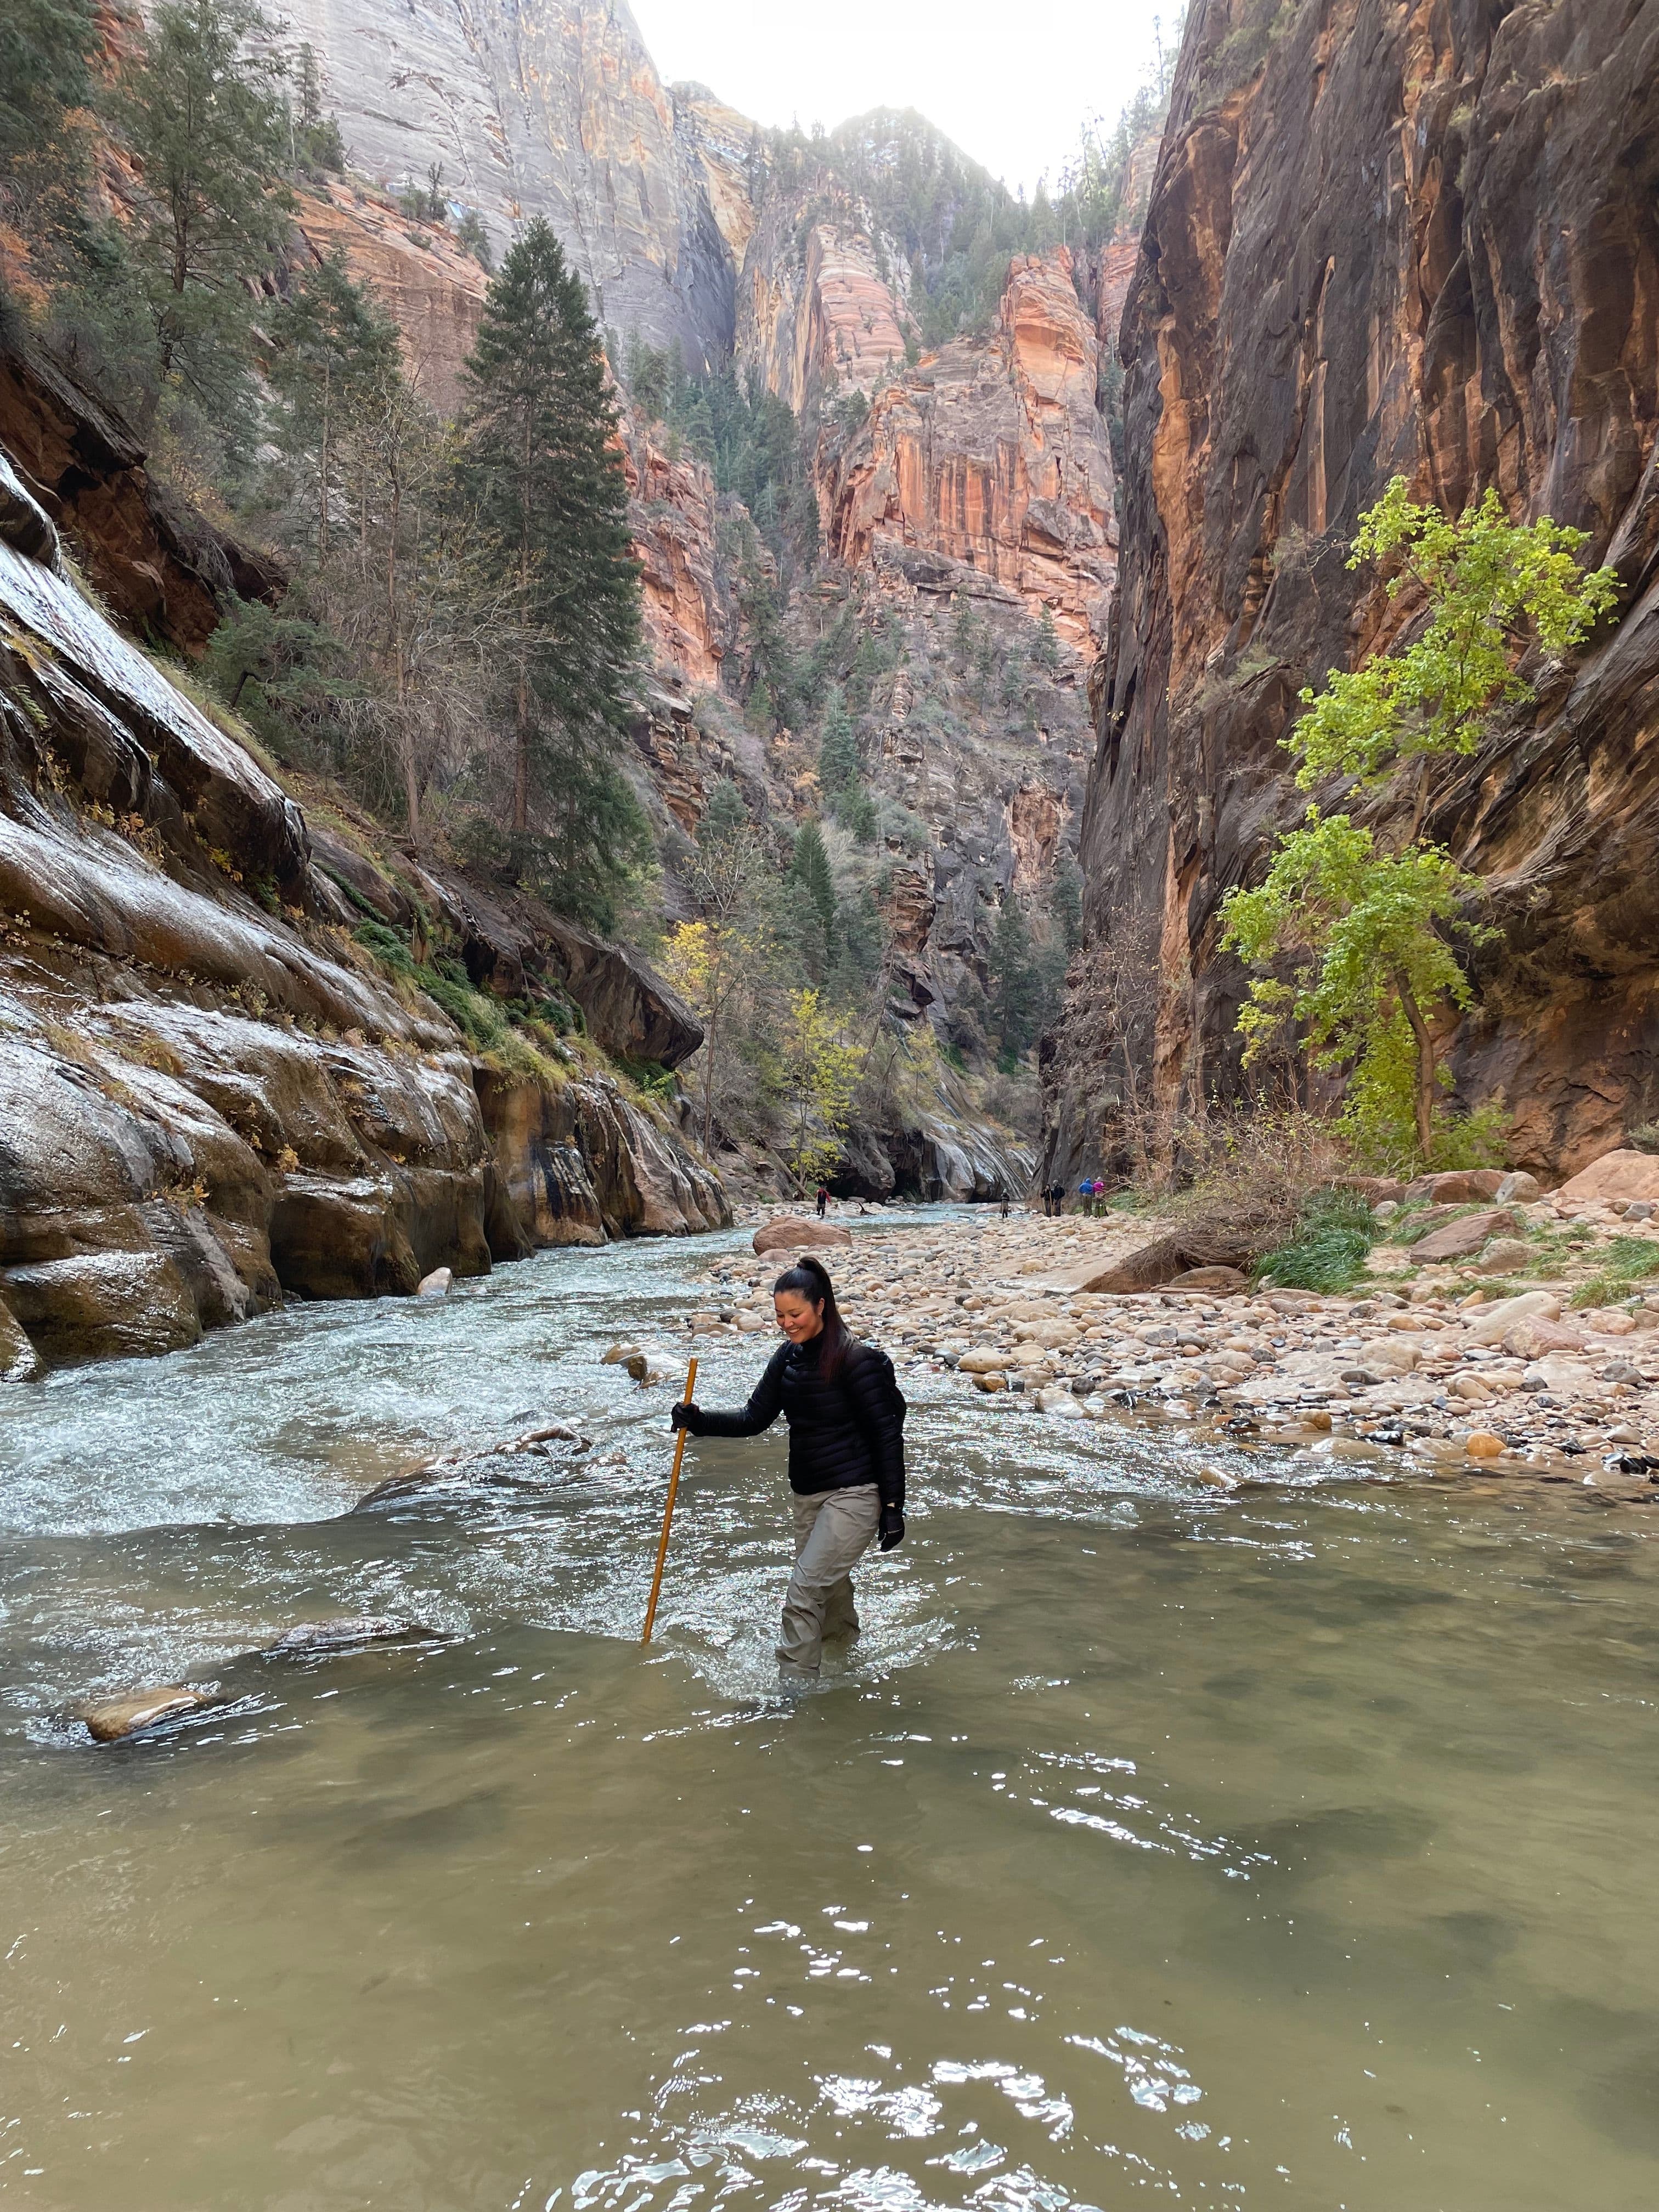
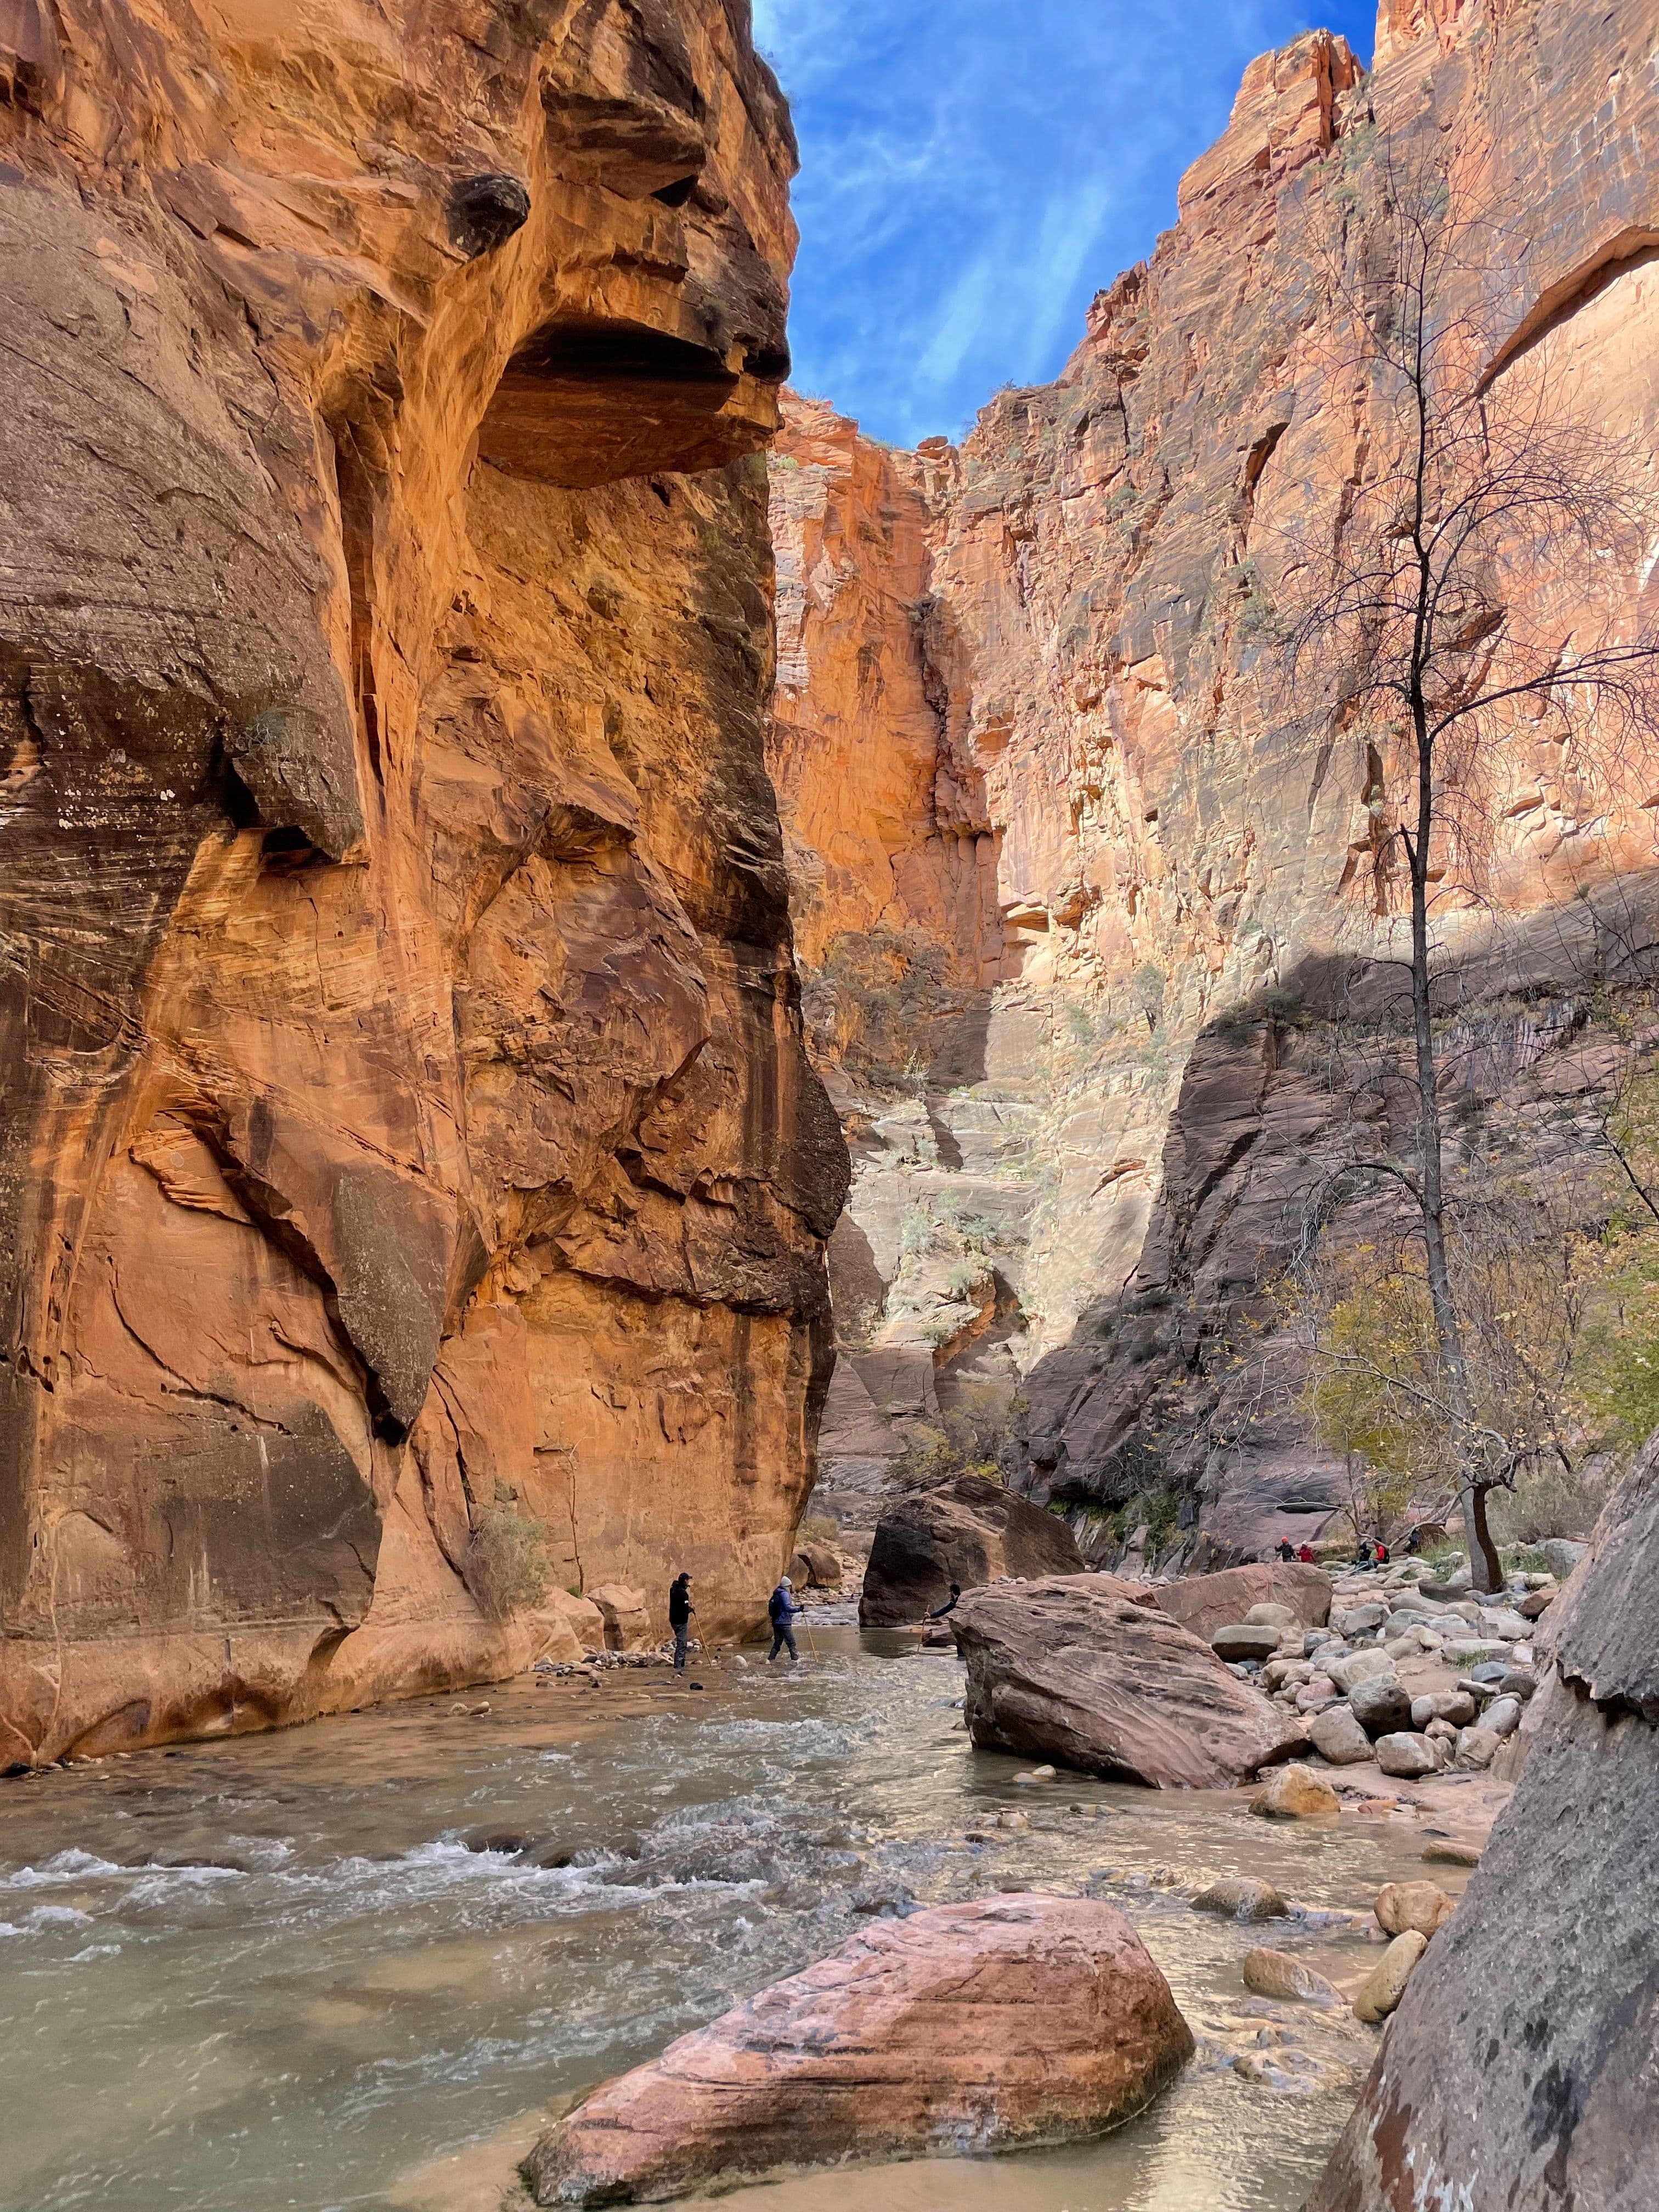
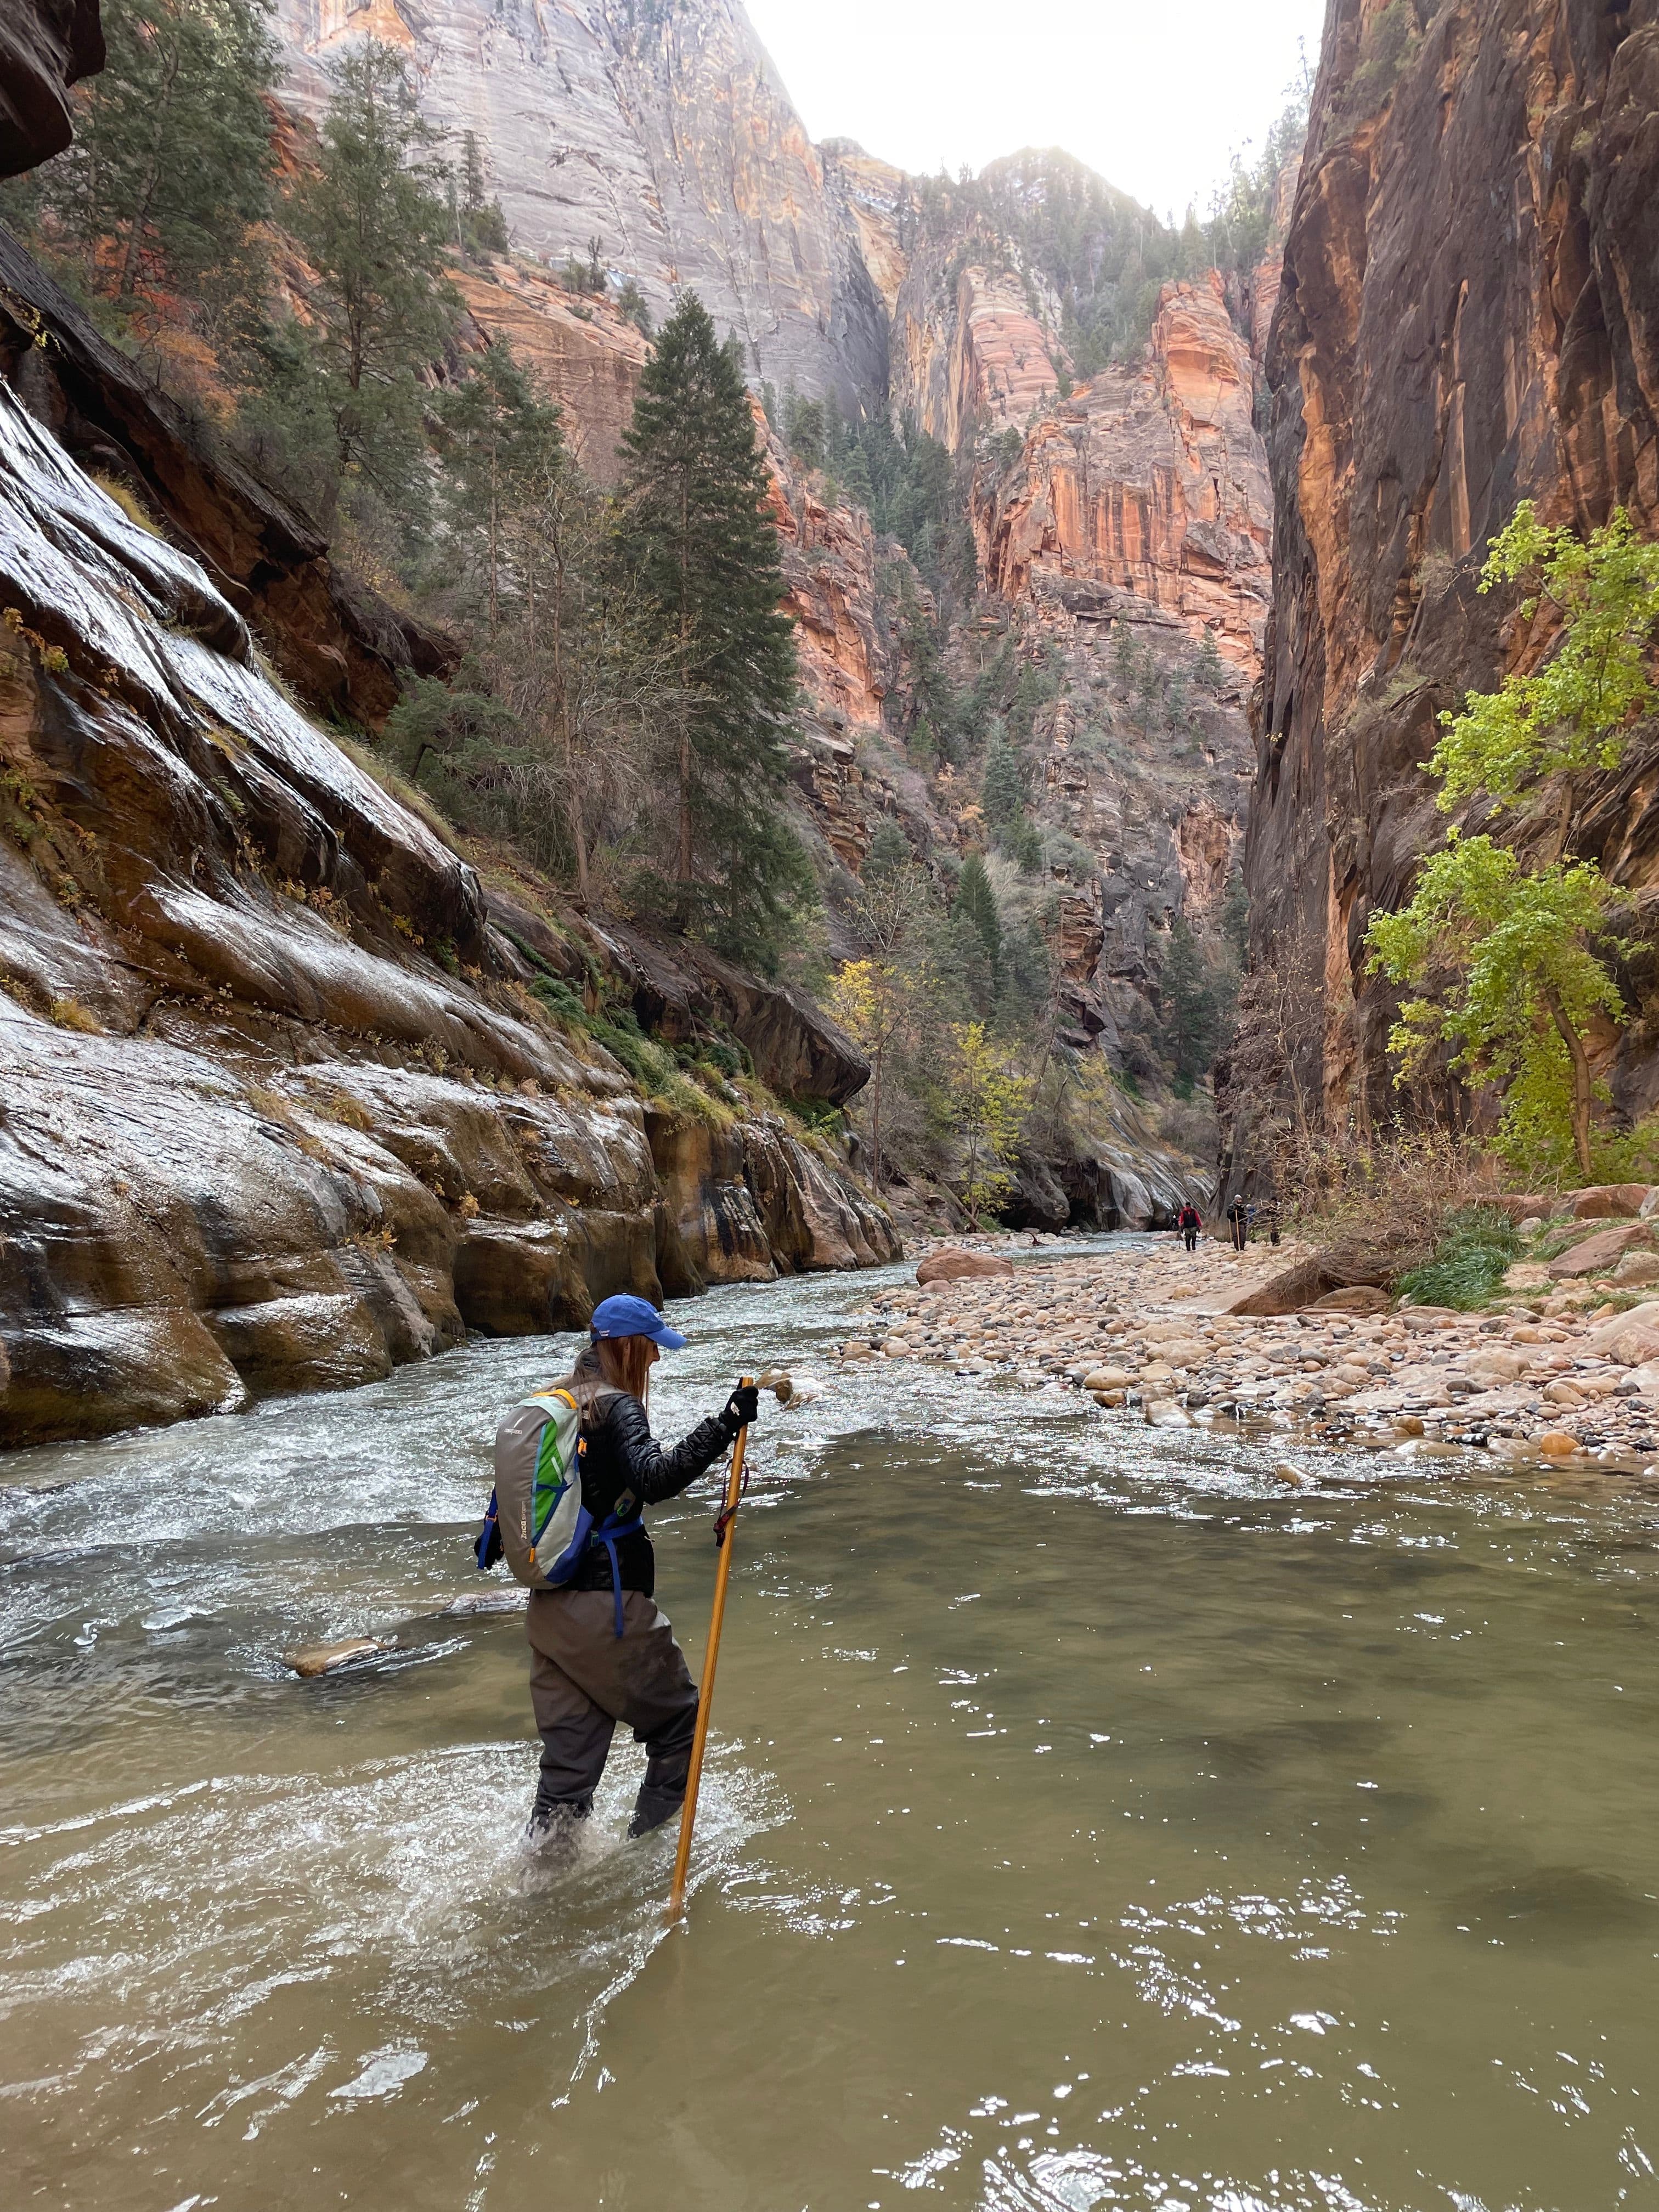
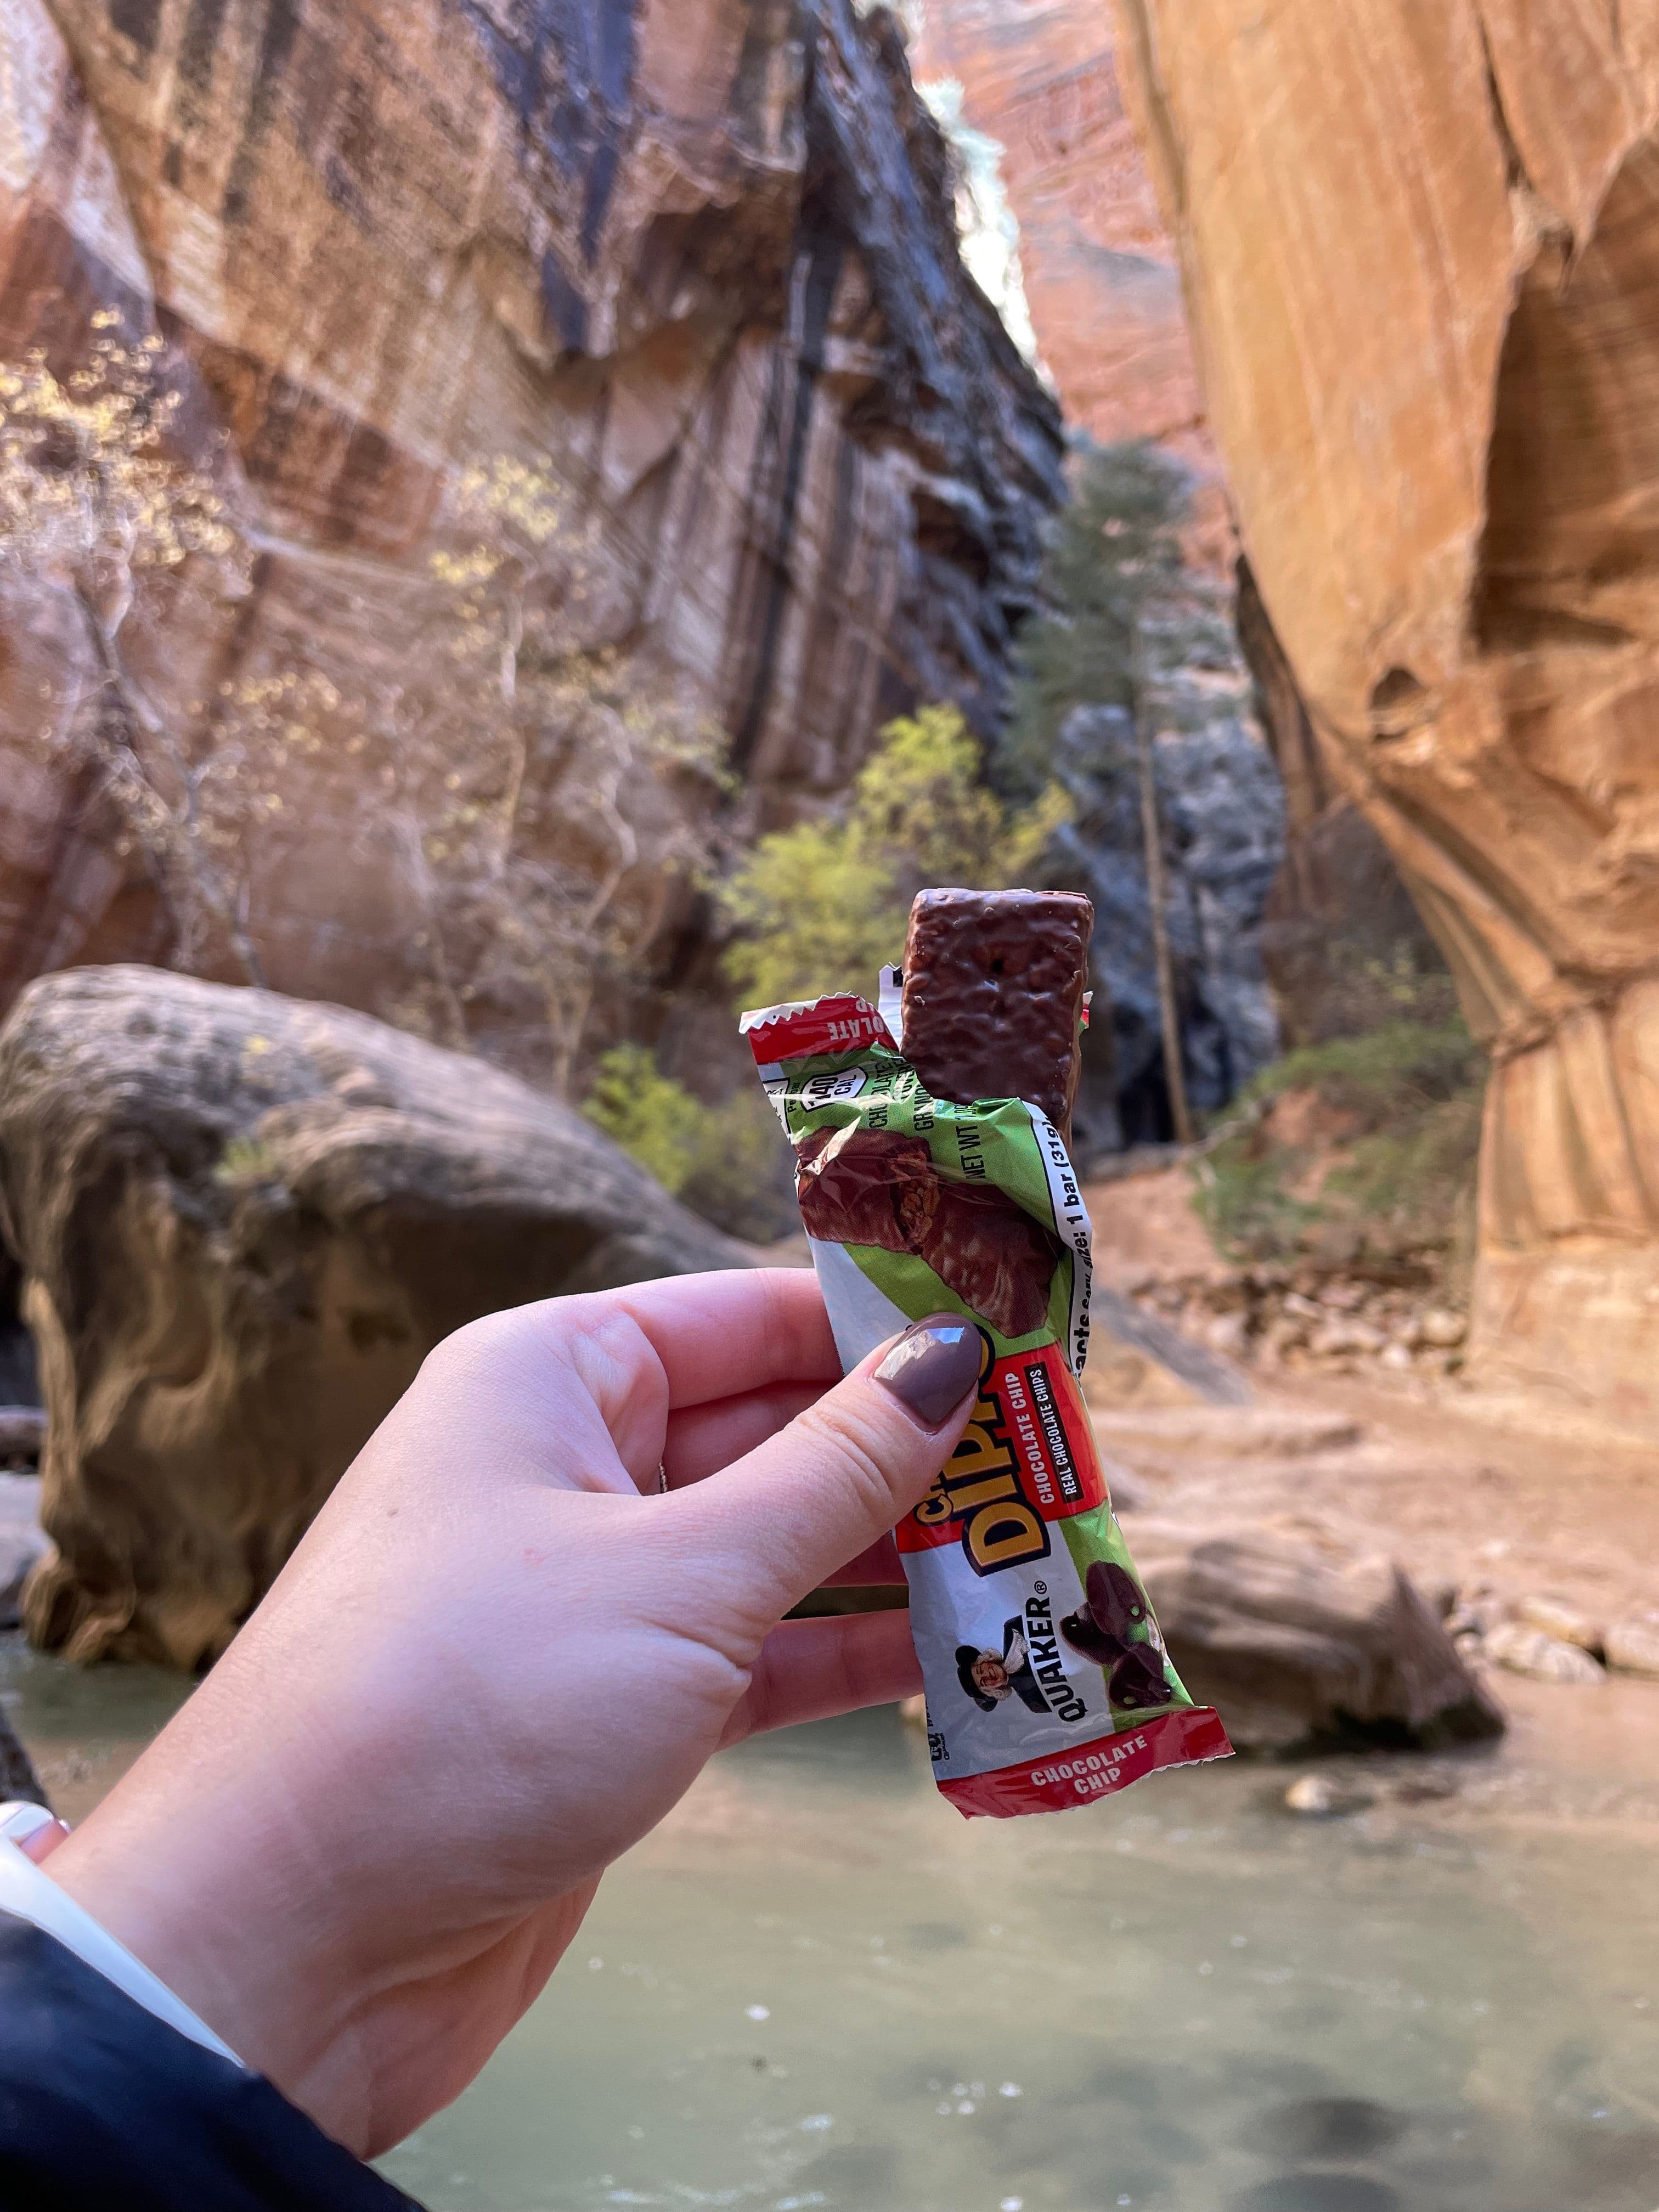

3hr 30min·11:00AM - 2:30PM
We spent about 4 hours altogether hiking the Narrows. The whole hike is about a ten-mile round trip and would take the full day. However, most people walk until they feel ready to turn around. Every turn you make has breathtaking views, it was hard for us to turn around.
To start, you must walk along the Riverside walk for about 2 miles before you get to the entrance of the Narrows. This walk was quite busy, but you will see others in equipment walking towards or from the Narrows.
We took a break at our turning point, and had lunch that we packed.
You will most definitely get wet on this hike, and our feet were quite cold at first. However, I got used to it quickly and really enjoyed this experience!
Lots of families were hiking as well - of course, do your research to make sure it will be safe for your family.
- 4
Catch The Zion Canyon Line Shuttle
Catch the shuttle back to your vehicle. For more details about the shuttle, click here.
- 5
Arrive at Bryce National Park
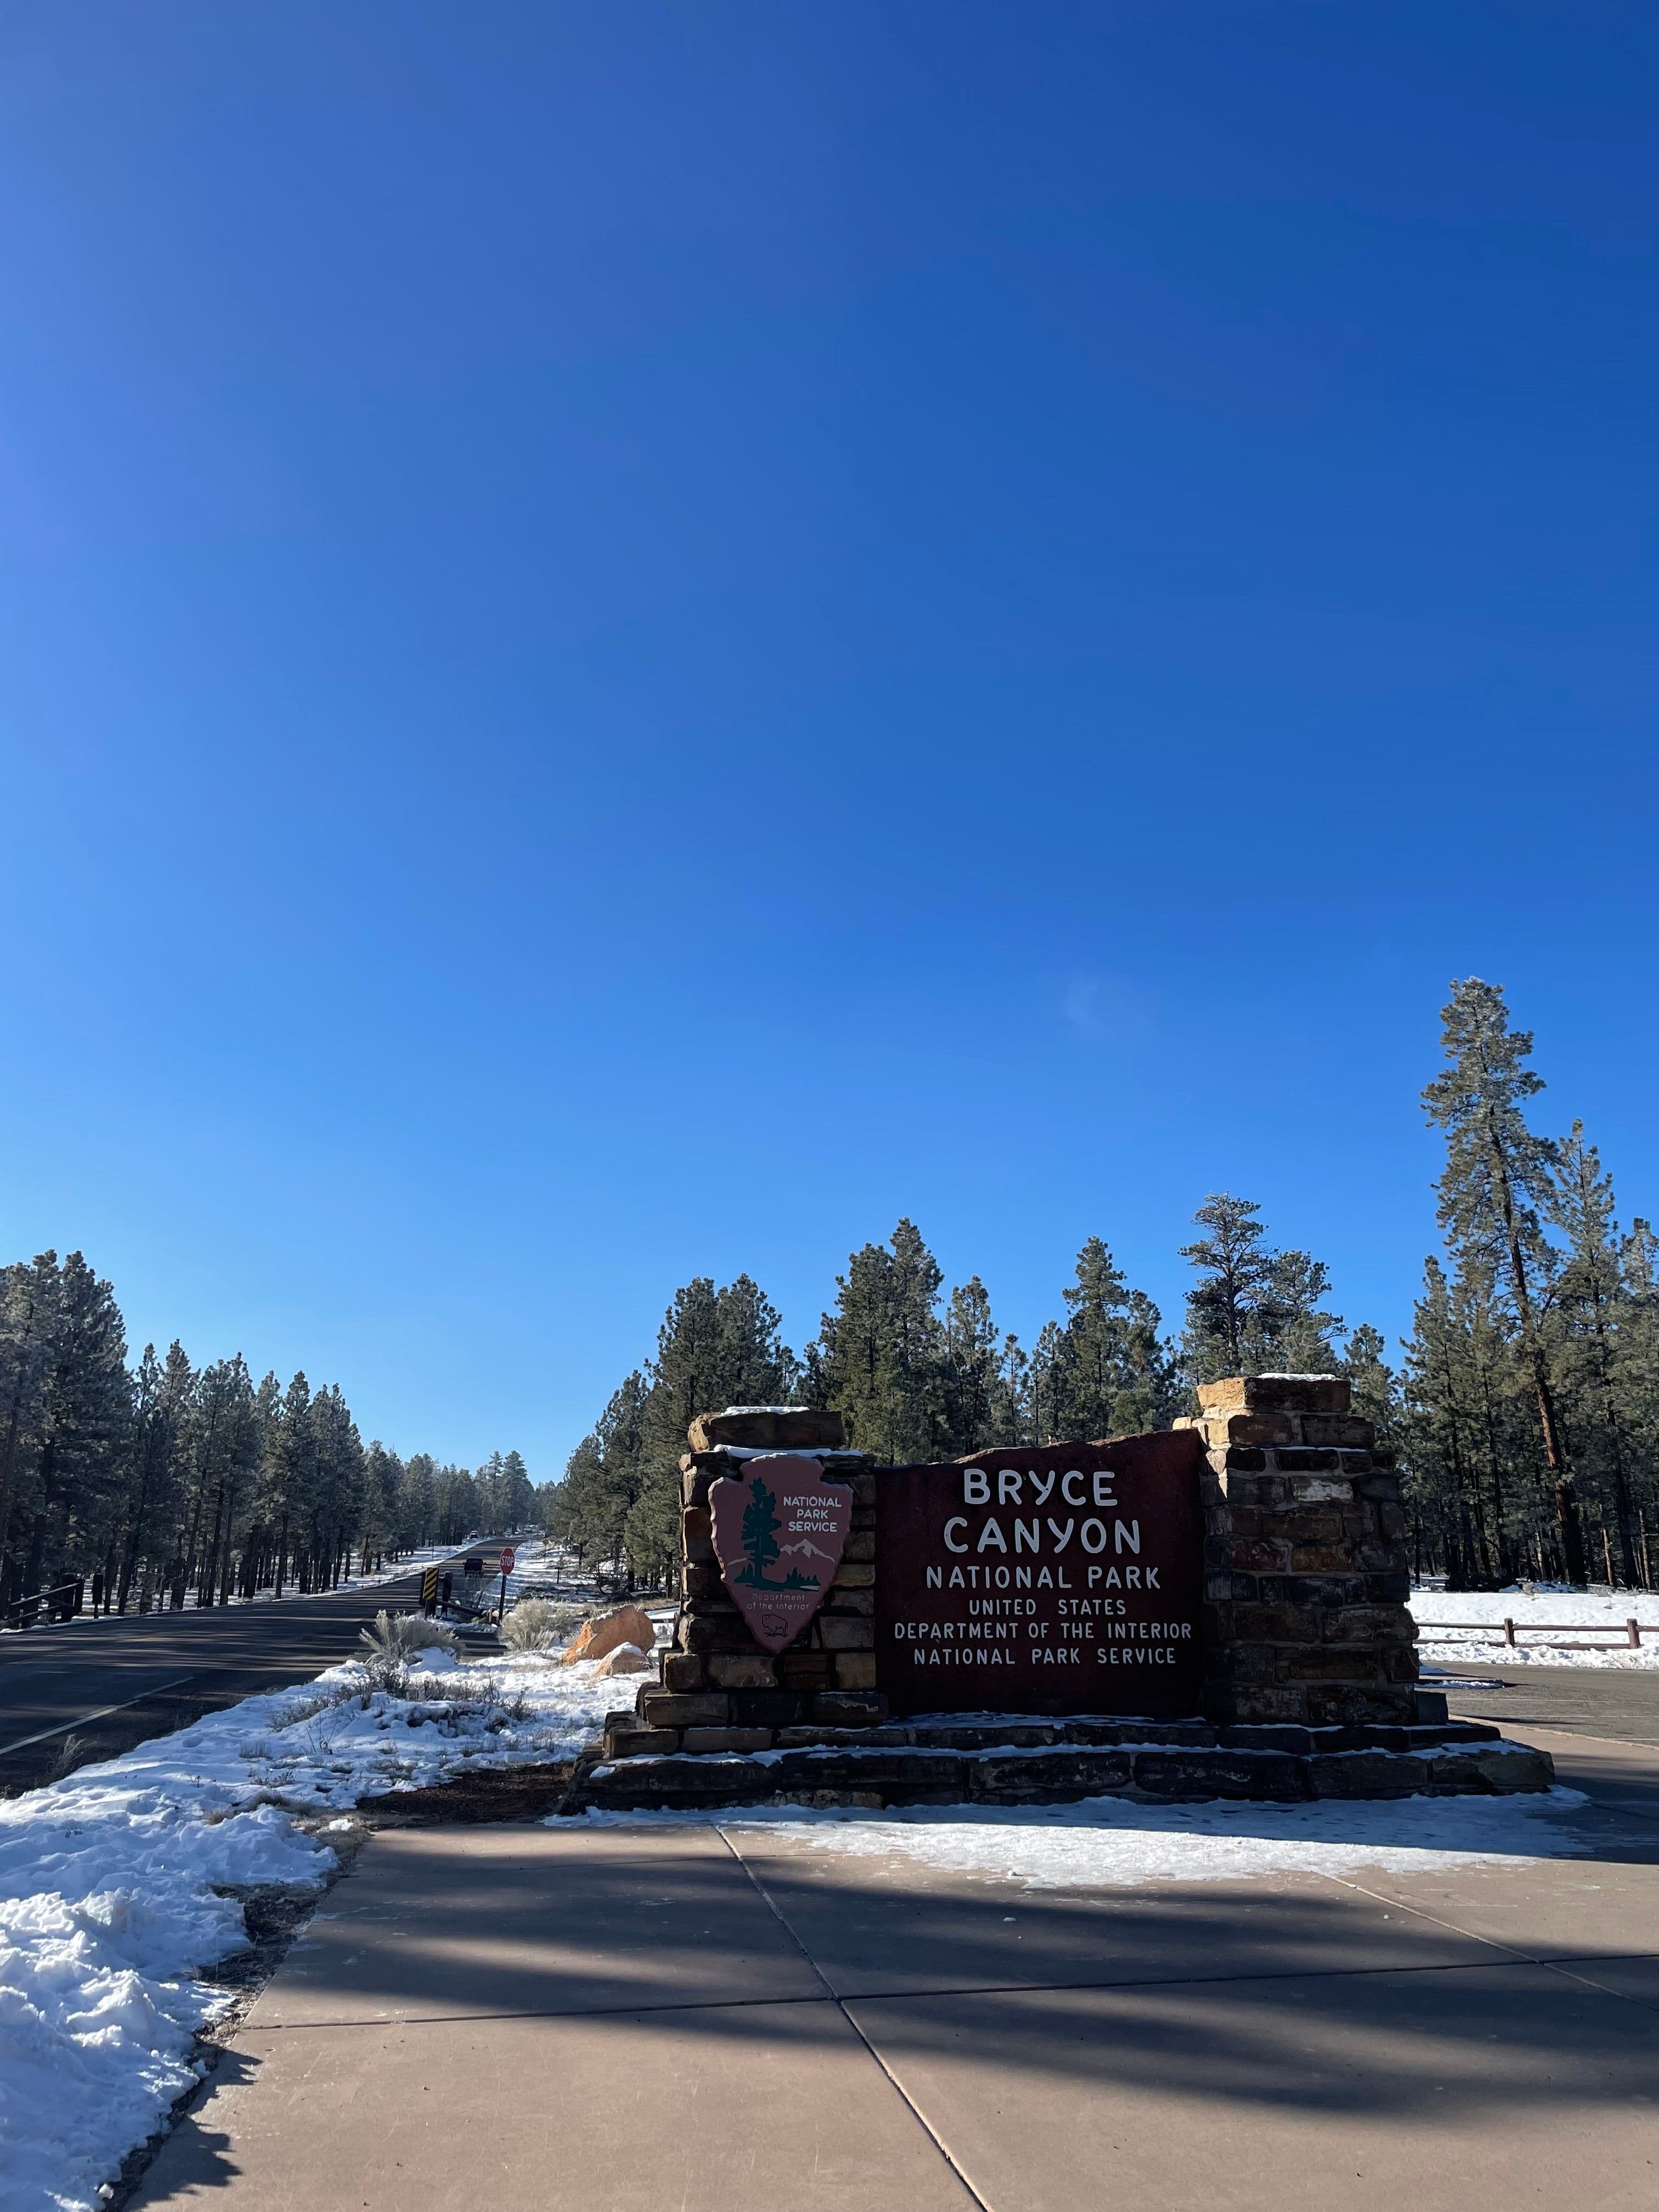
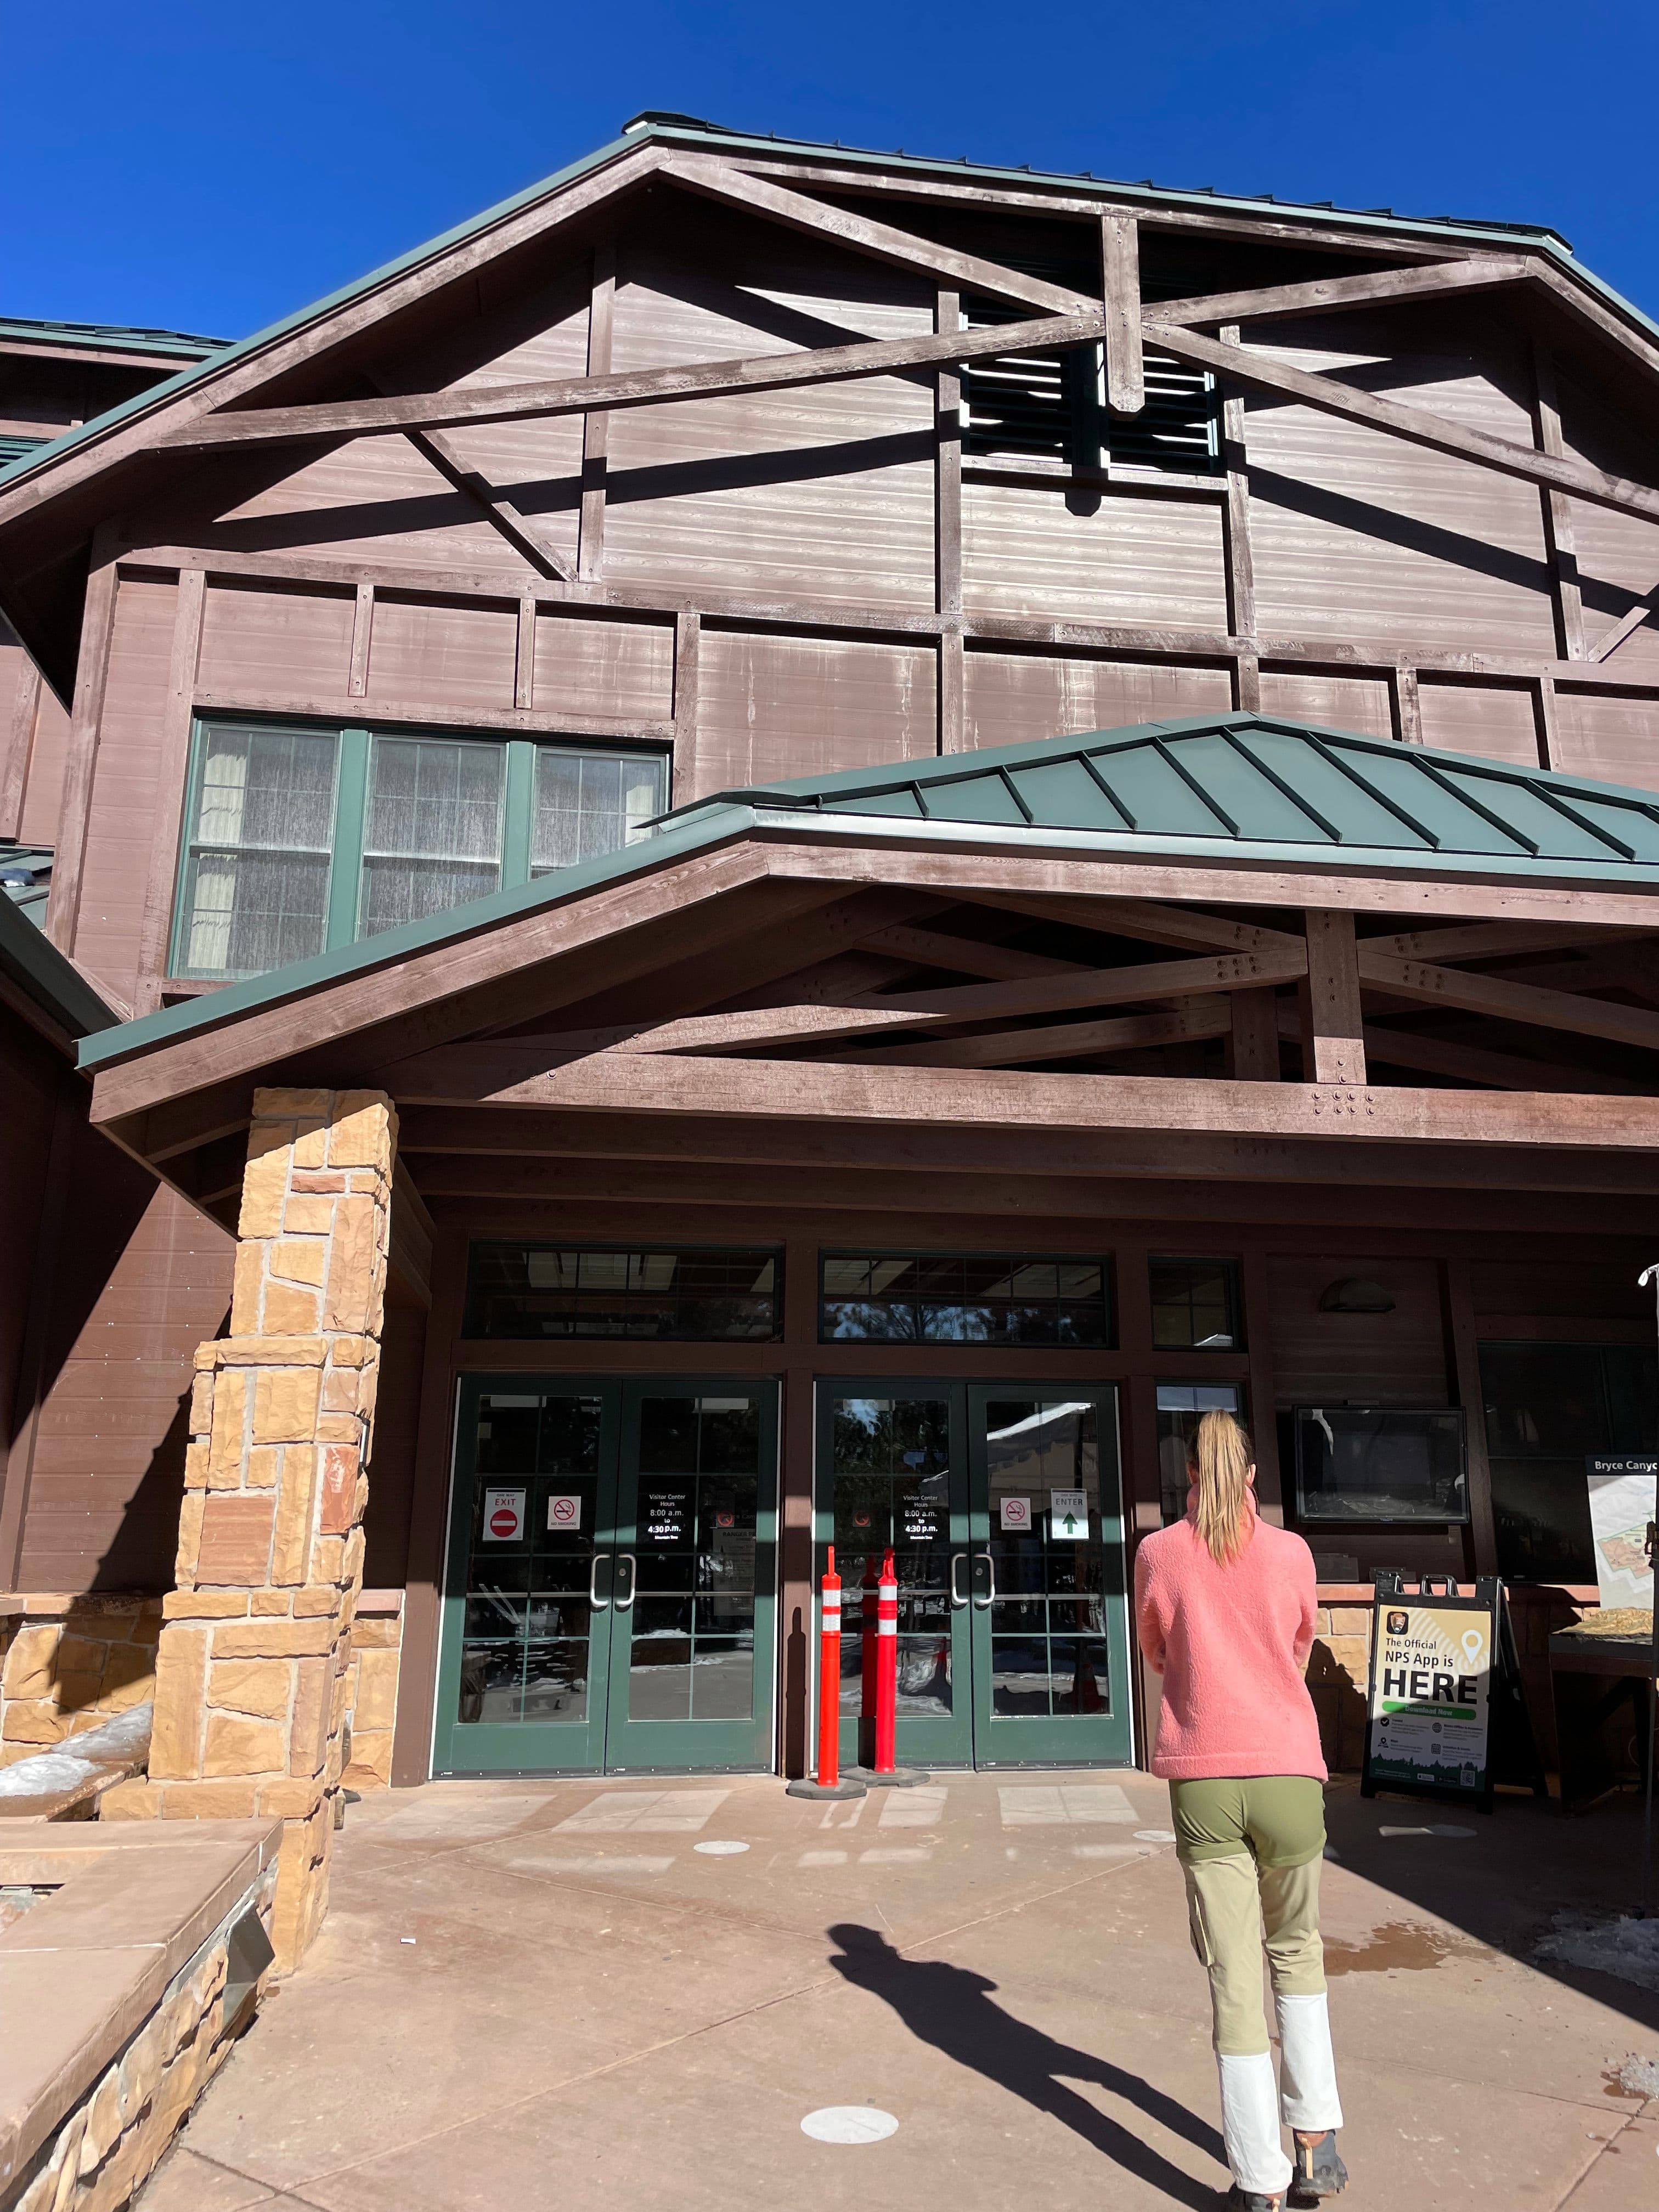

Similar to Zion, there is a $35 entrance fee to drive into Bryce National Park.
Stop at the Visitor Center to use the washroom, check out the gift shop, and learn a little more about Bryce Canyon!
- 6
Sunset at Sunset Point

1hr·5:30AM - 6:30AM
As its name suggests, Sunset Point has some of the best sunsets in Bryce Canyon. We finished off our day with a walk around Sunset Point along the Rim Trail.
- 7
Check-In at Best Western Ruby's Inn
- 8
Dinner at Subway
7:00PM
There were not many restaurant options around and we were both feeling like some vegetables, so we grabbed a quick dinner at Subway. It truly was exactly what we needed.
- 9
Hot Tub at Ruby's Inn
We finished off our day by enjoying the hot tub at our hotel! One of the reasons why we picked this specific hotel!
Day 4: Bryce to Page
- 1
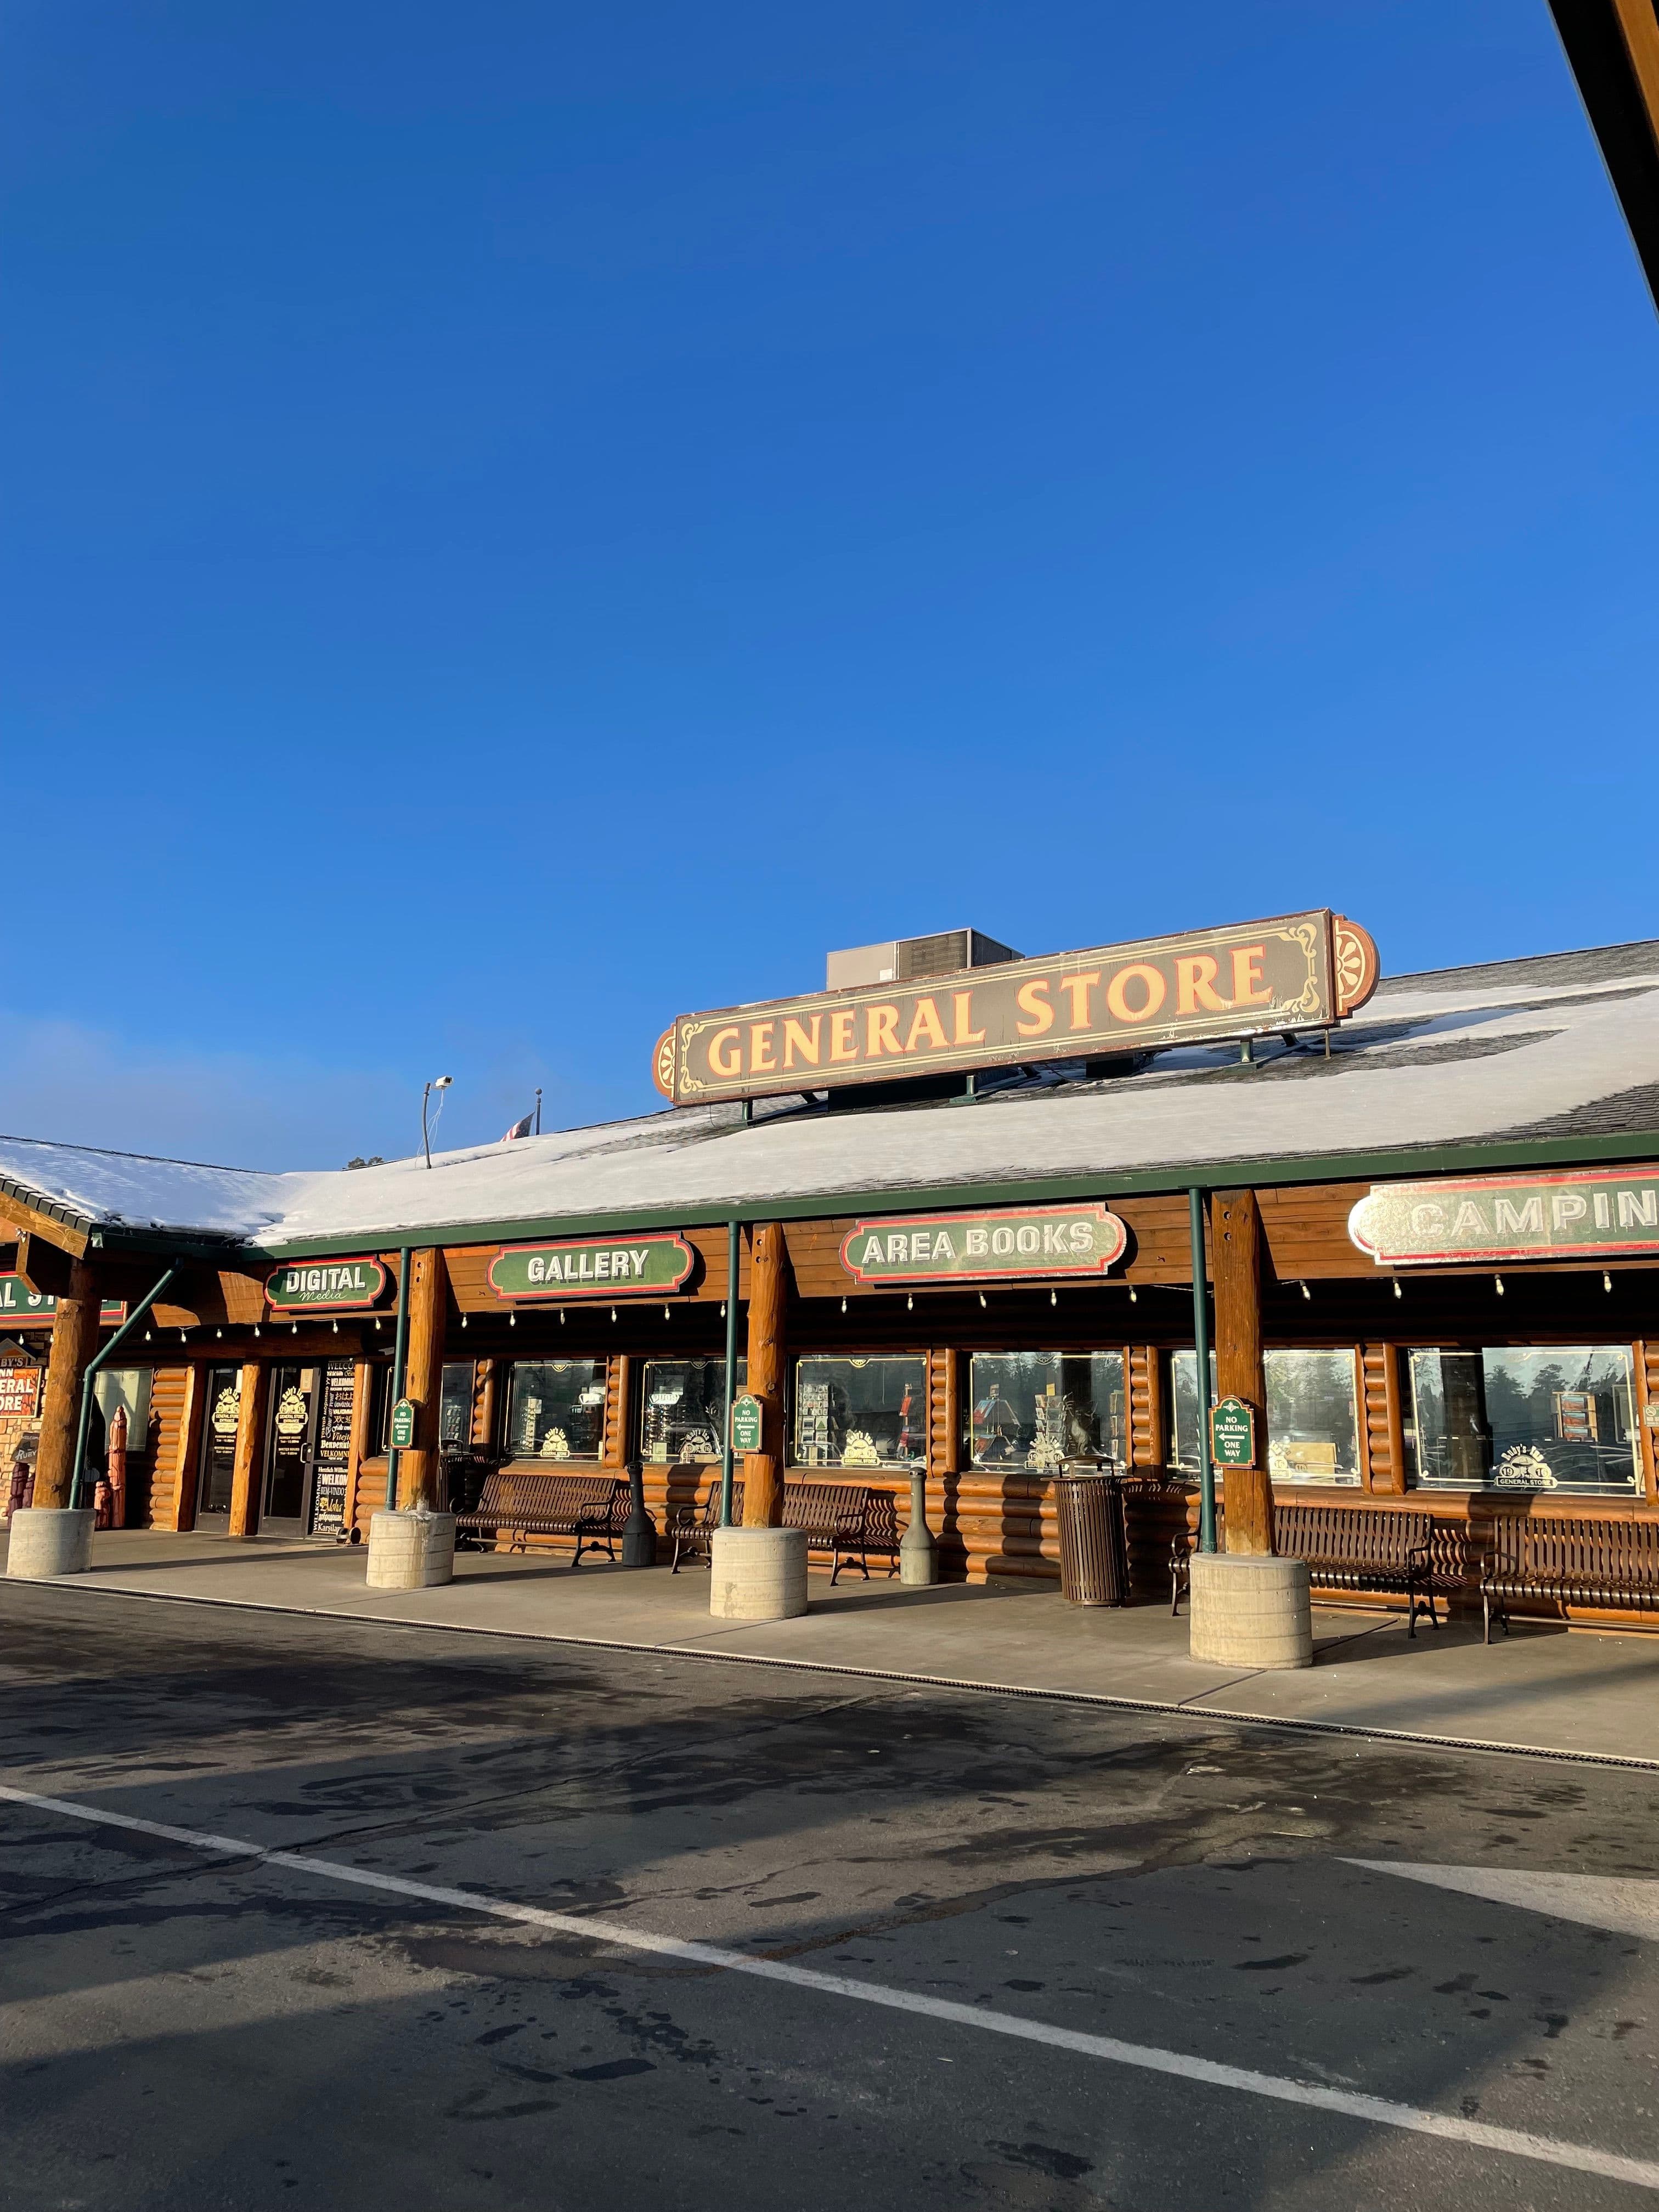
Breakfast at Ruby's Inn
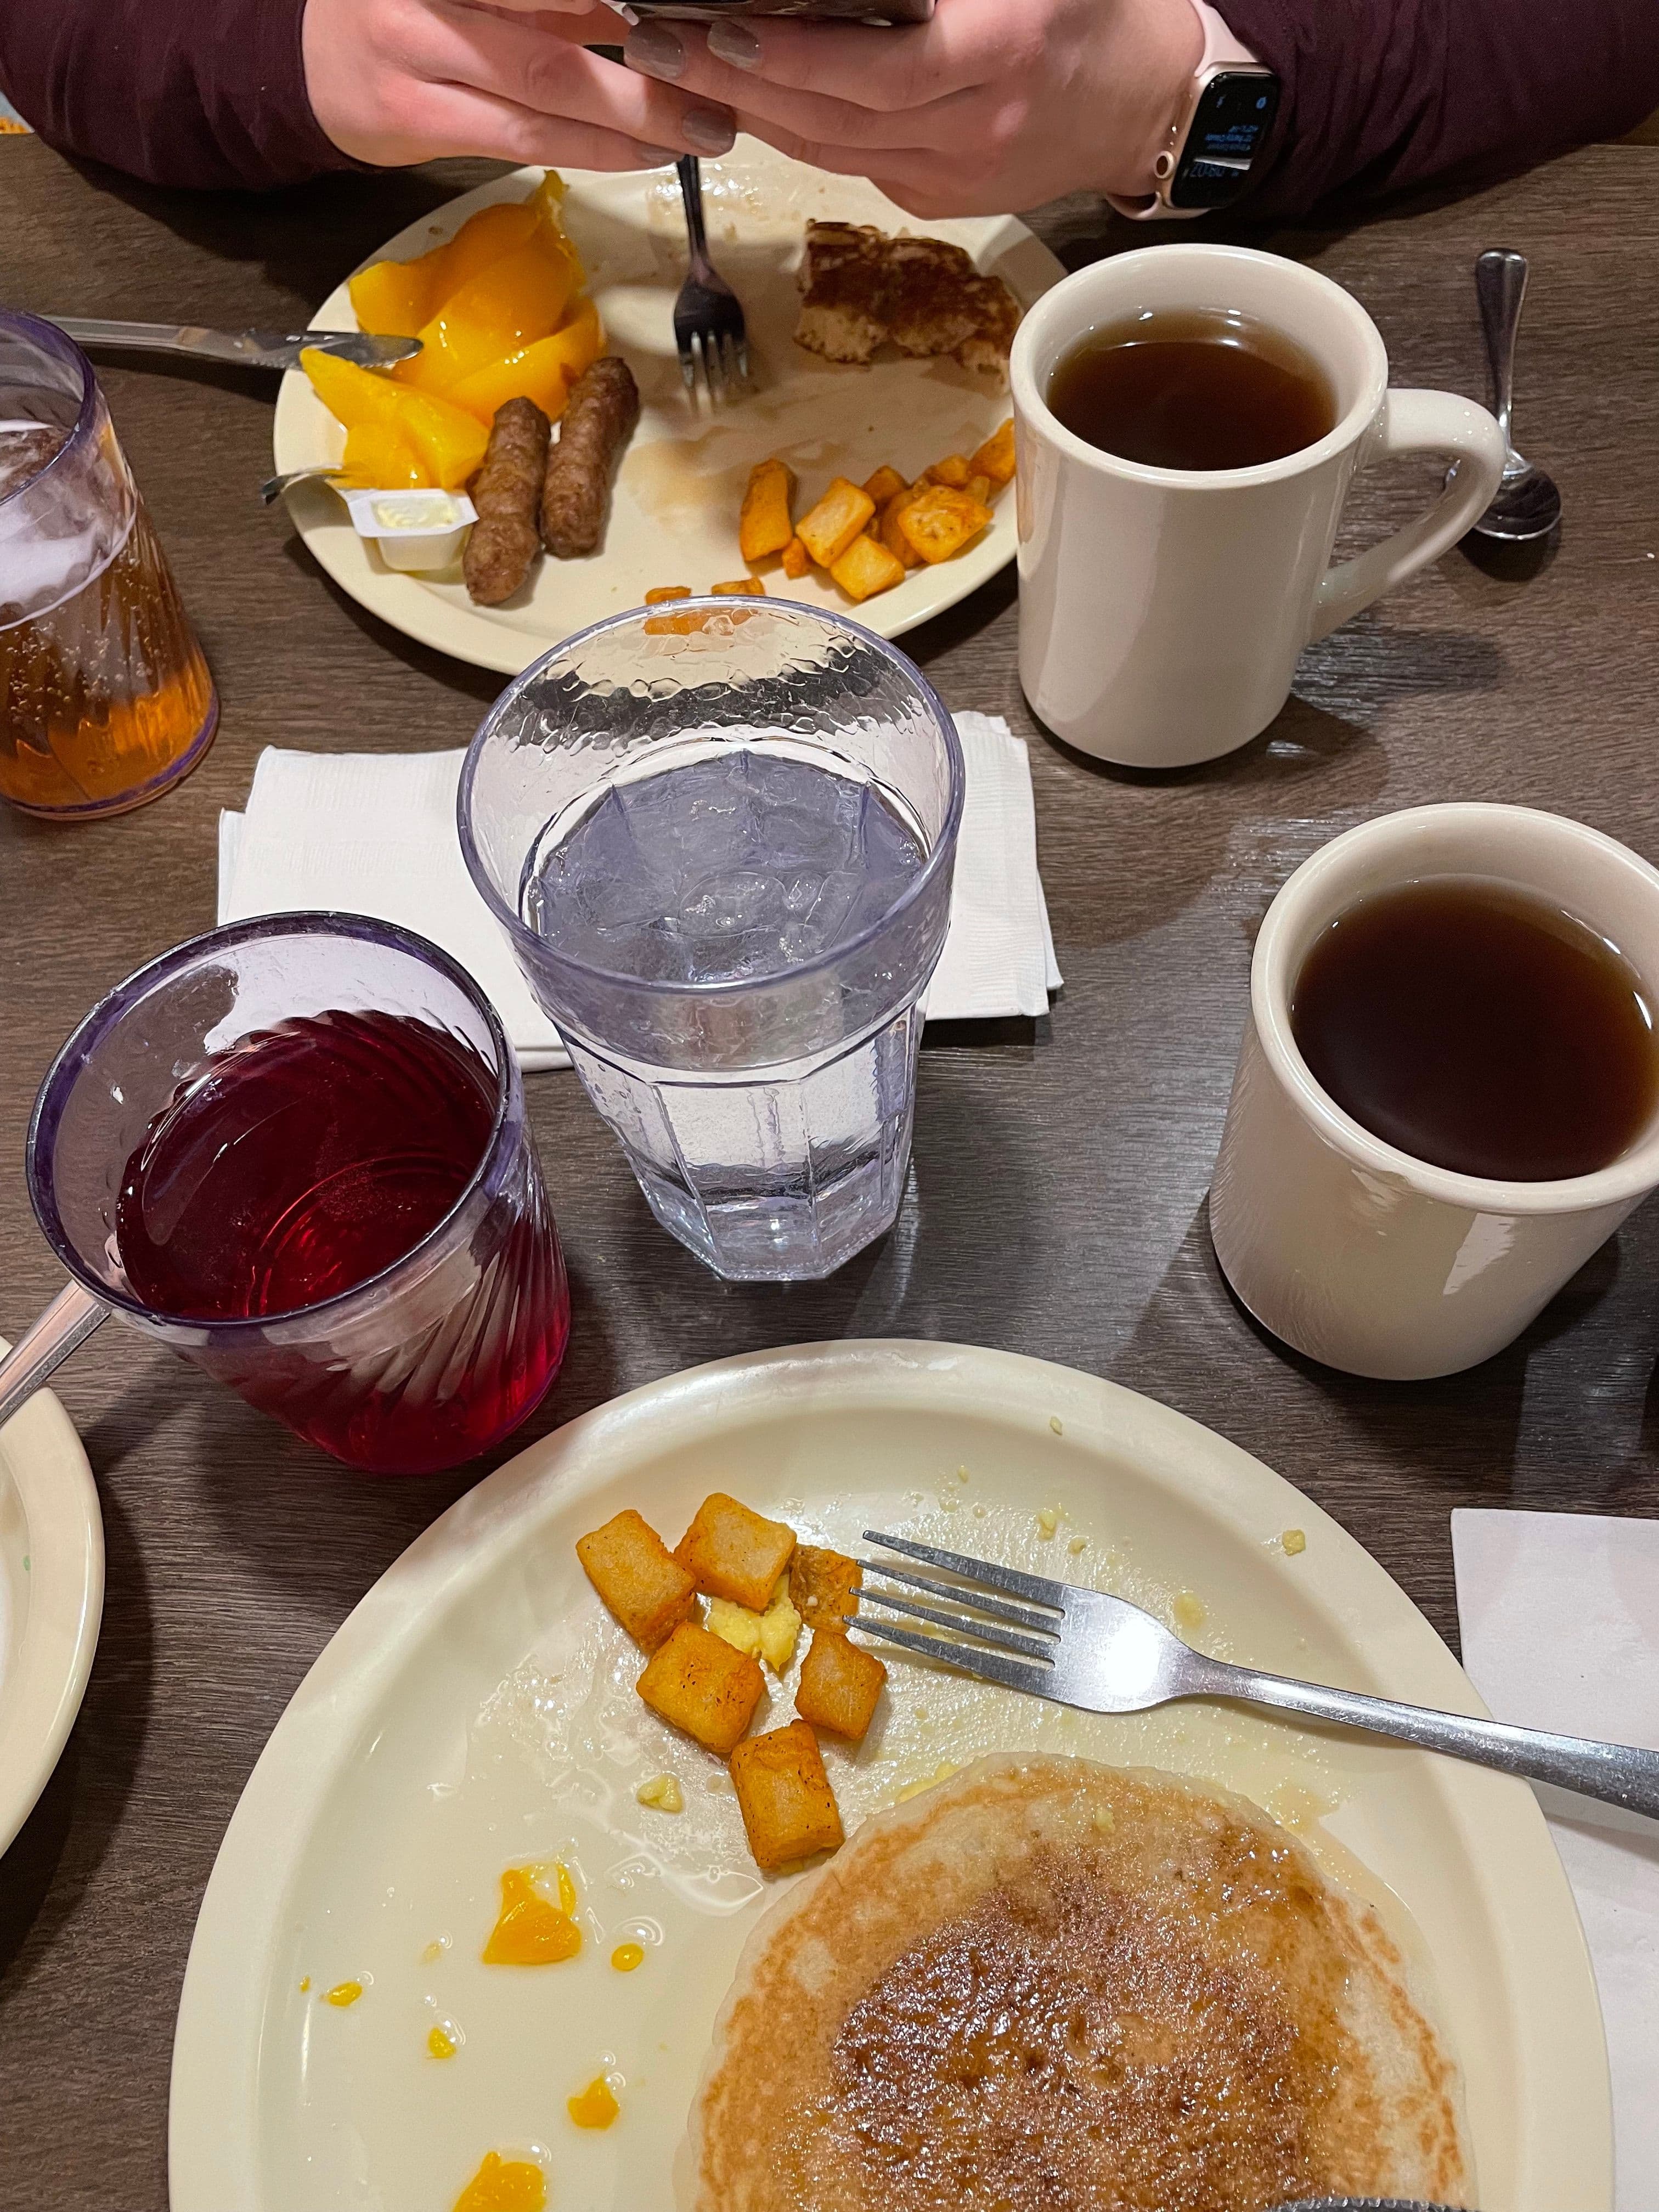
The Ruby’s Inn had a decent breakfast buffet that was included with the room. We were able to get hot chocolate and apple cider to go, which was awesome as the morning was pretty chilly.
- 2
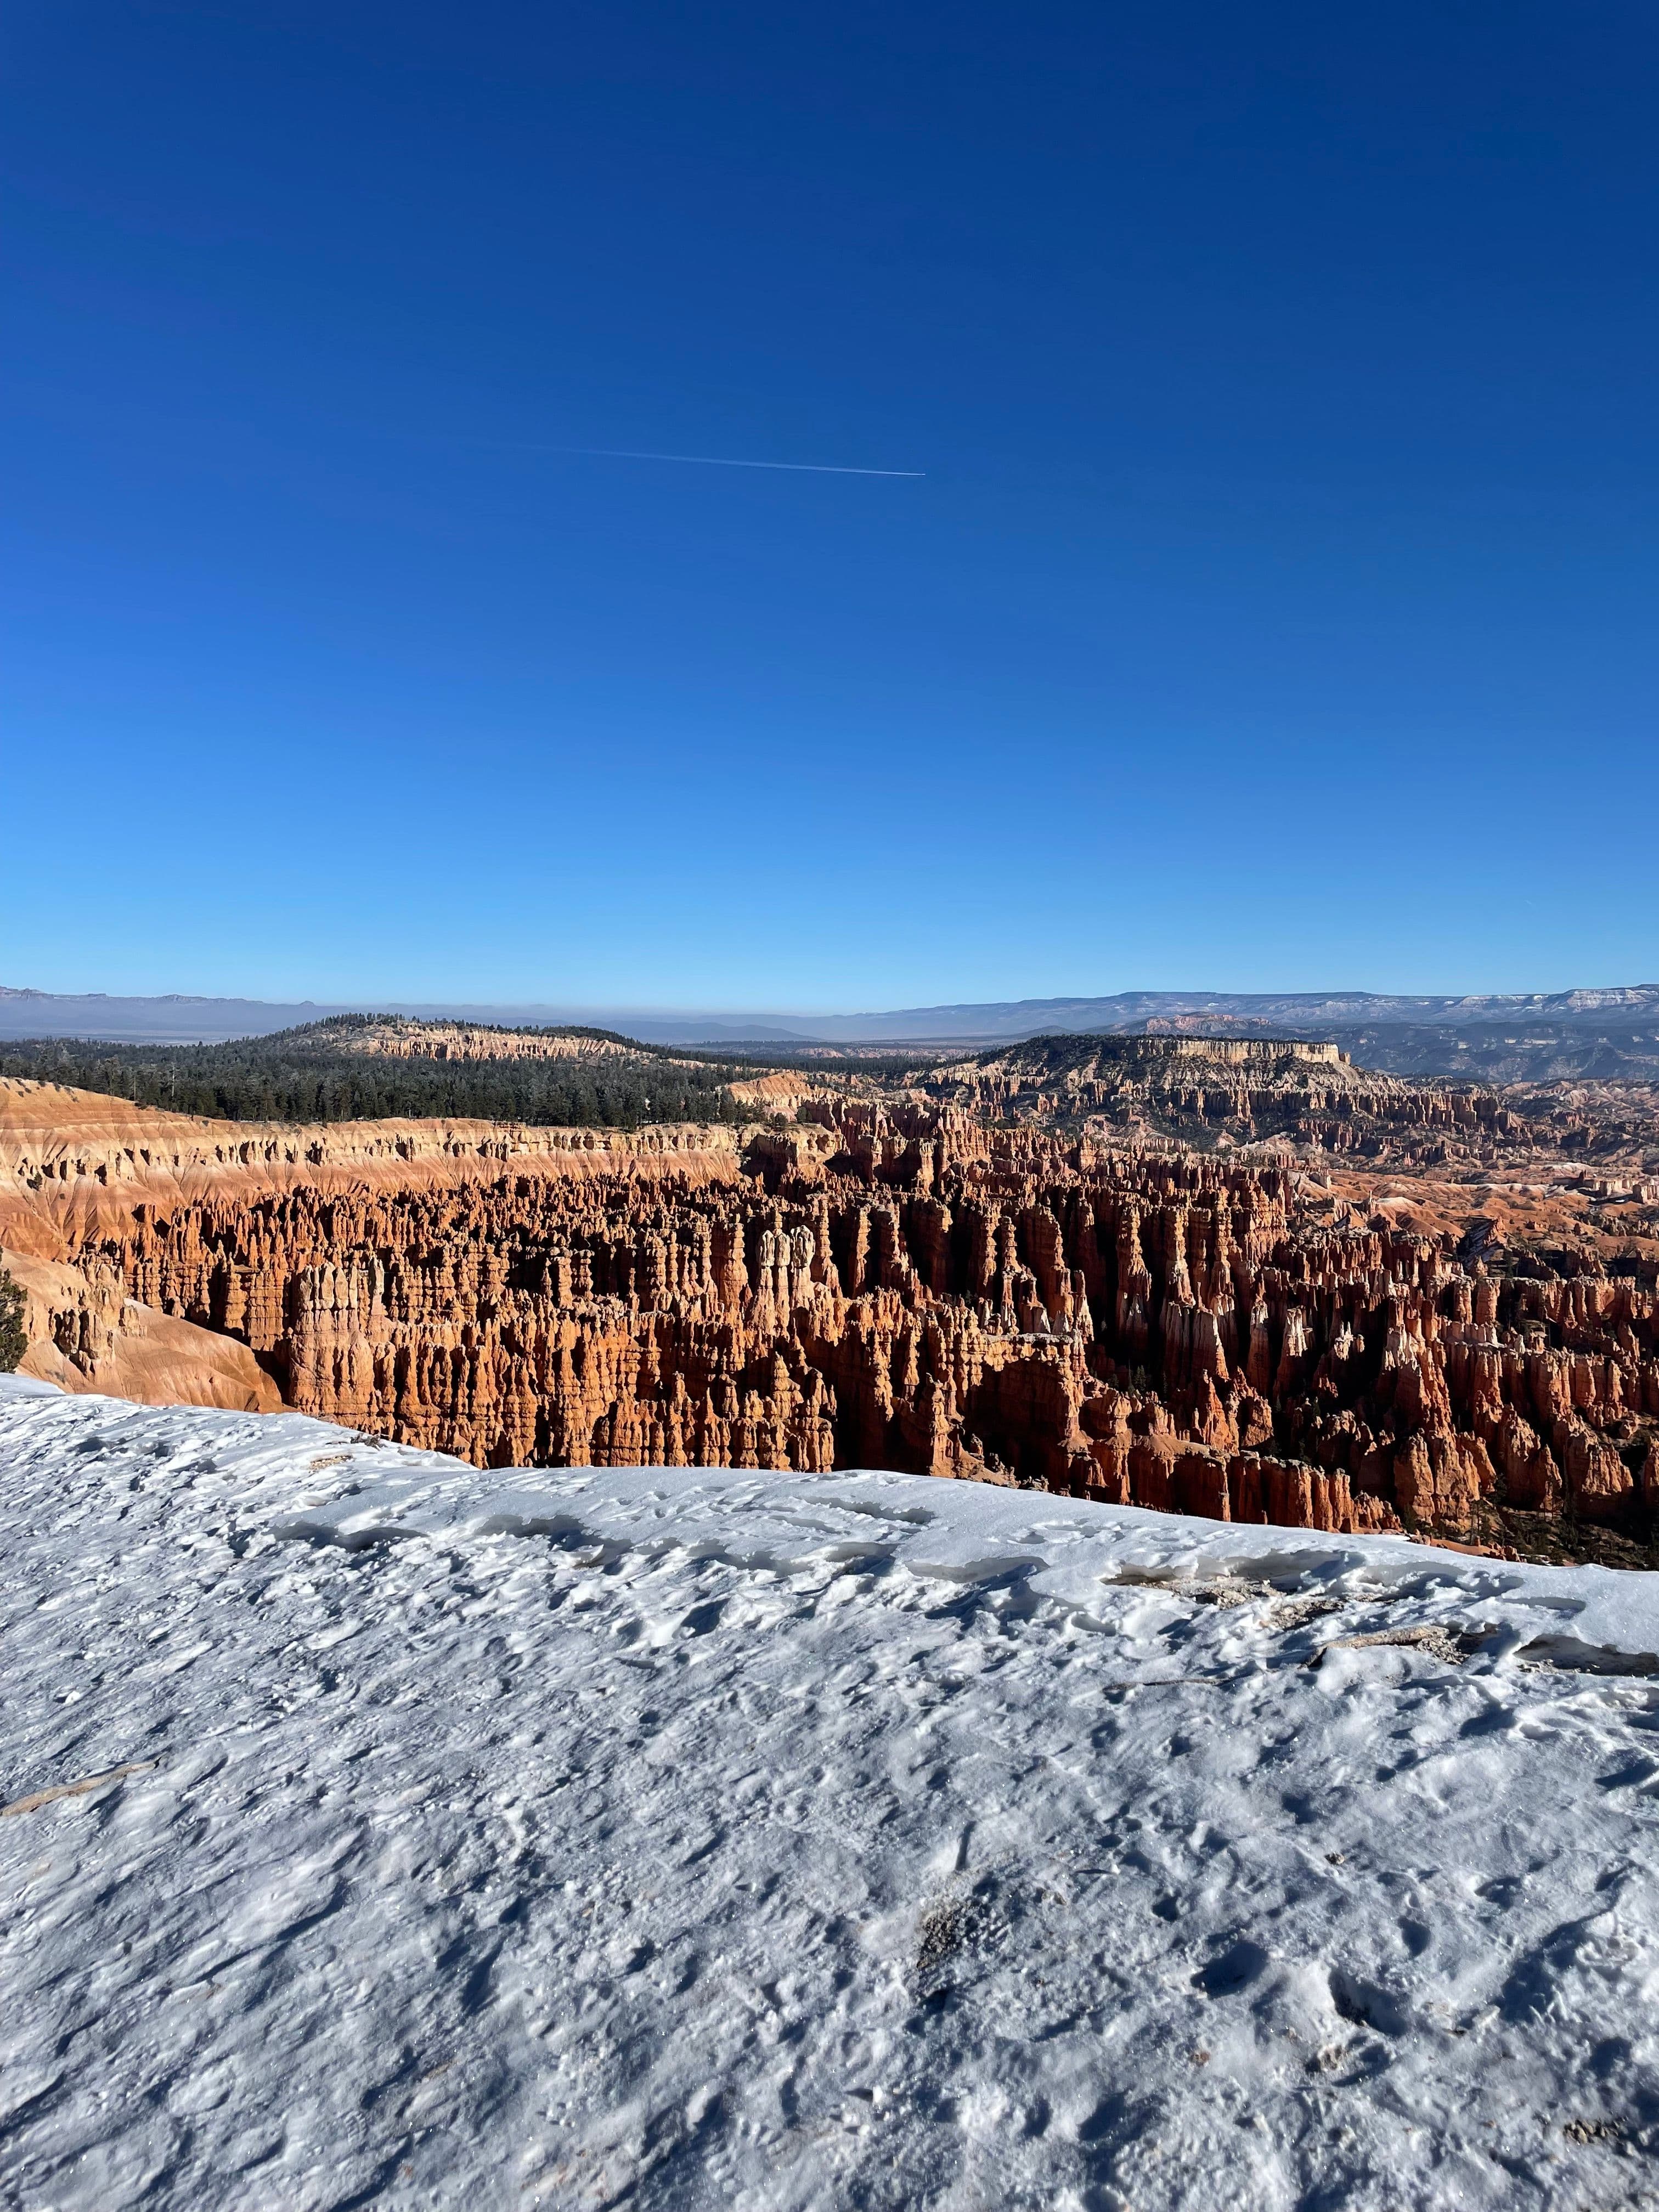
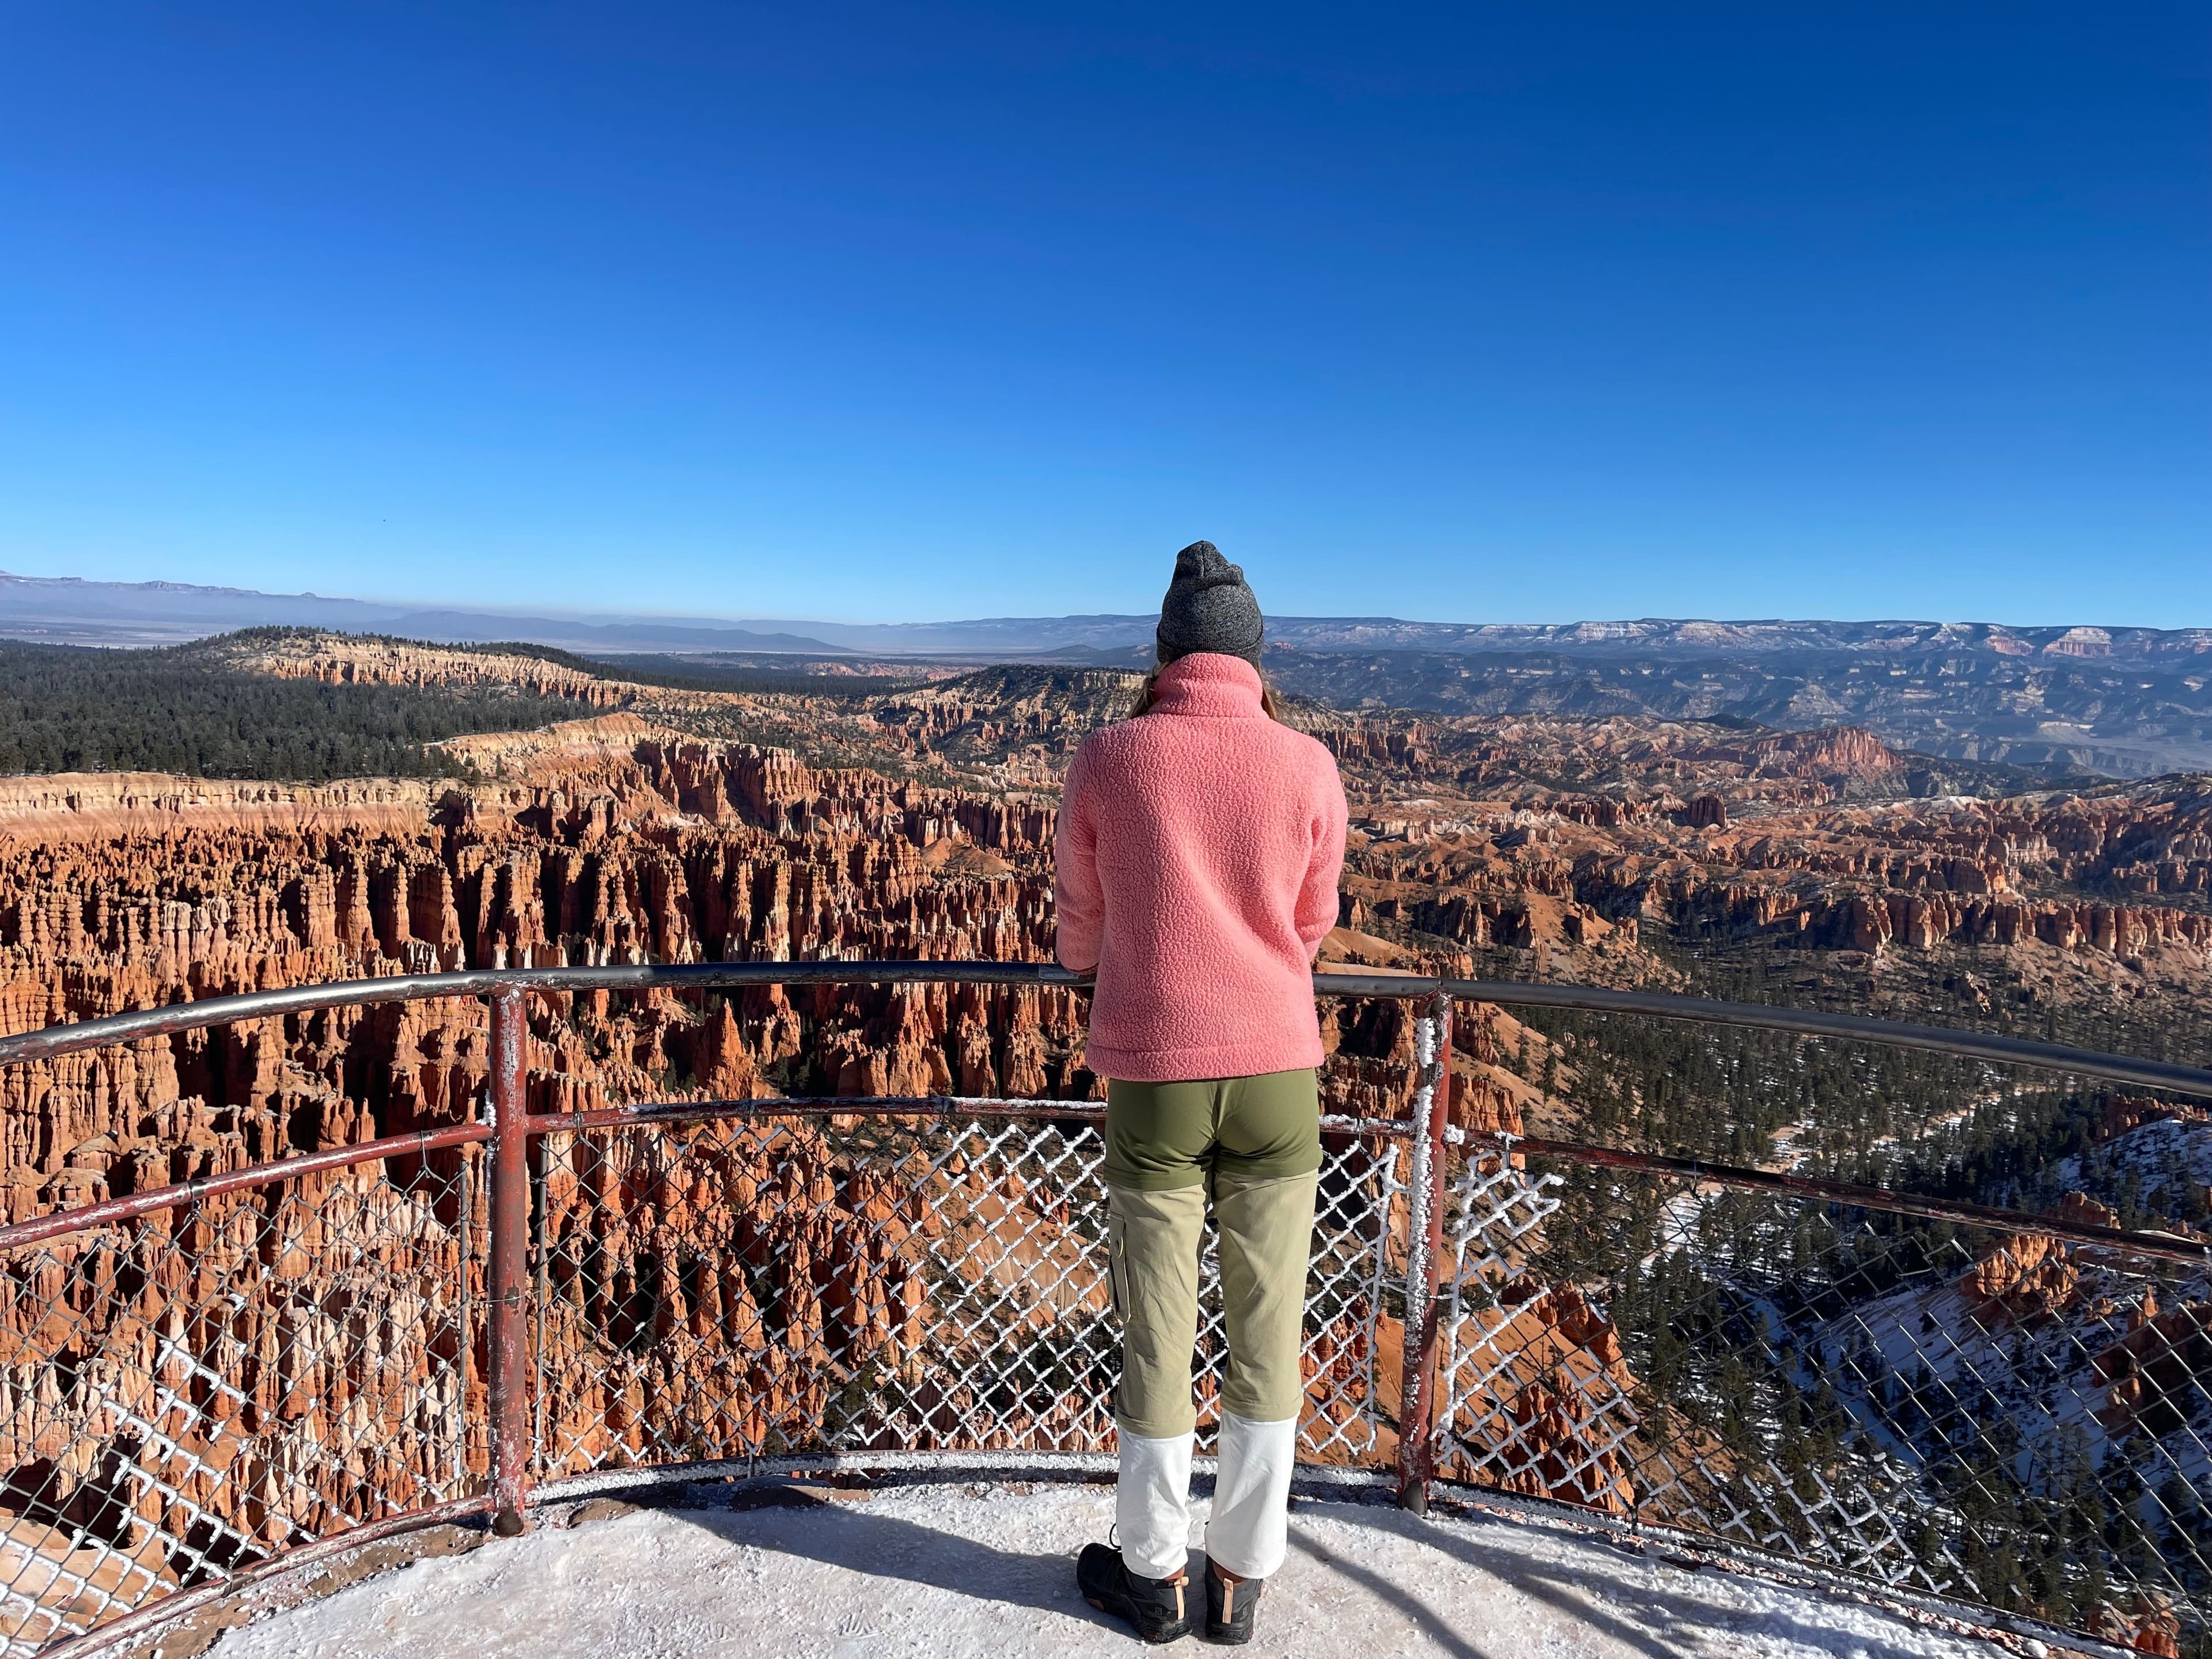
Visit Bryce Point
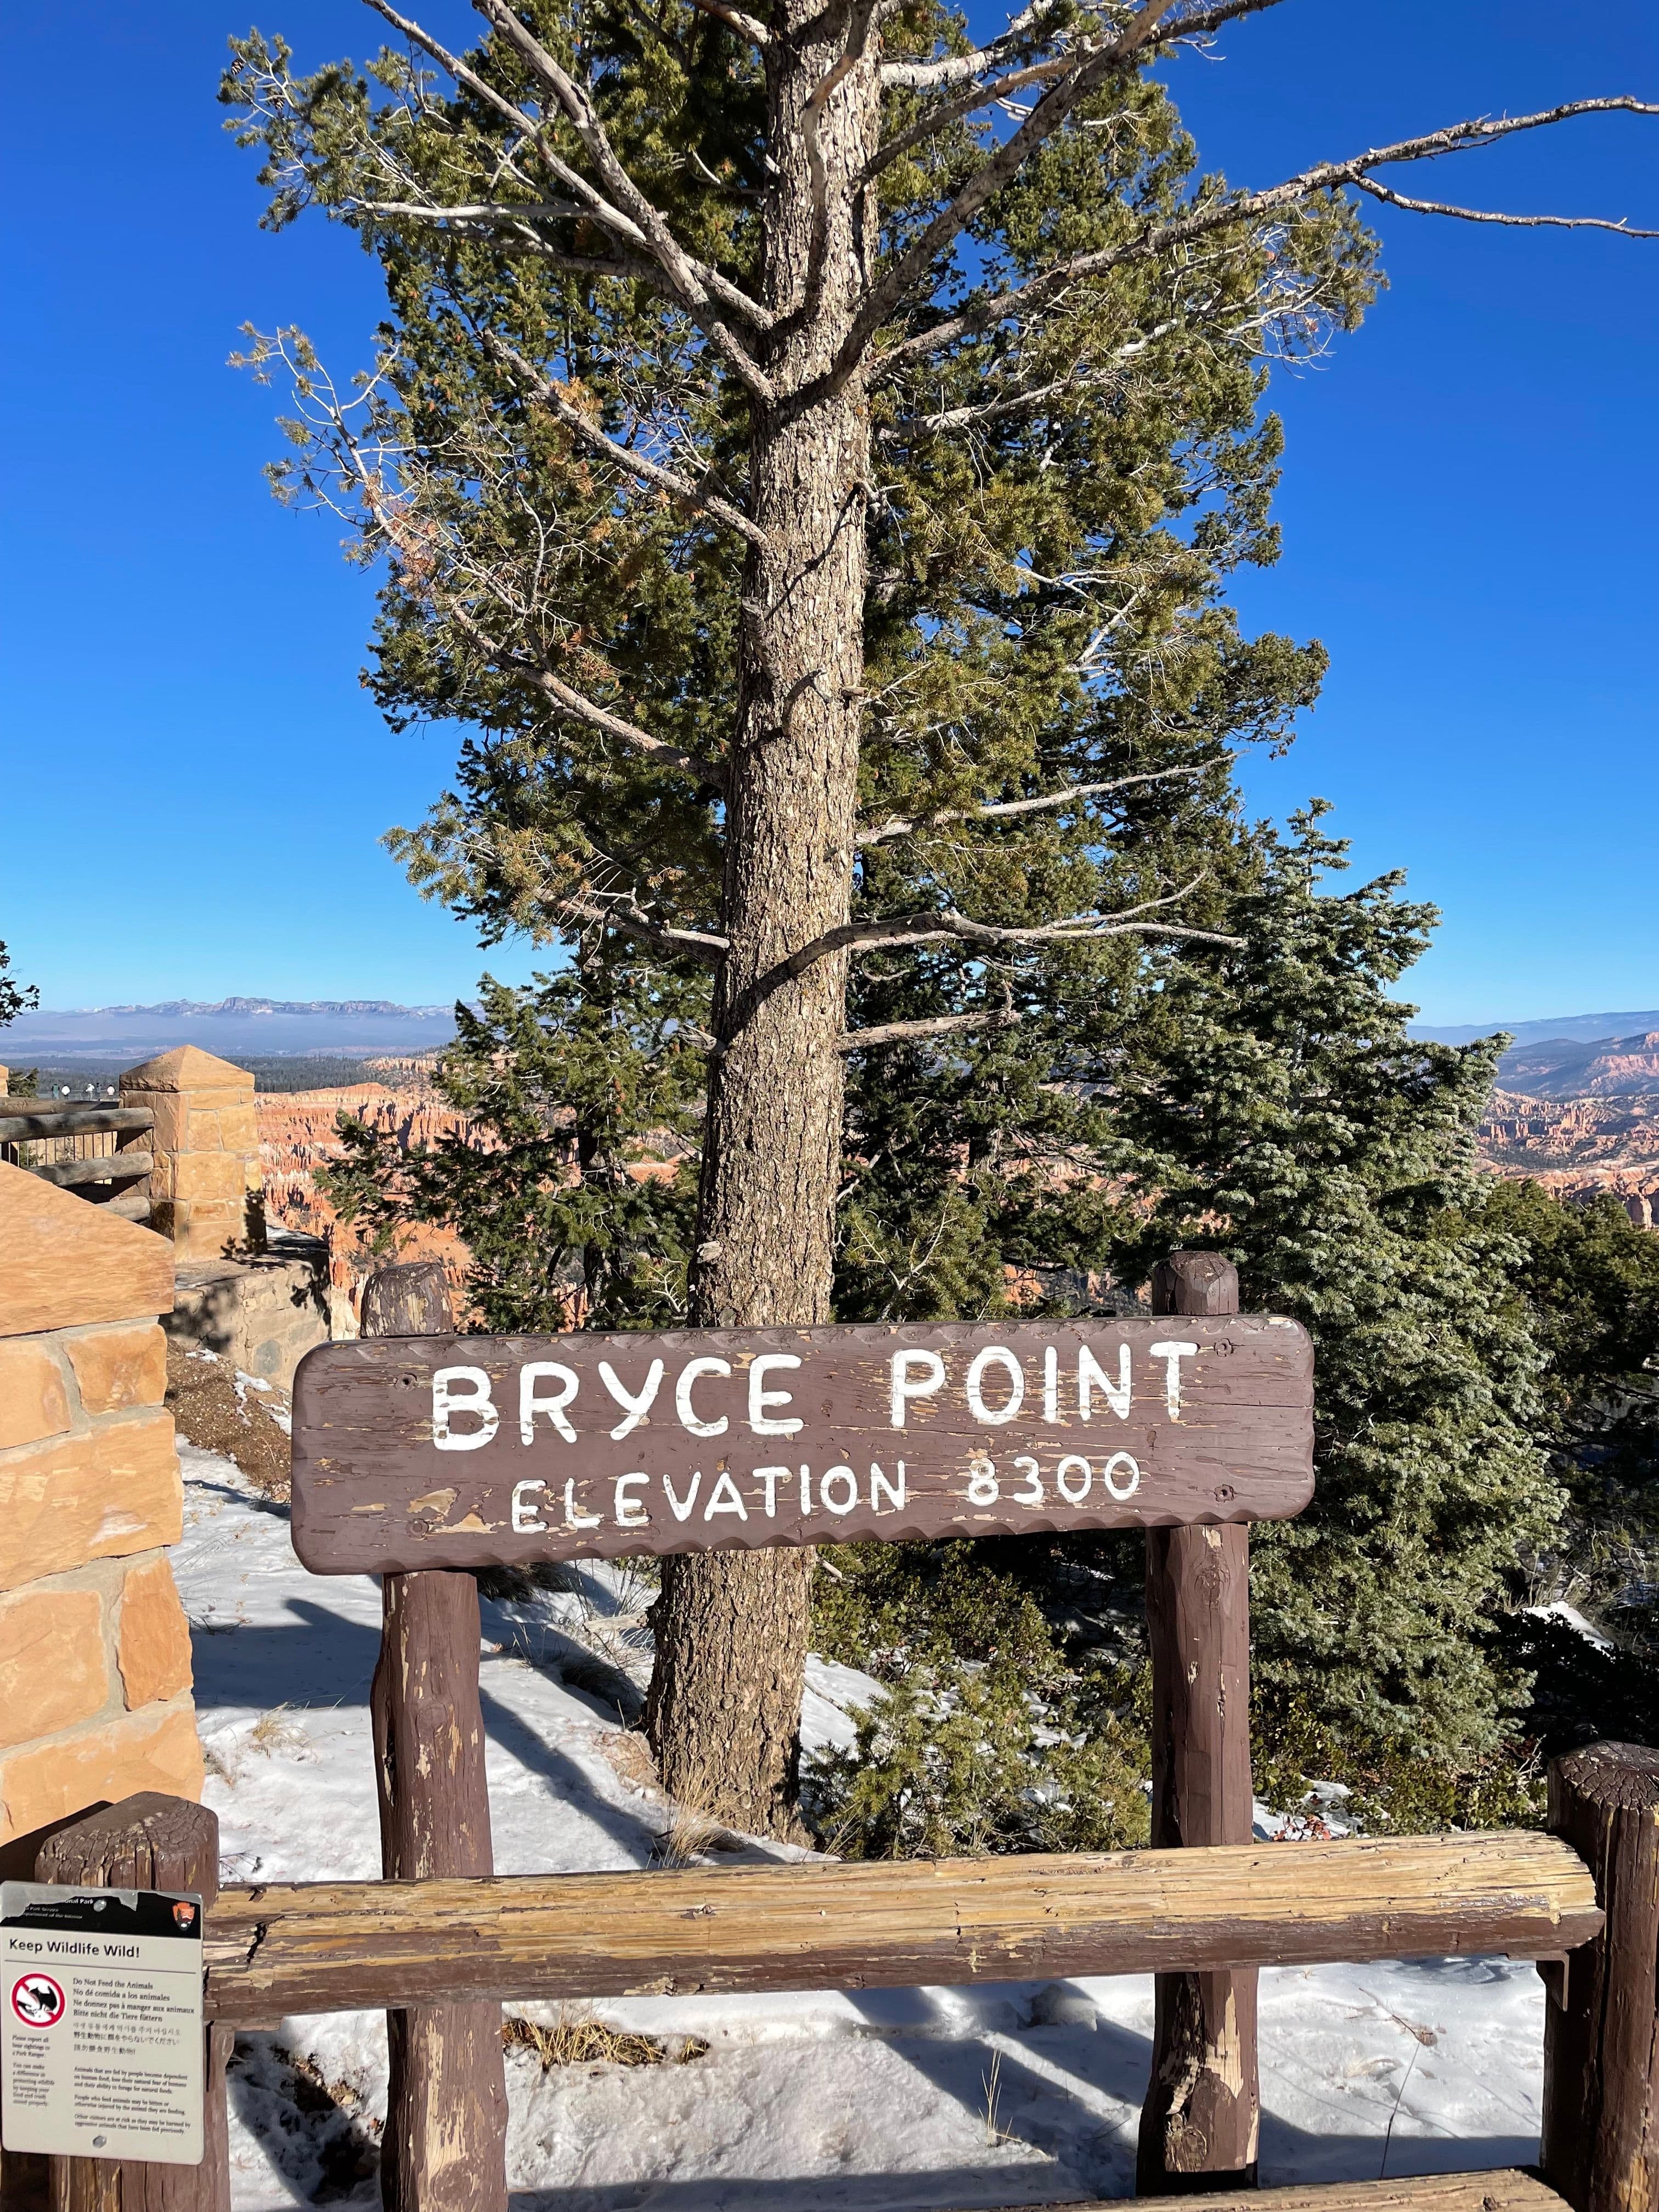
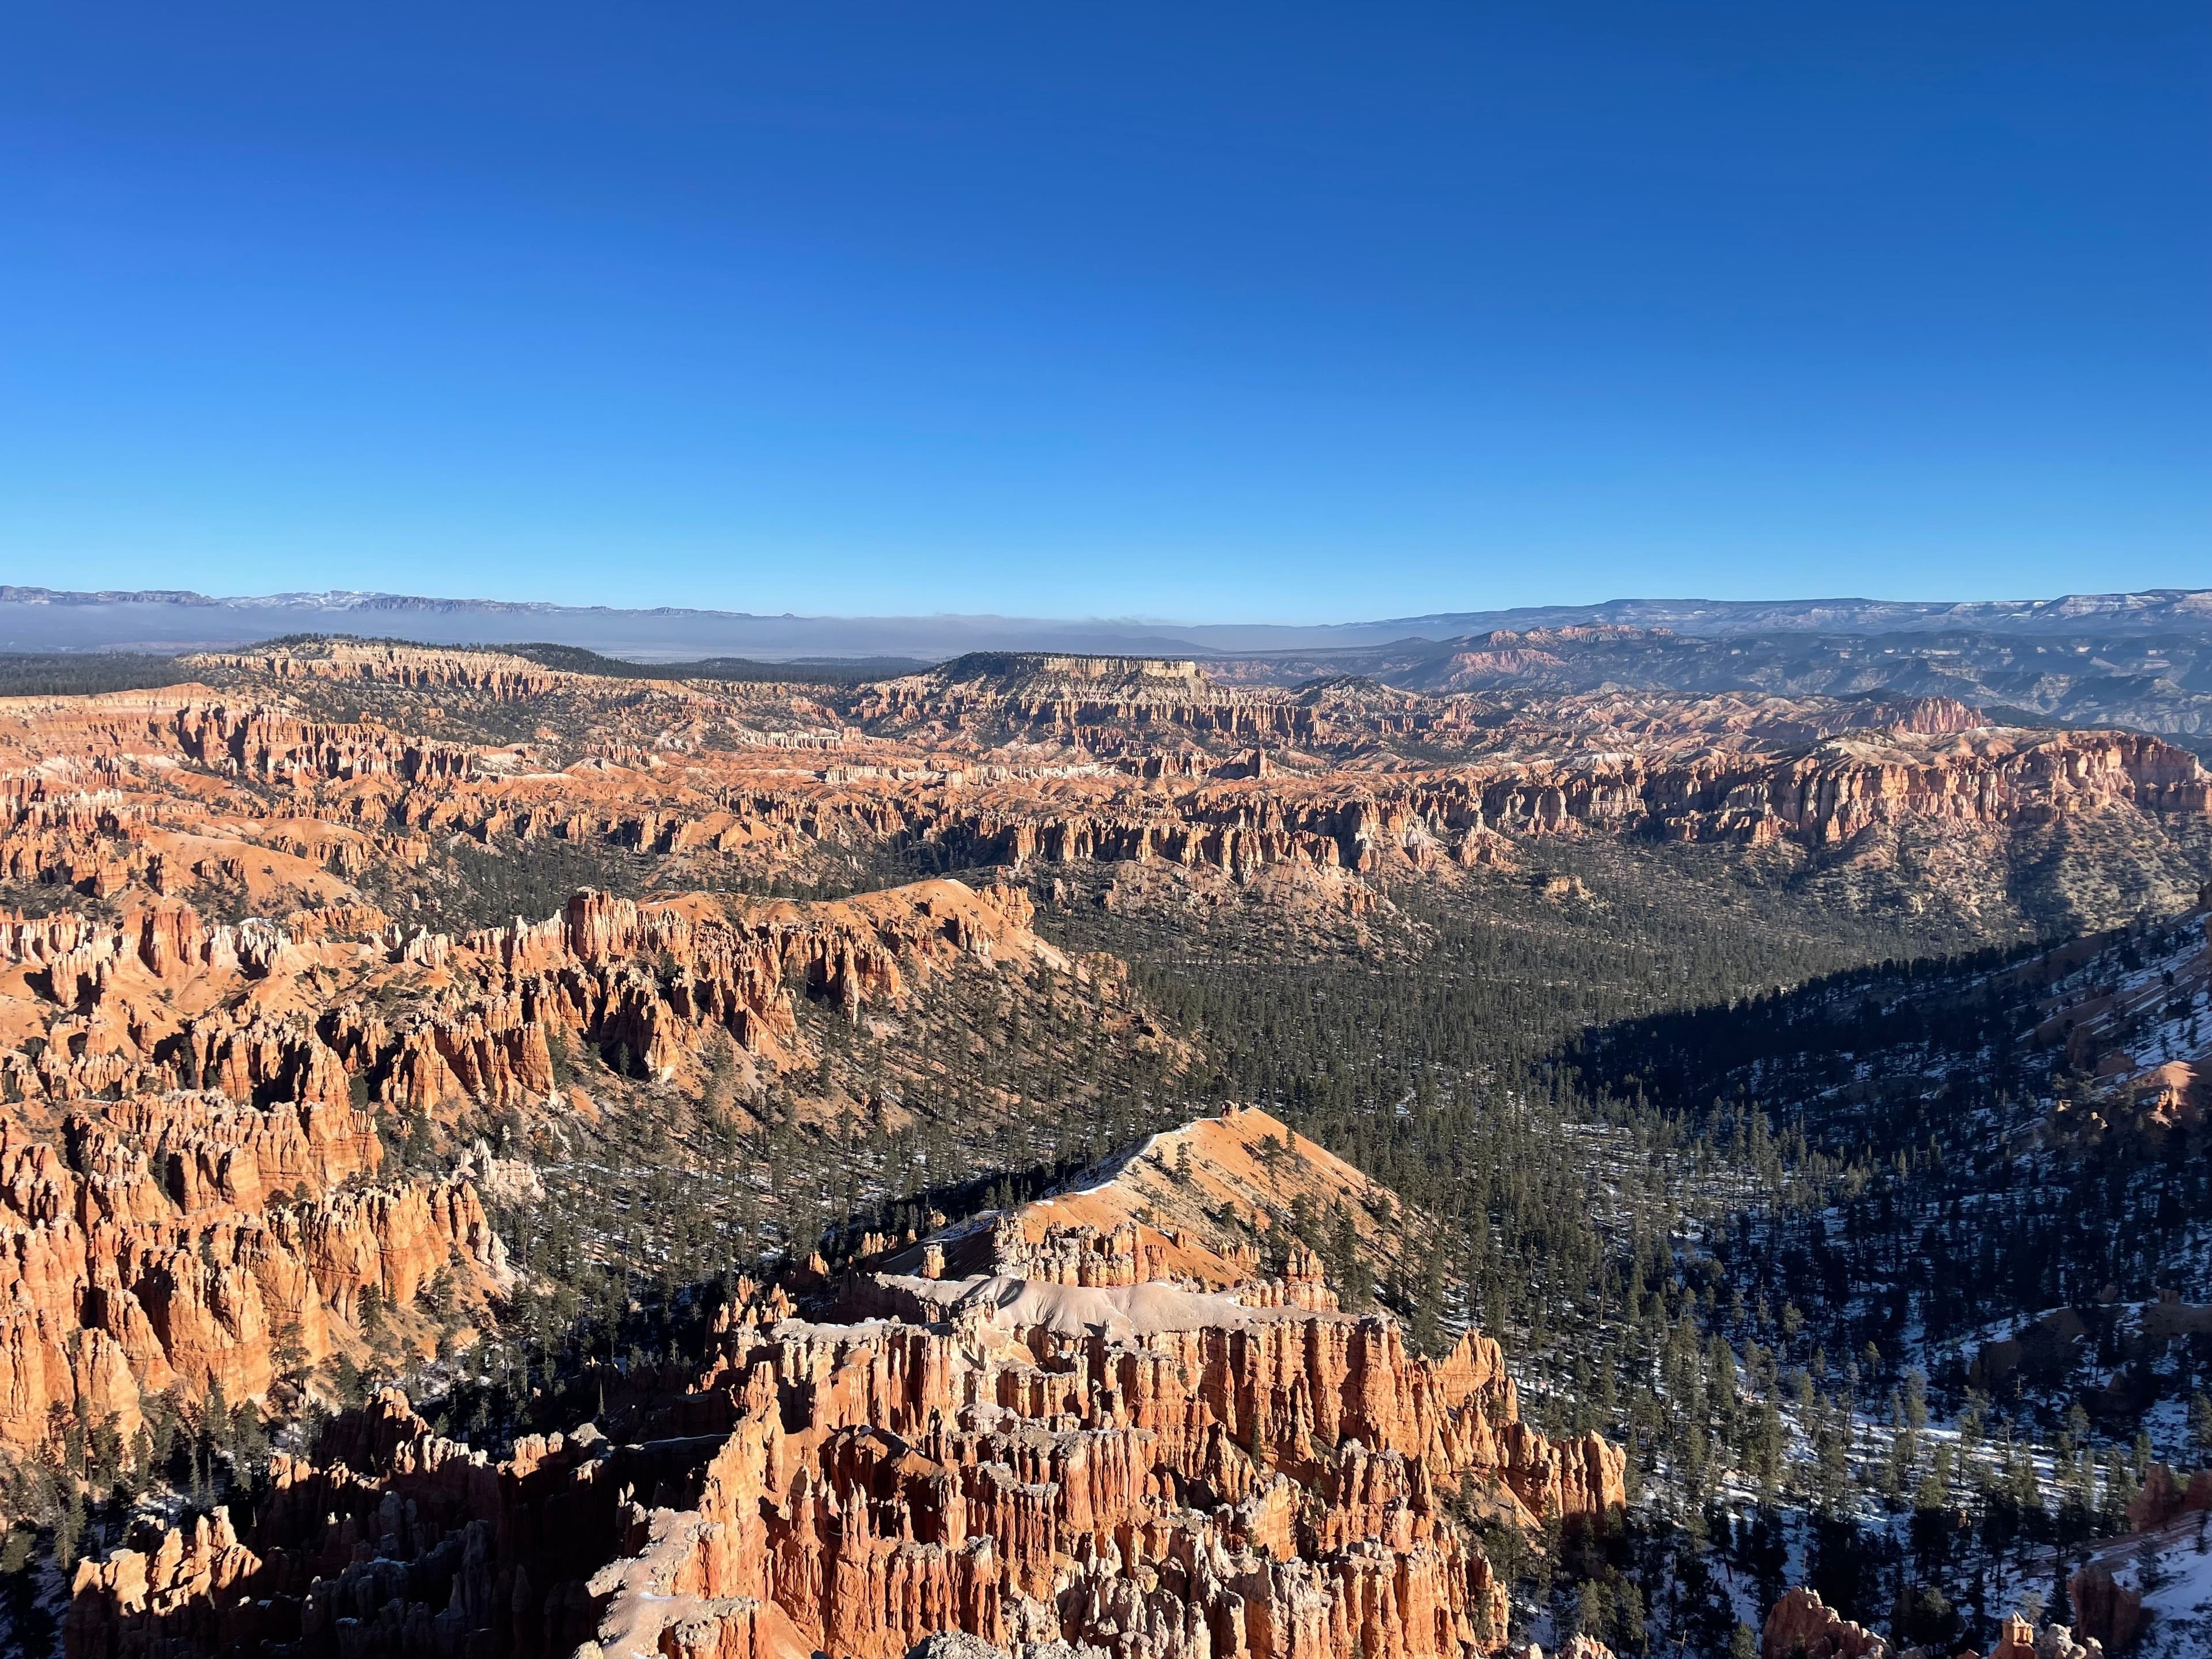
30min·10:00AM - 10:30AM
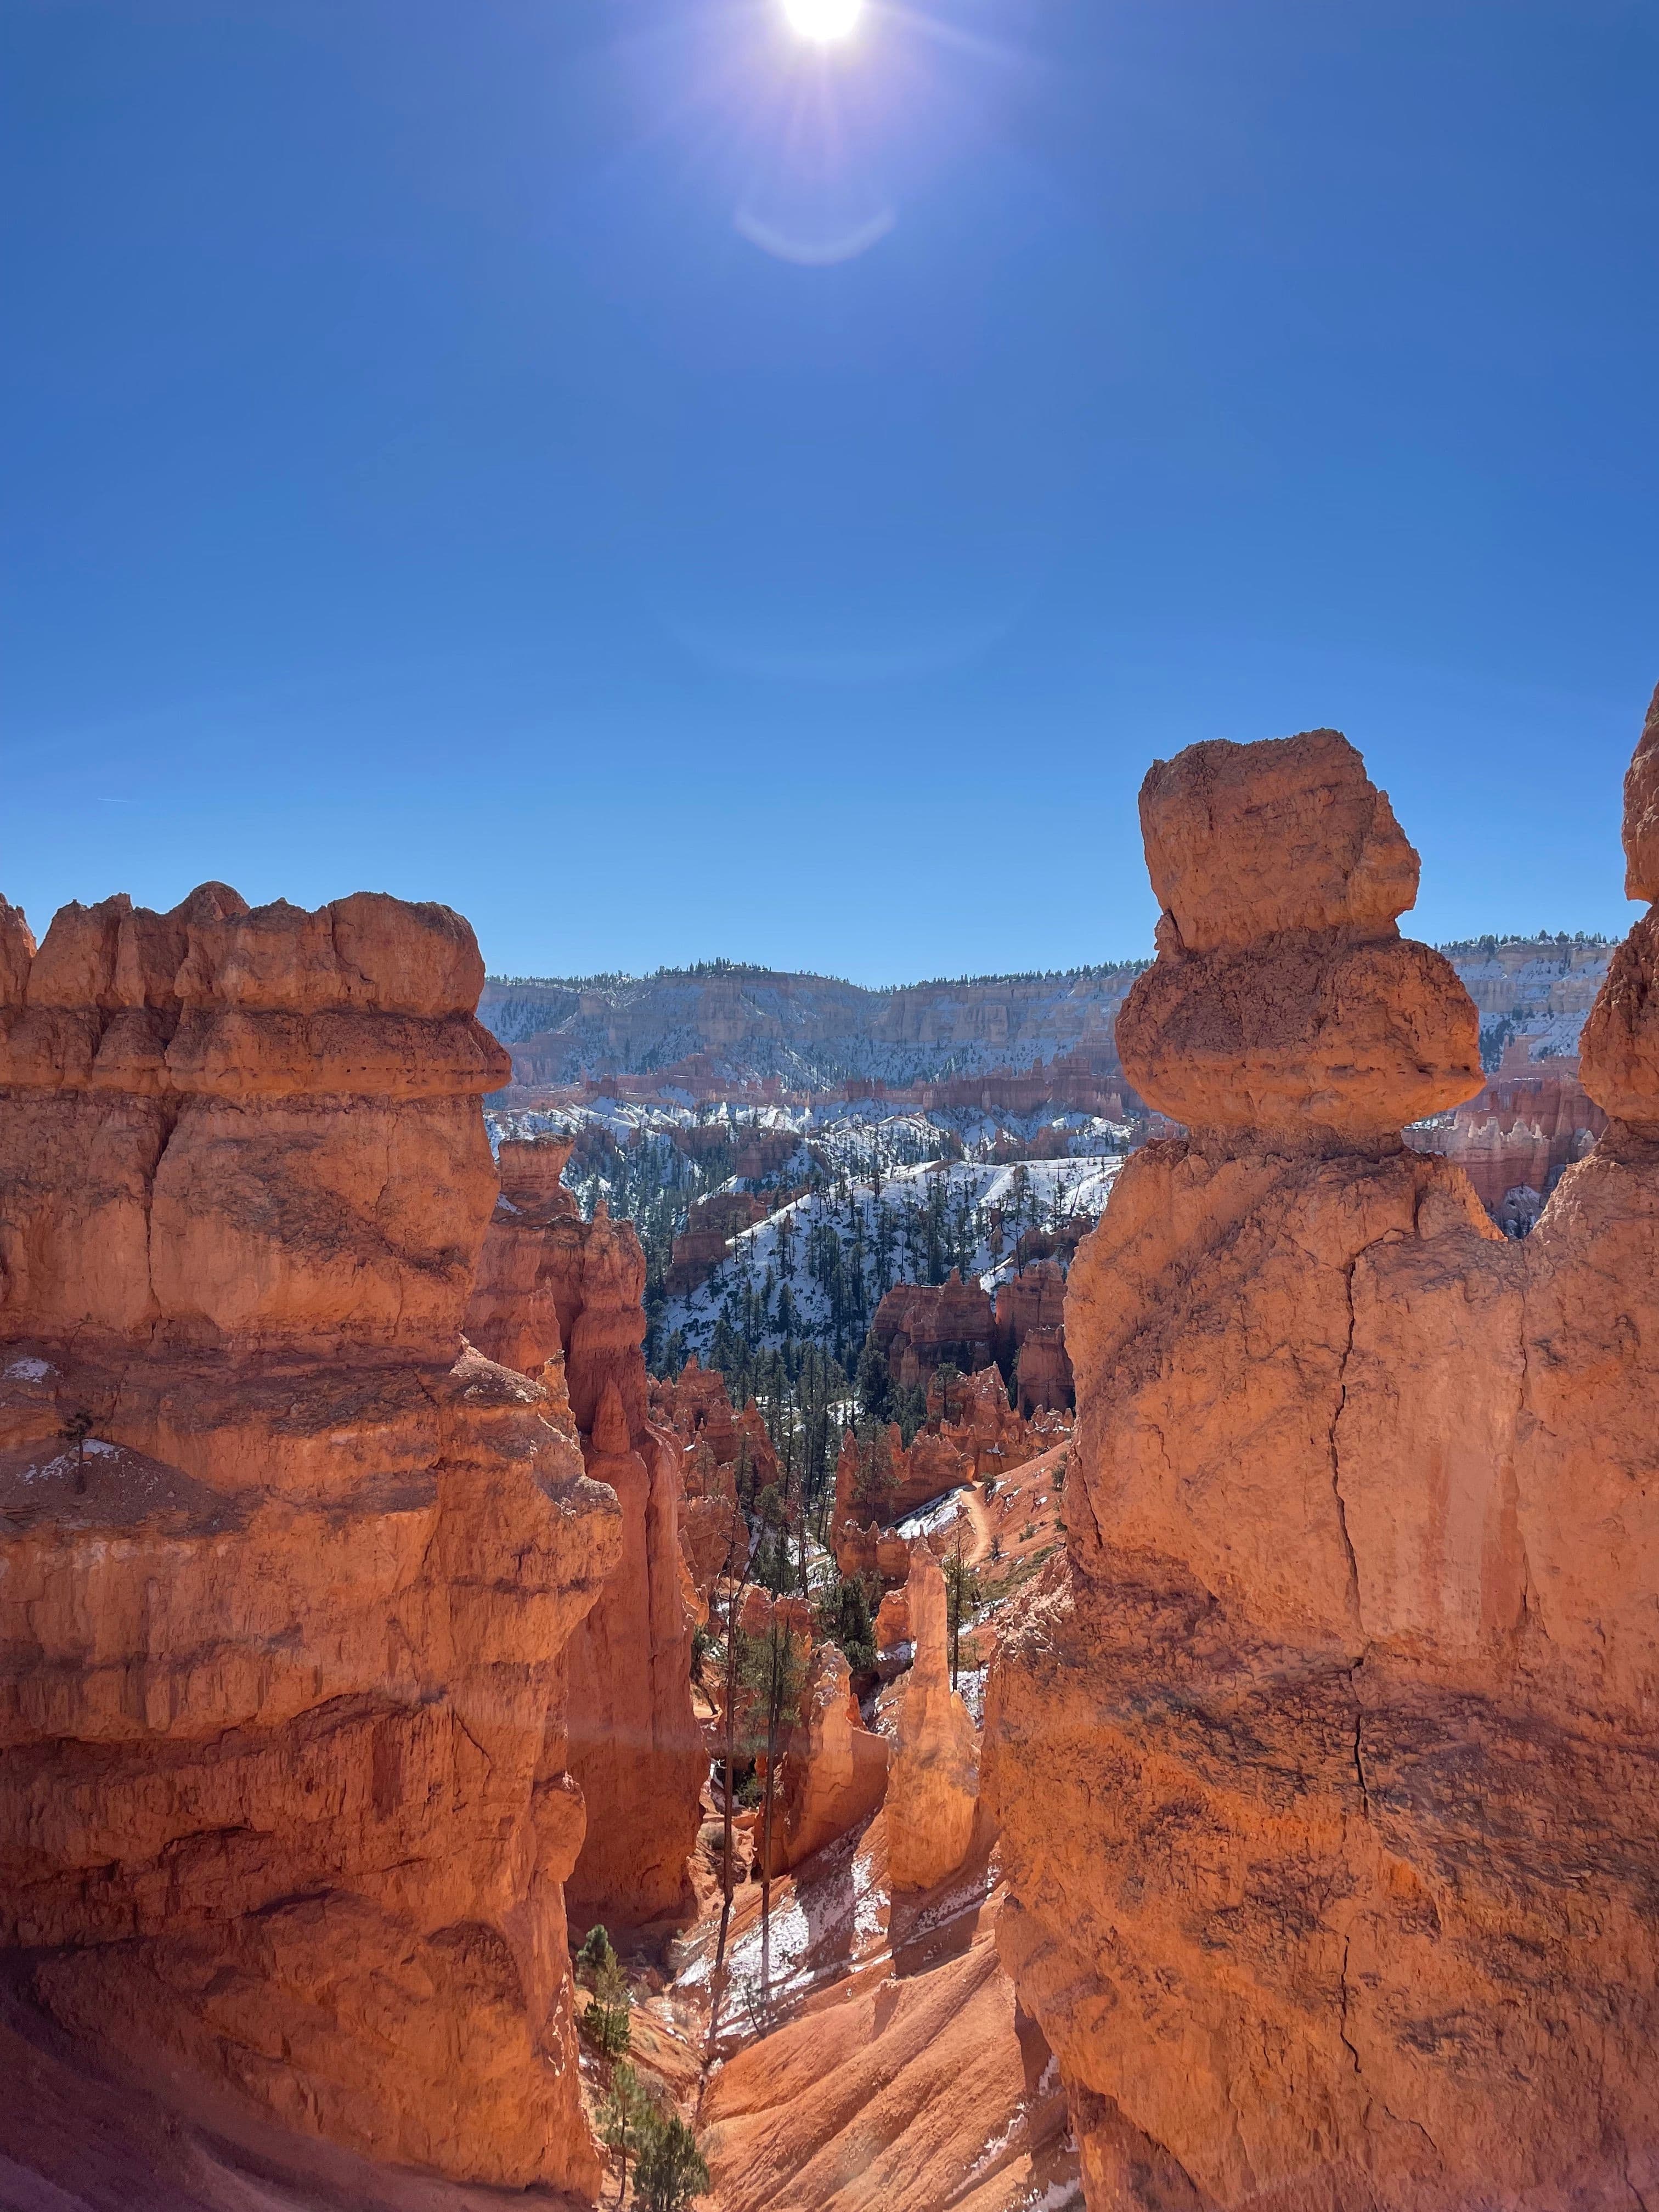
We started off by driving to the different points to see Bryce Canyon from above!
Bryce Point has an elevation of 8300 feet giving you a birdseye view of the canyon. This gives you perspective when you go and hike in the canyon. All the points are family friendly, most of them being a short walk from the car.
- 3
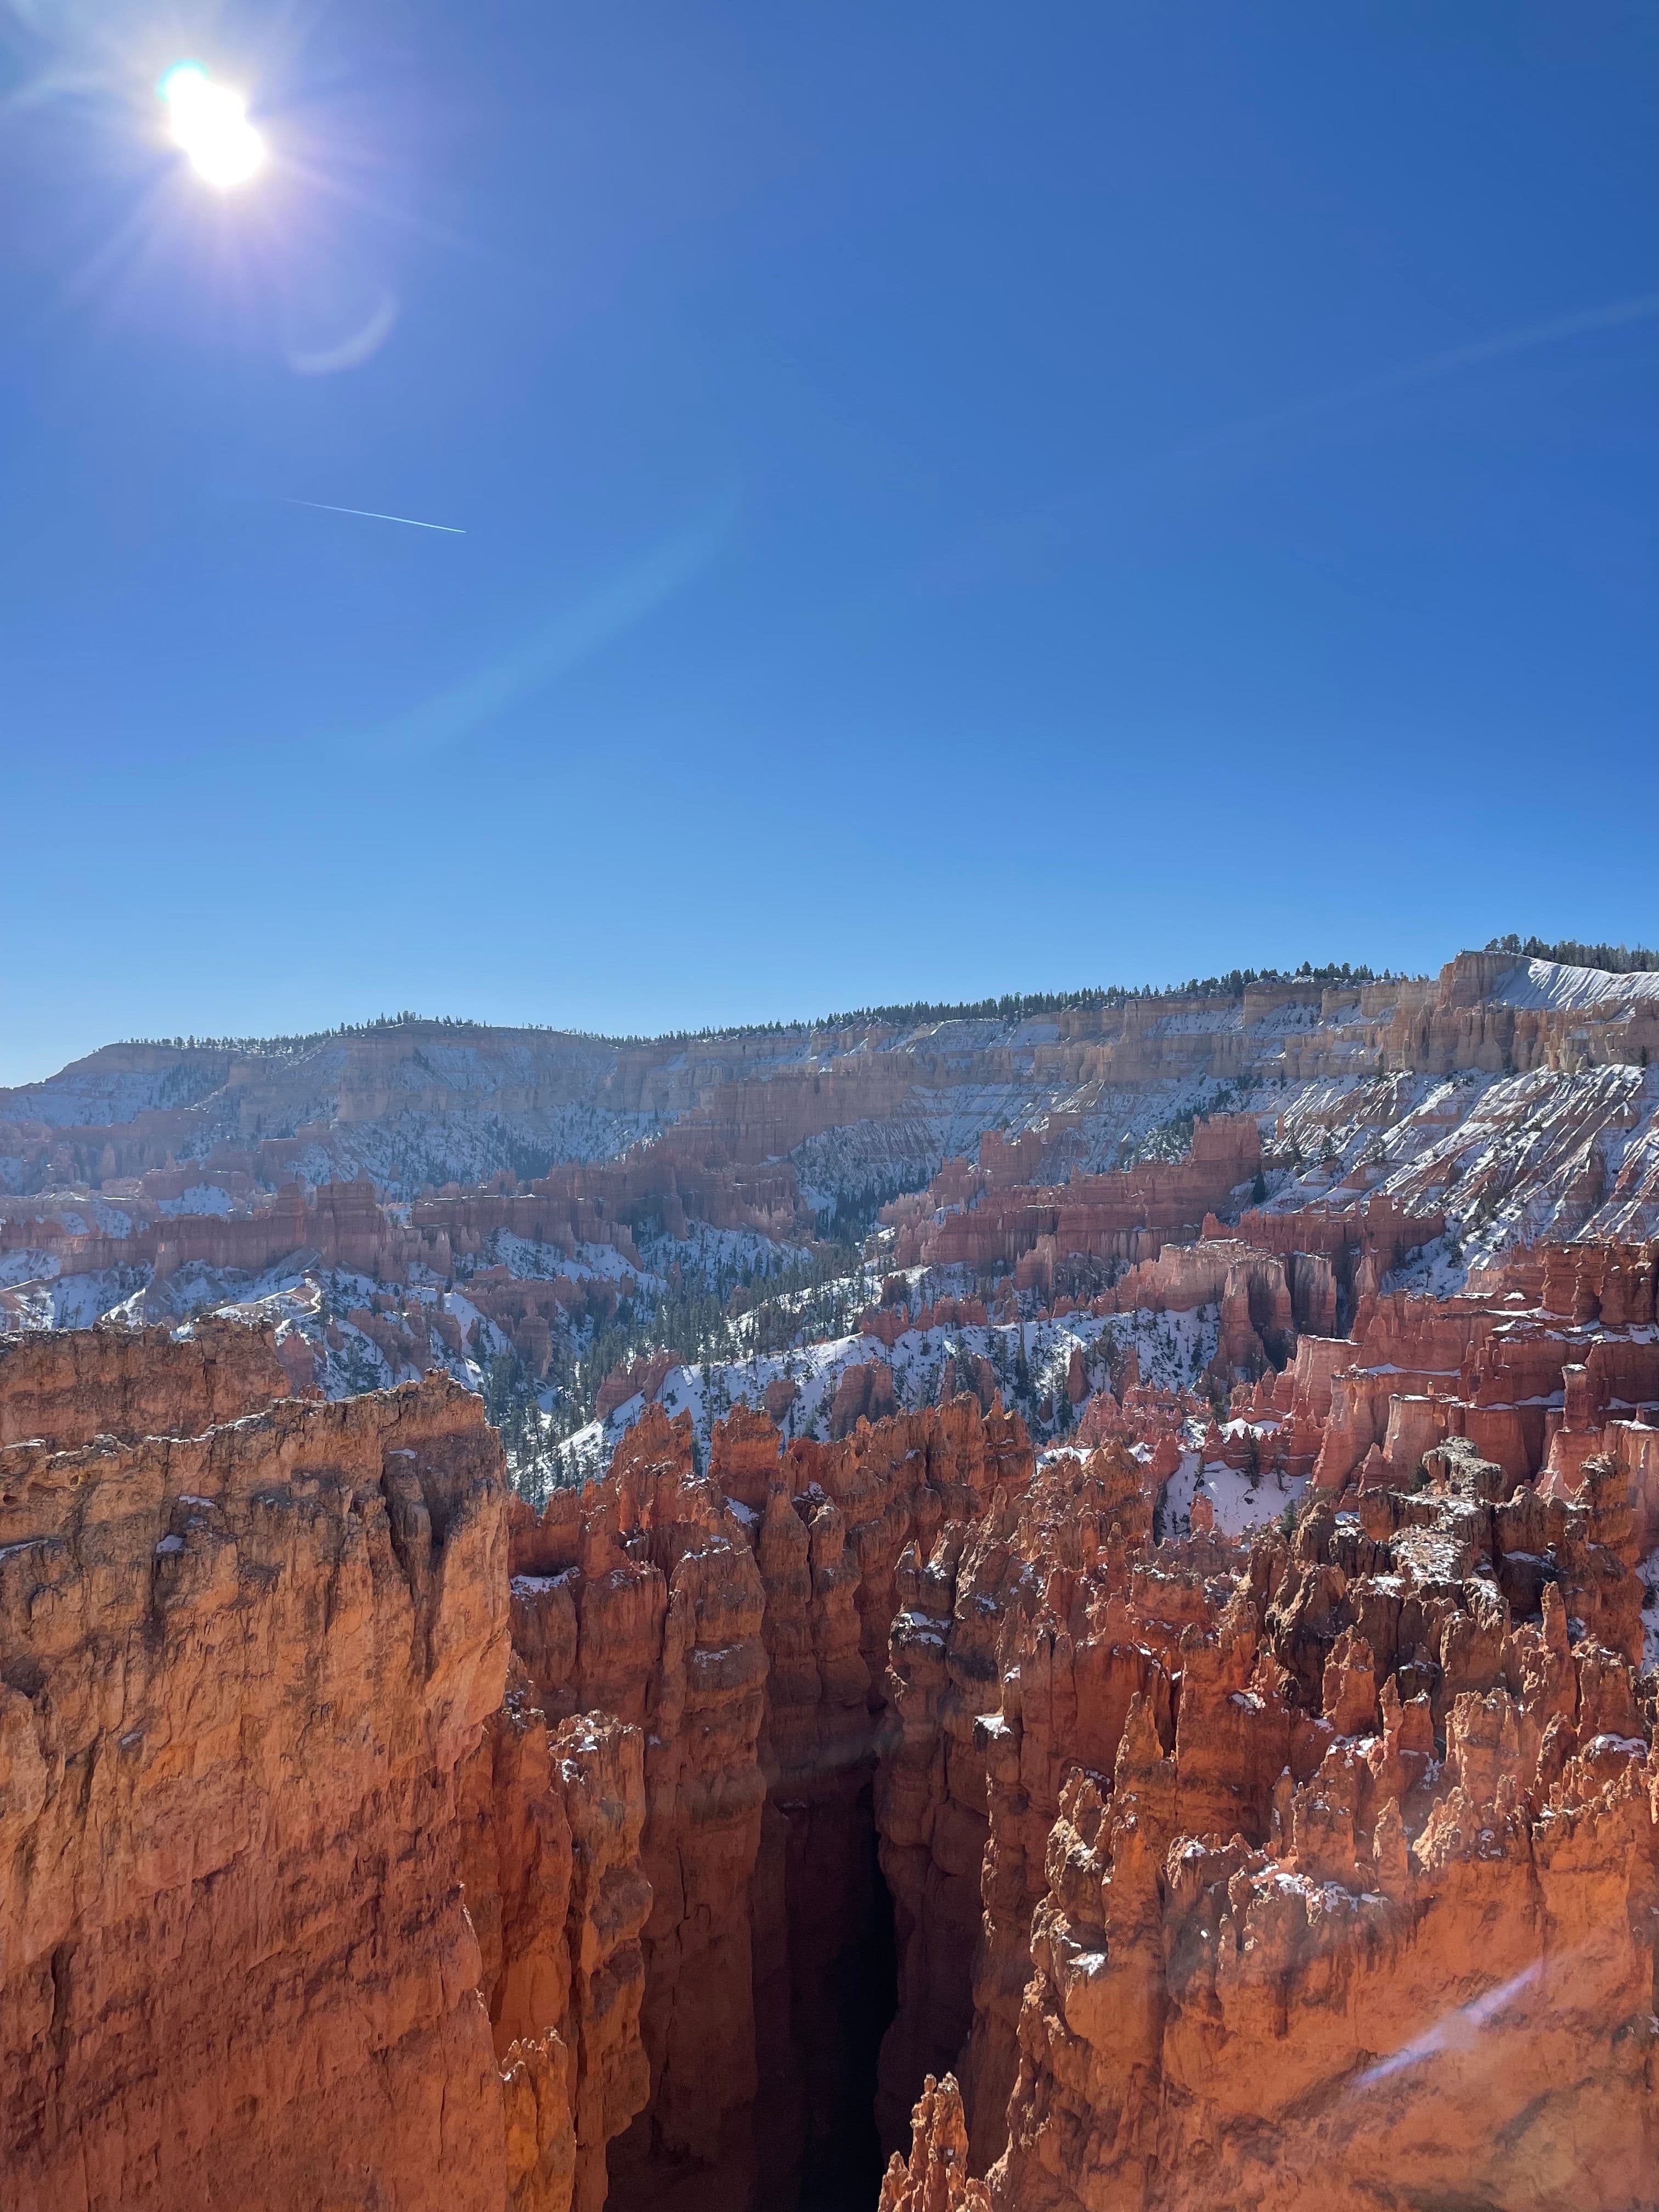
Visit Inspiration Point
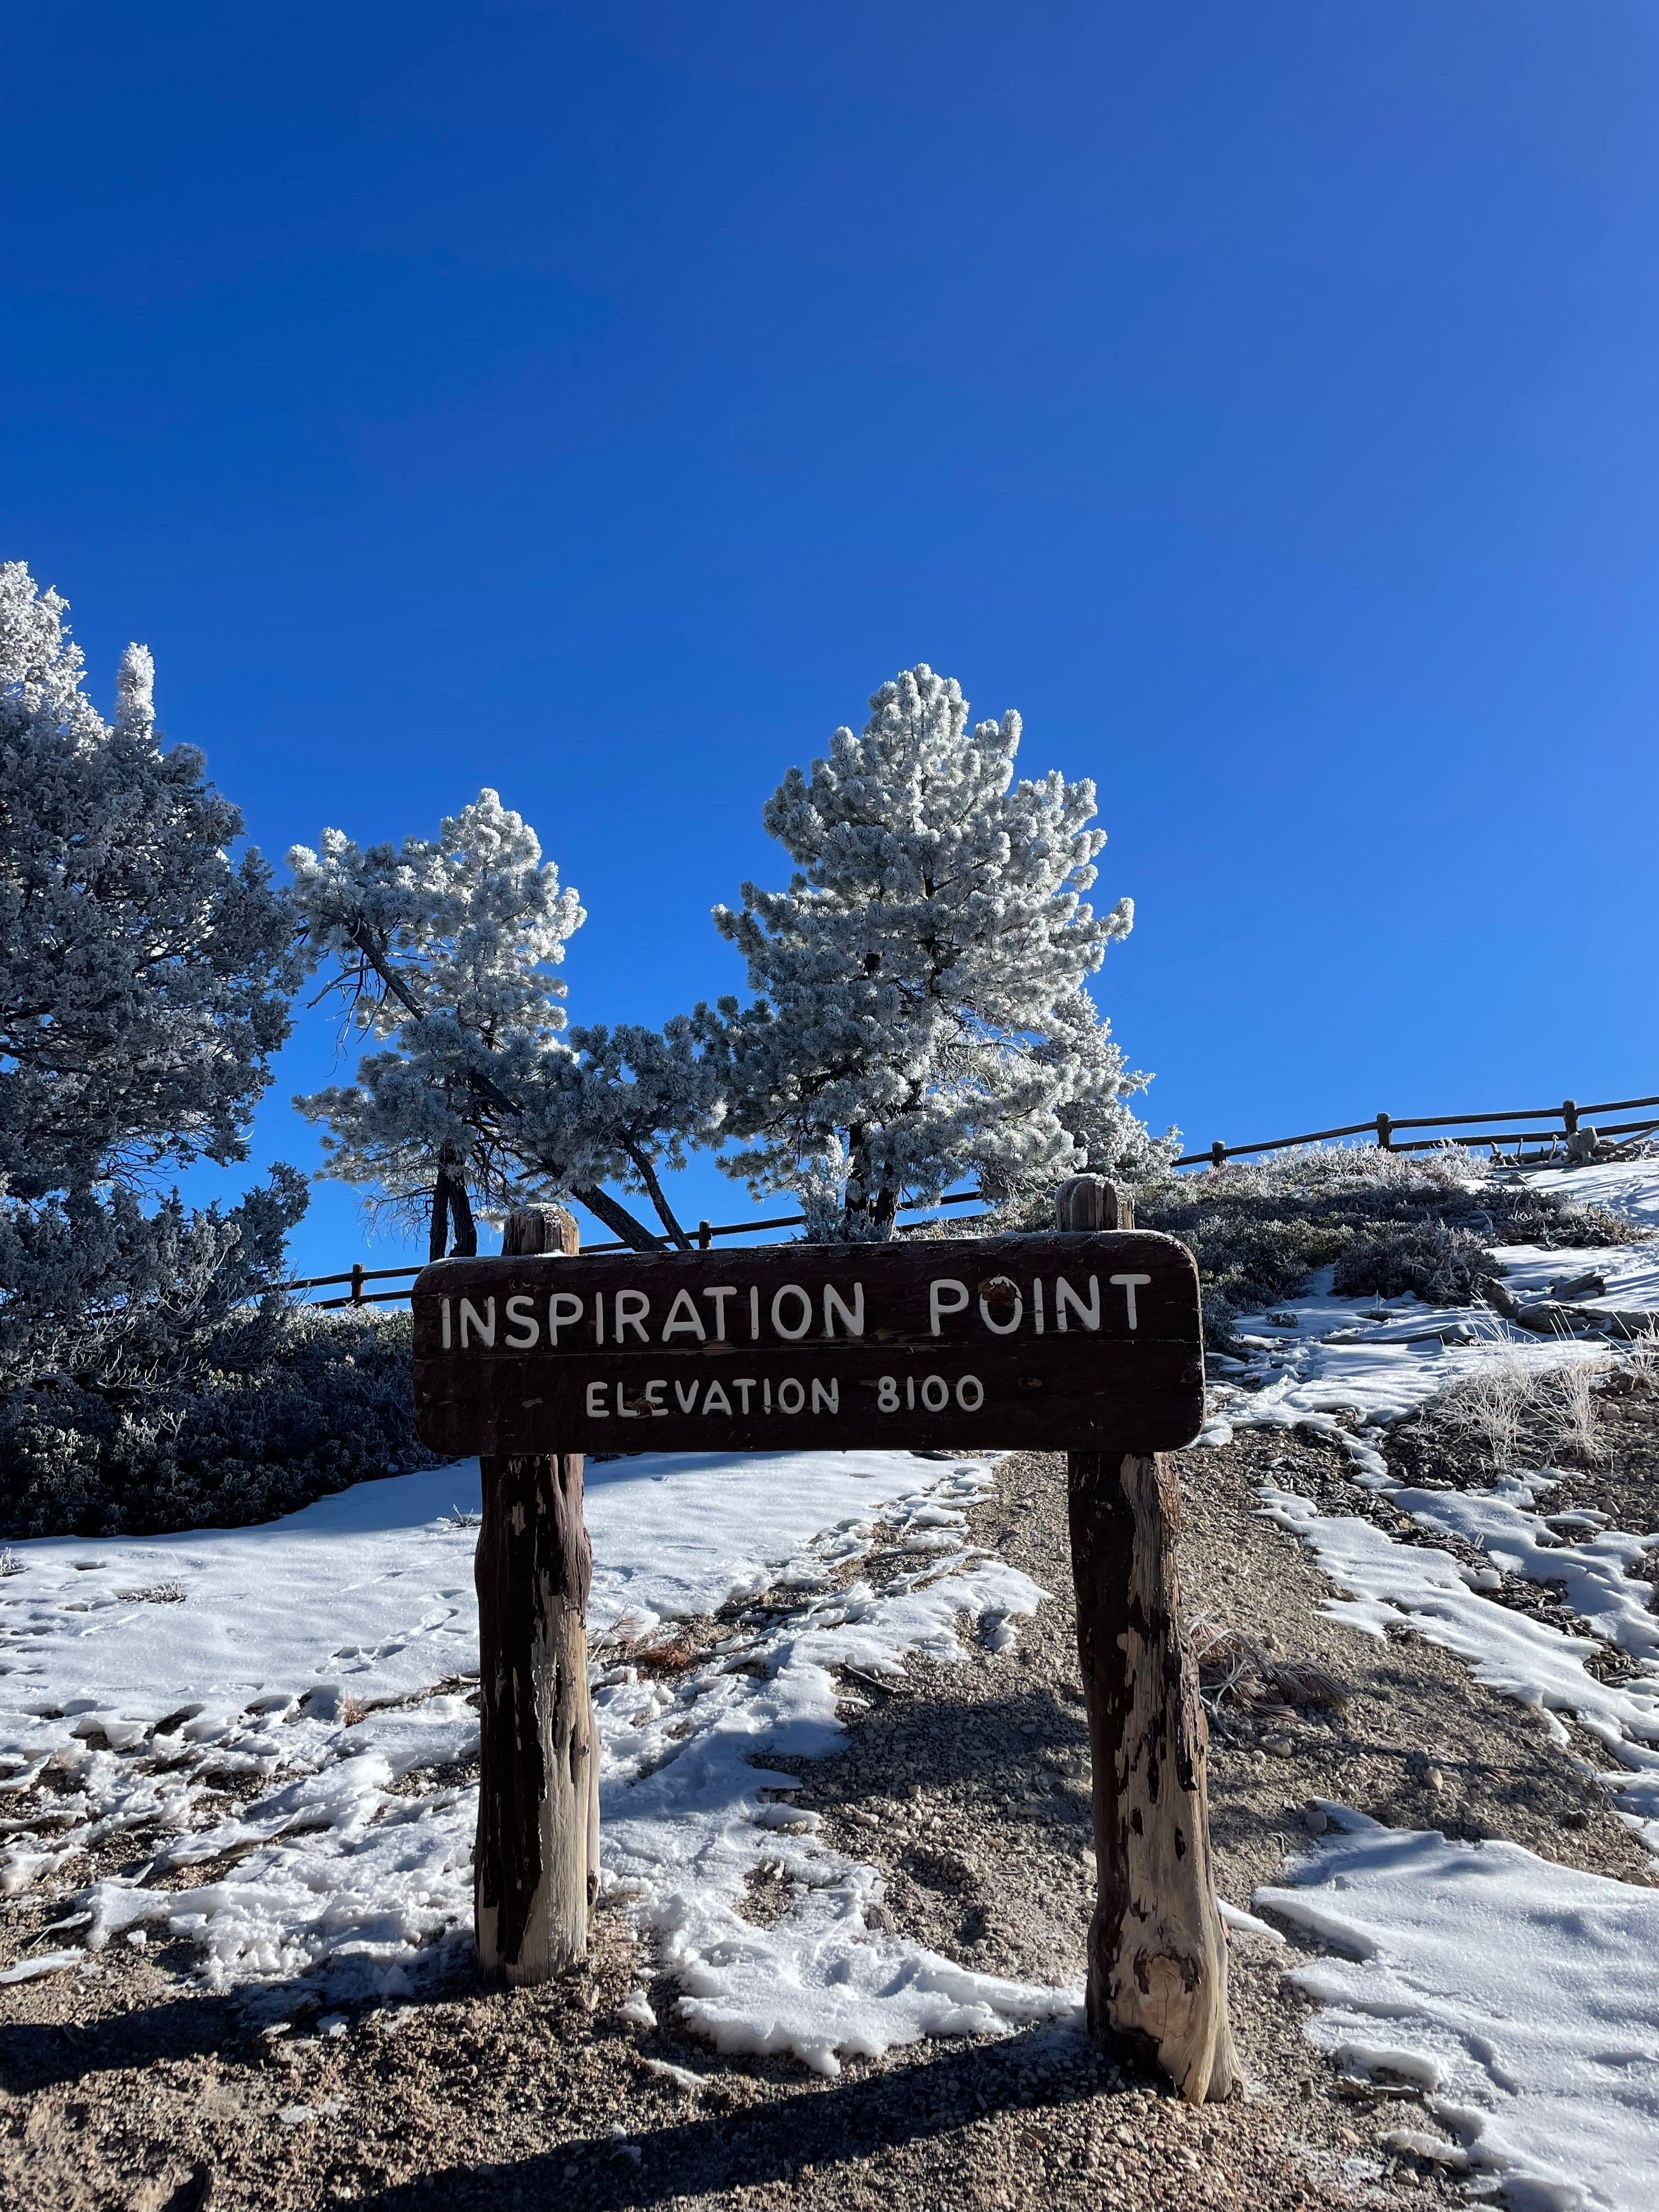
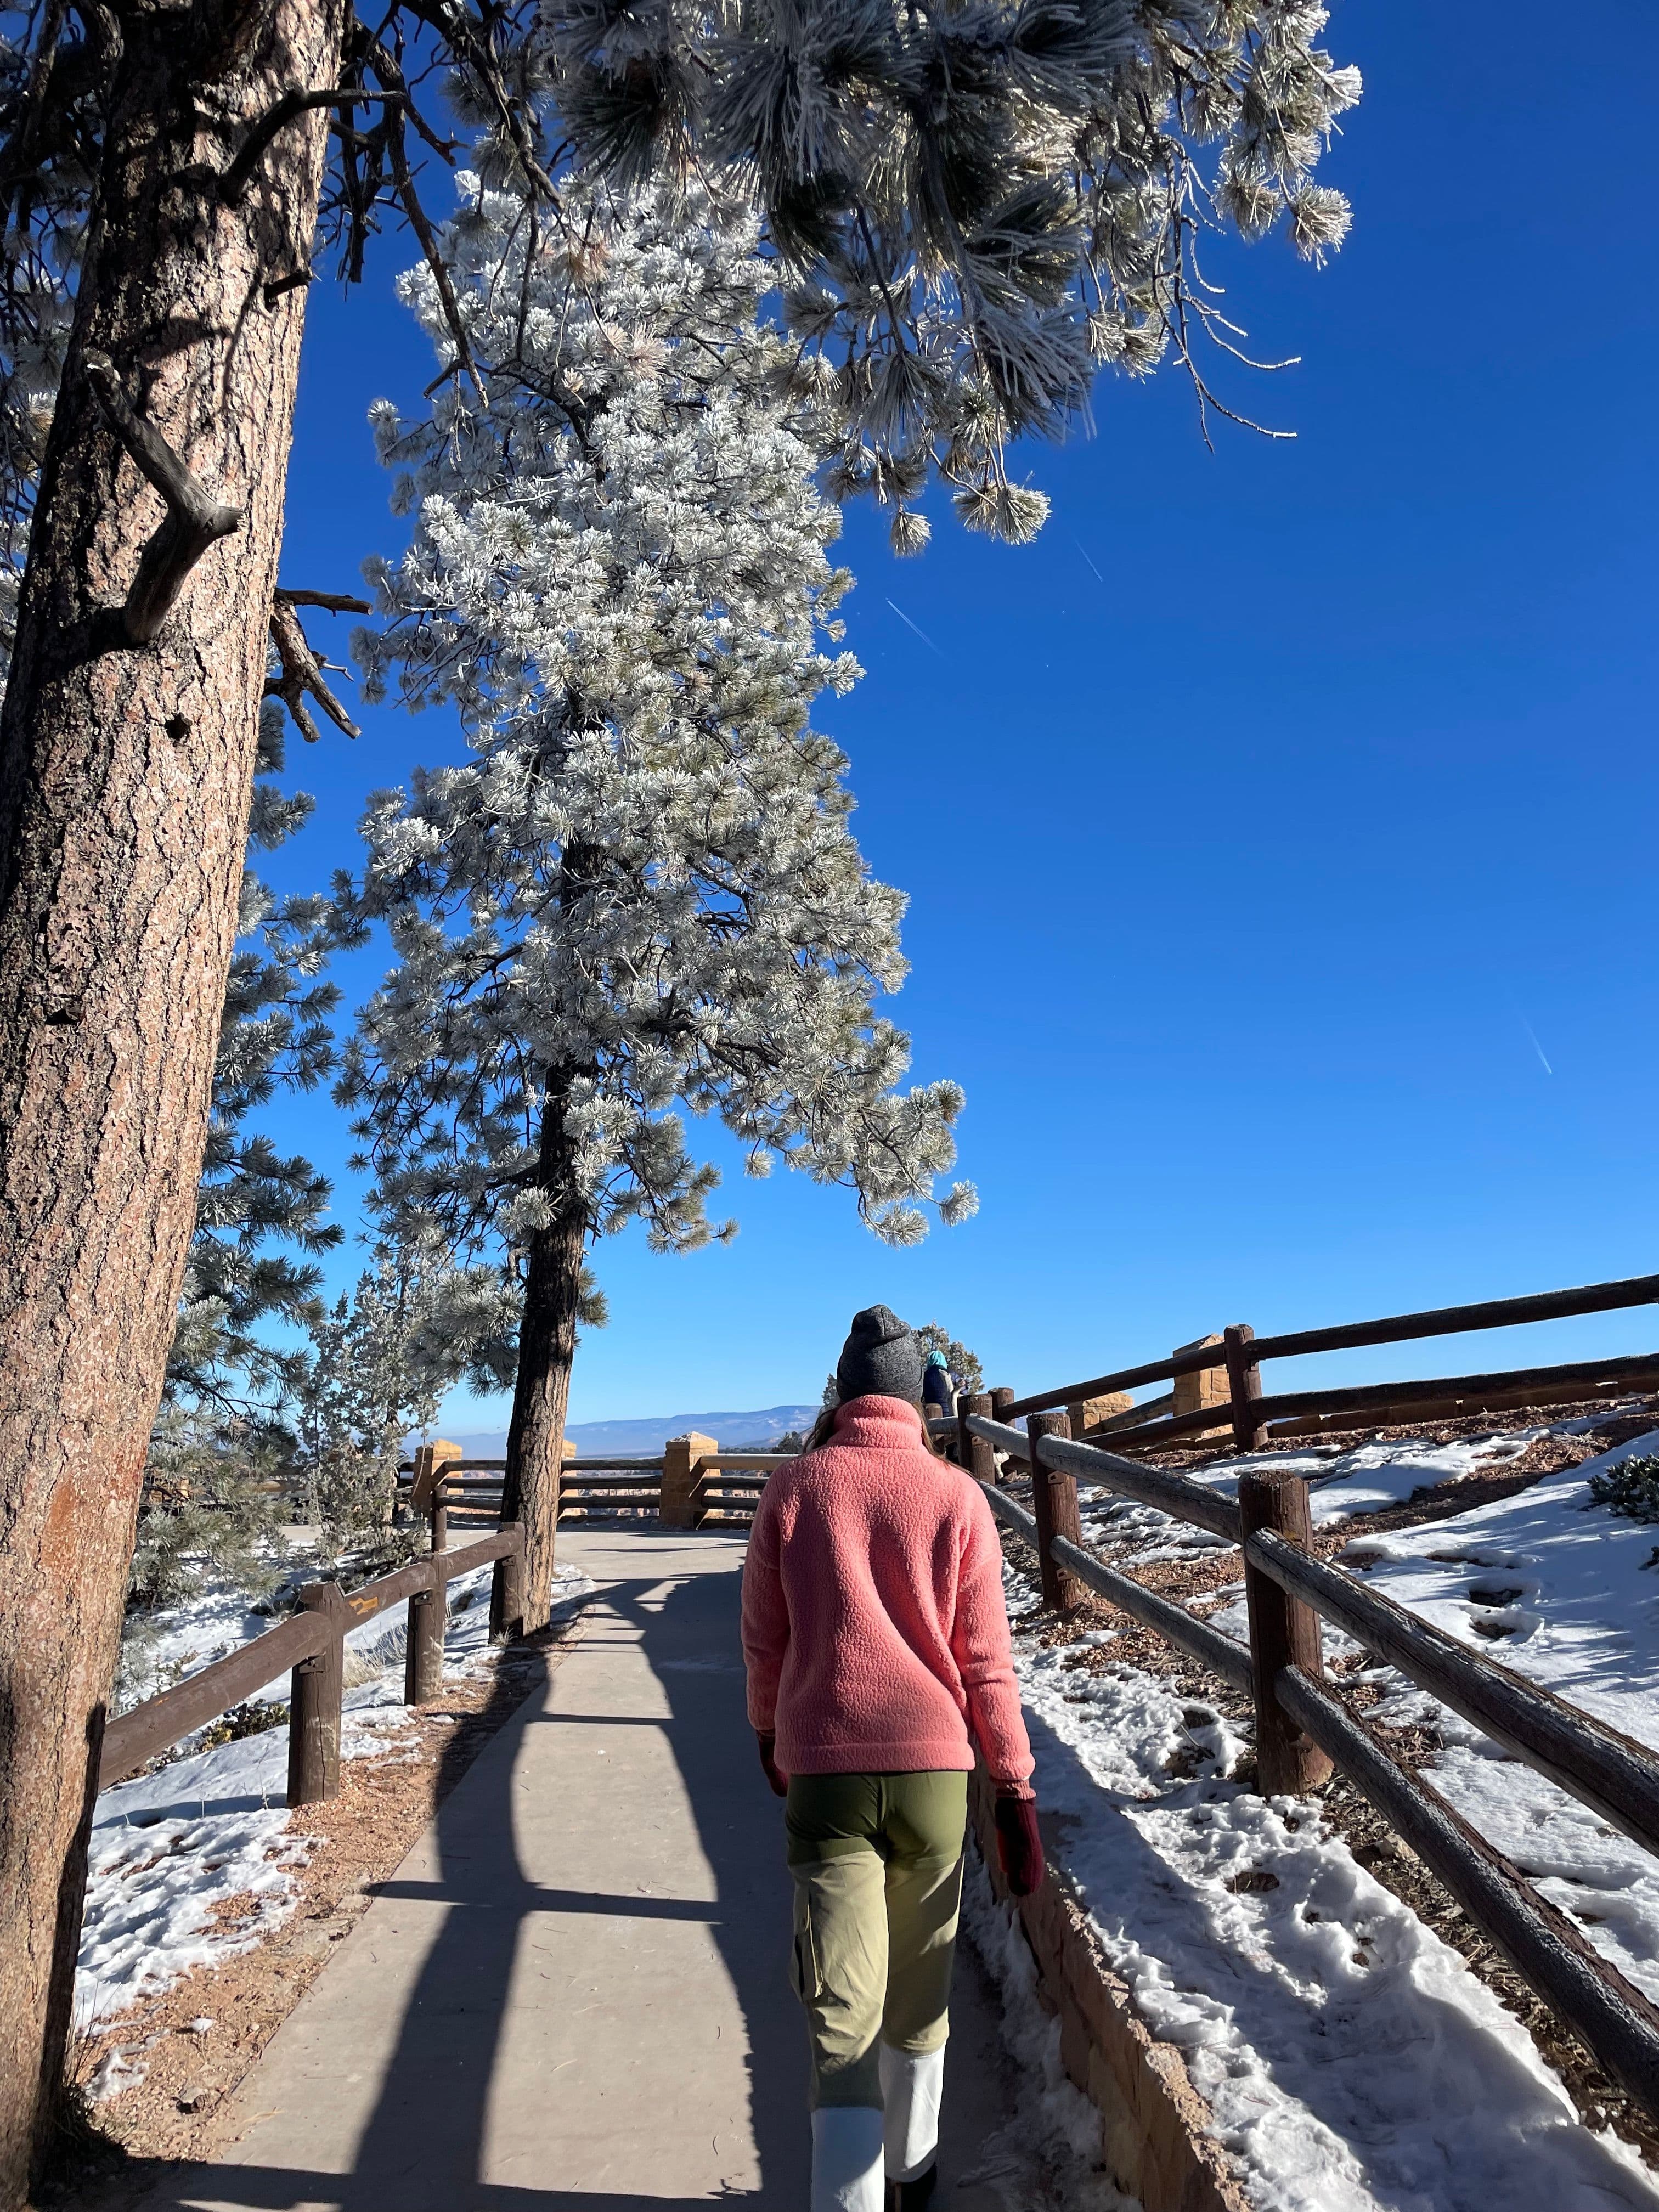
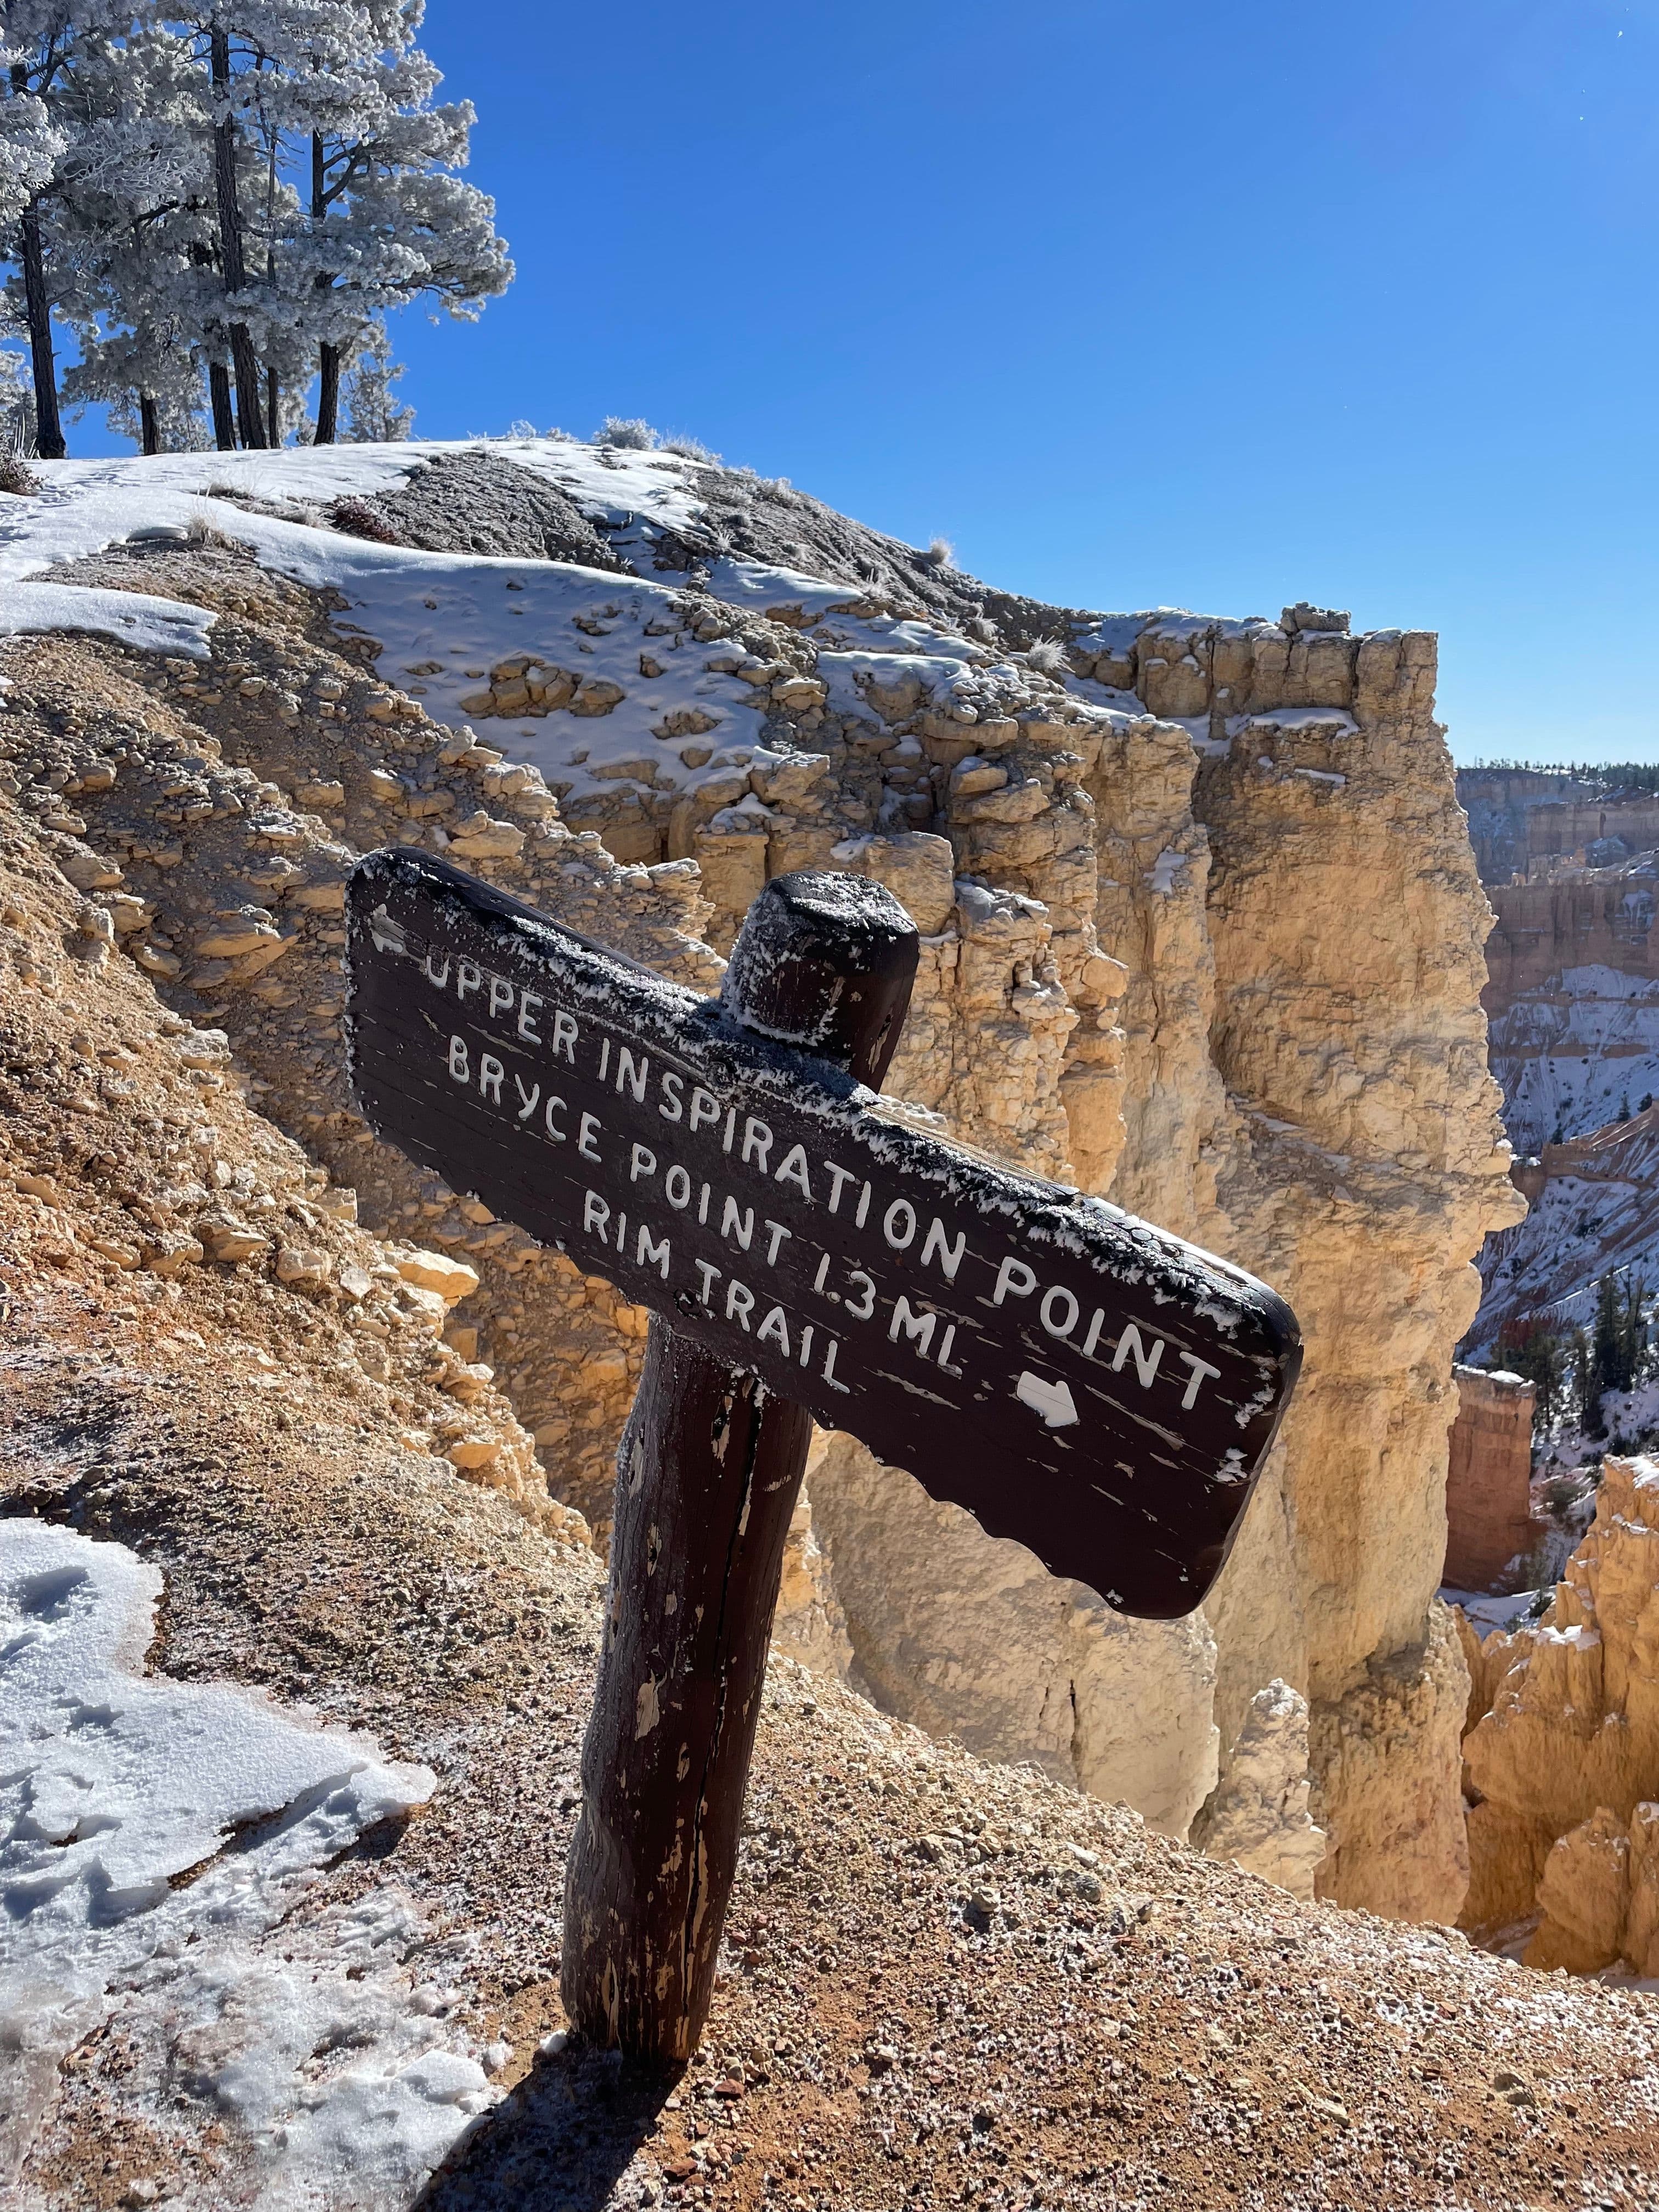
30min·10:30AM - 11:00AM
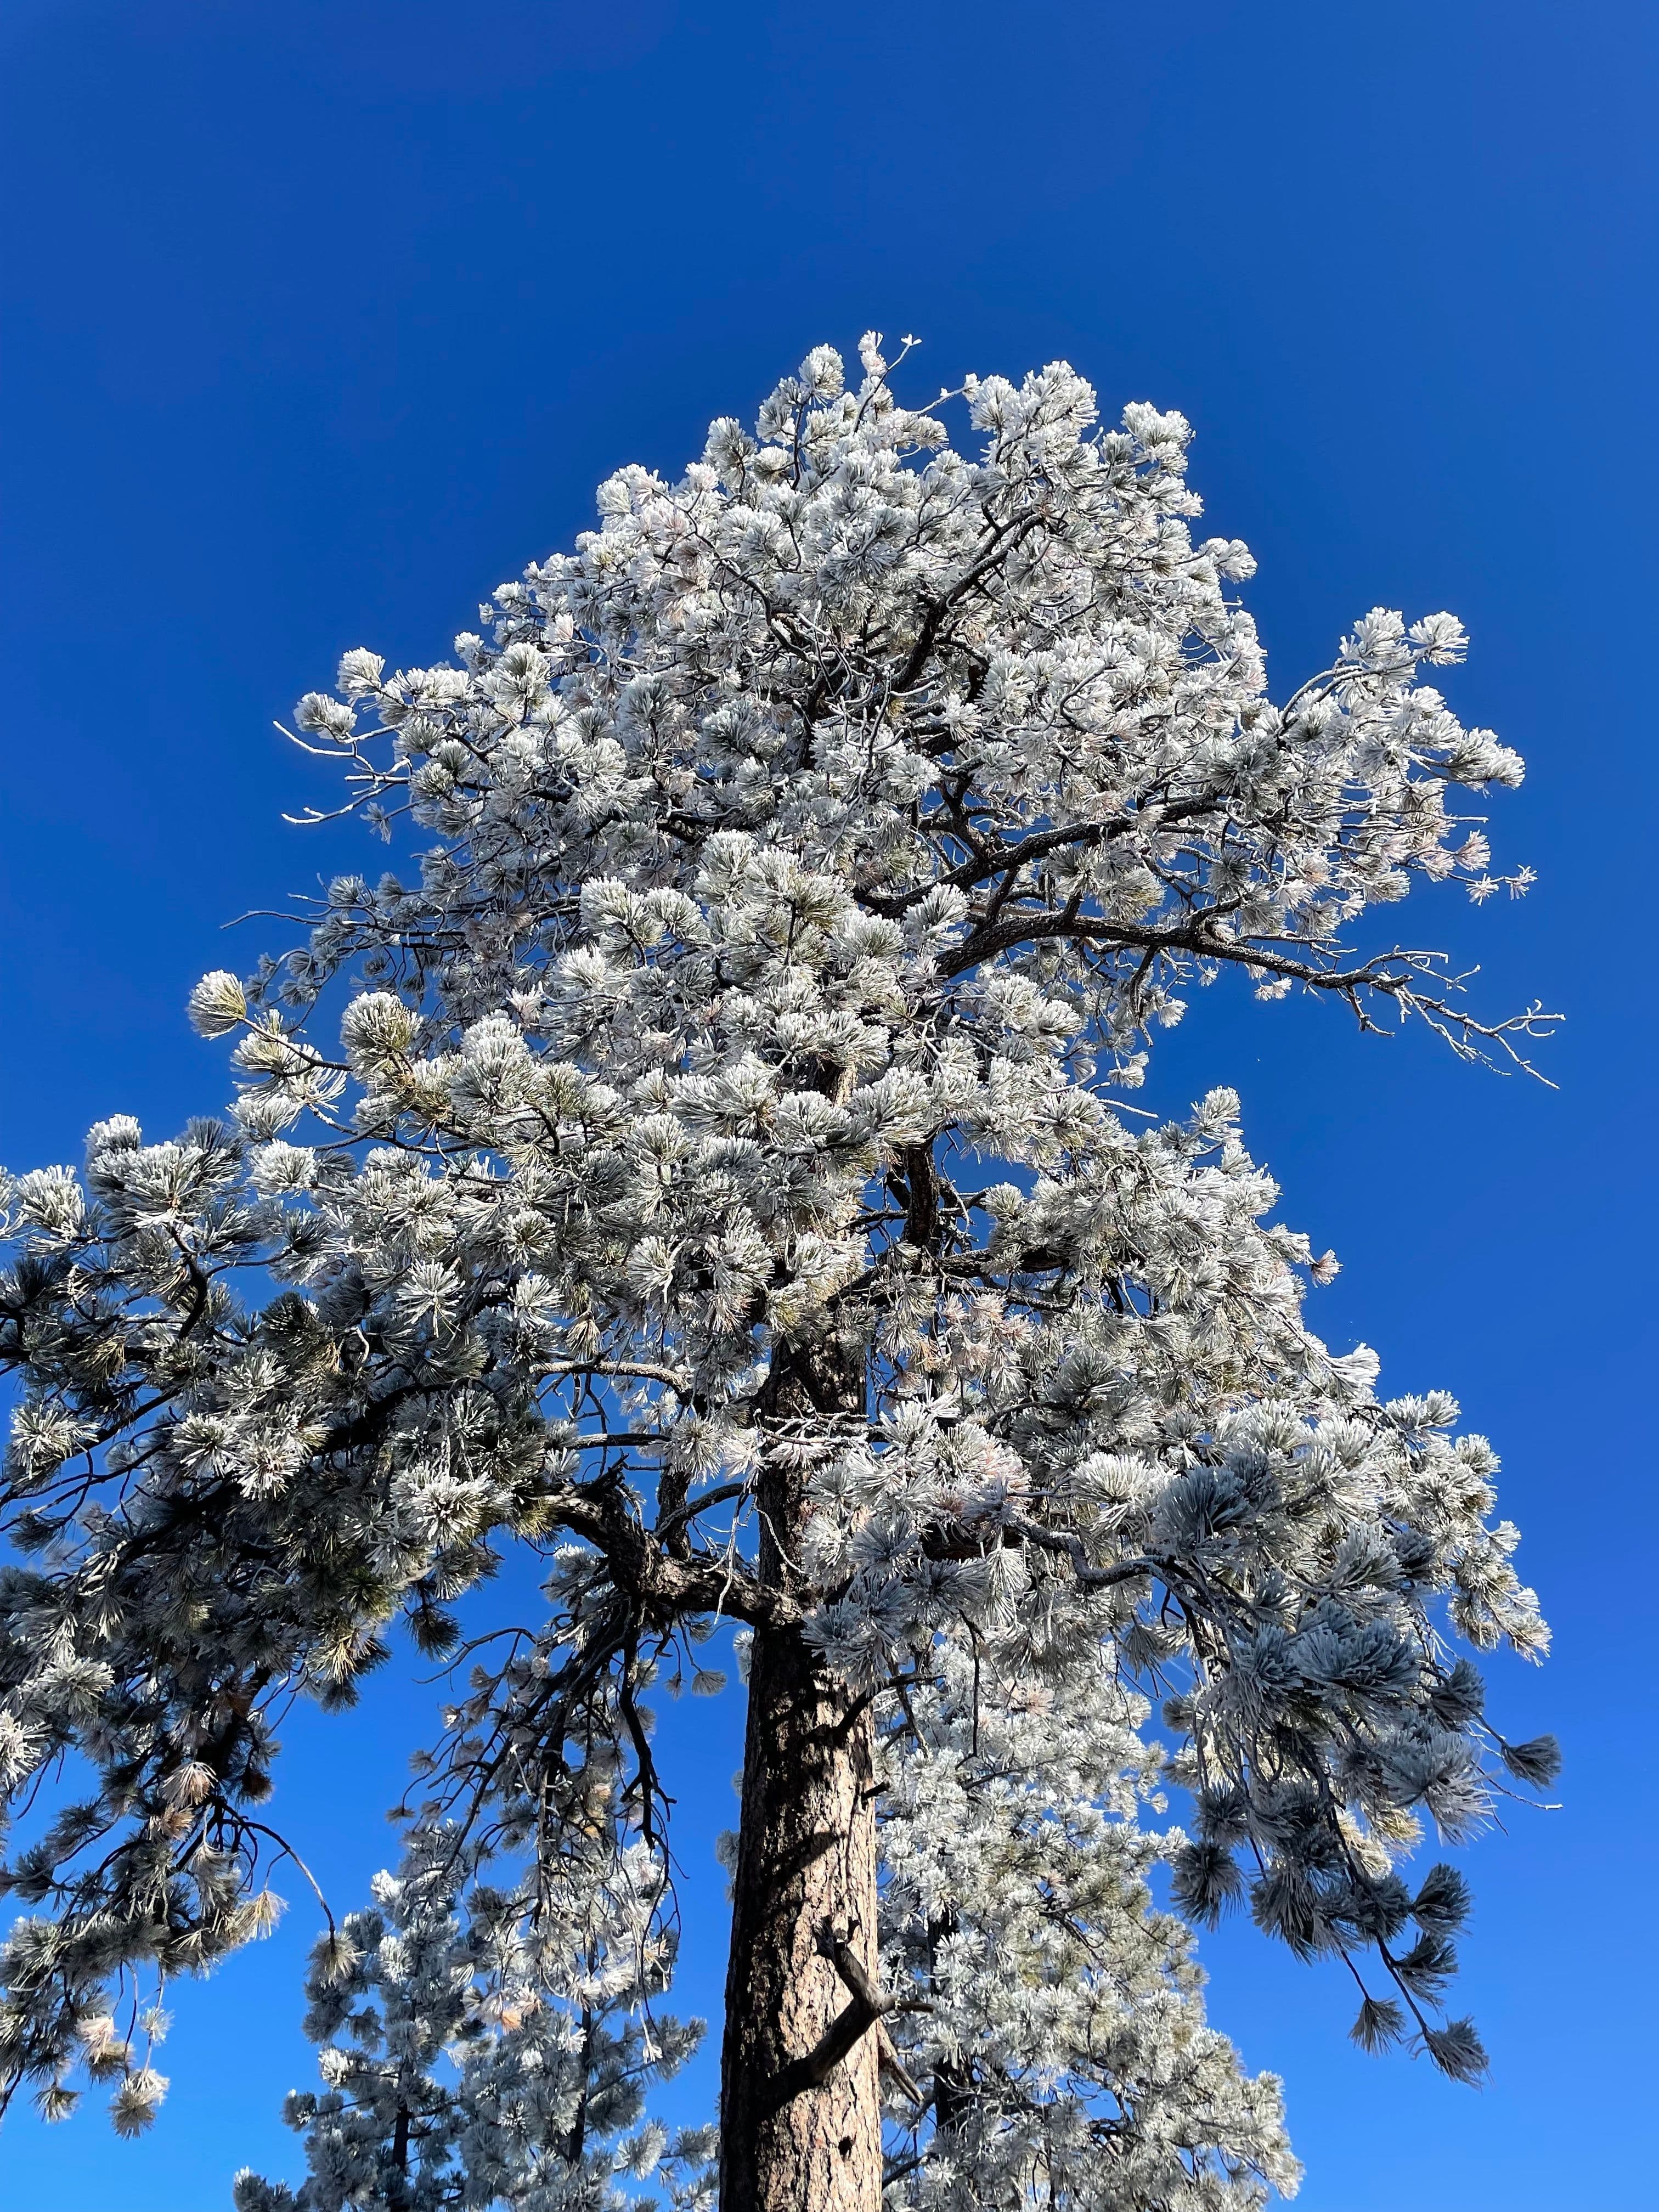
It had snowed the night before, so Inspiration Point showed us two different perspectives. Depending on where you looked, it either looked like it was a winter wonderland or the middle of summer!
- 4
Visit Sunrise Point and Hike the Queen’s Garden Trail
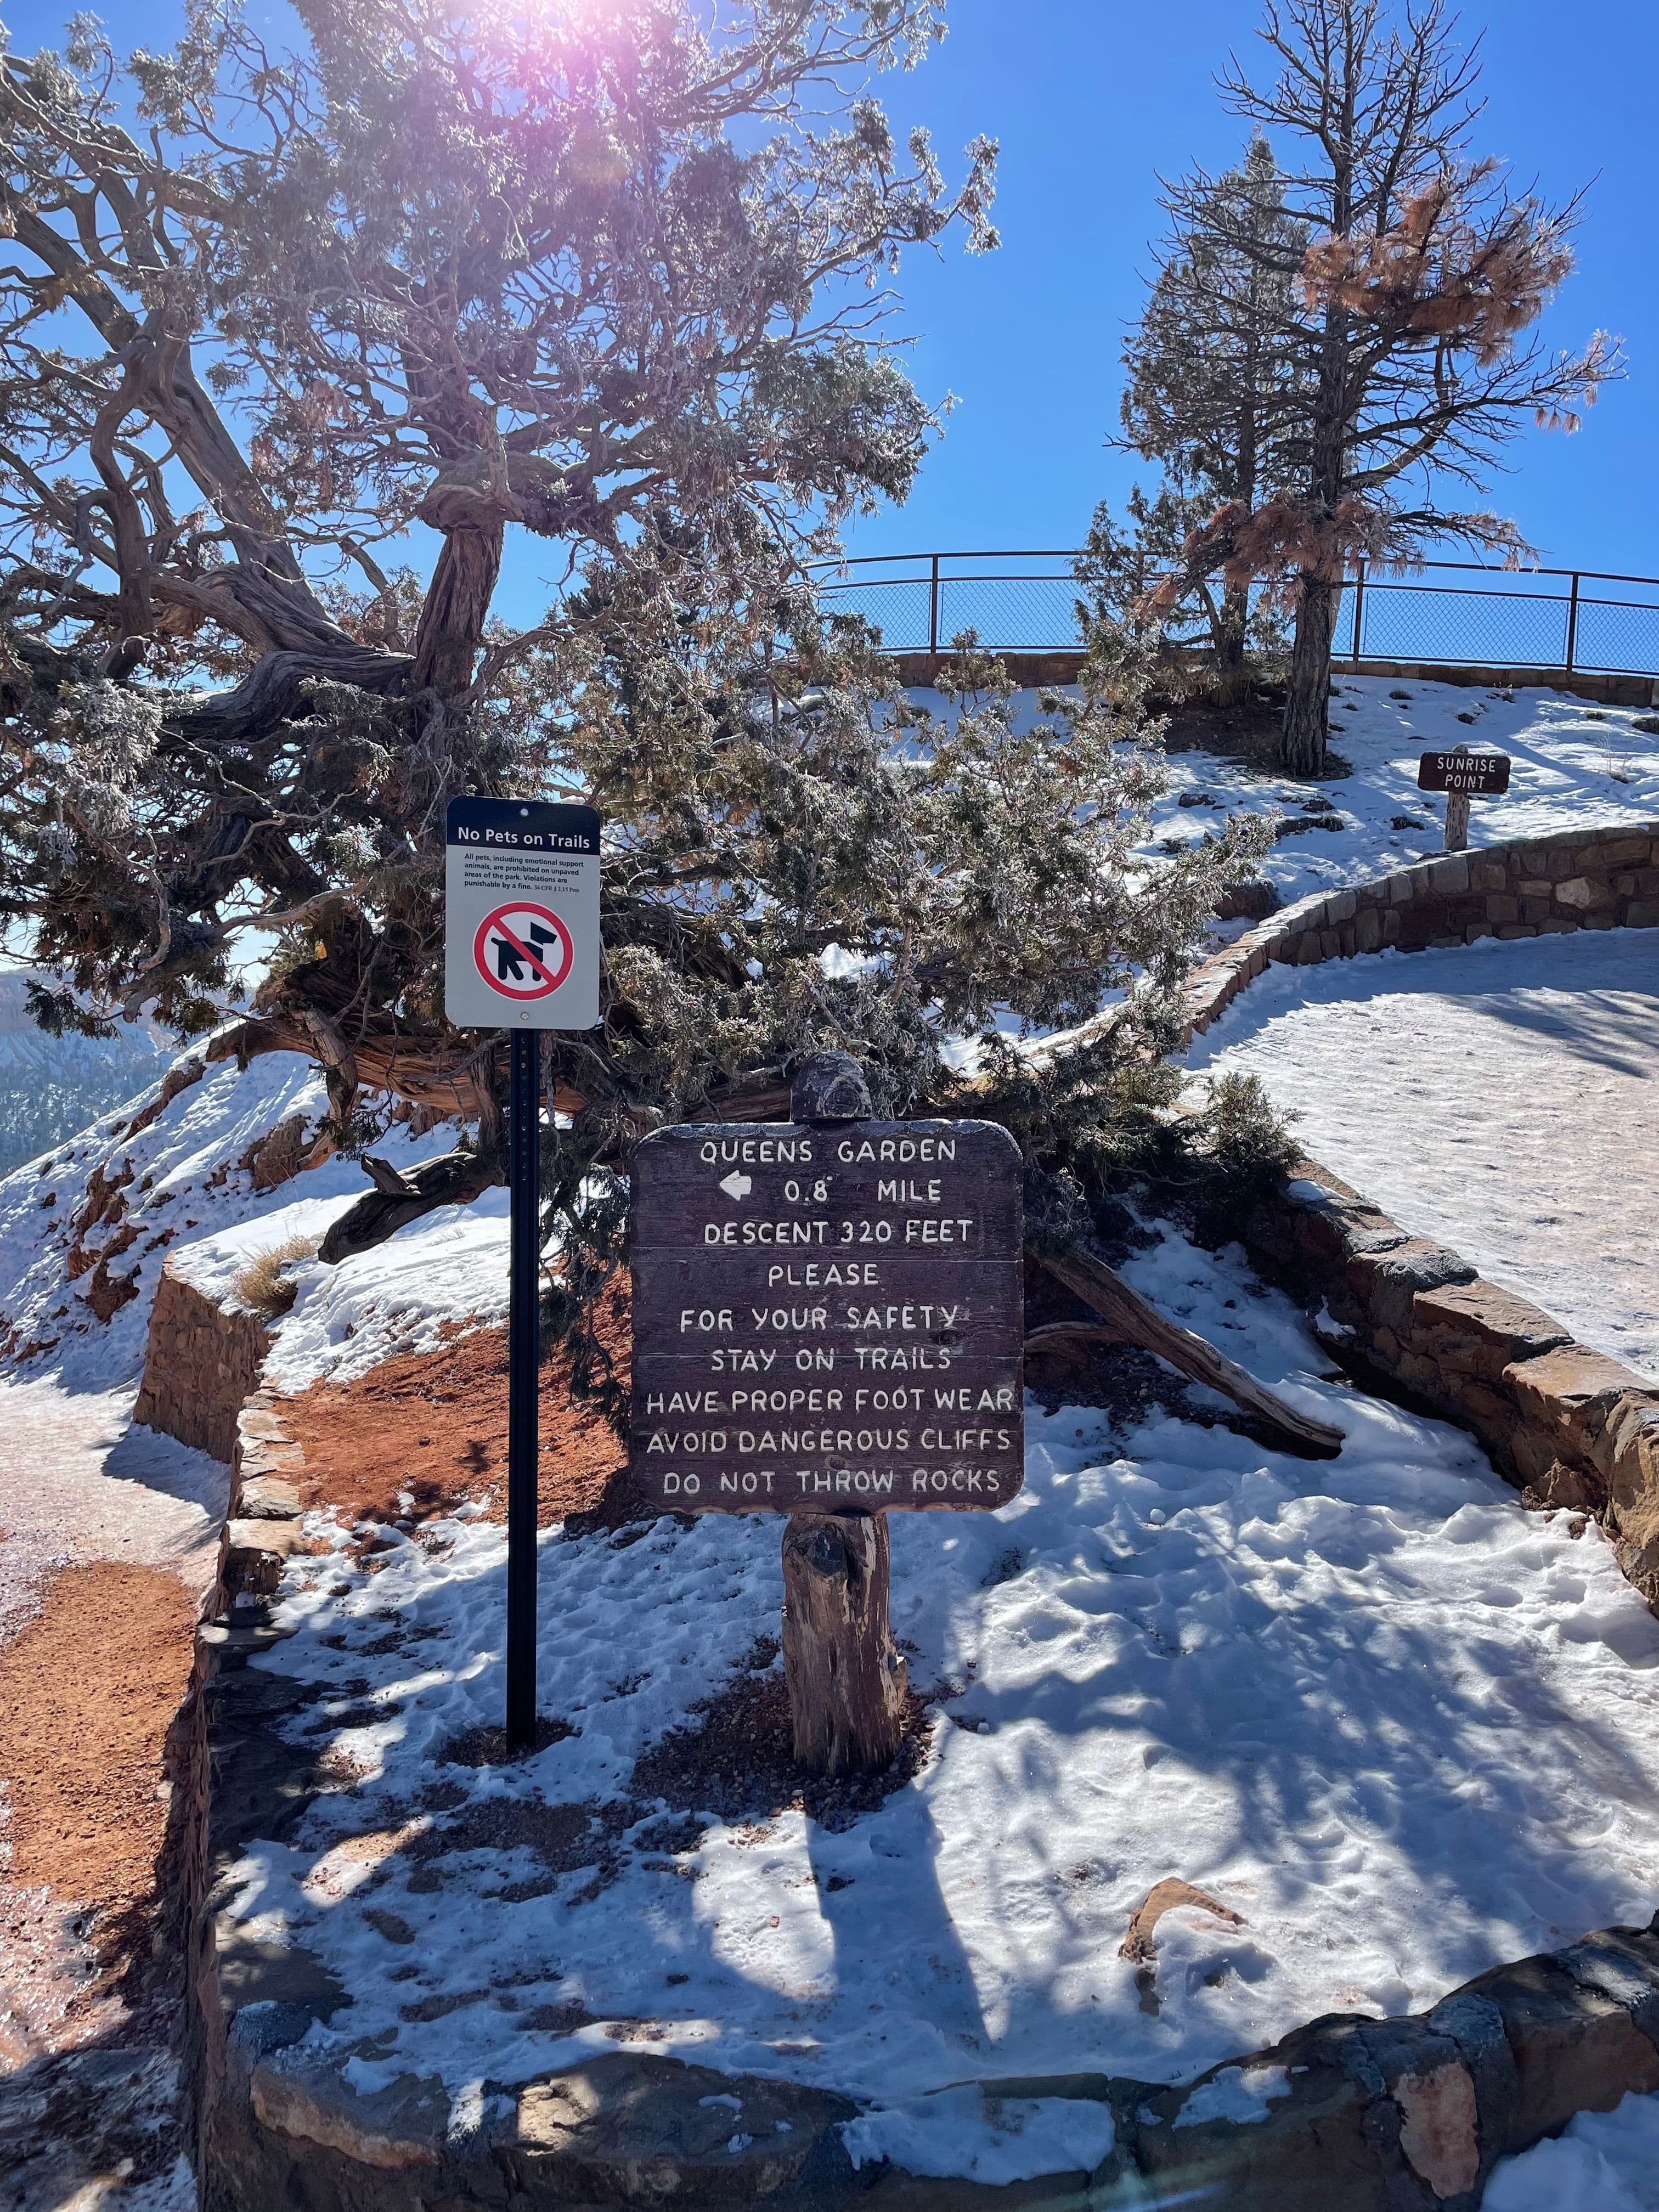
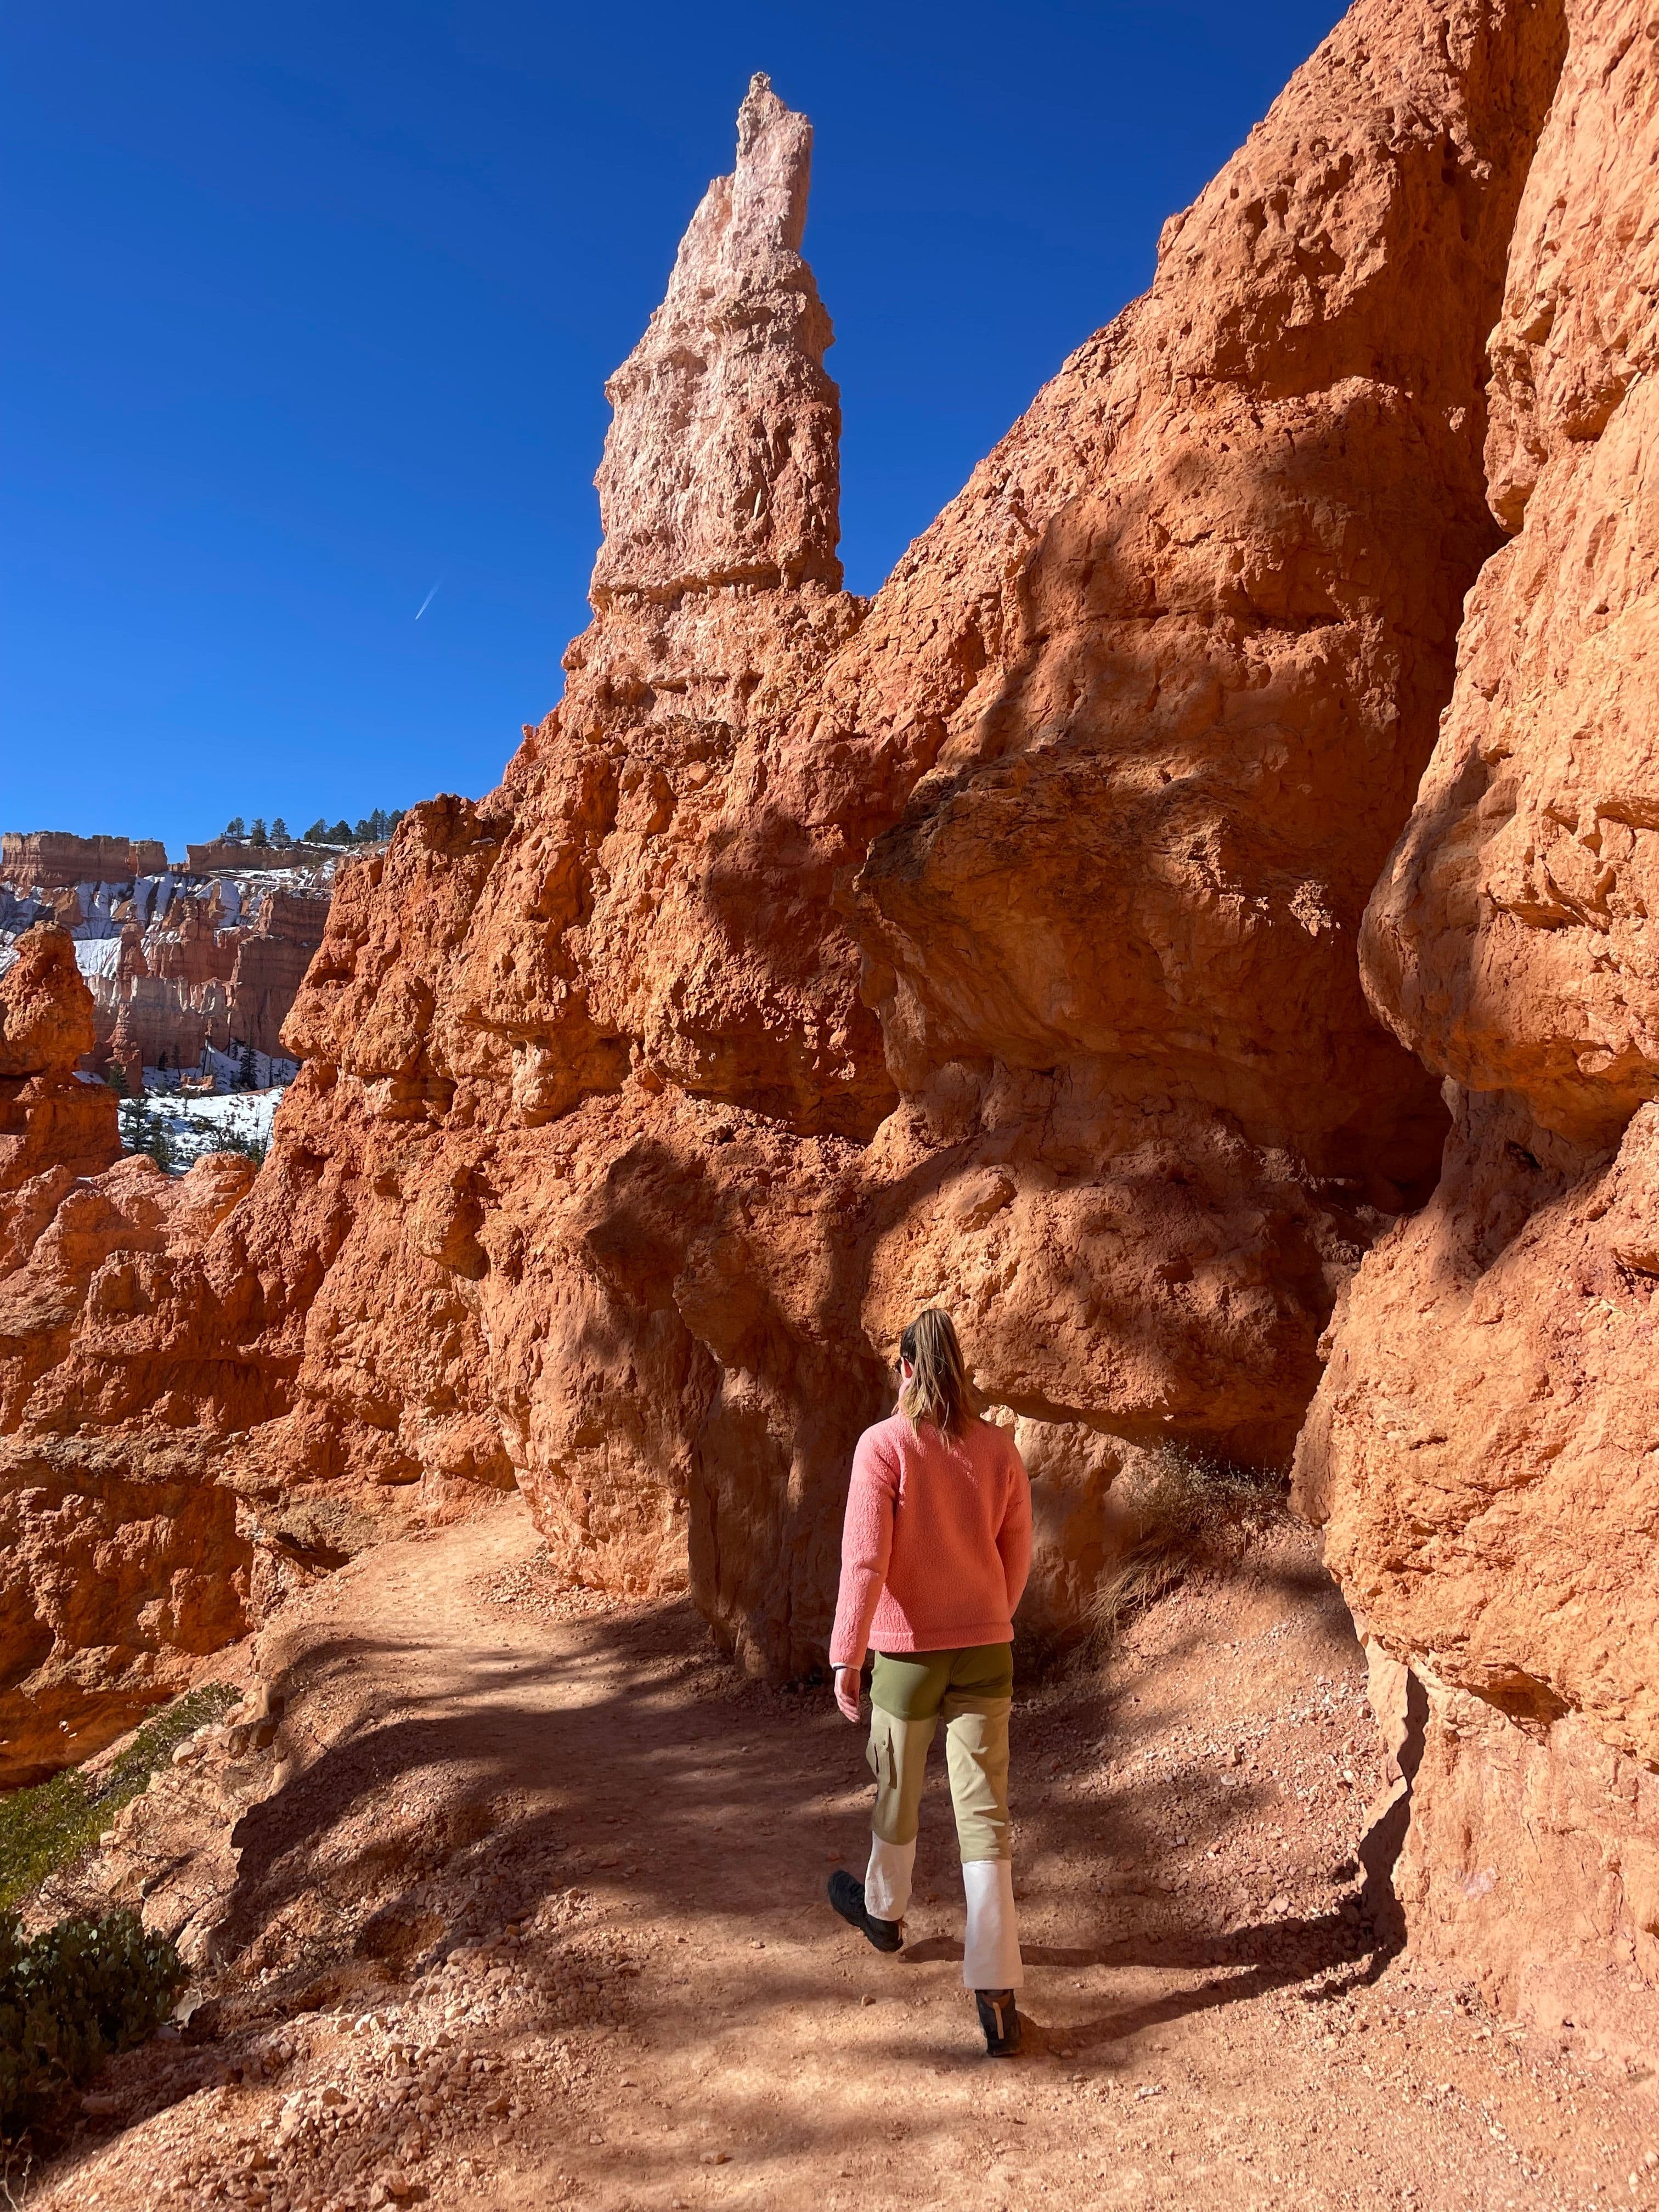

2hr·11:00AM - 1:00PM
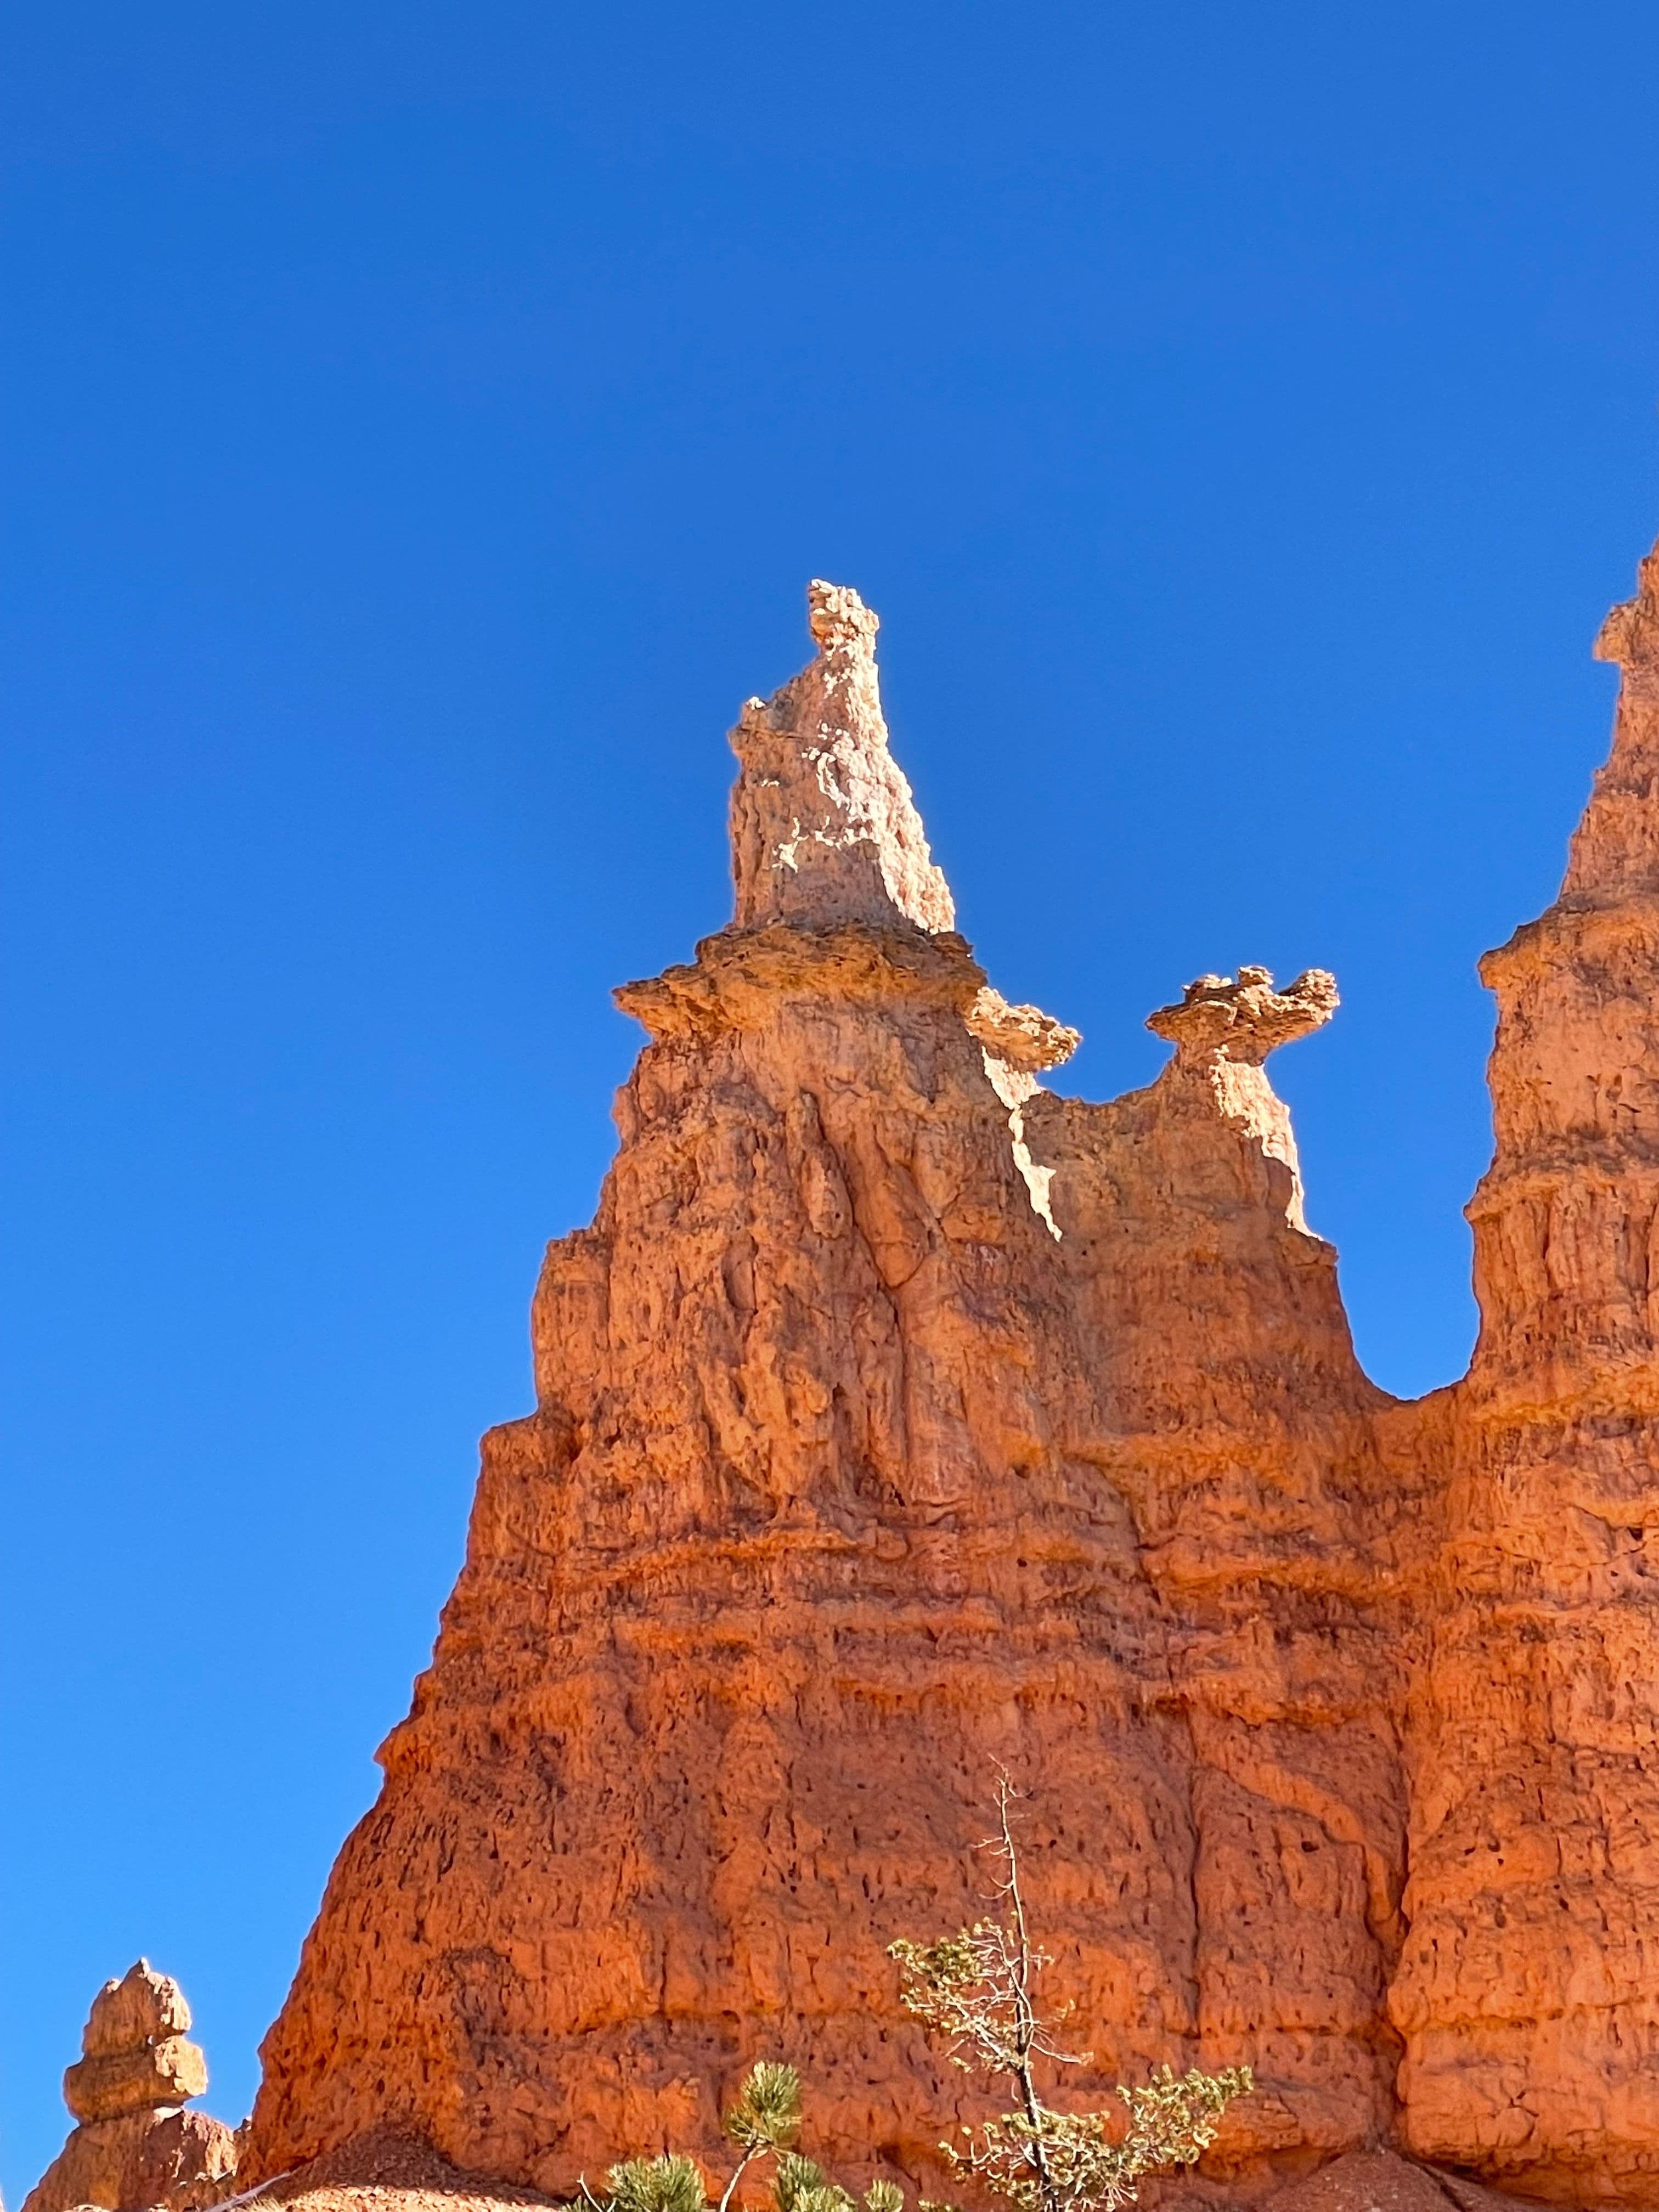
From sunrise point we began the hike down along the Queen’s Garden Trail. We took many pictures along the way, and it was so neat to be surrounded by hoodoos. This took about an hour and half.
We enjoyed a packed lunch at Queen Victoria (the end of the trail).
- 5
Complete Navajo Loop Trail (Timing Dependent)

2hr·1:00PM - 3:00PM
Depending on how much time you have before sunset, I would recommend continuing your hike from Queen Victoria along the Navajo Loop Trail about 1.5 miles back up to Sunset point.
From there you can walk along the rim of the canyon back to Sunrise Point where your car is parked which is about 0.5 miles.
Because we visited Bryce Canyon later in the year when the sun sets early, we unfortunately didn’t get time to do the Navajo Loop Trail.
- 6
Check-In at Best Western View of Lake Powell Hotel
- 7
Hot Tub
1hr·6:00PM - 7:00PM
As the hot tub is outside at this hotel, we enjoyed watching the sunset from the tub.
- 8
Dinner at El Tapatio
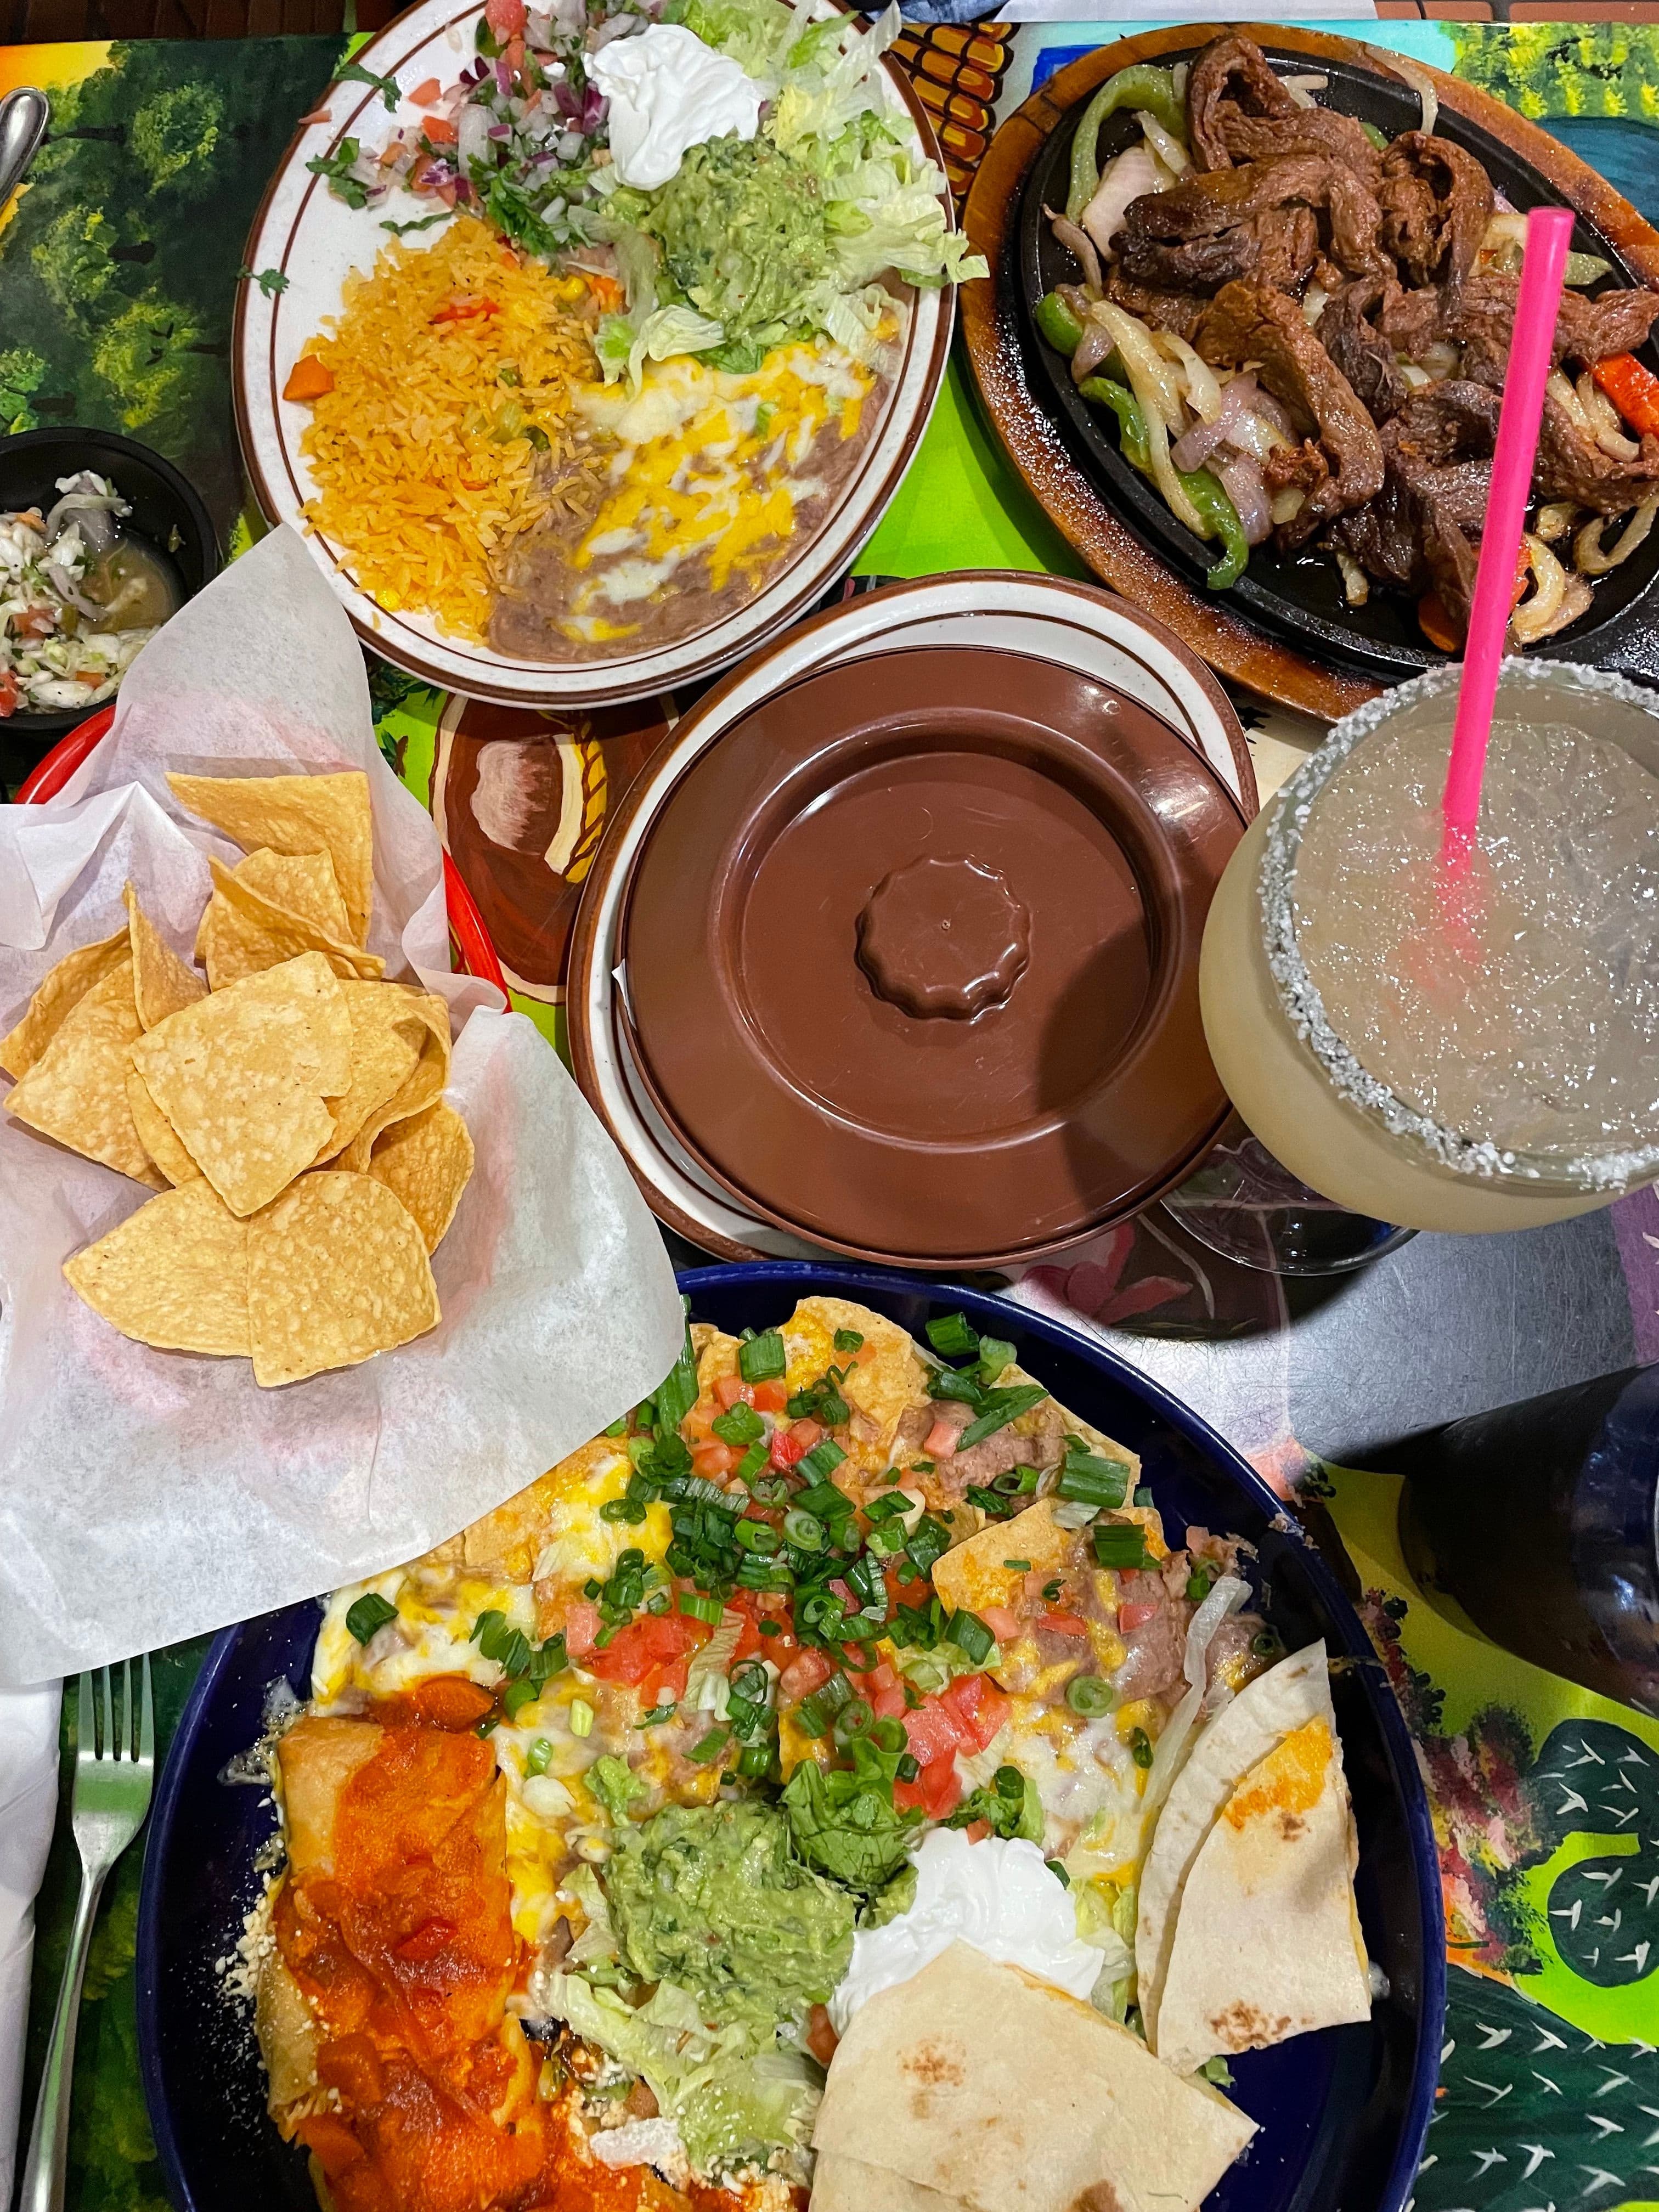
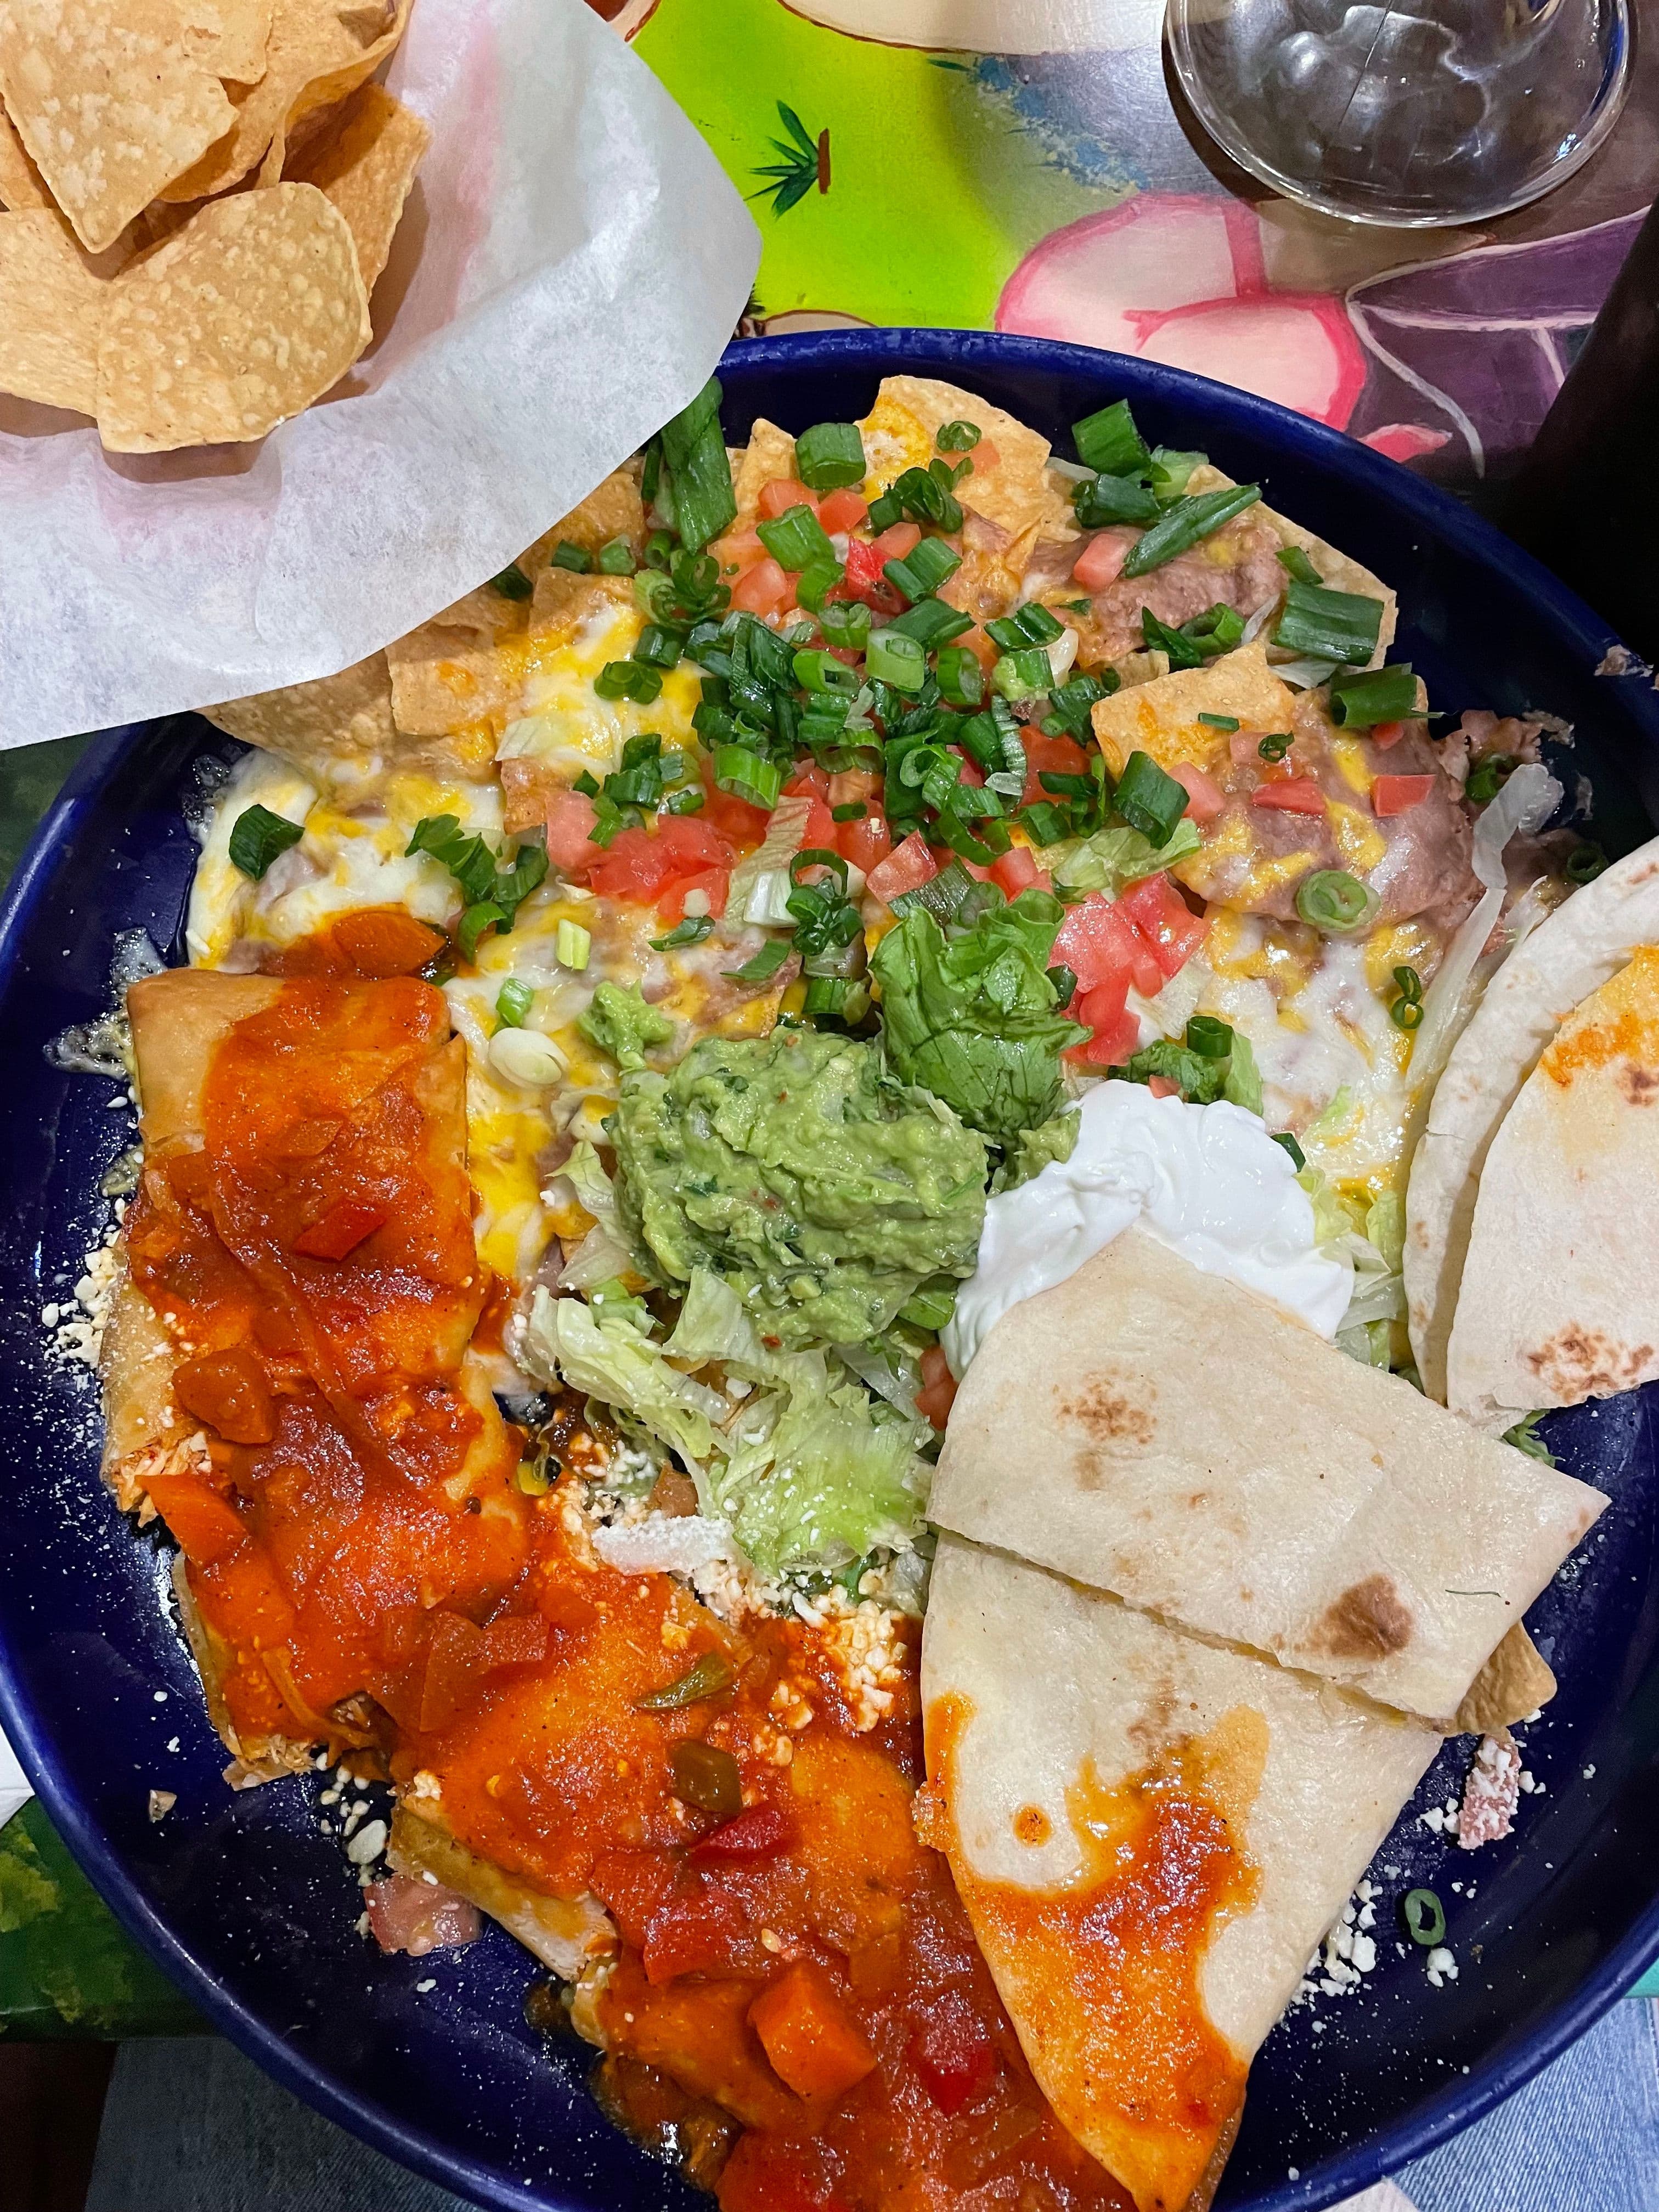
We loved this dinner! The portions were huge and the margaritas were delicious. A very fun experience overall.
Day 5: Antelope
- 1
Breakfast at Hotel
A simple breakfast at this hotel, but we grabbed a few items to eat before our tour.
- 2
Tour of Antelope Canyon
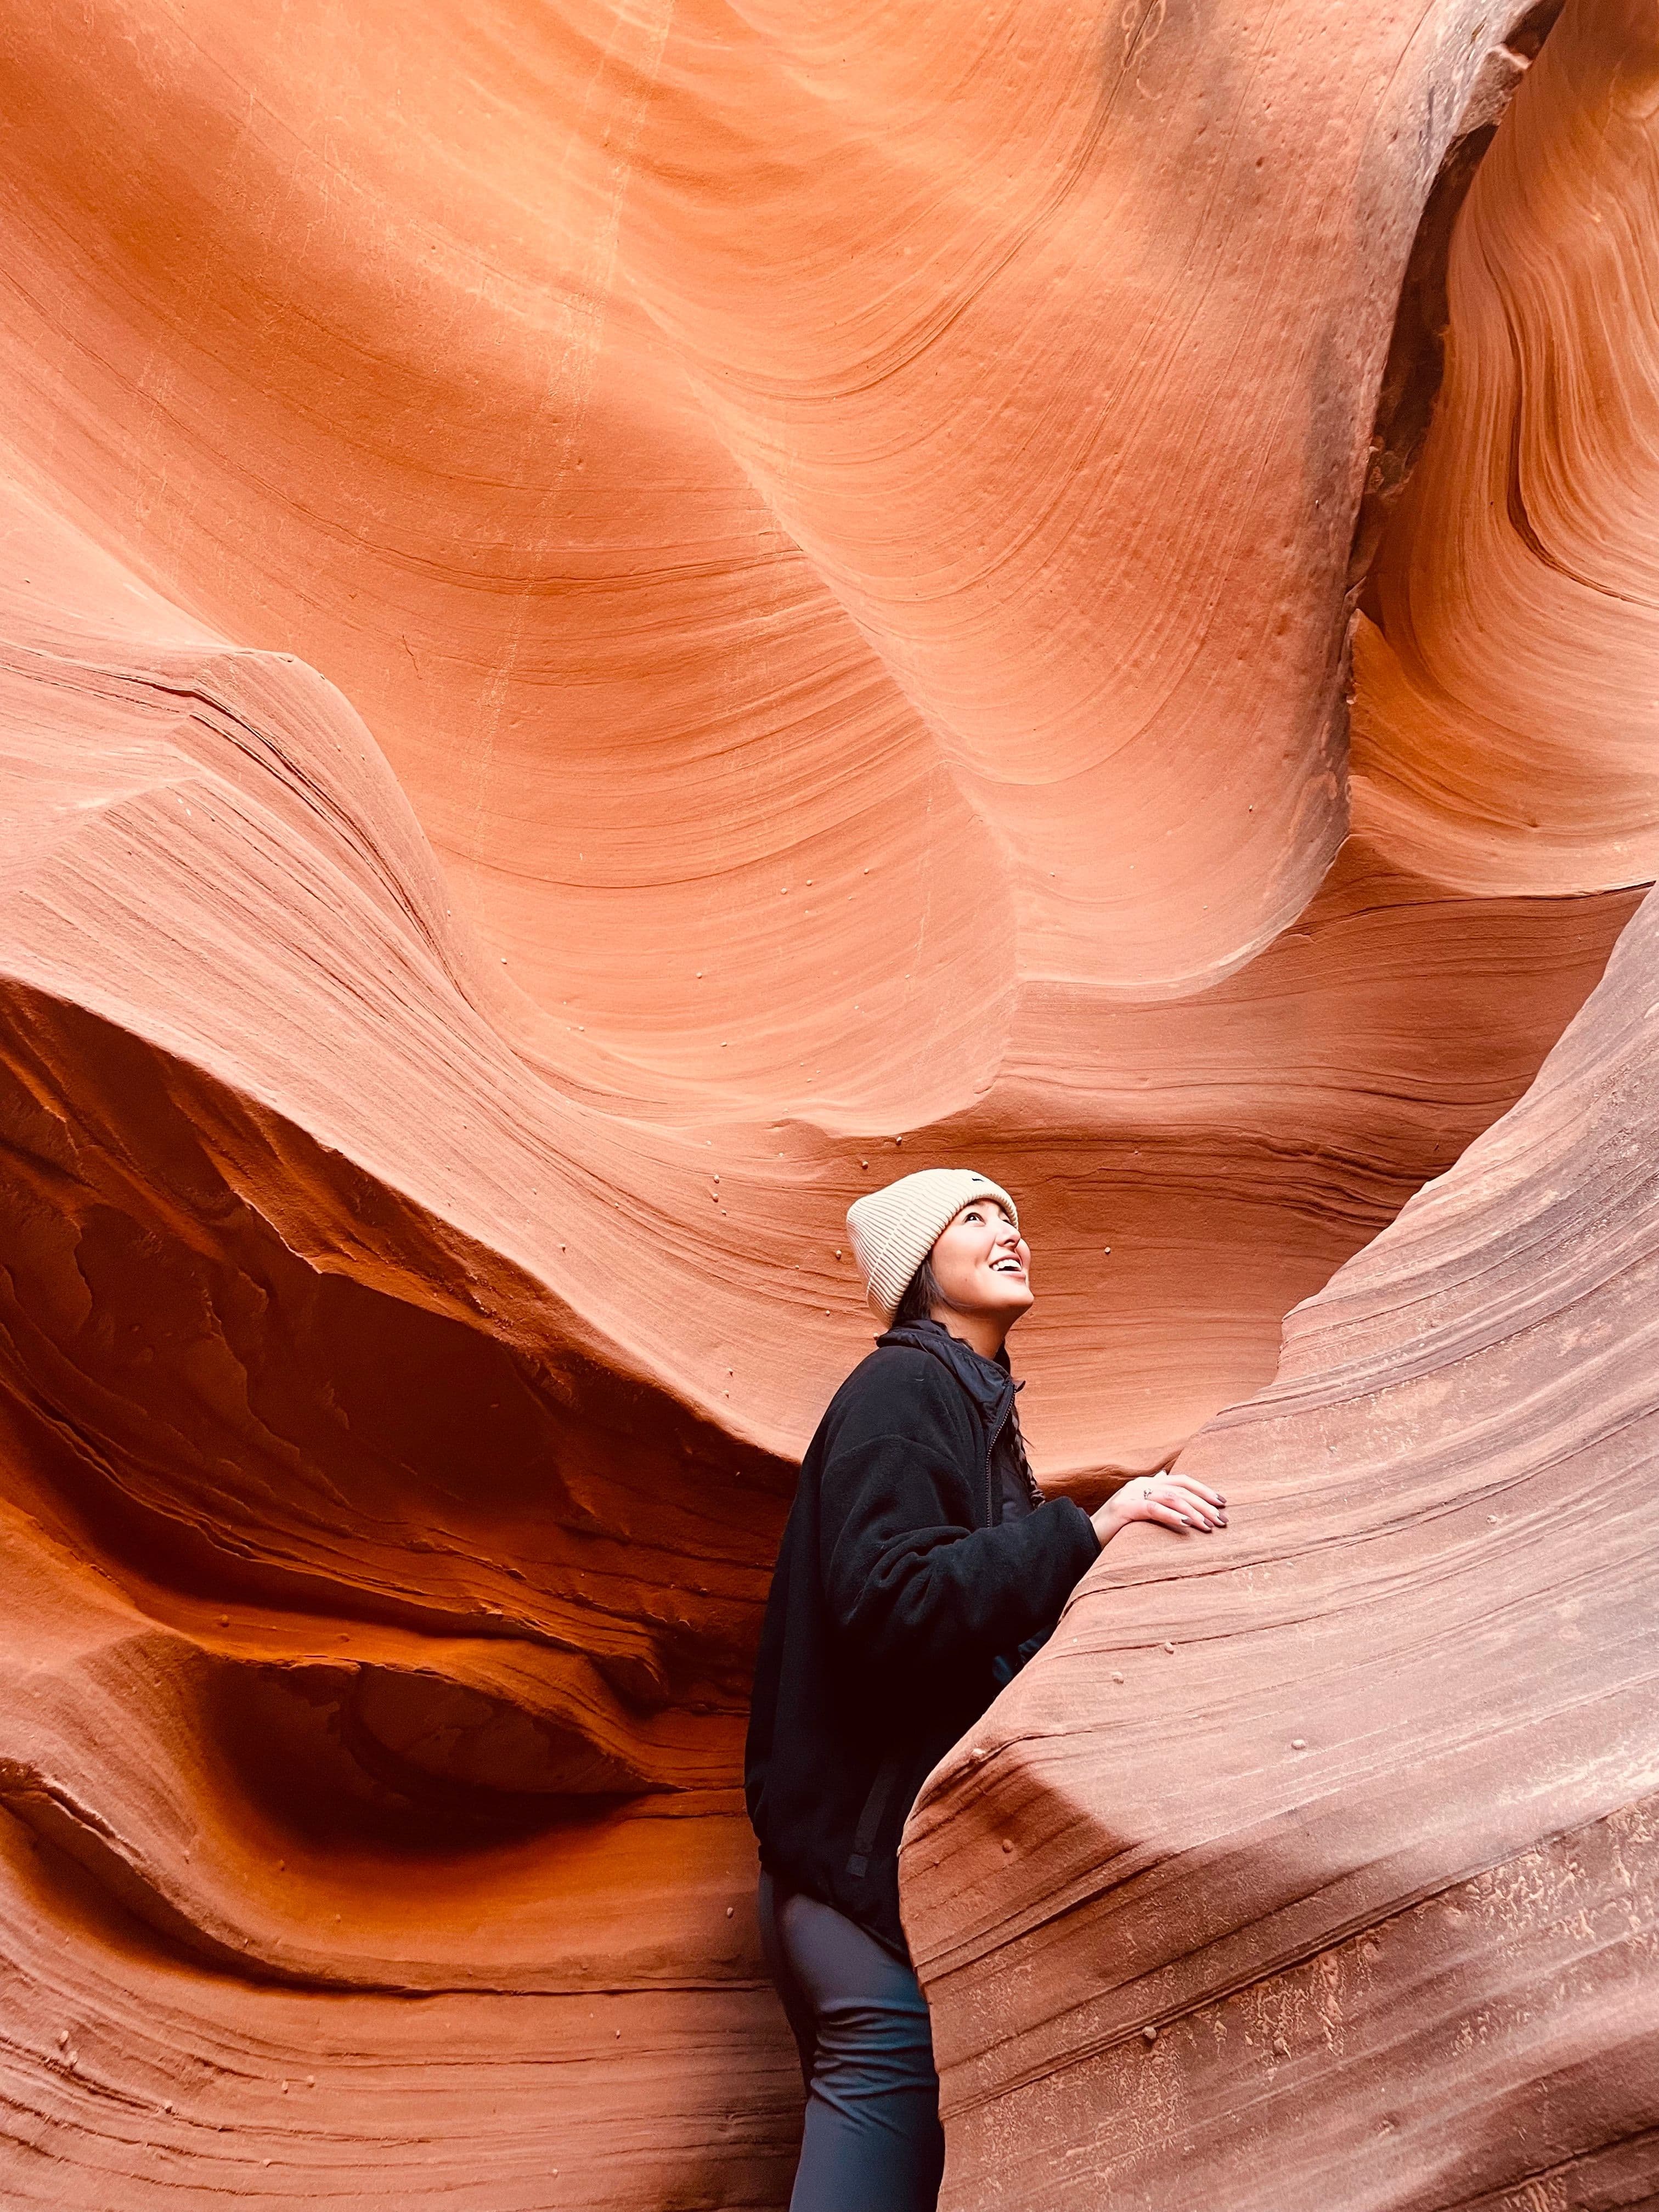
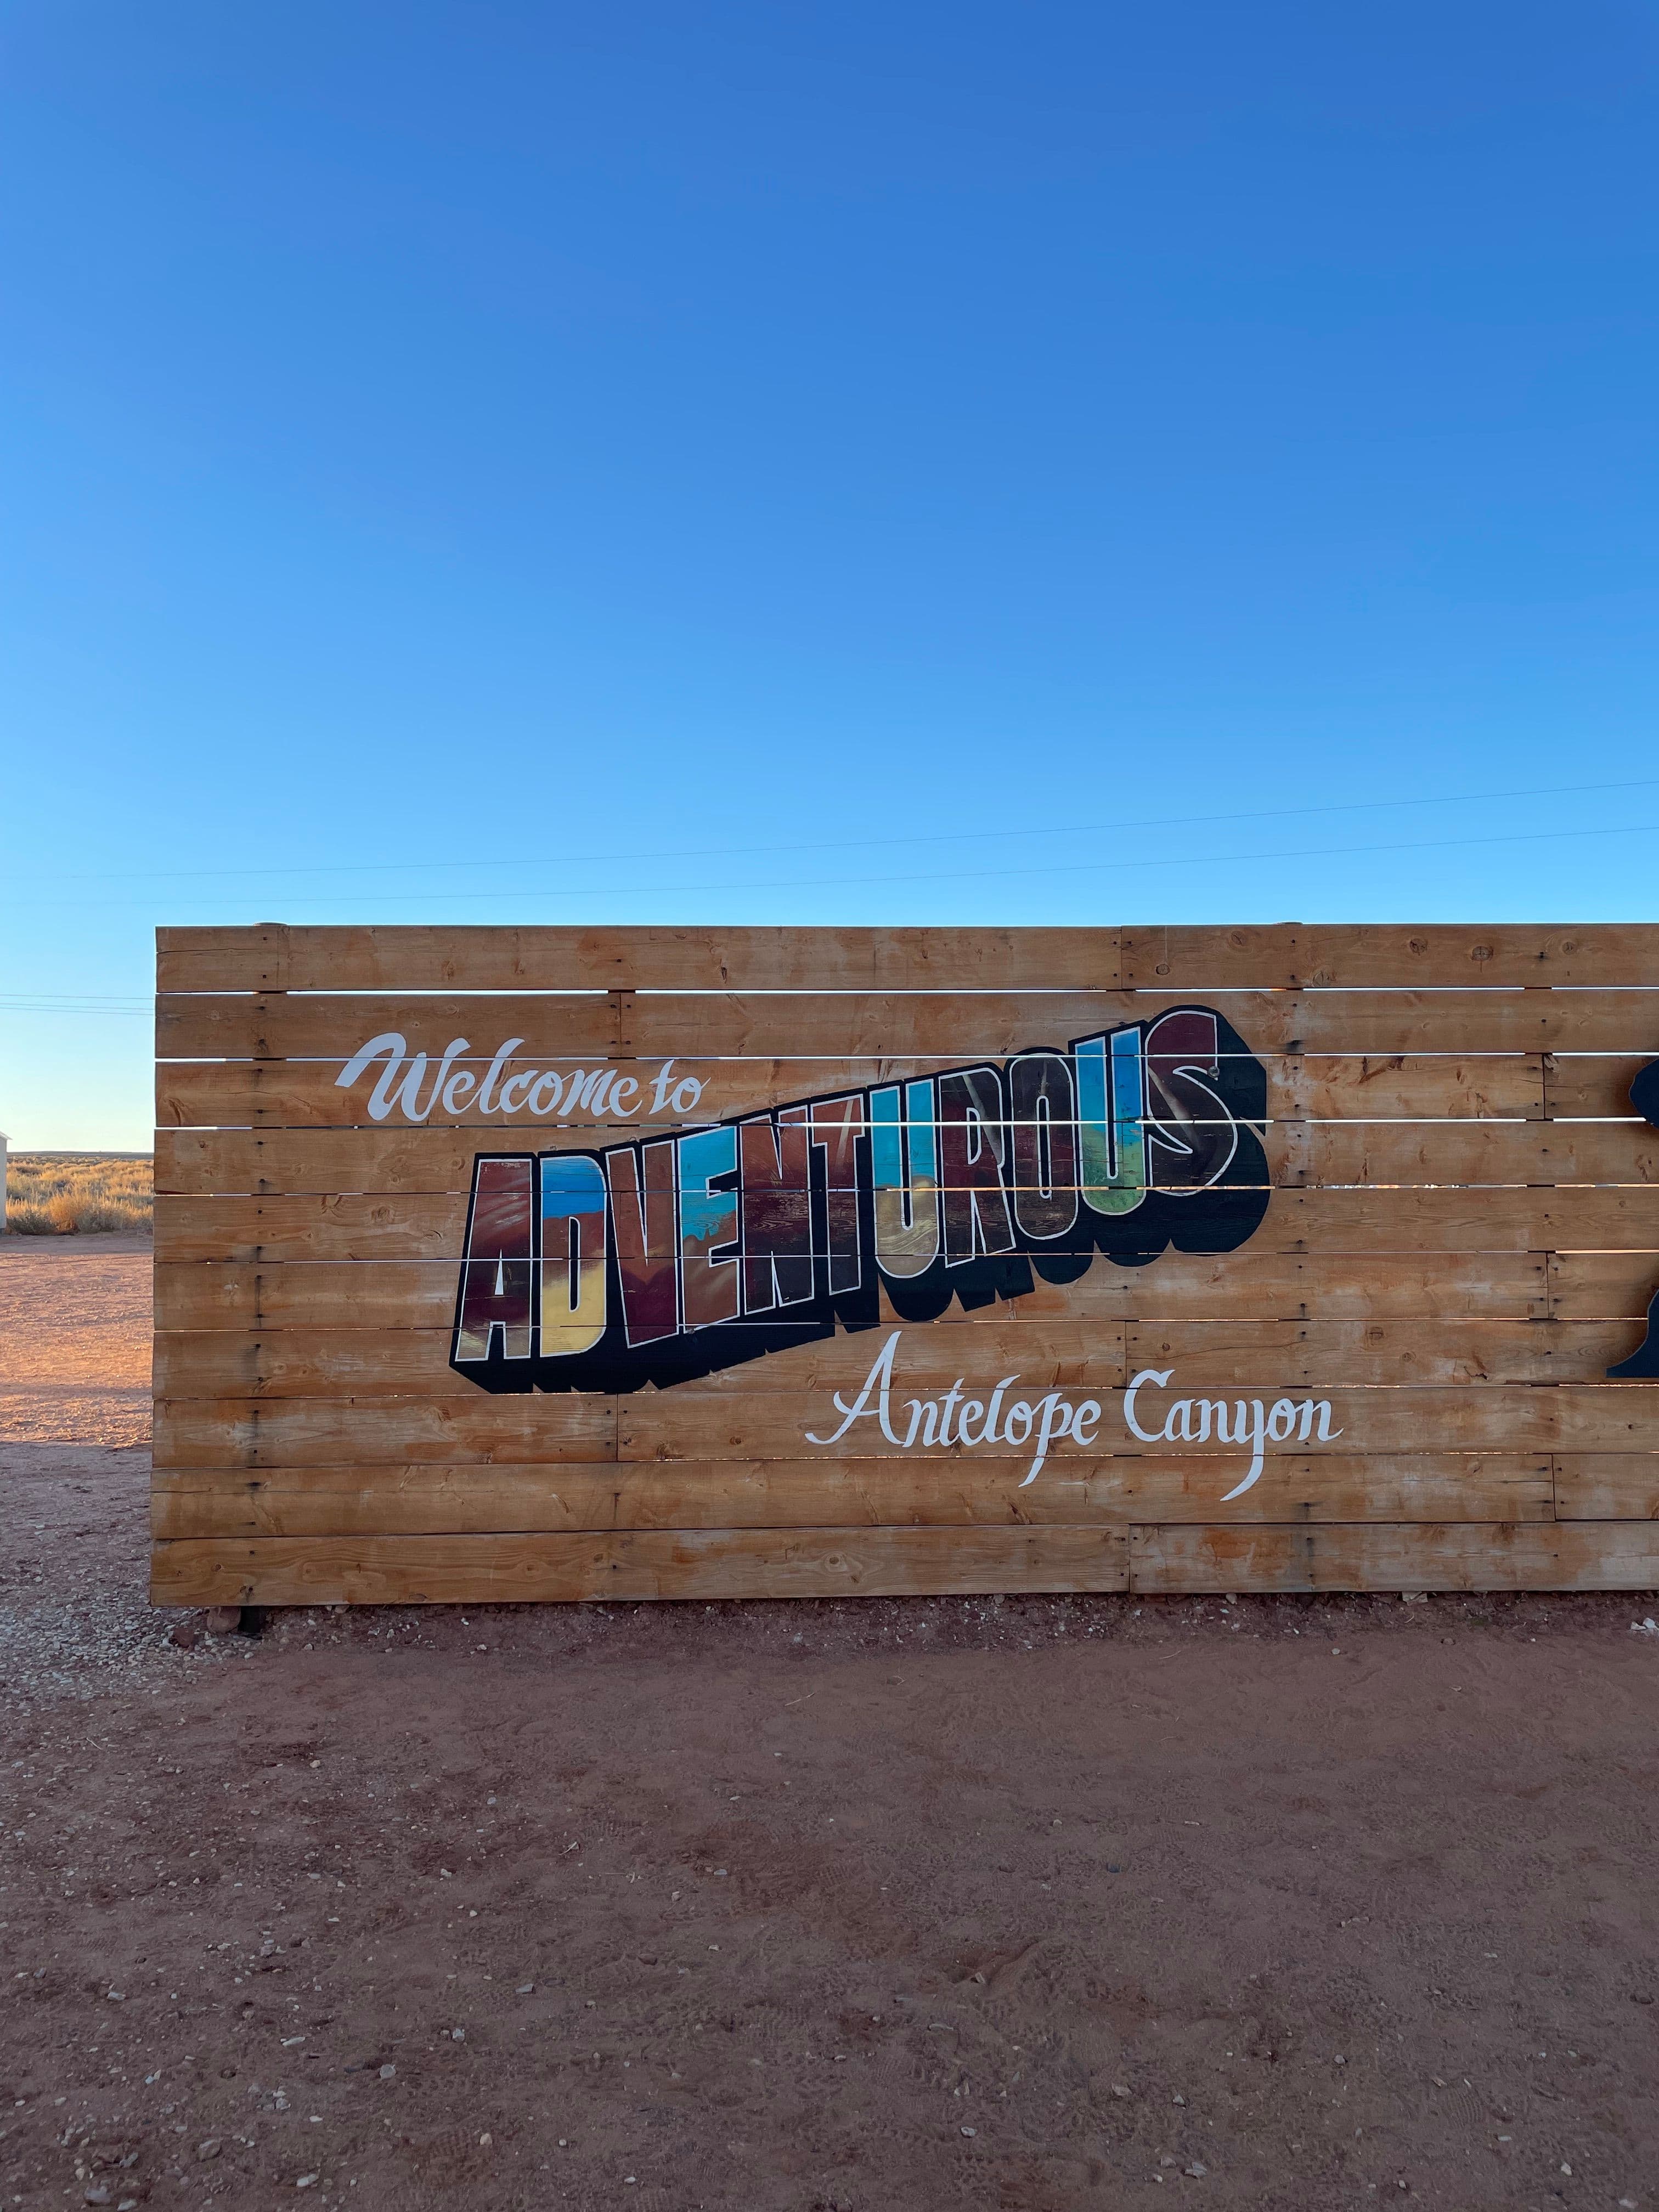
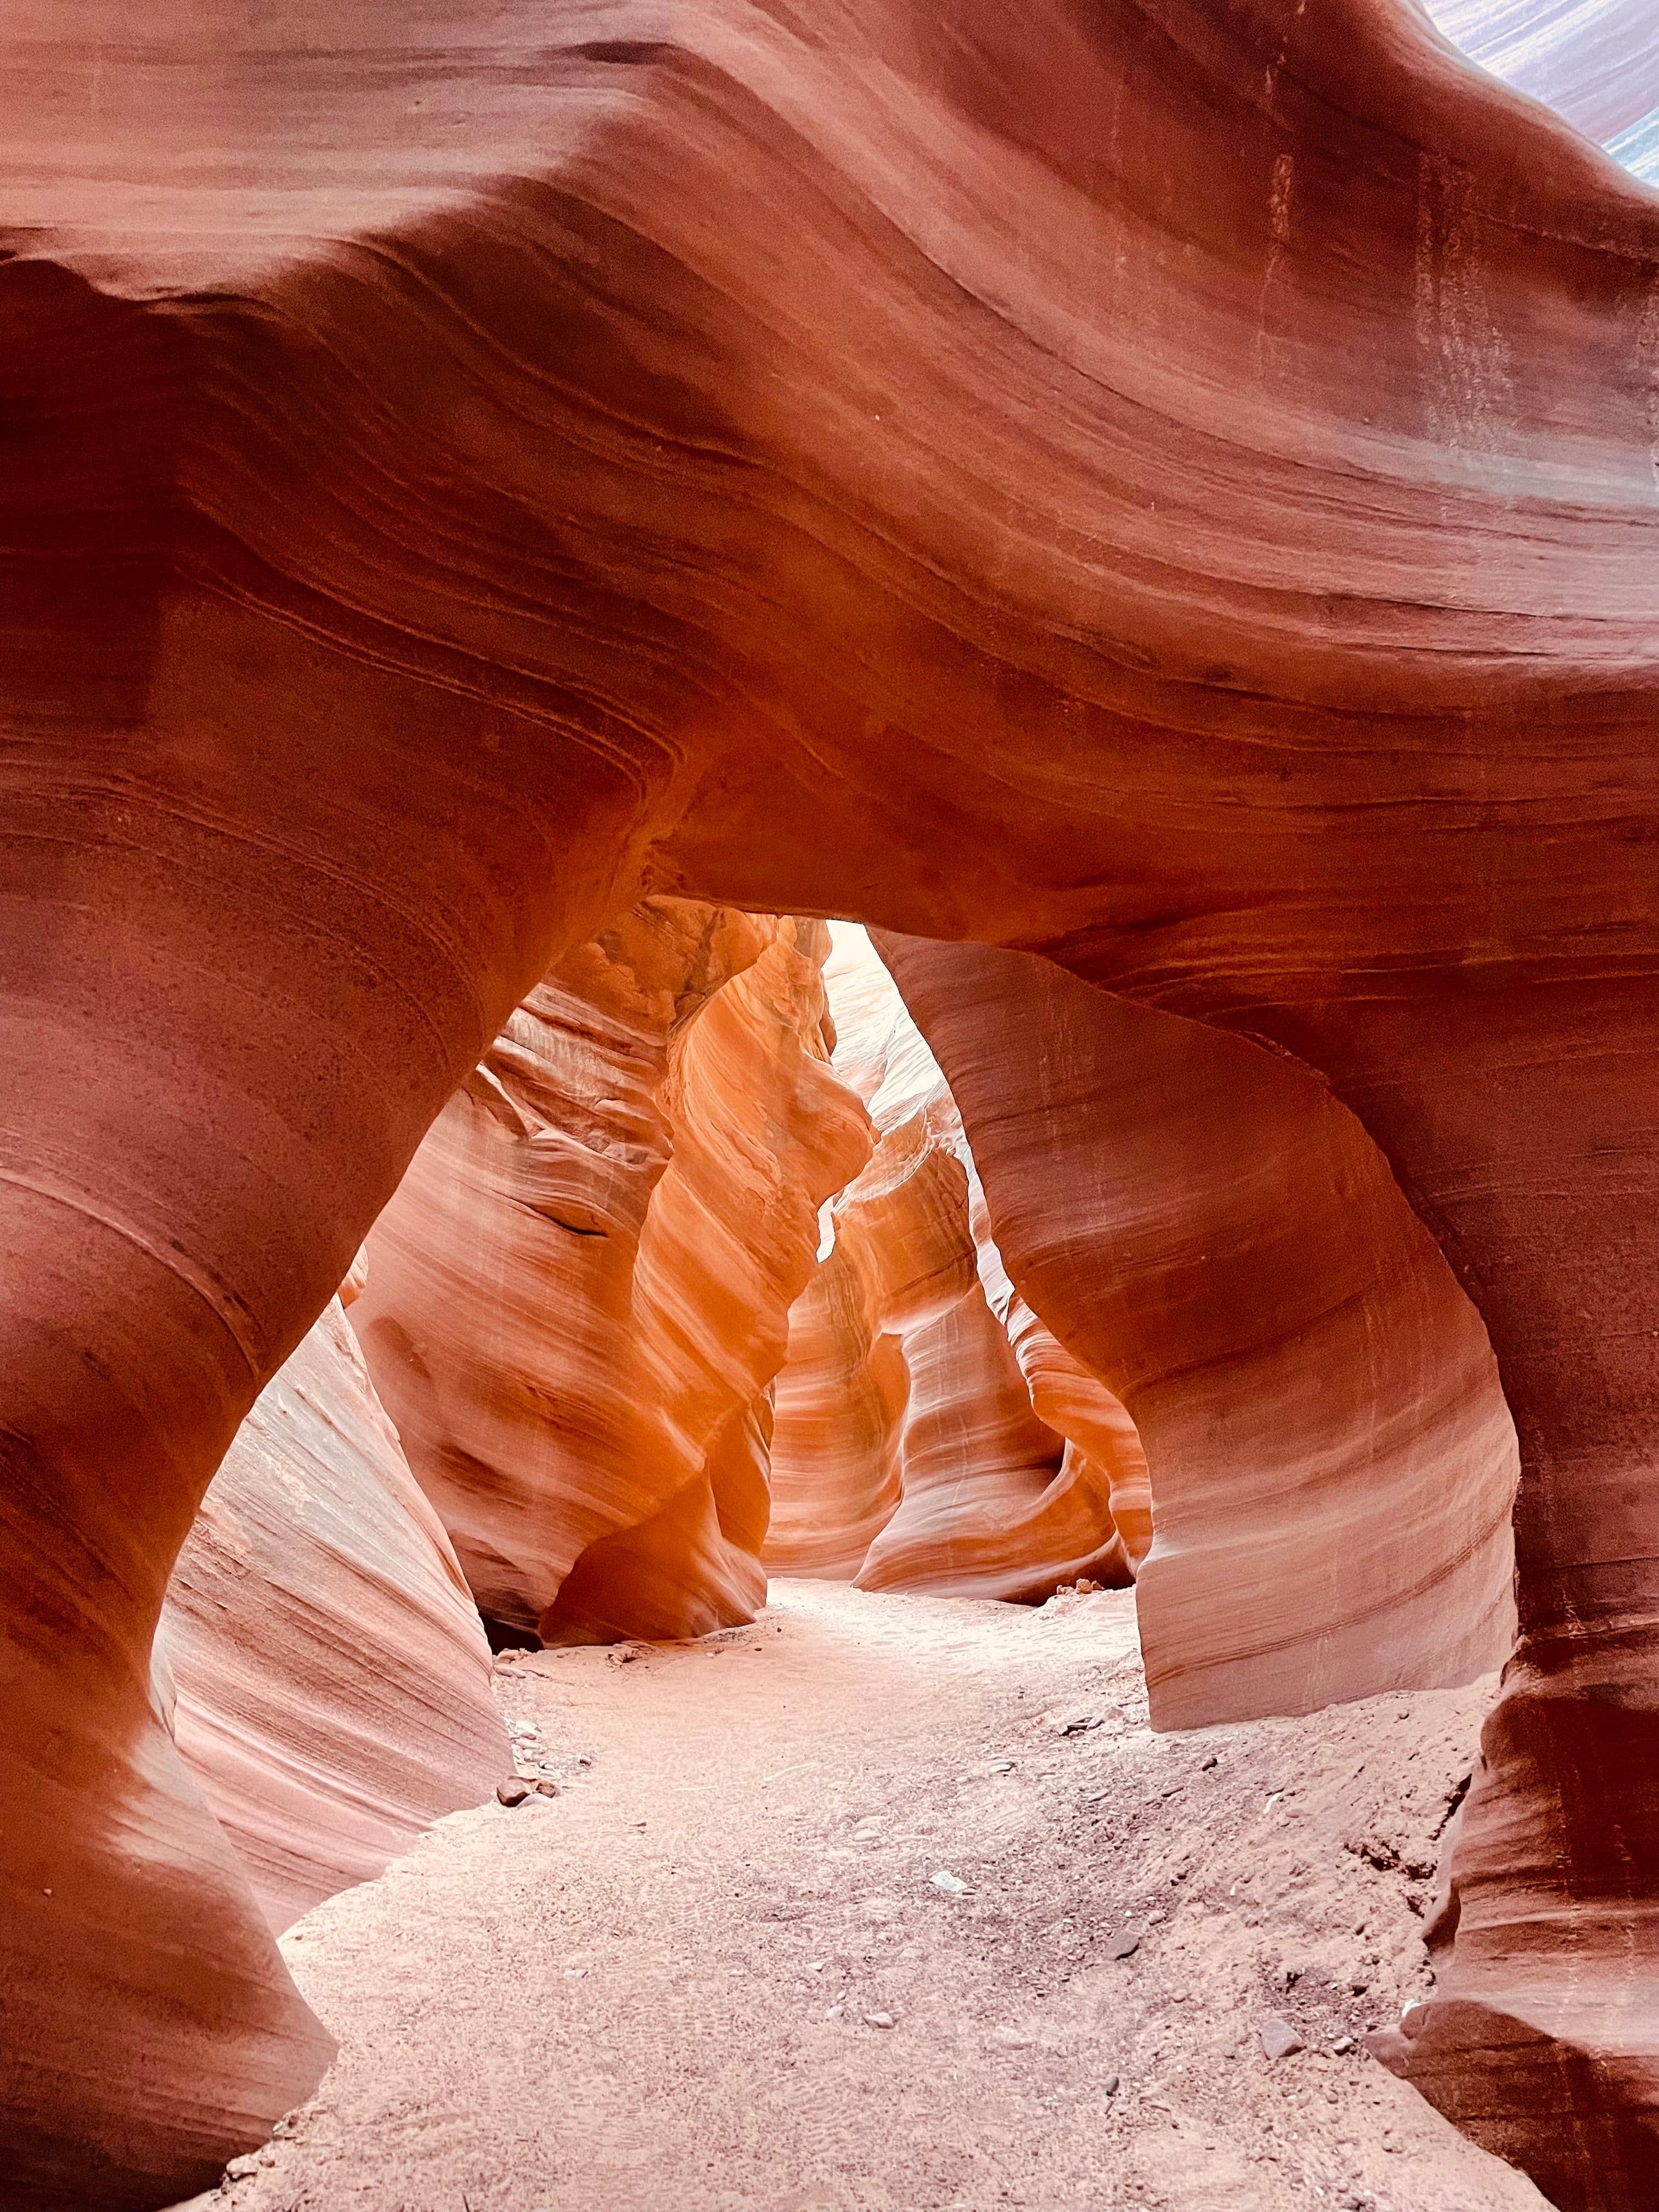

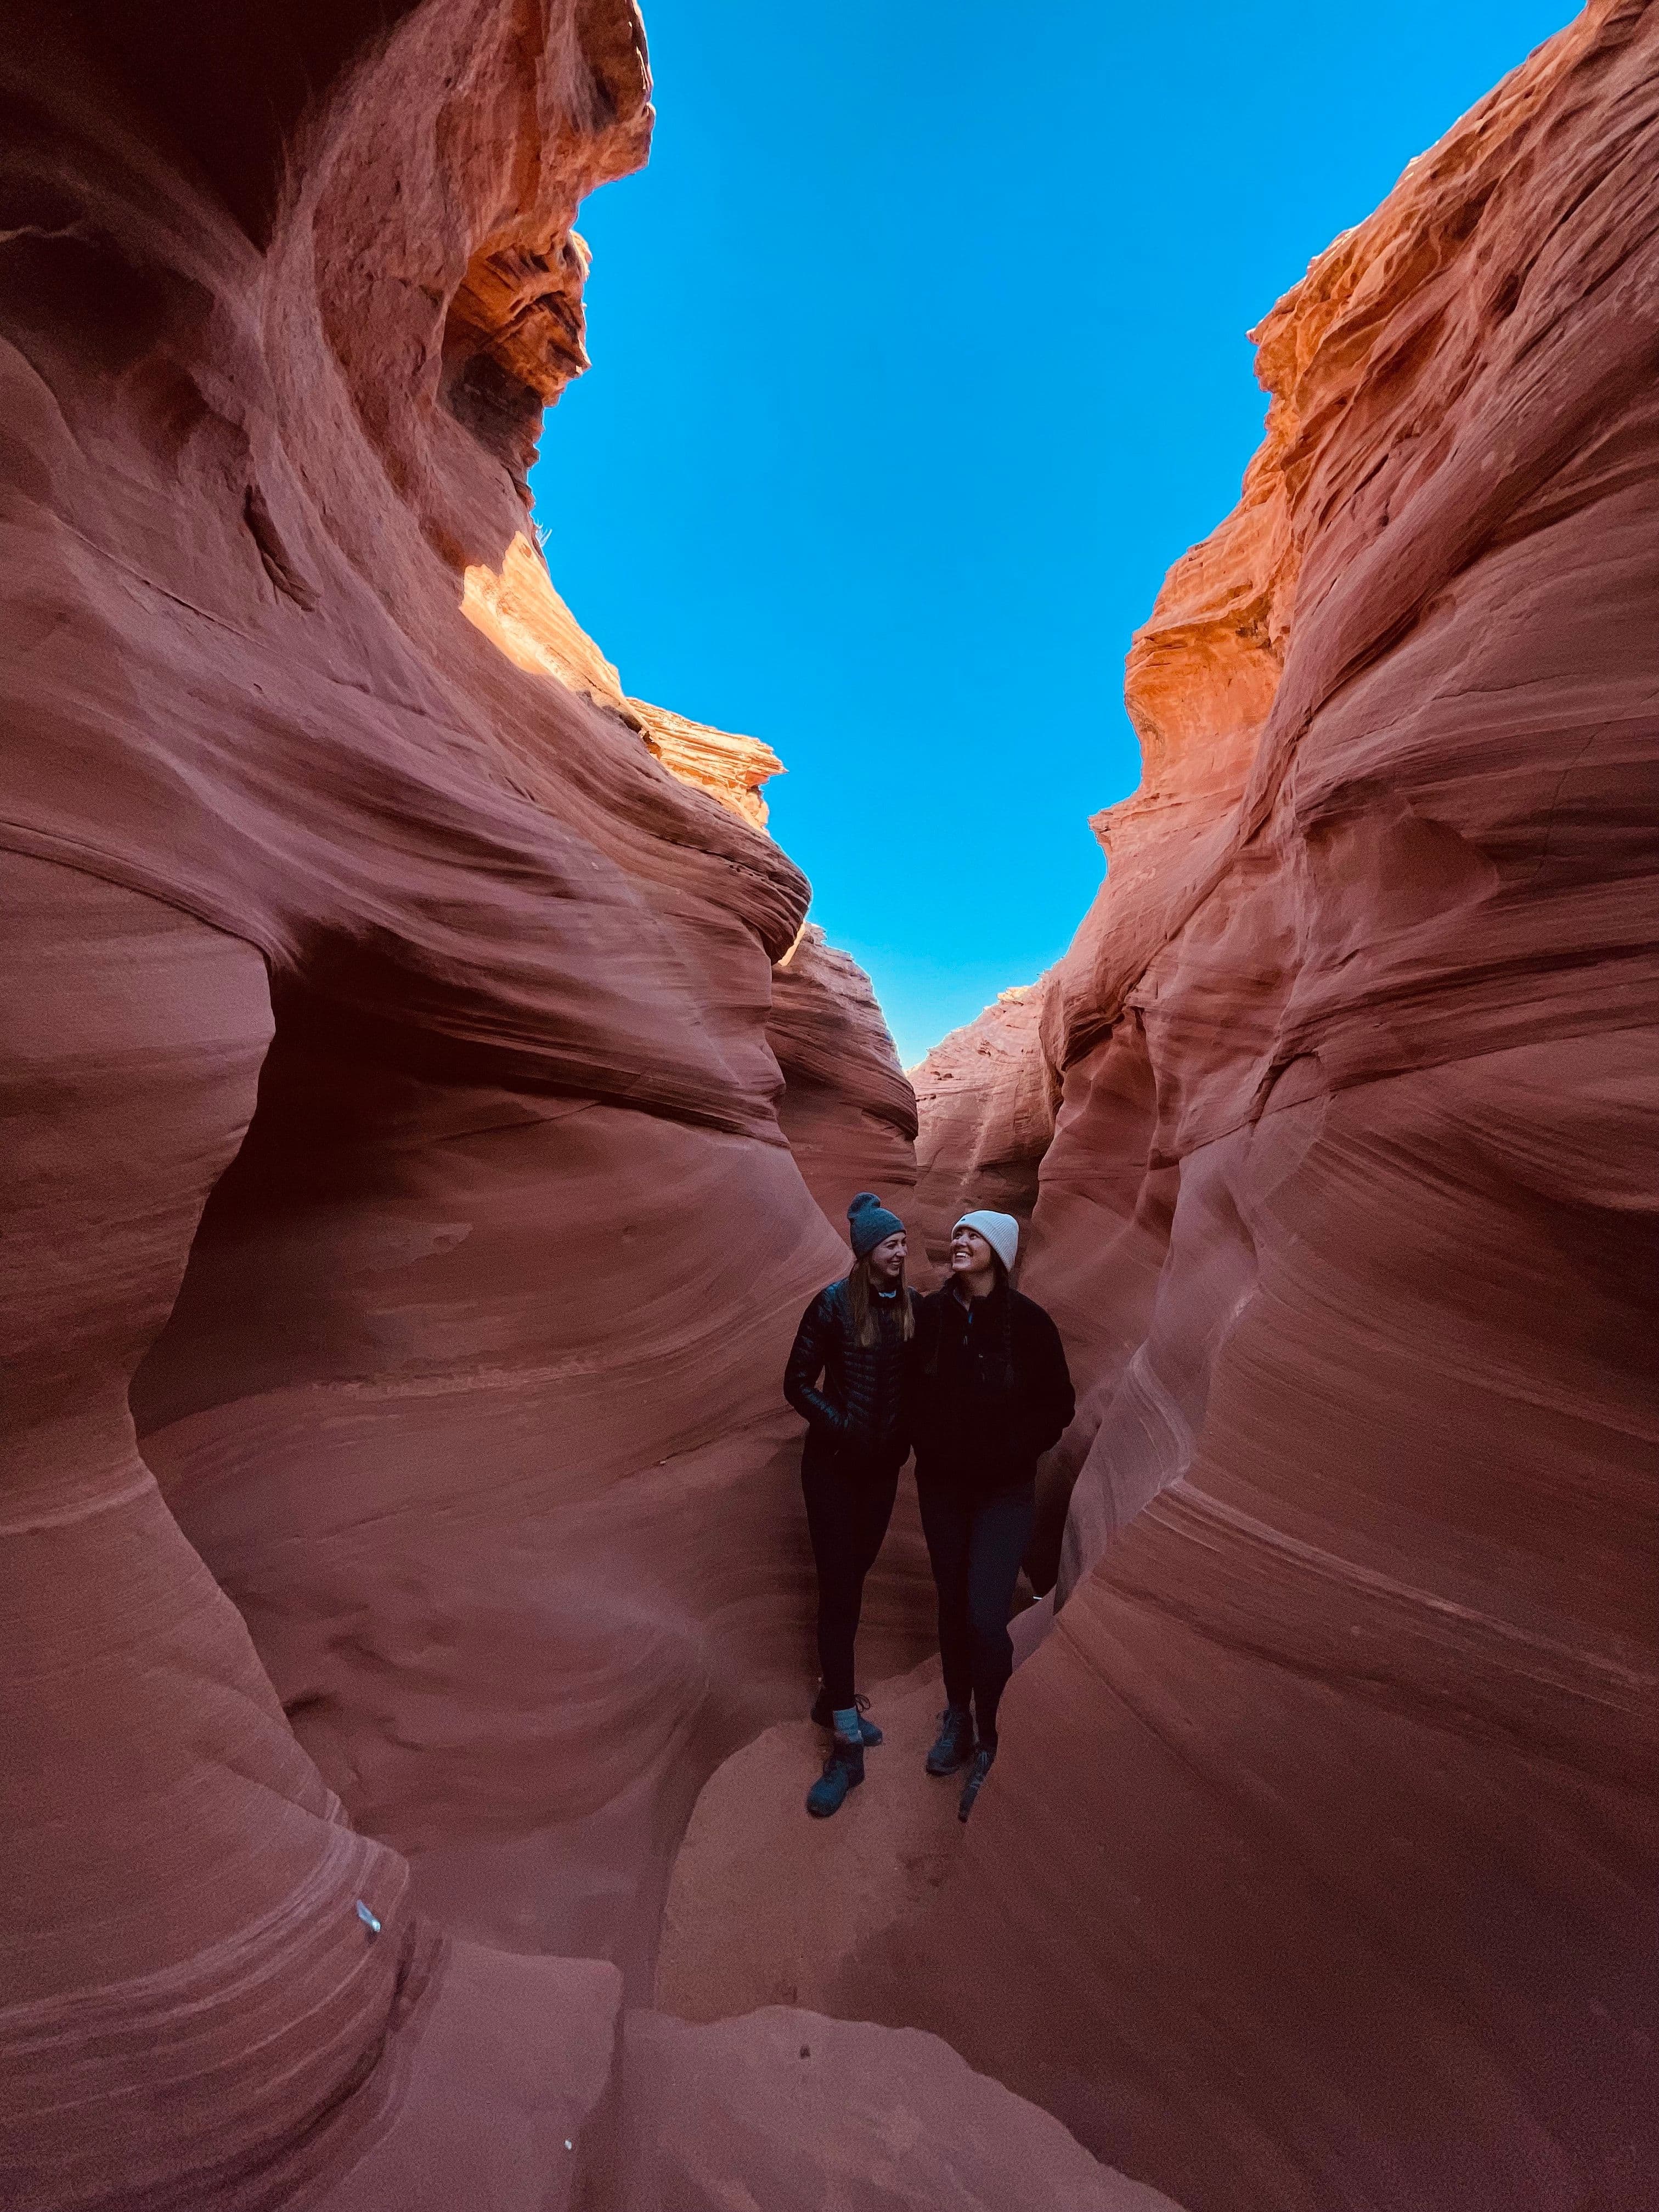
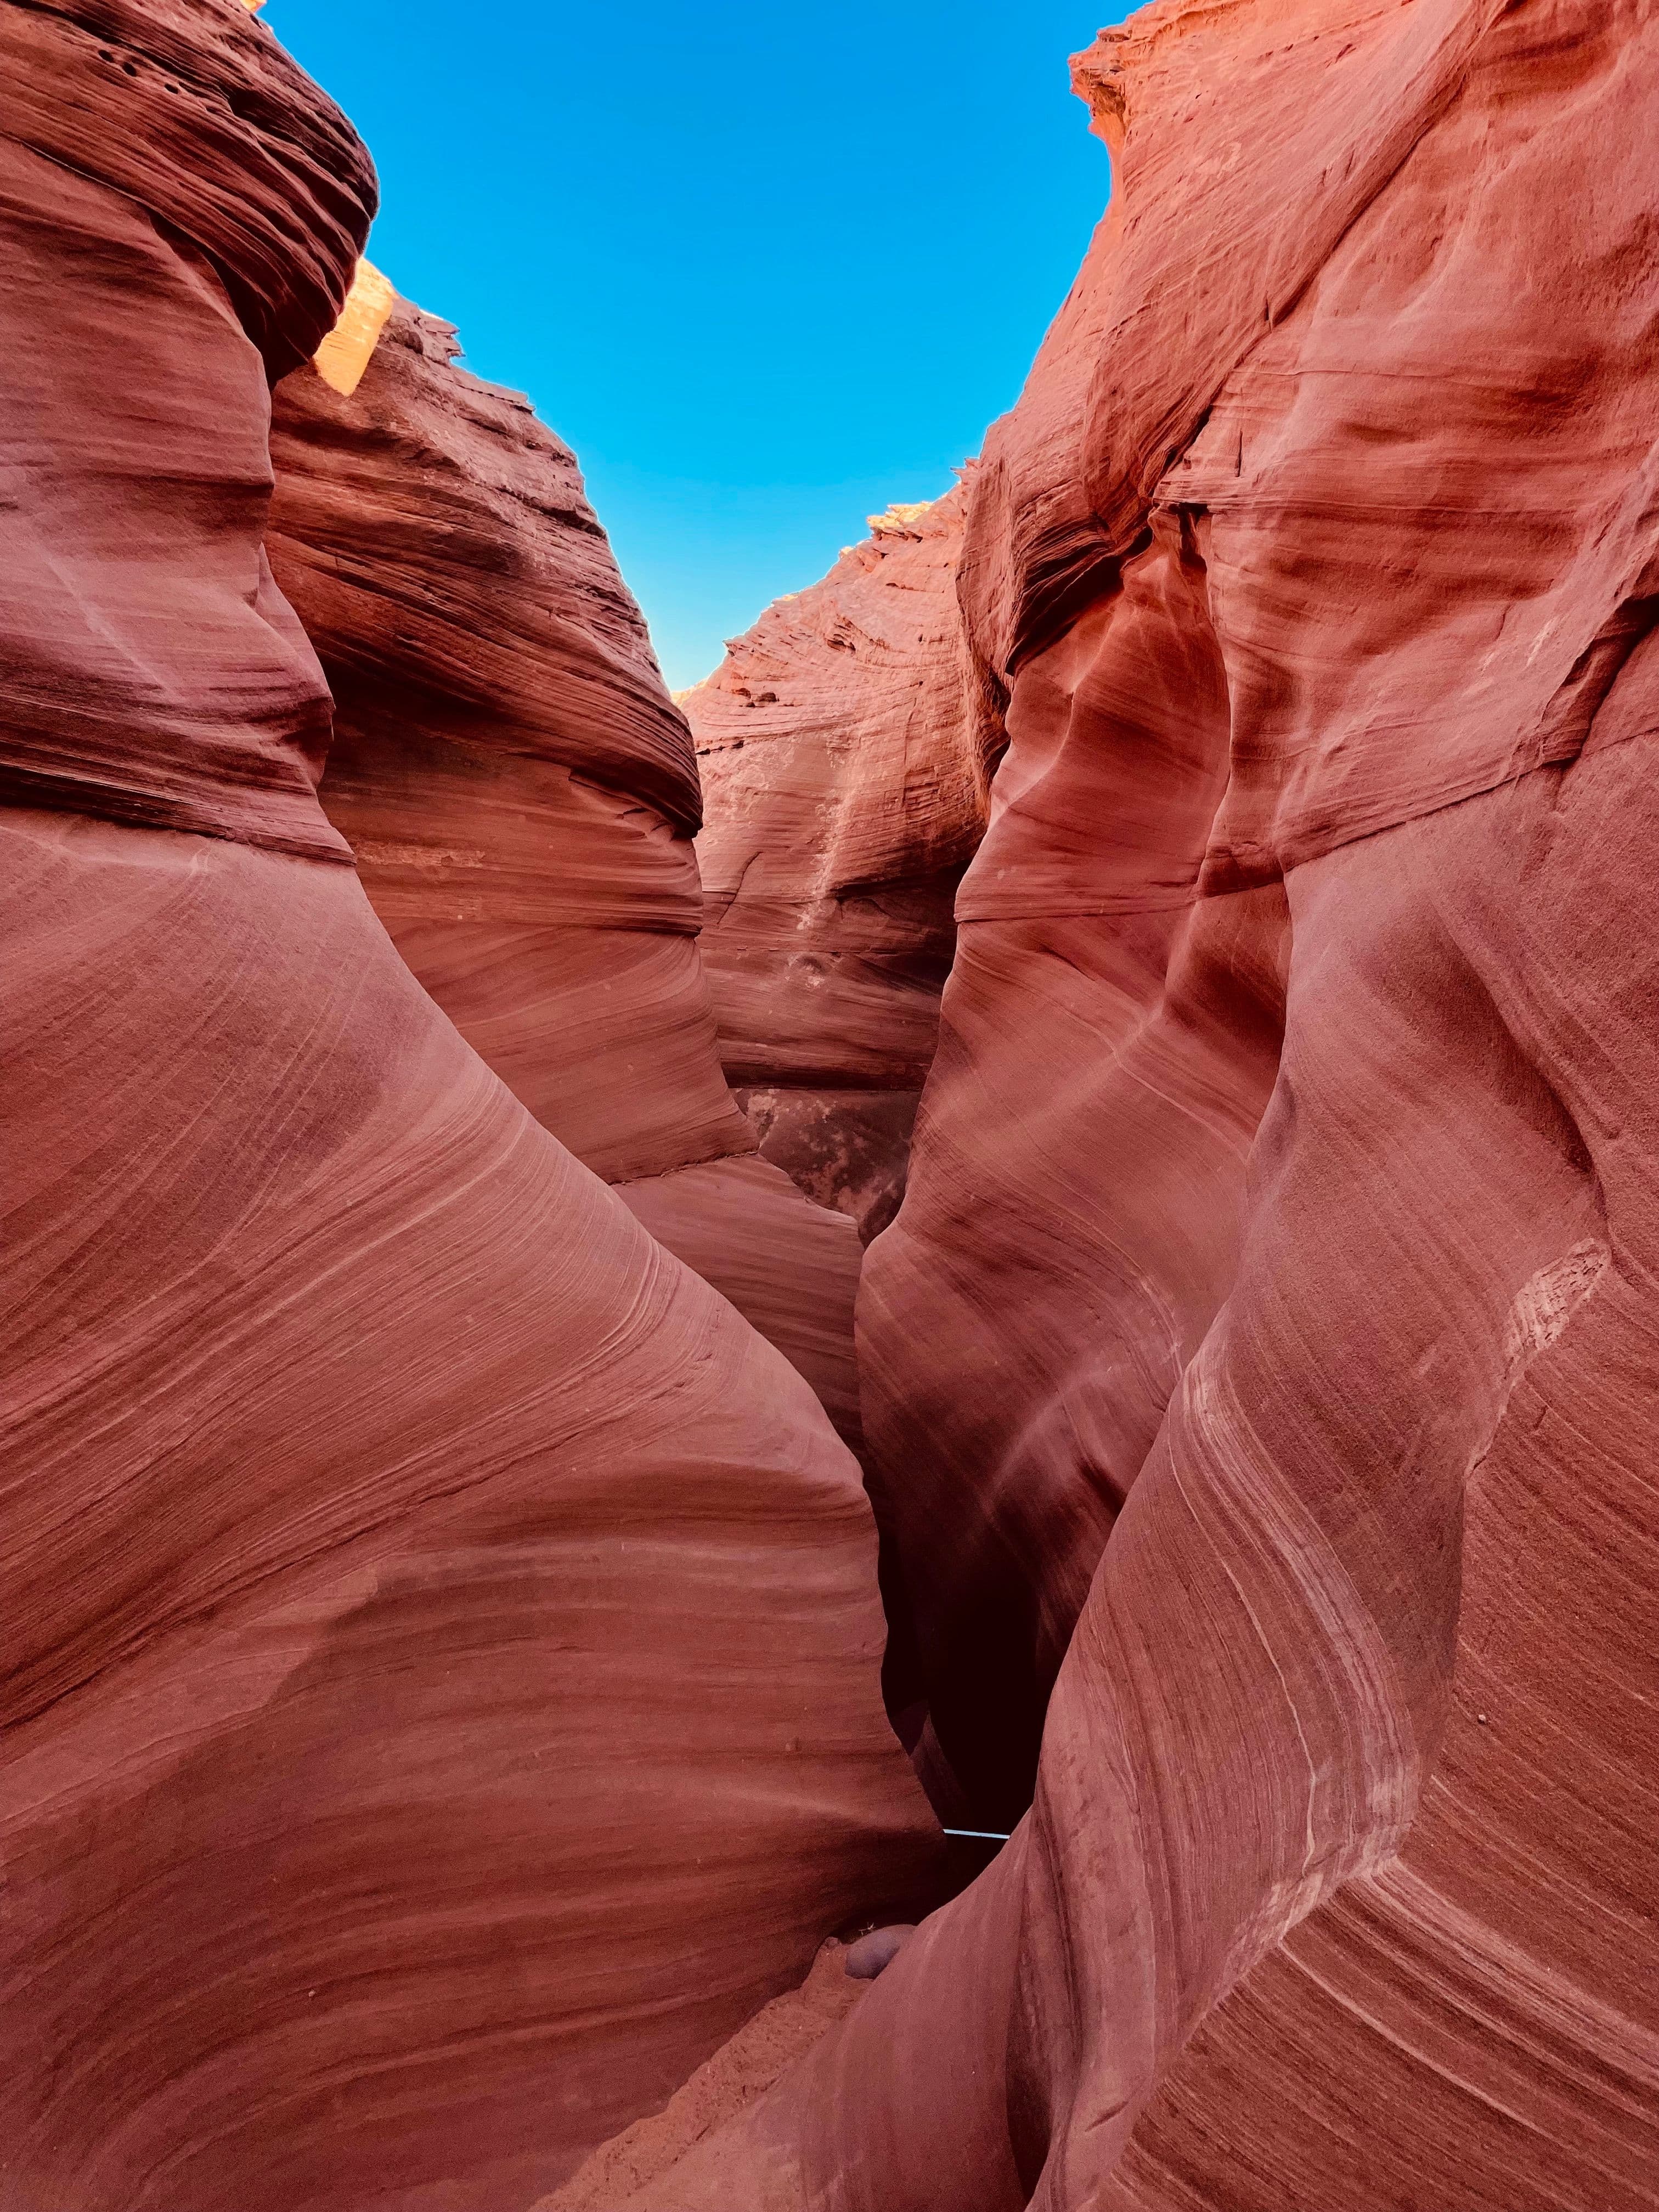

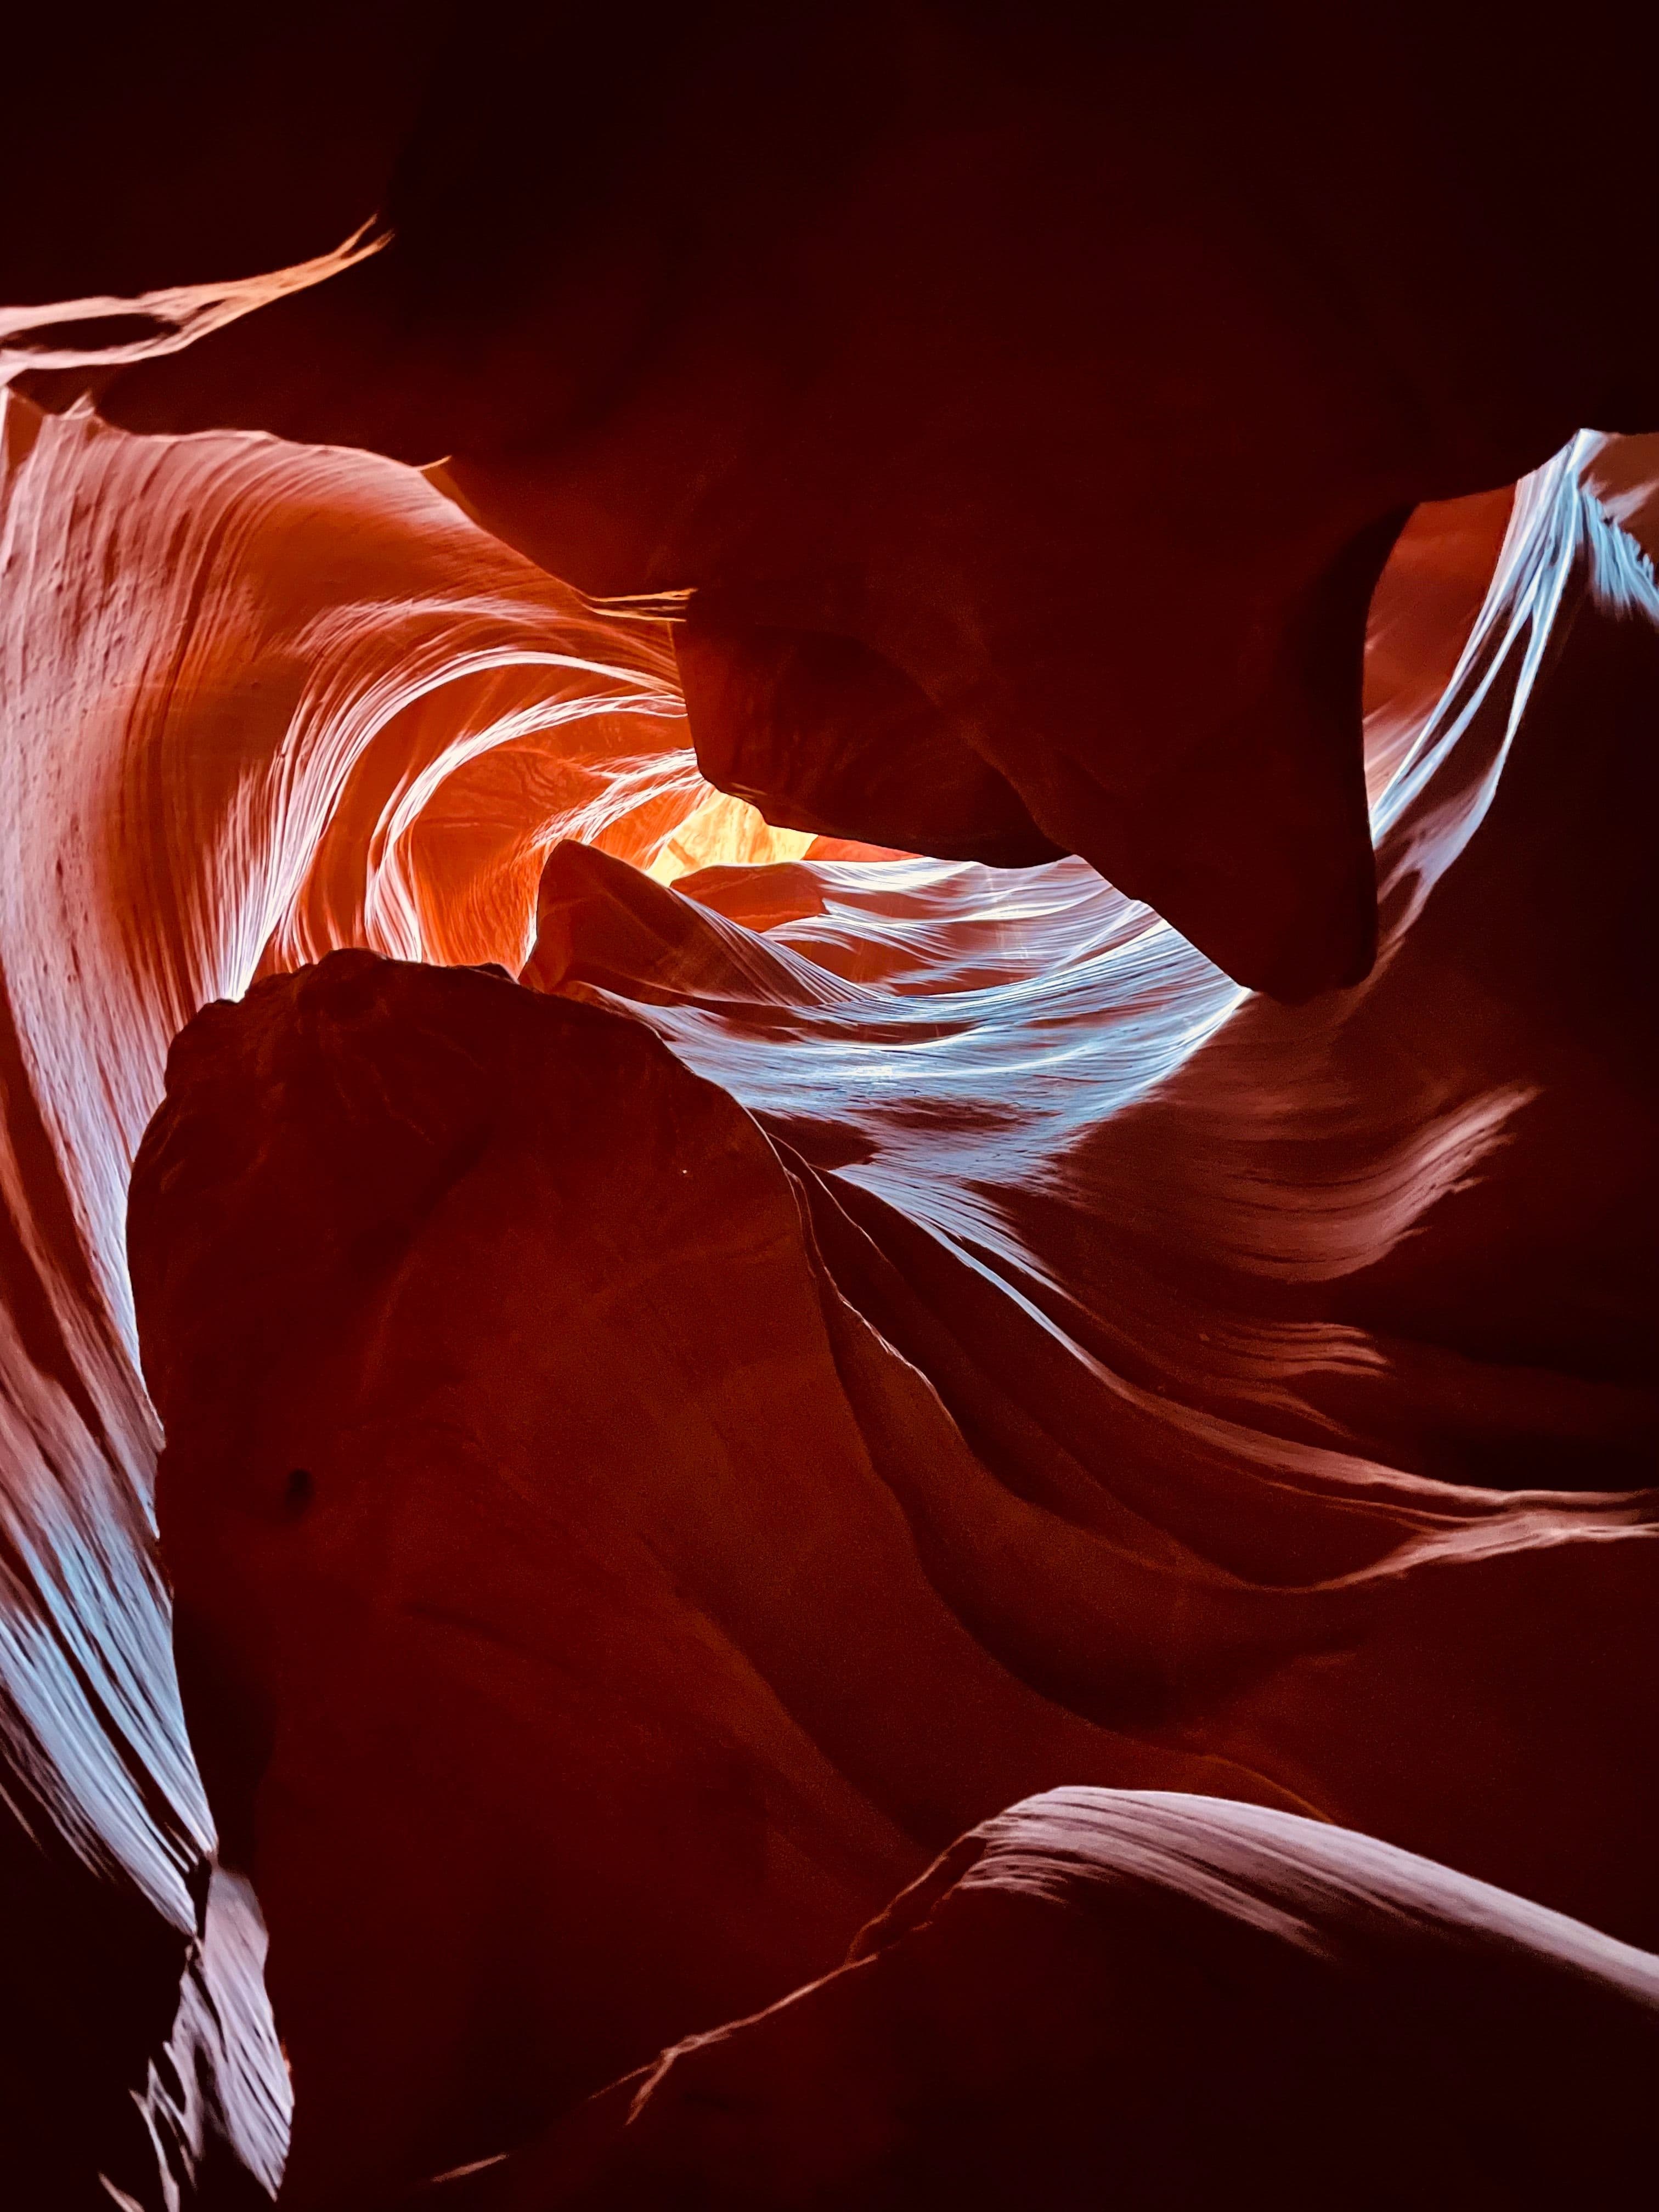
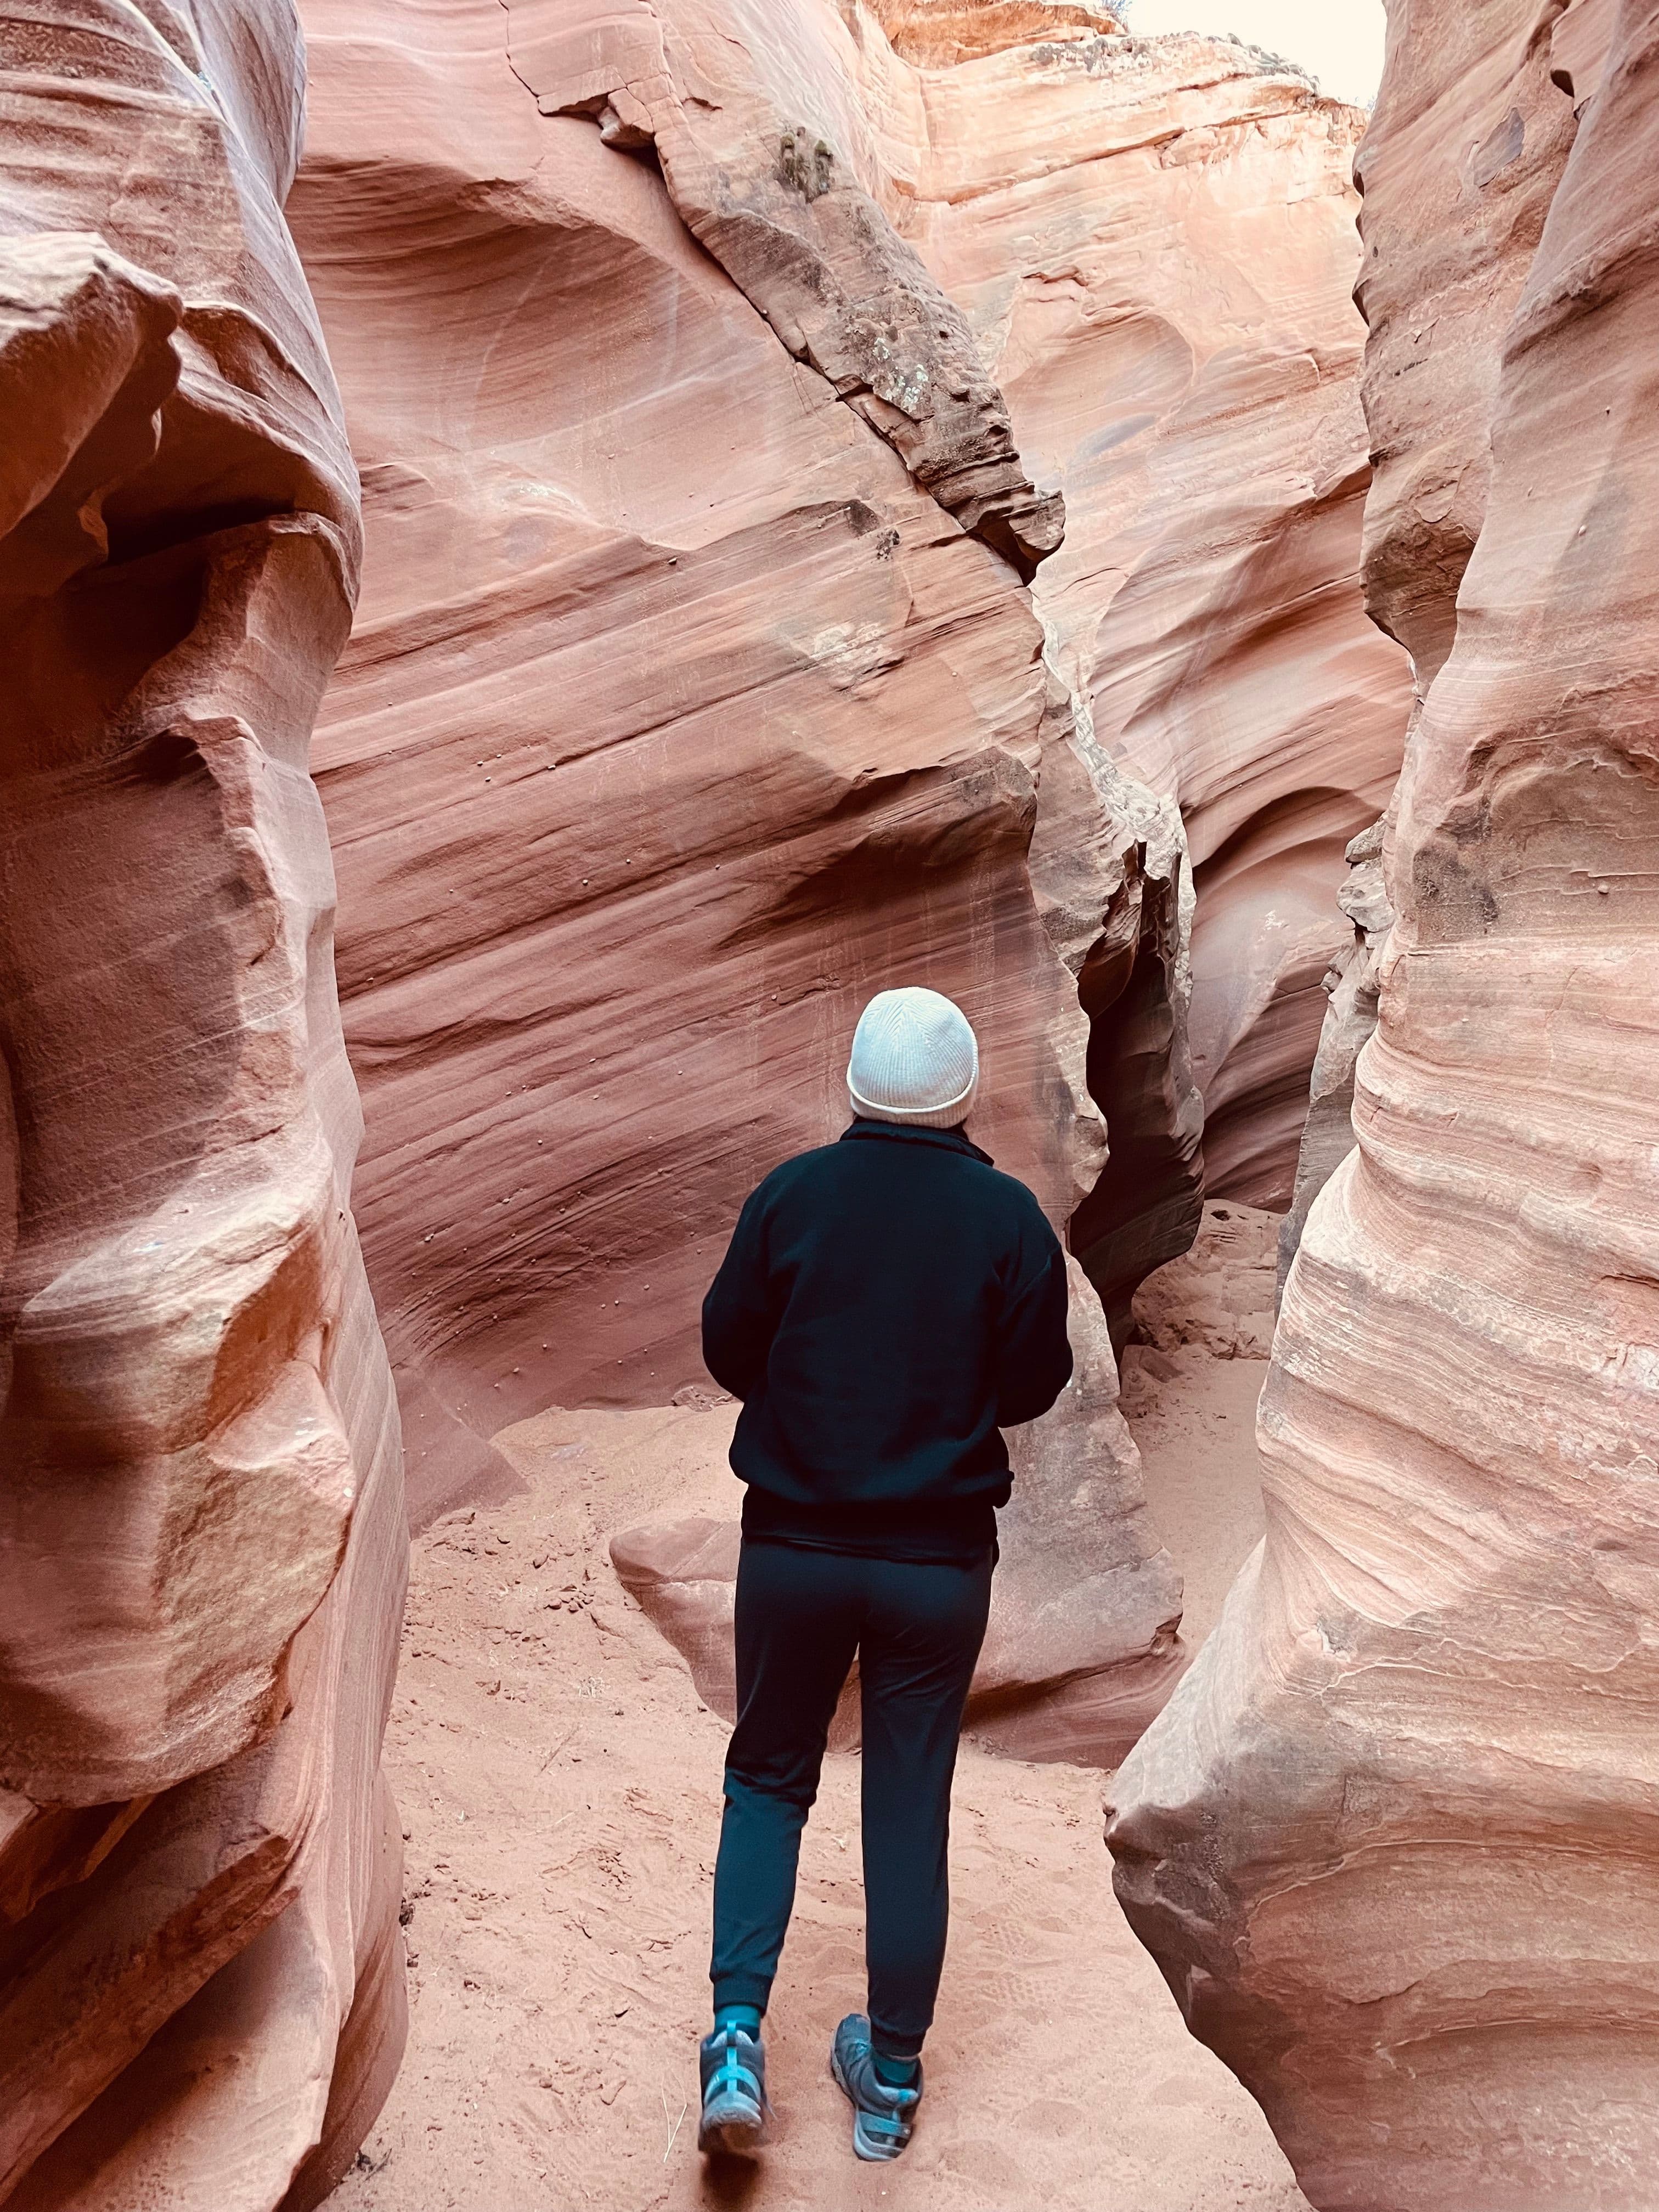
This was another highlight of our trip. Seeing the canyons in person was on my bucket list and it did not disappoint! Many picture worthy opportunities.
If you are wanting to do Rattlesnake Canyon as well, check out the tours here that allow you to do both Antelope and Rattlesnake Canyon. We were the only ones in Rattlesnake Canyon the whole time which was super special!
- 3
Horseshoe Bend
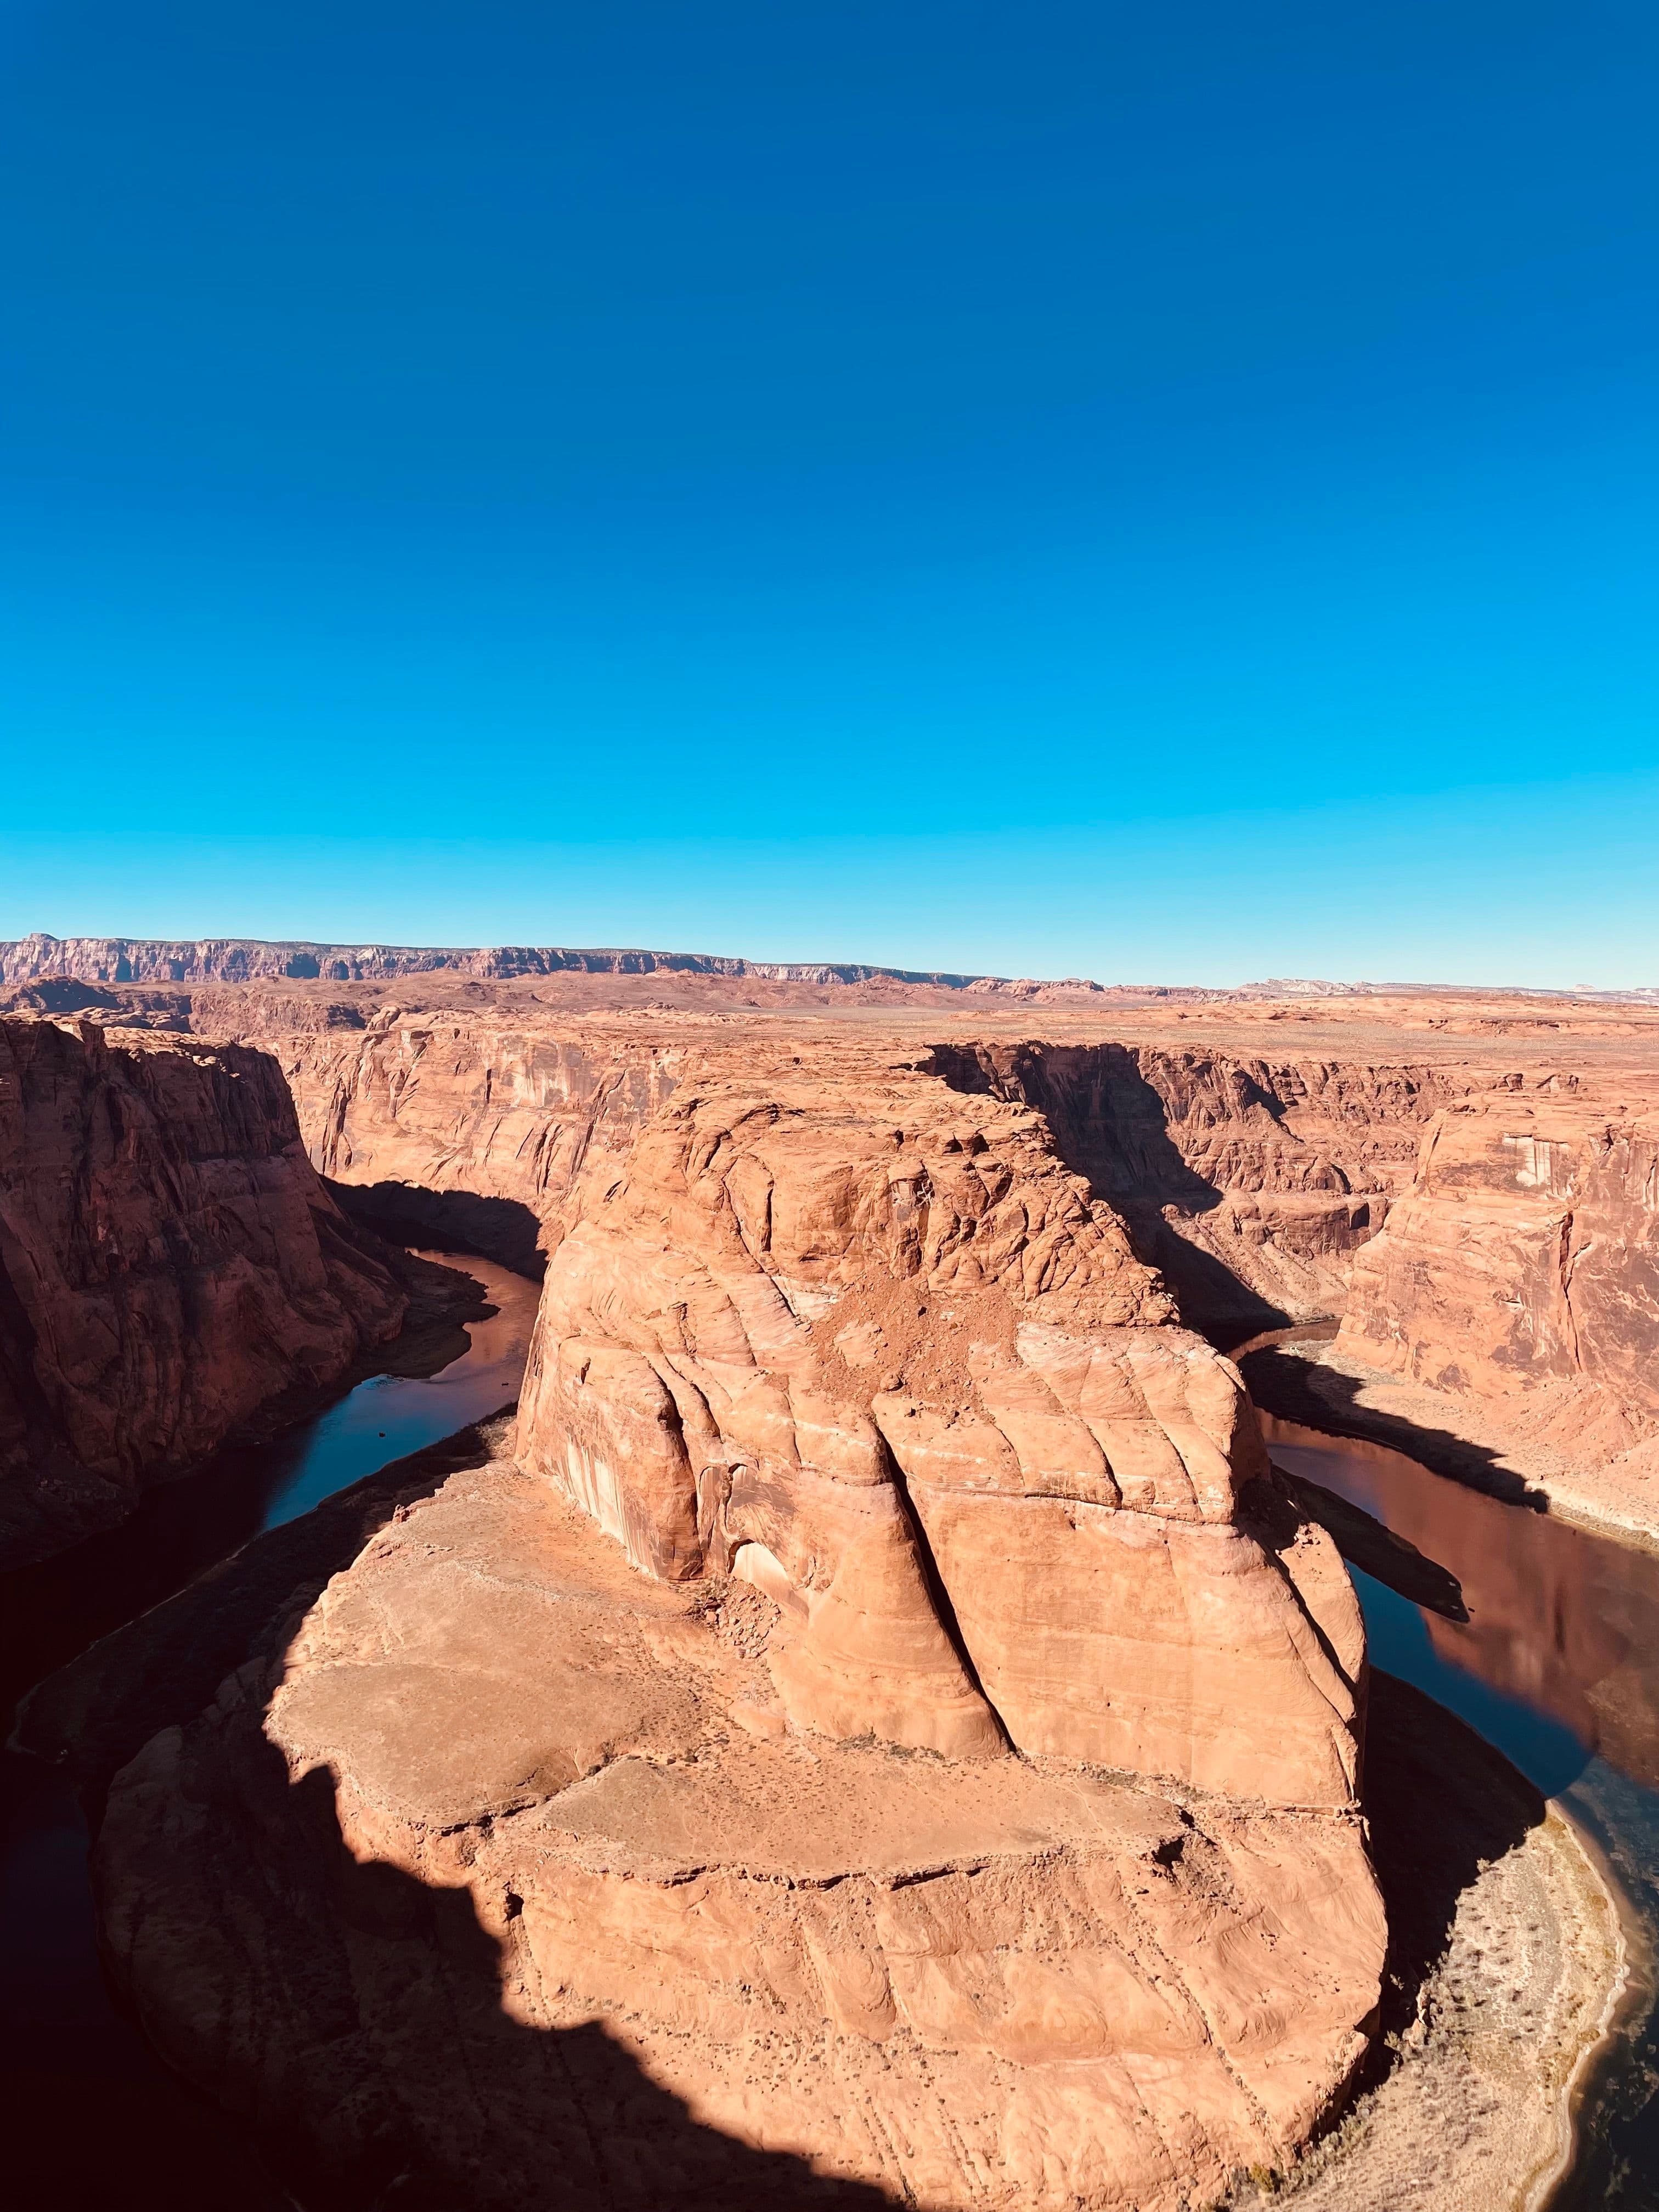
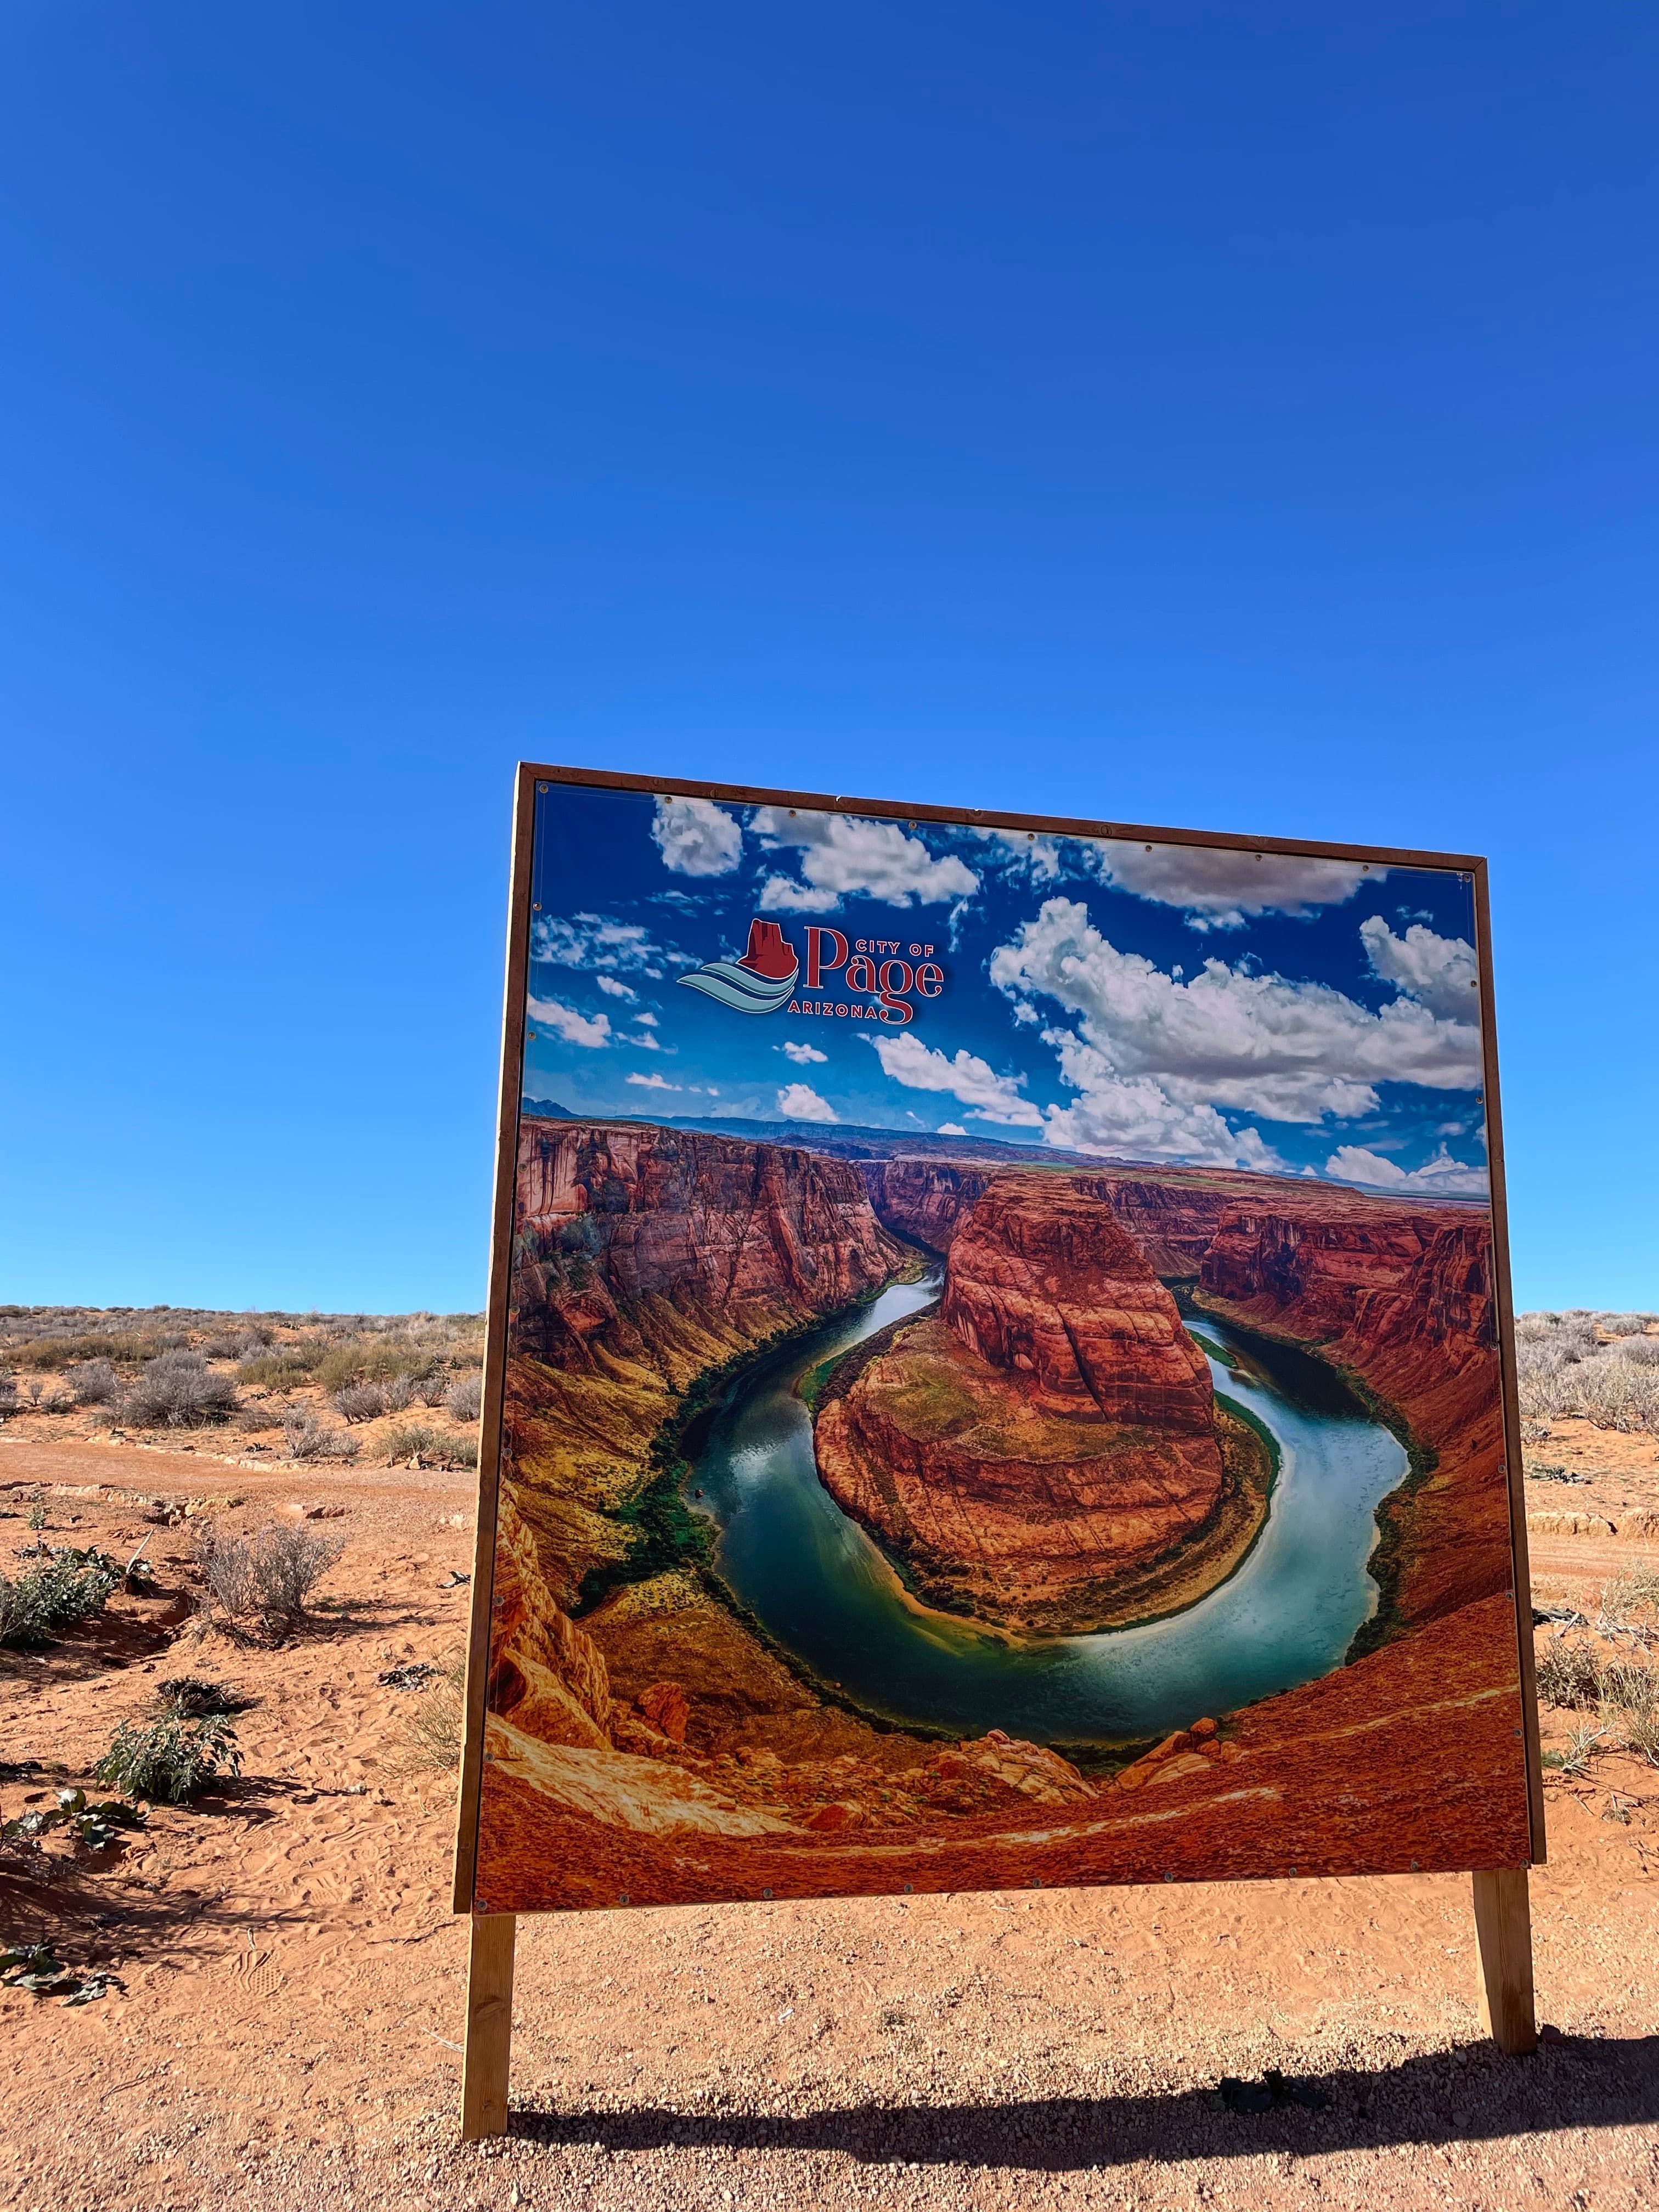
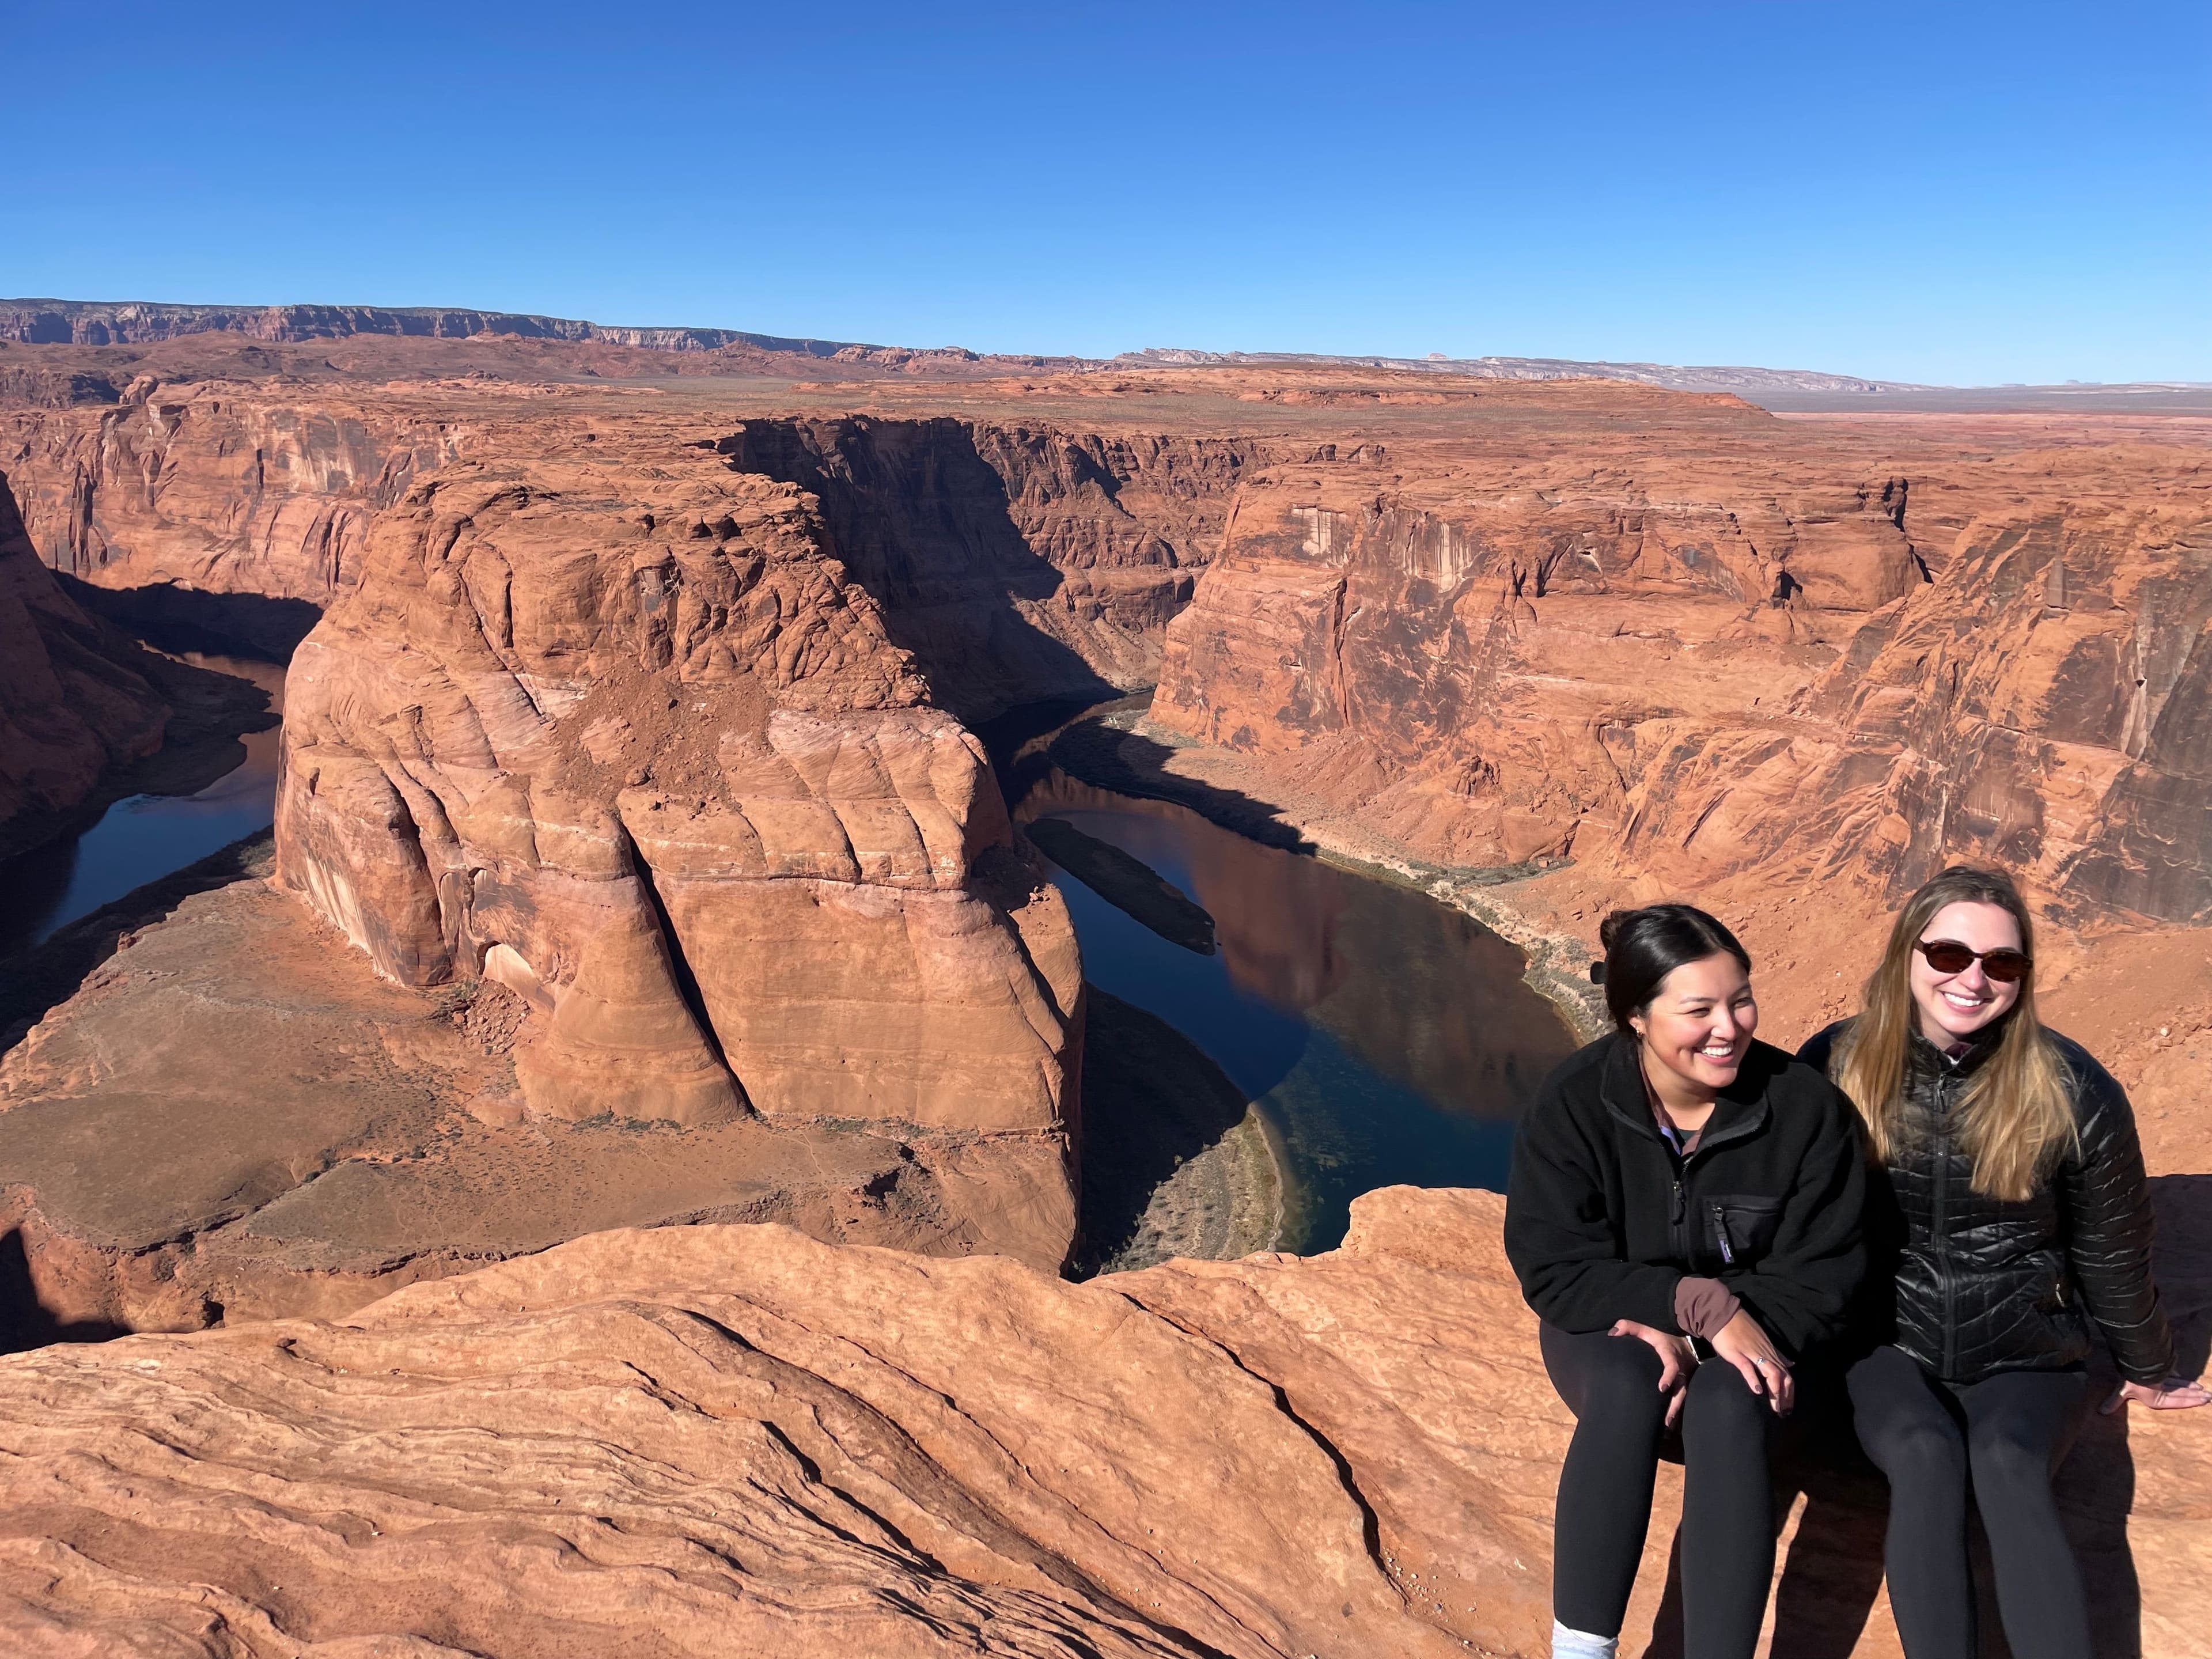
1hr·11:00AM - 12:00PM
We then stopped at horseshoe bend and completed the ~20 minute walk to the amazing view. It does cost $10 to enter and park your vehicle. Click here for more details.
- 4
Lunch at Grand Canyon Brewing & Distillery
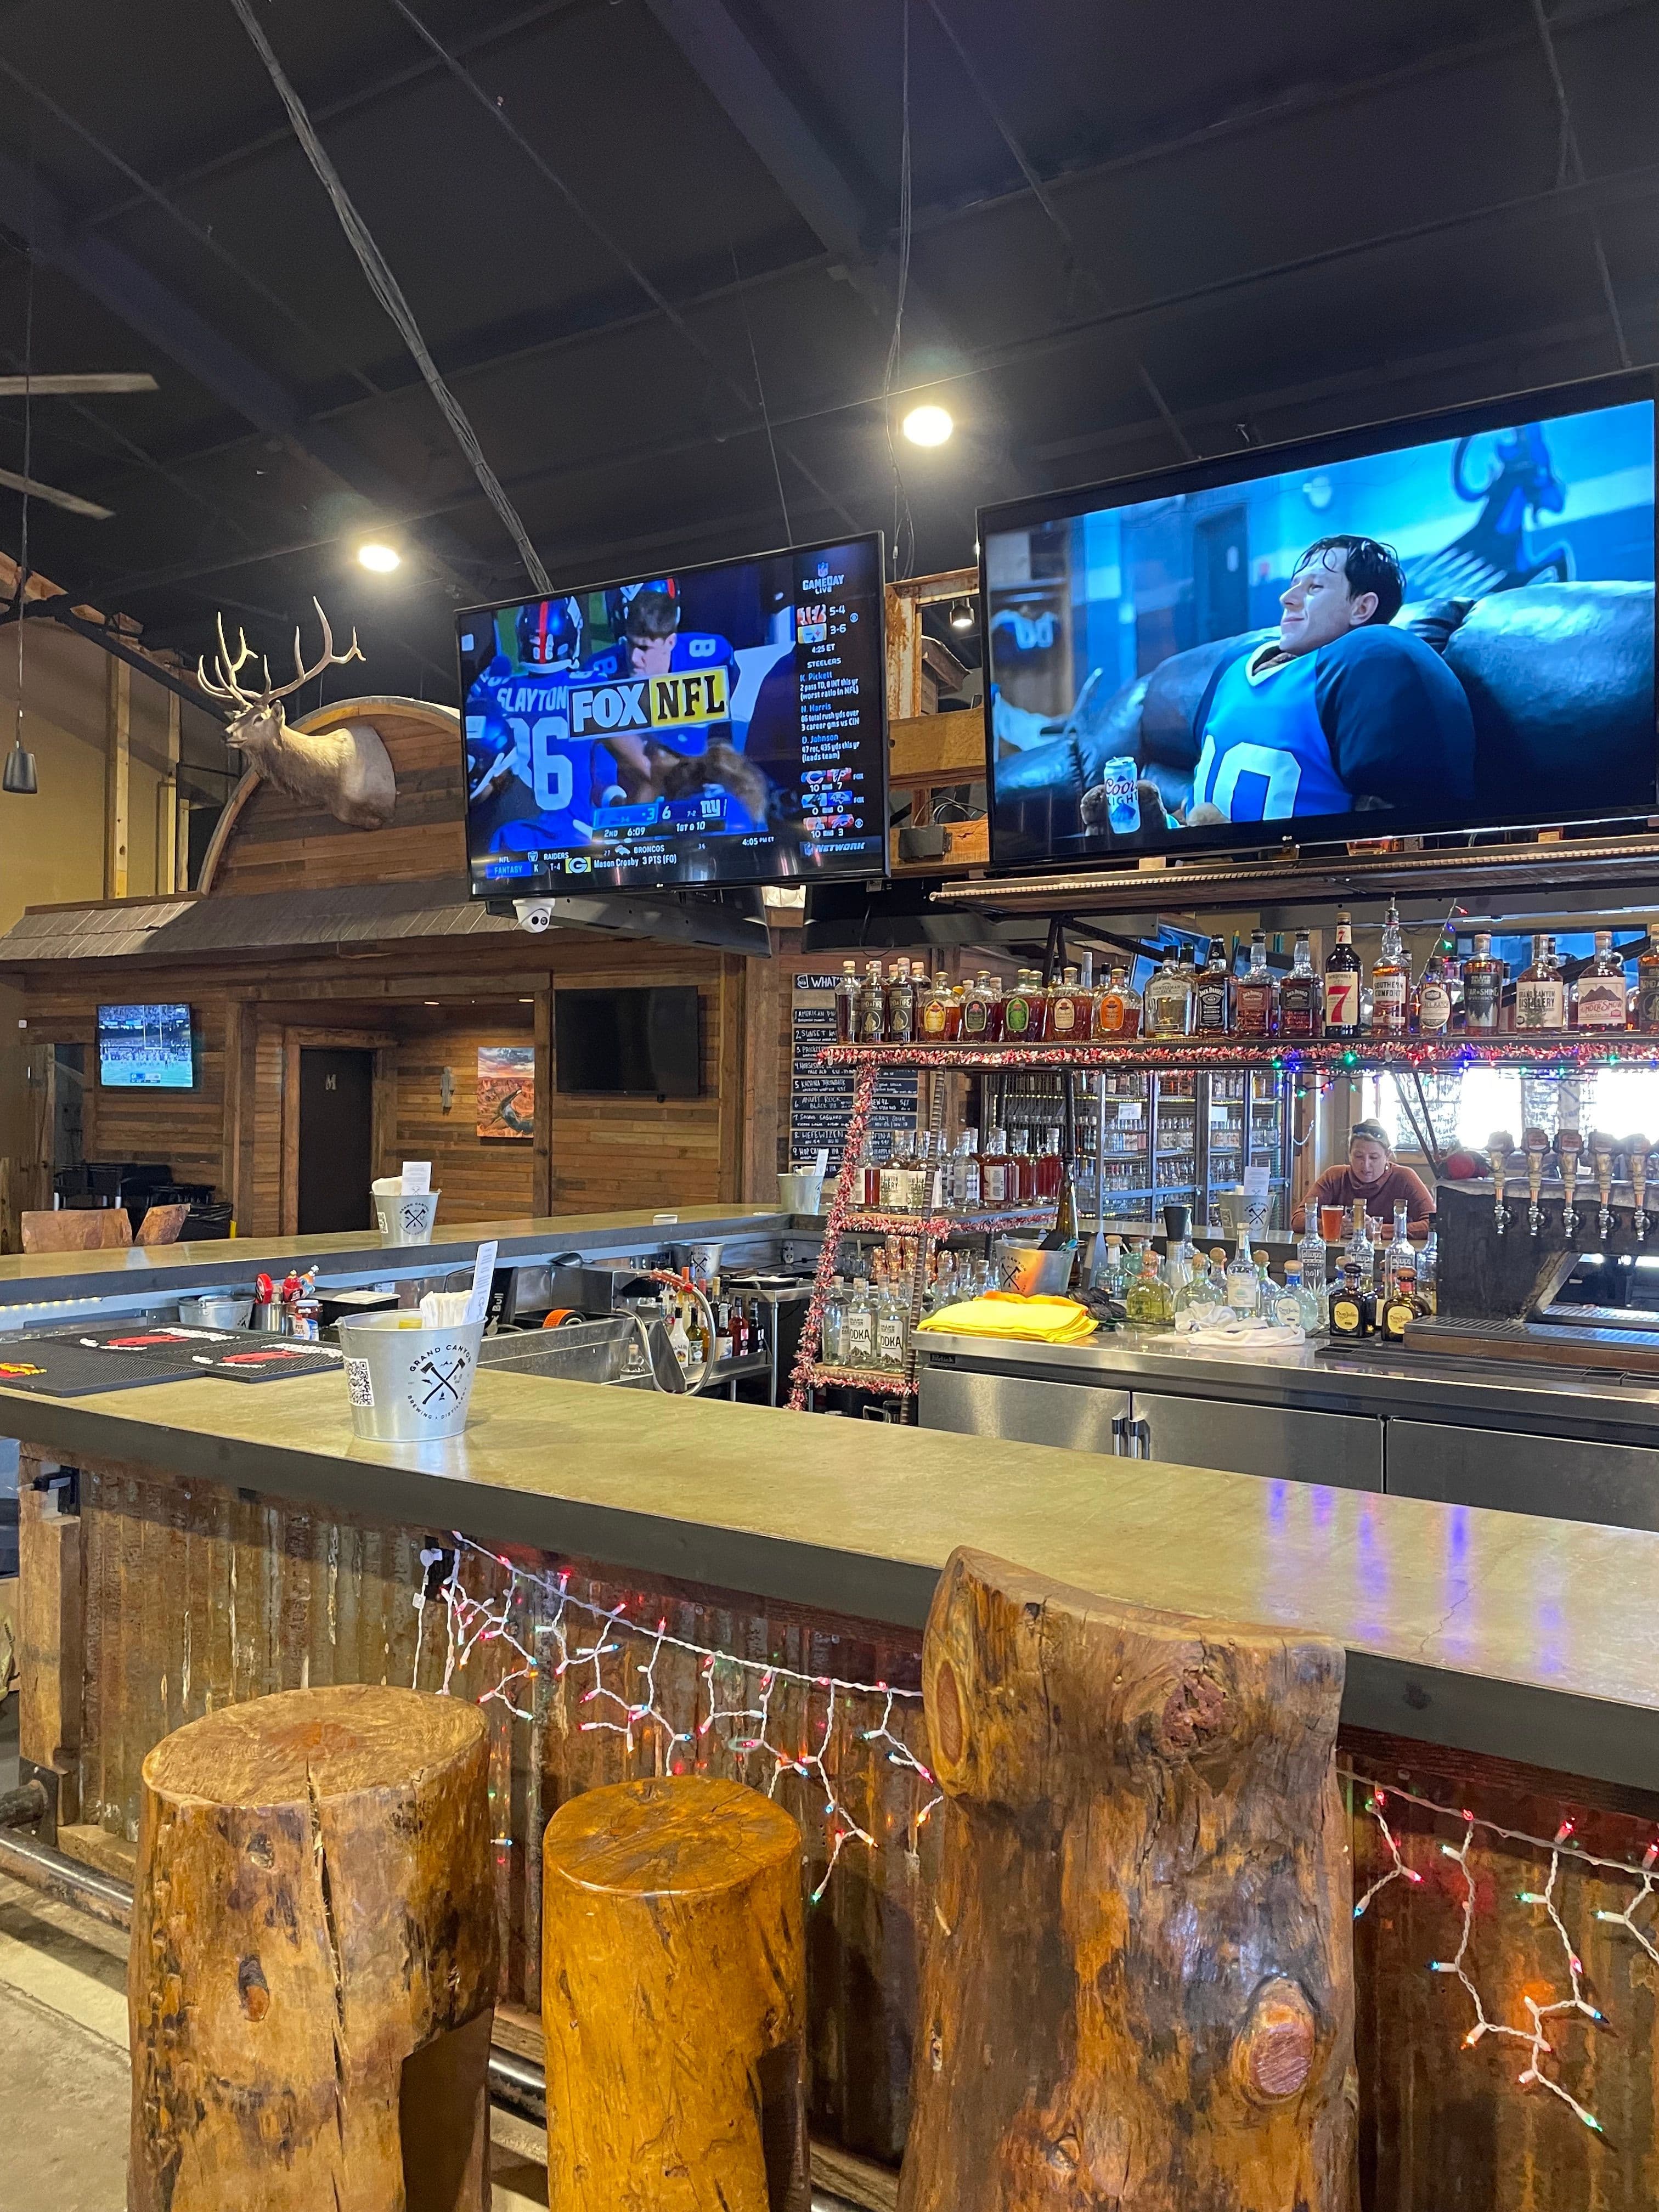
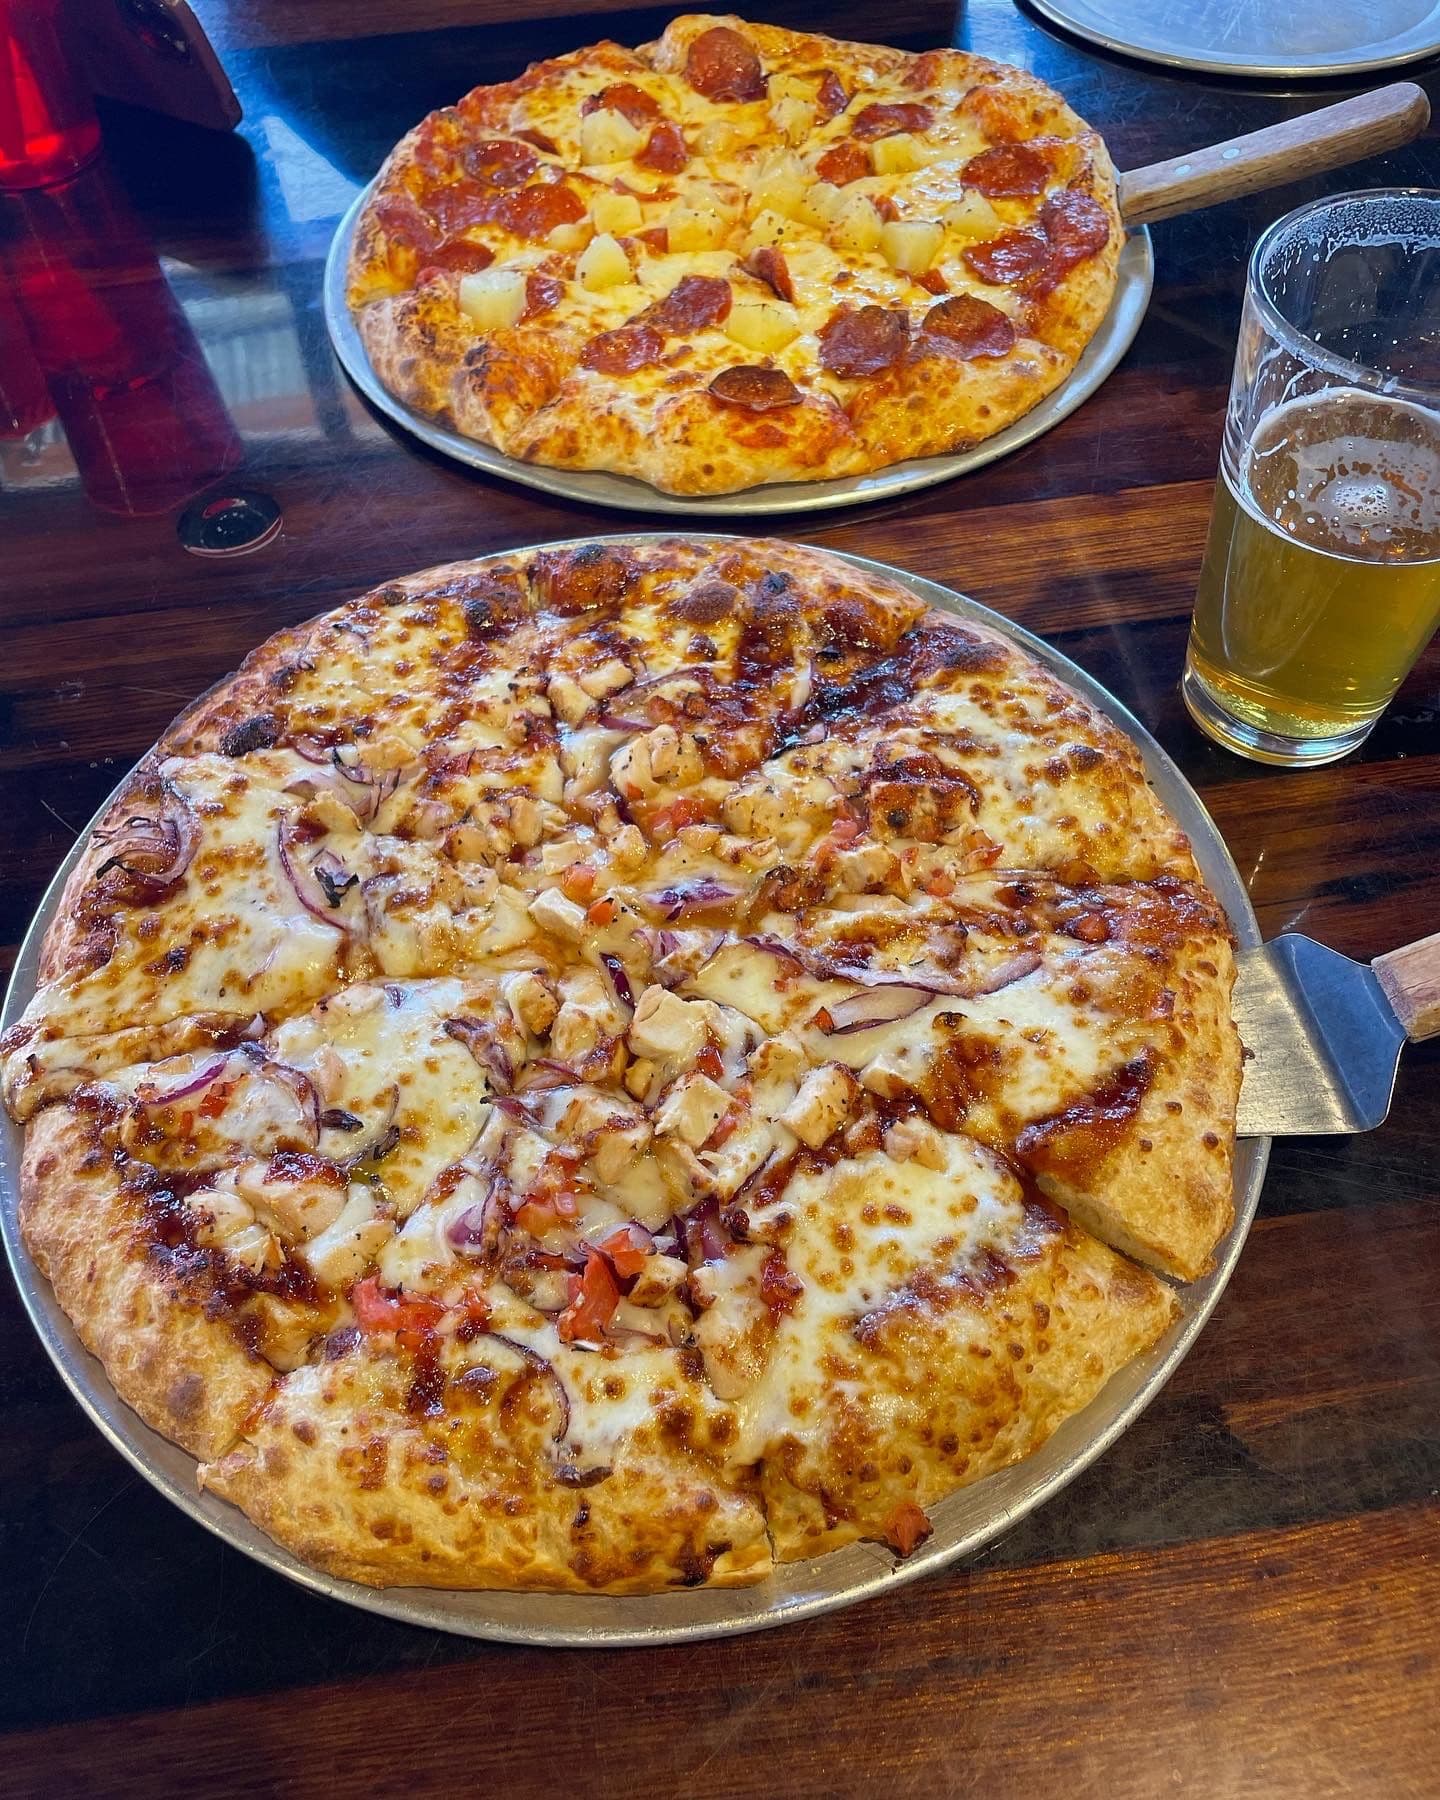
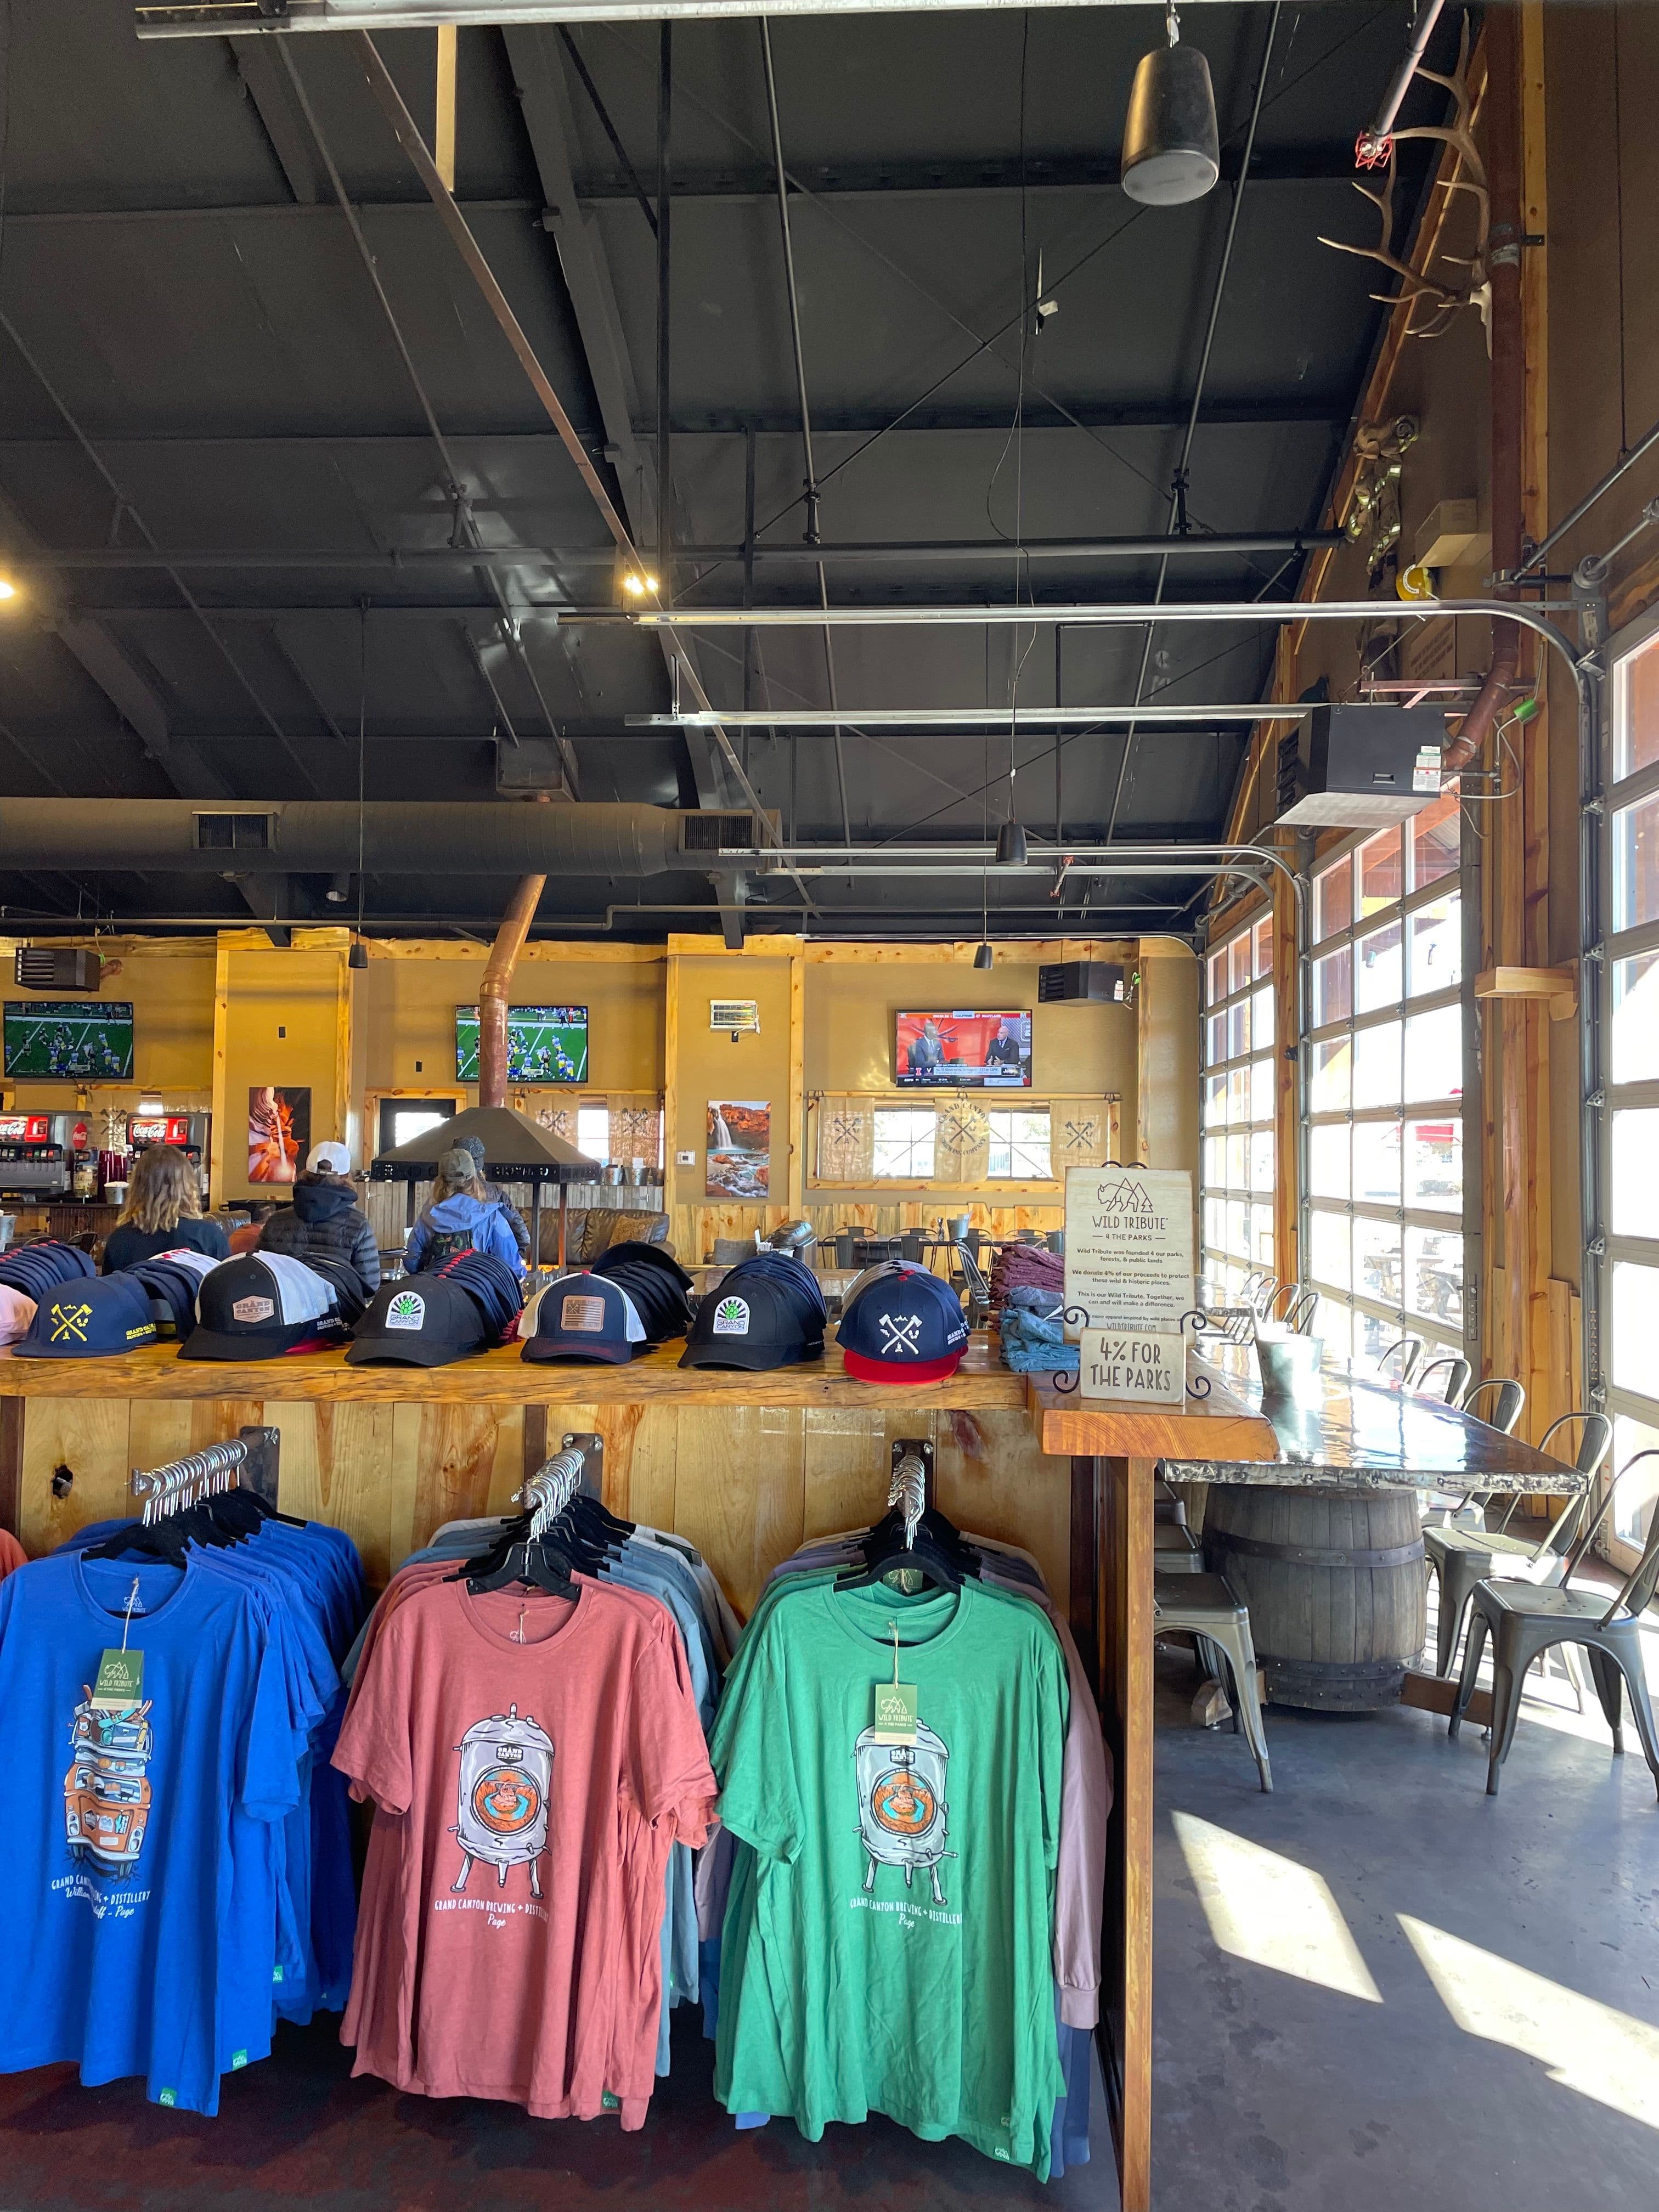
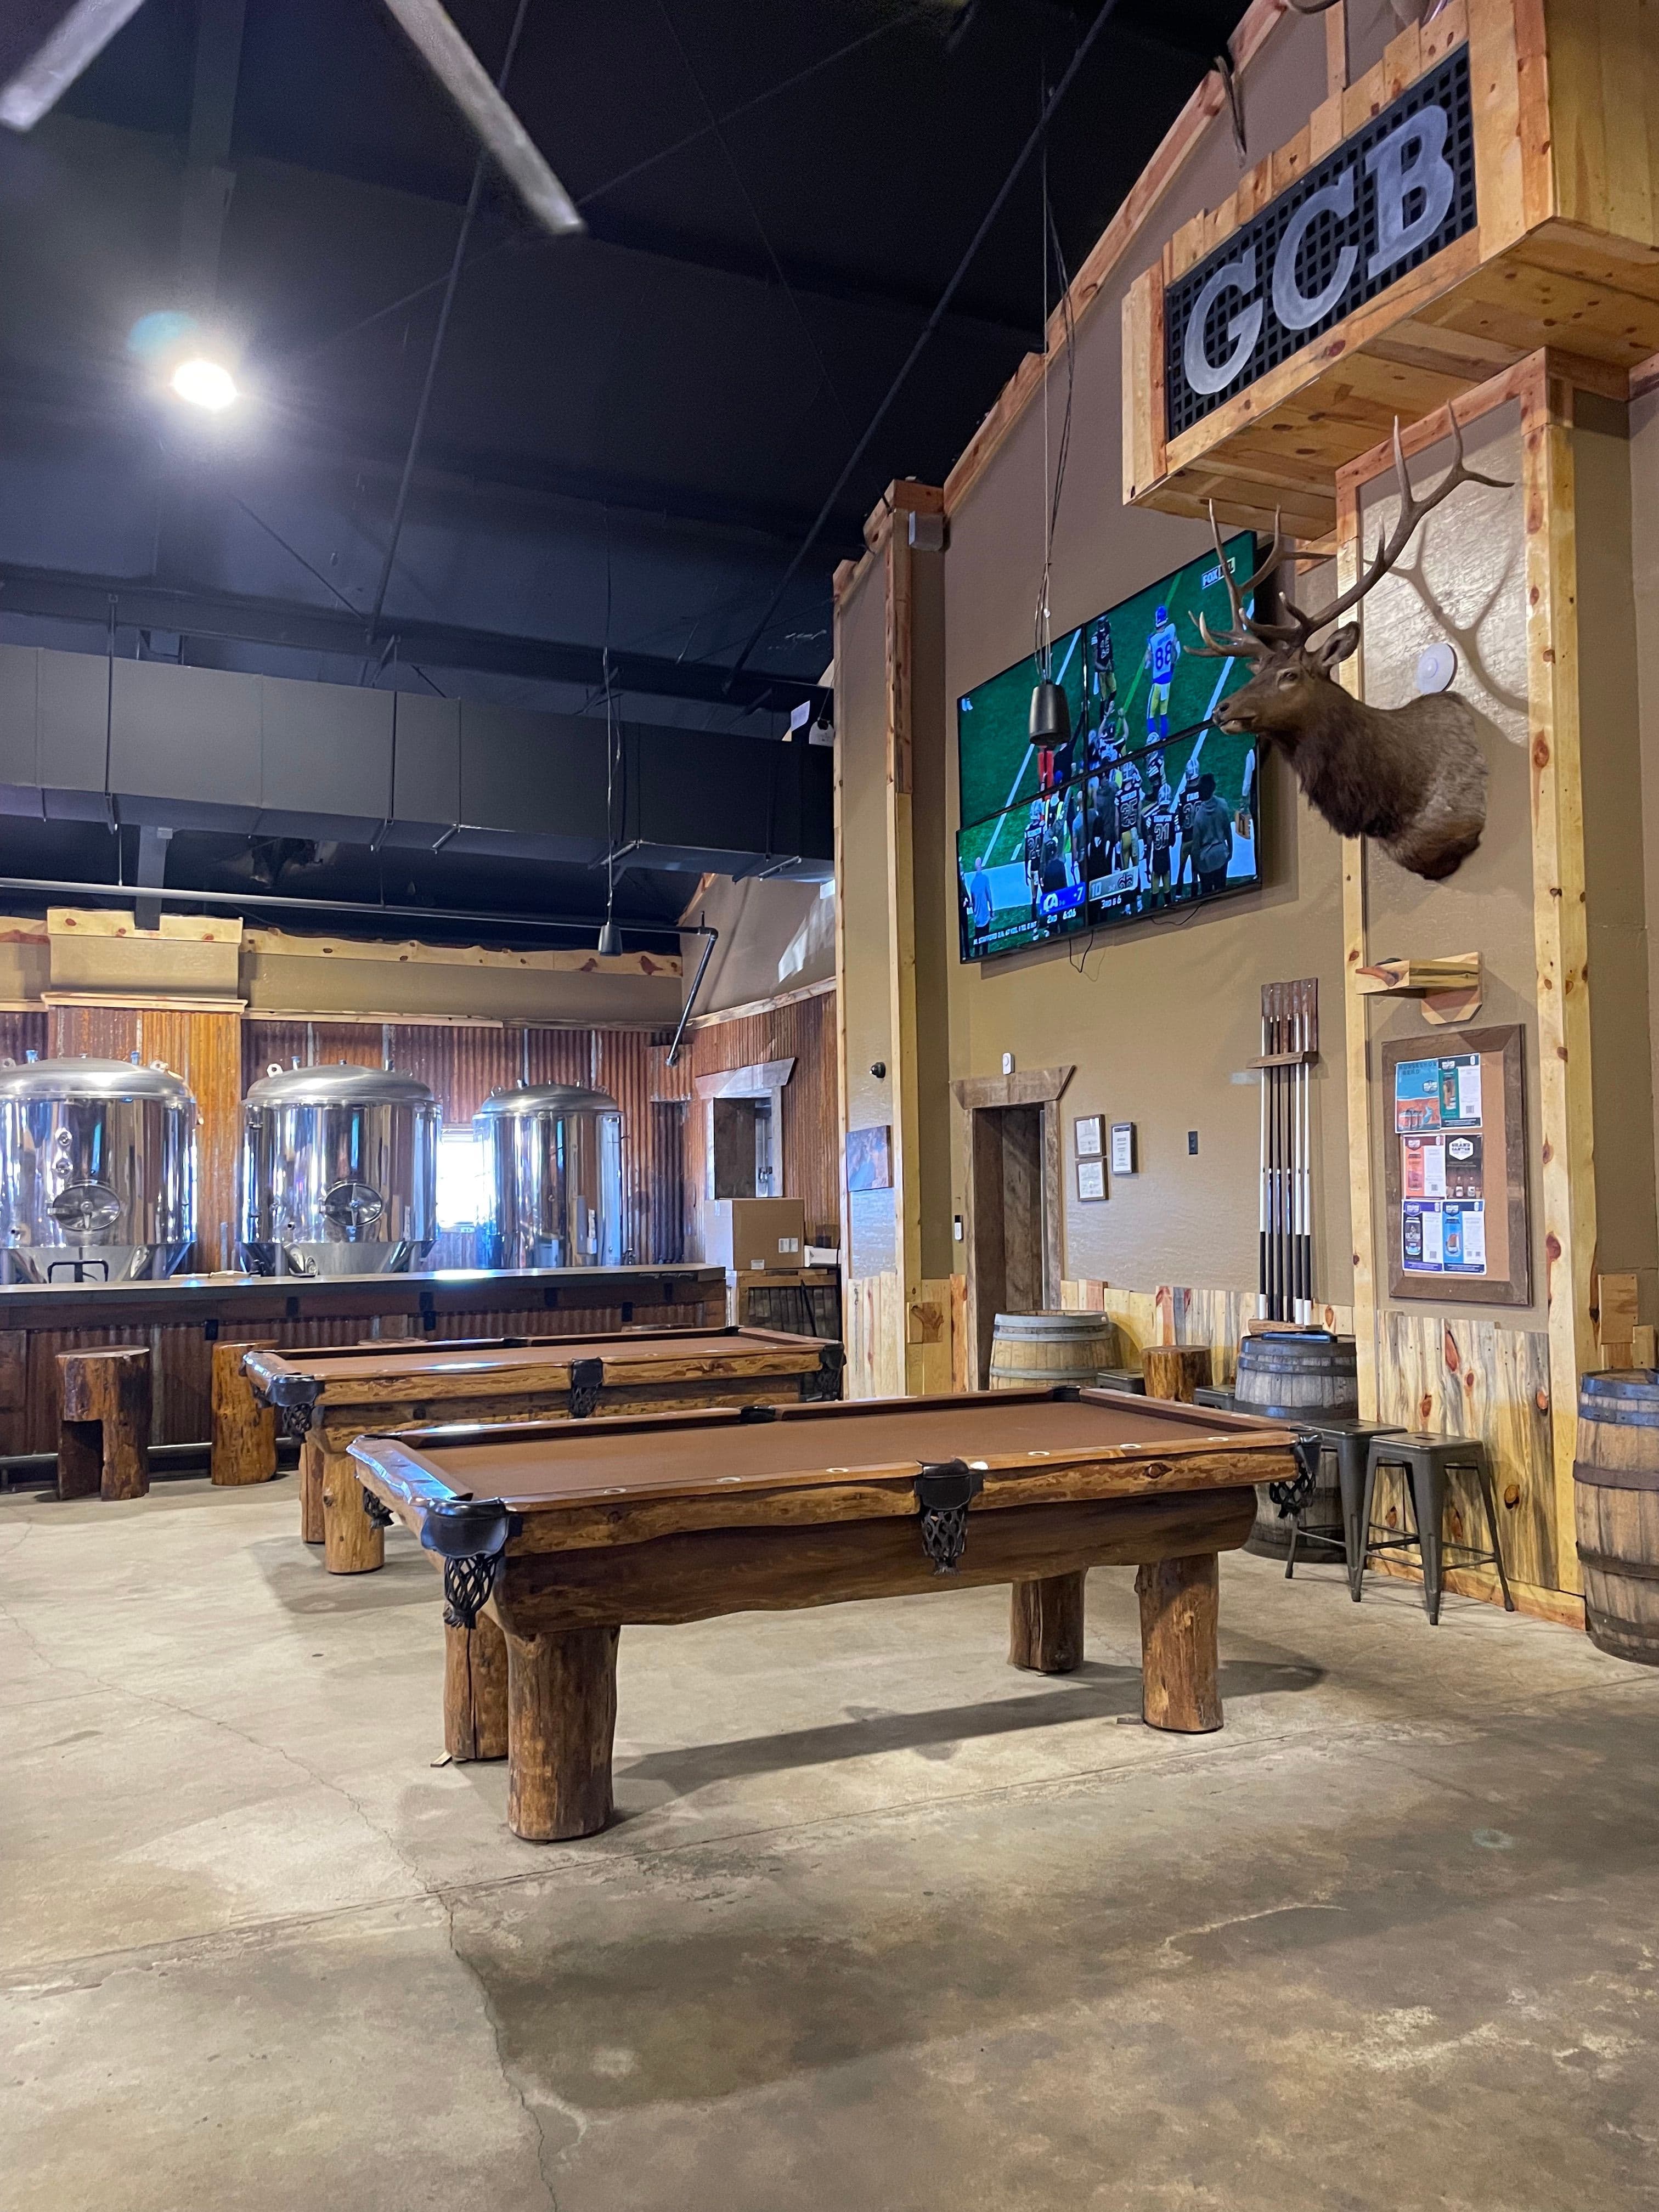
Before we started our drive towards Colorado City, we stopped in Page for lunch. Grand Canyon Brewing had neat vibes and decent pizza.
- 5
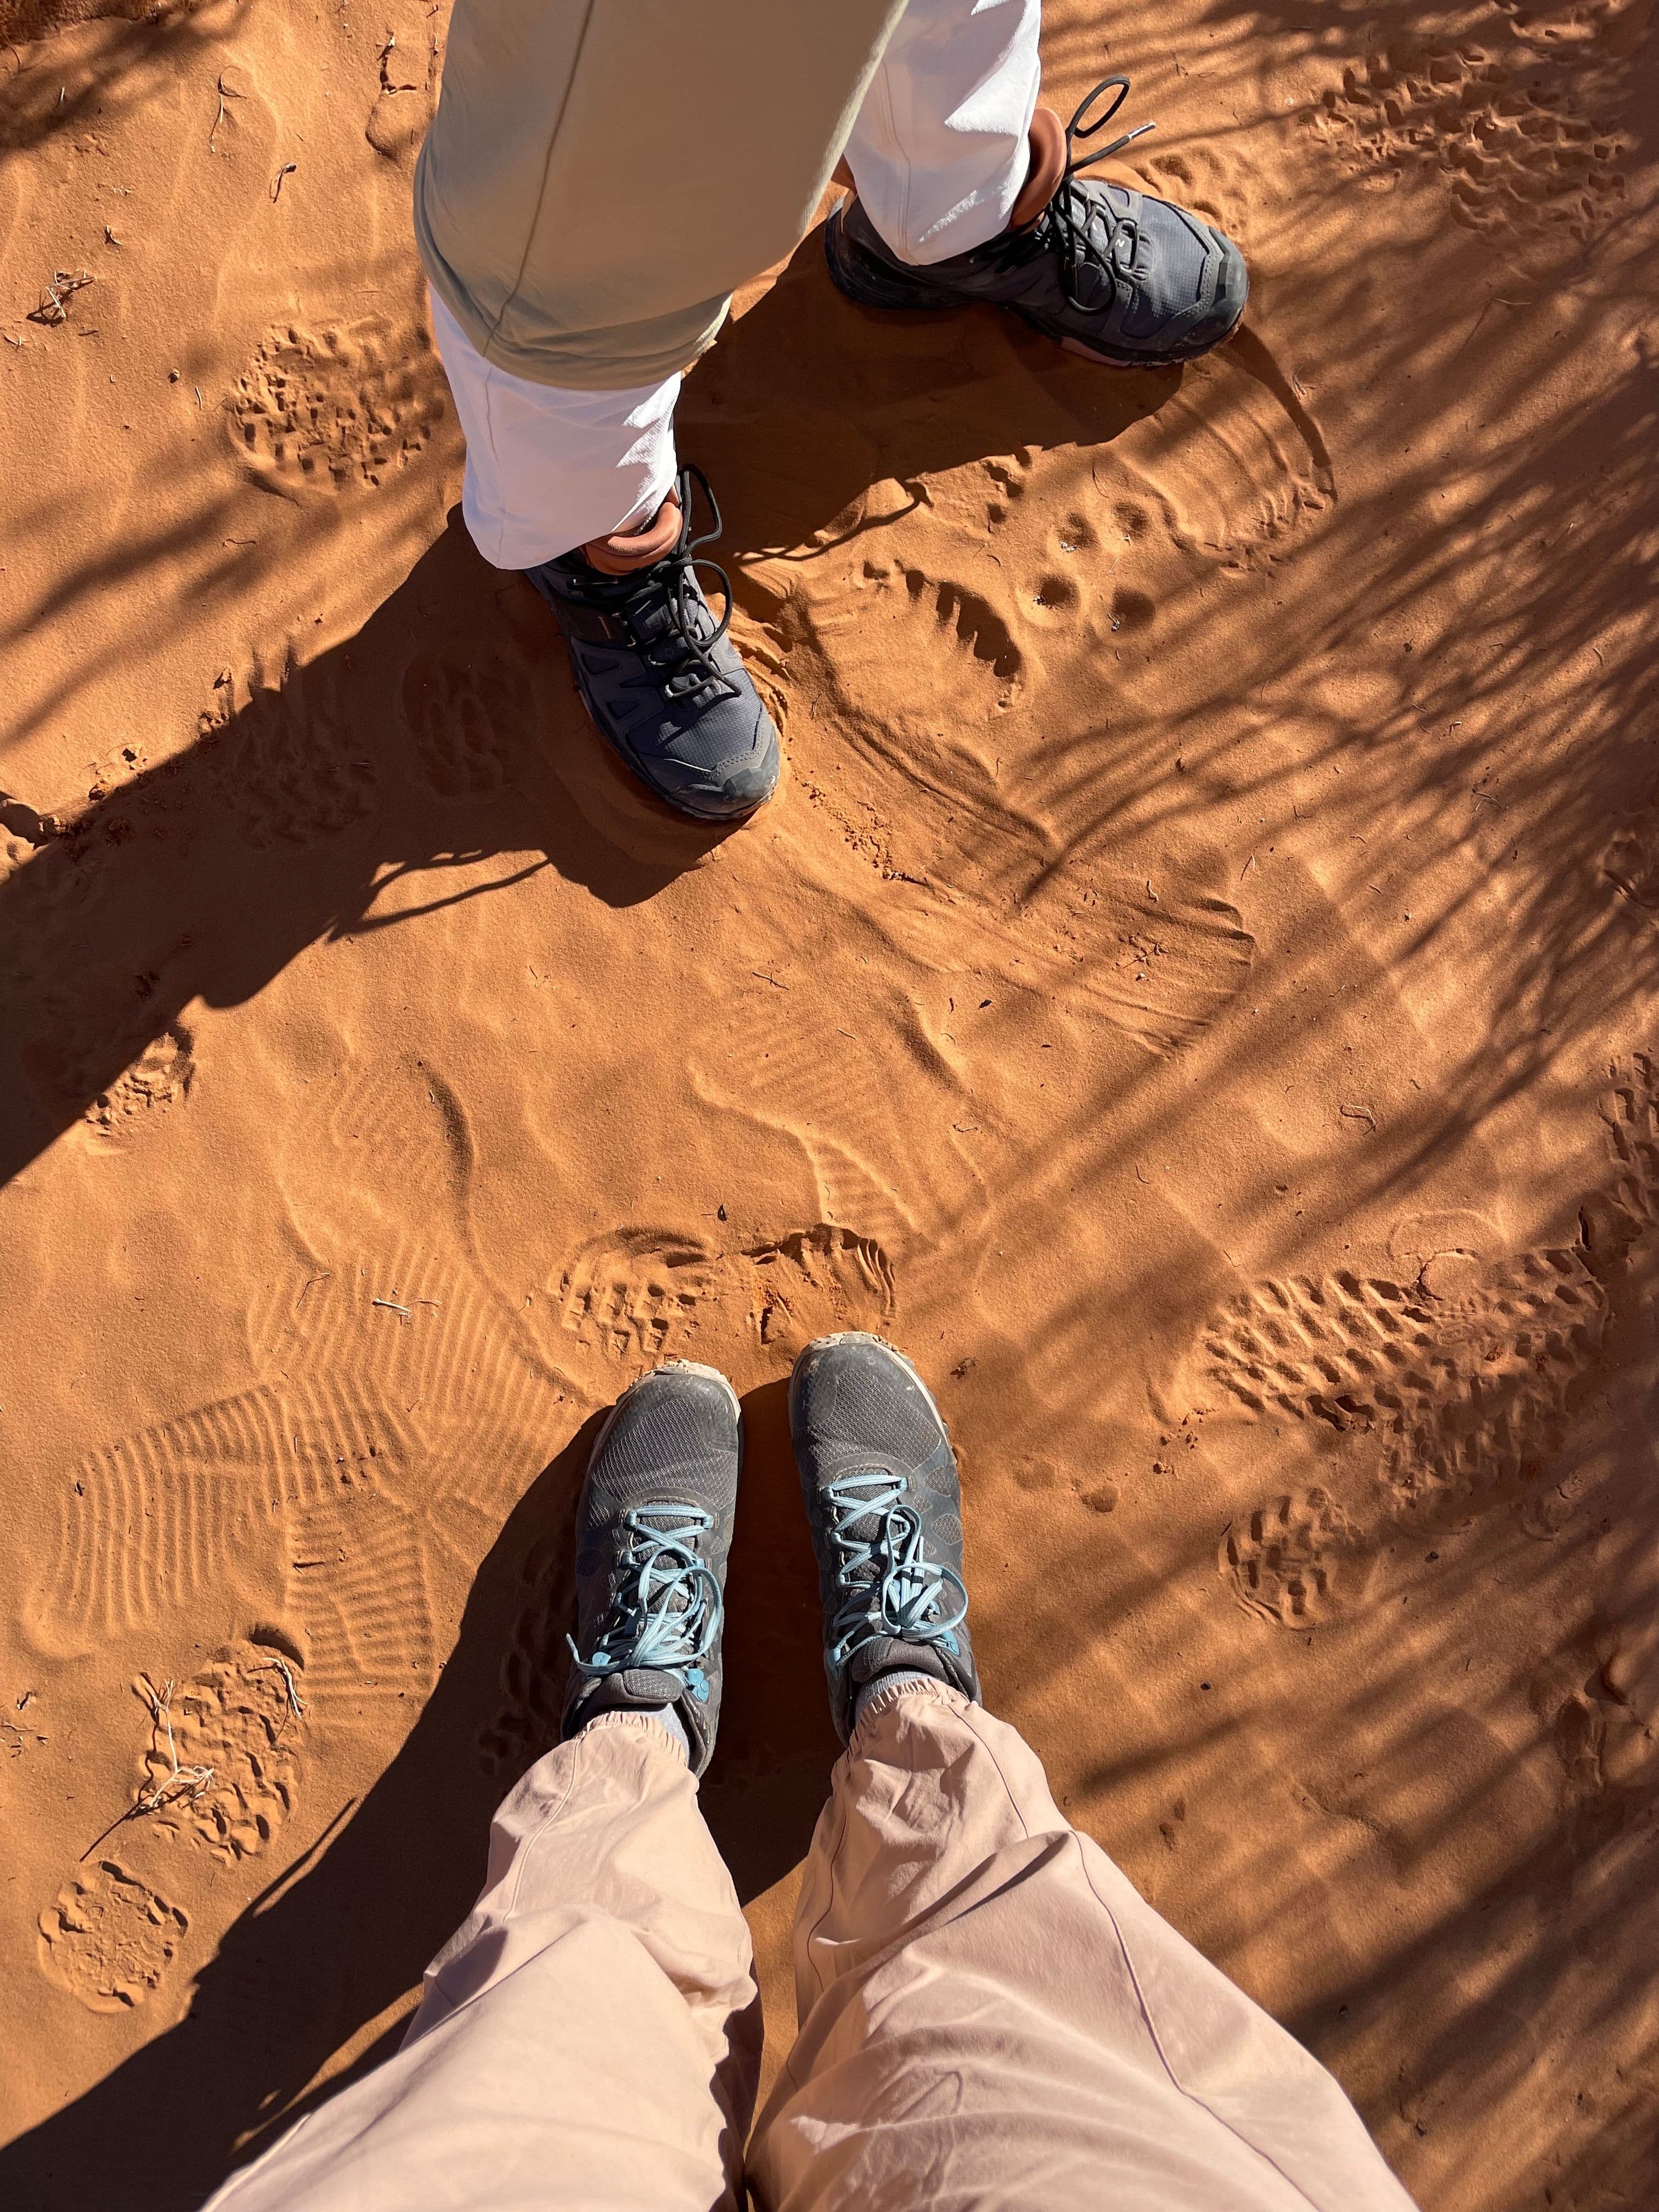
Sand Caves
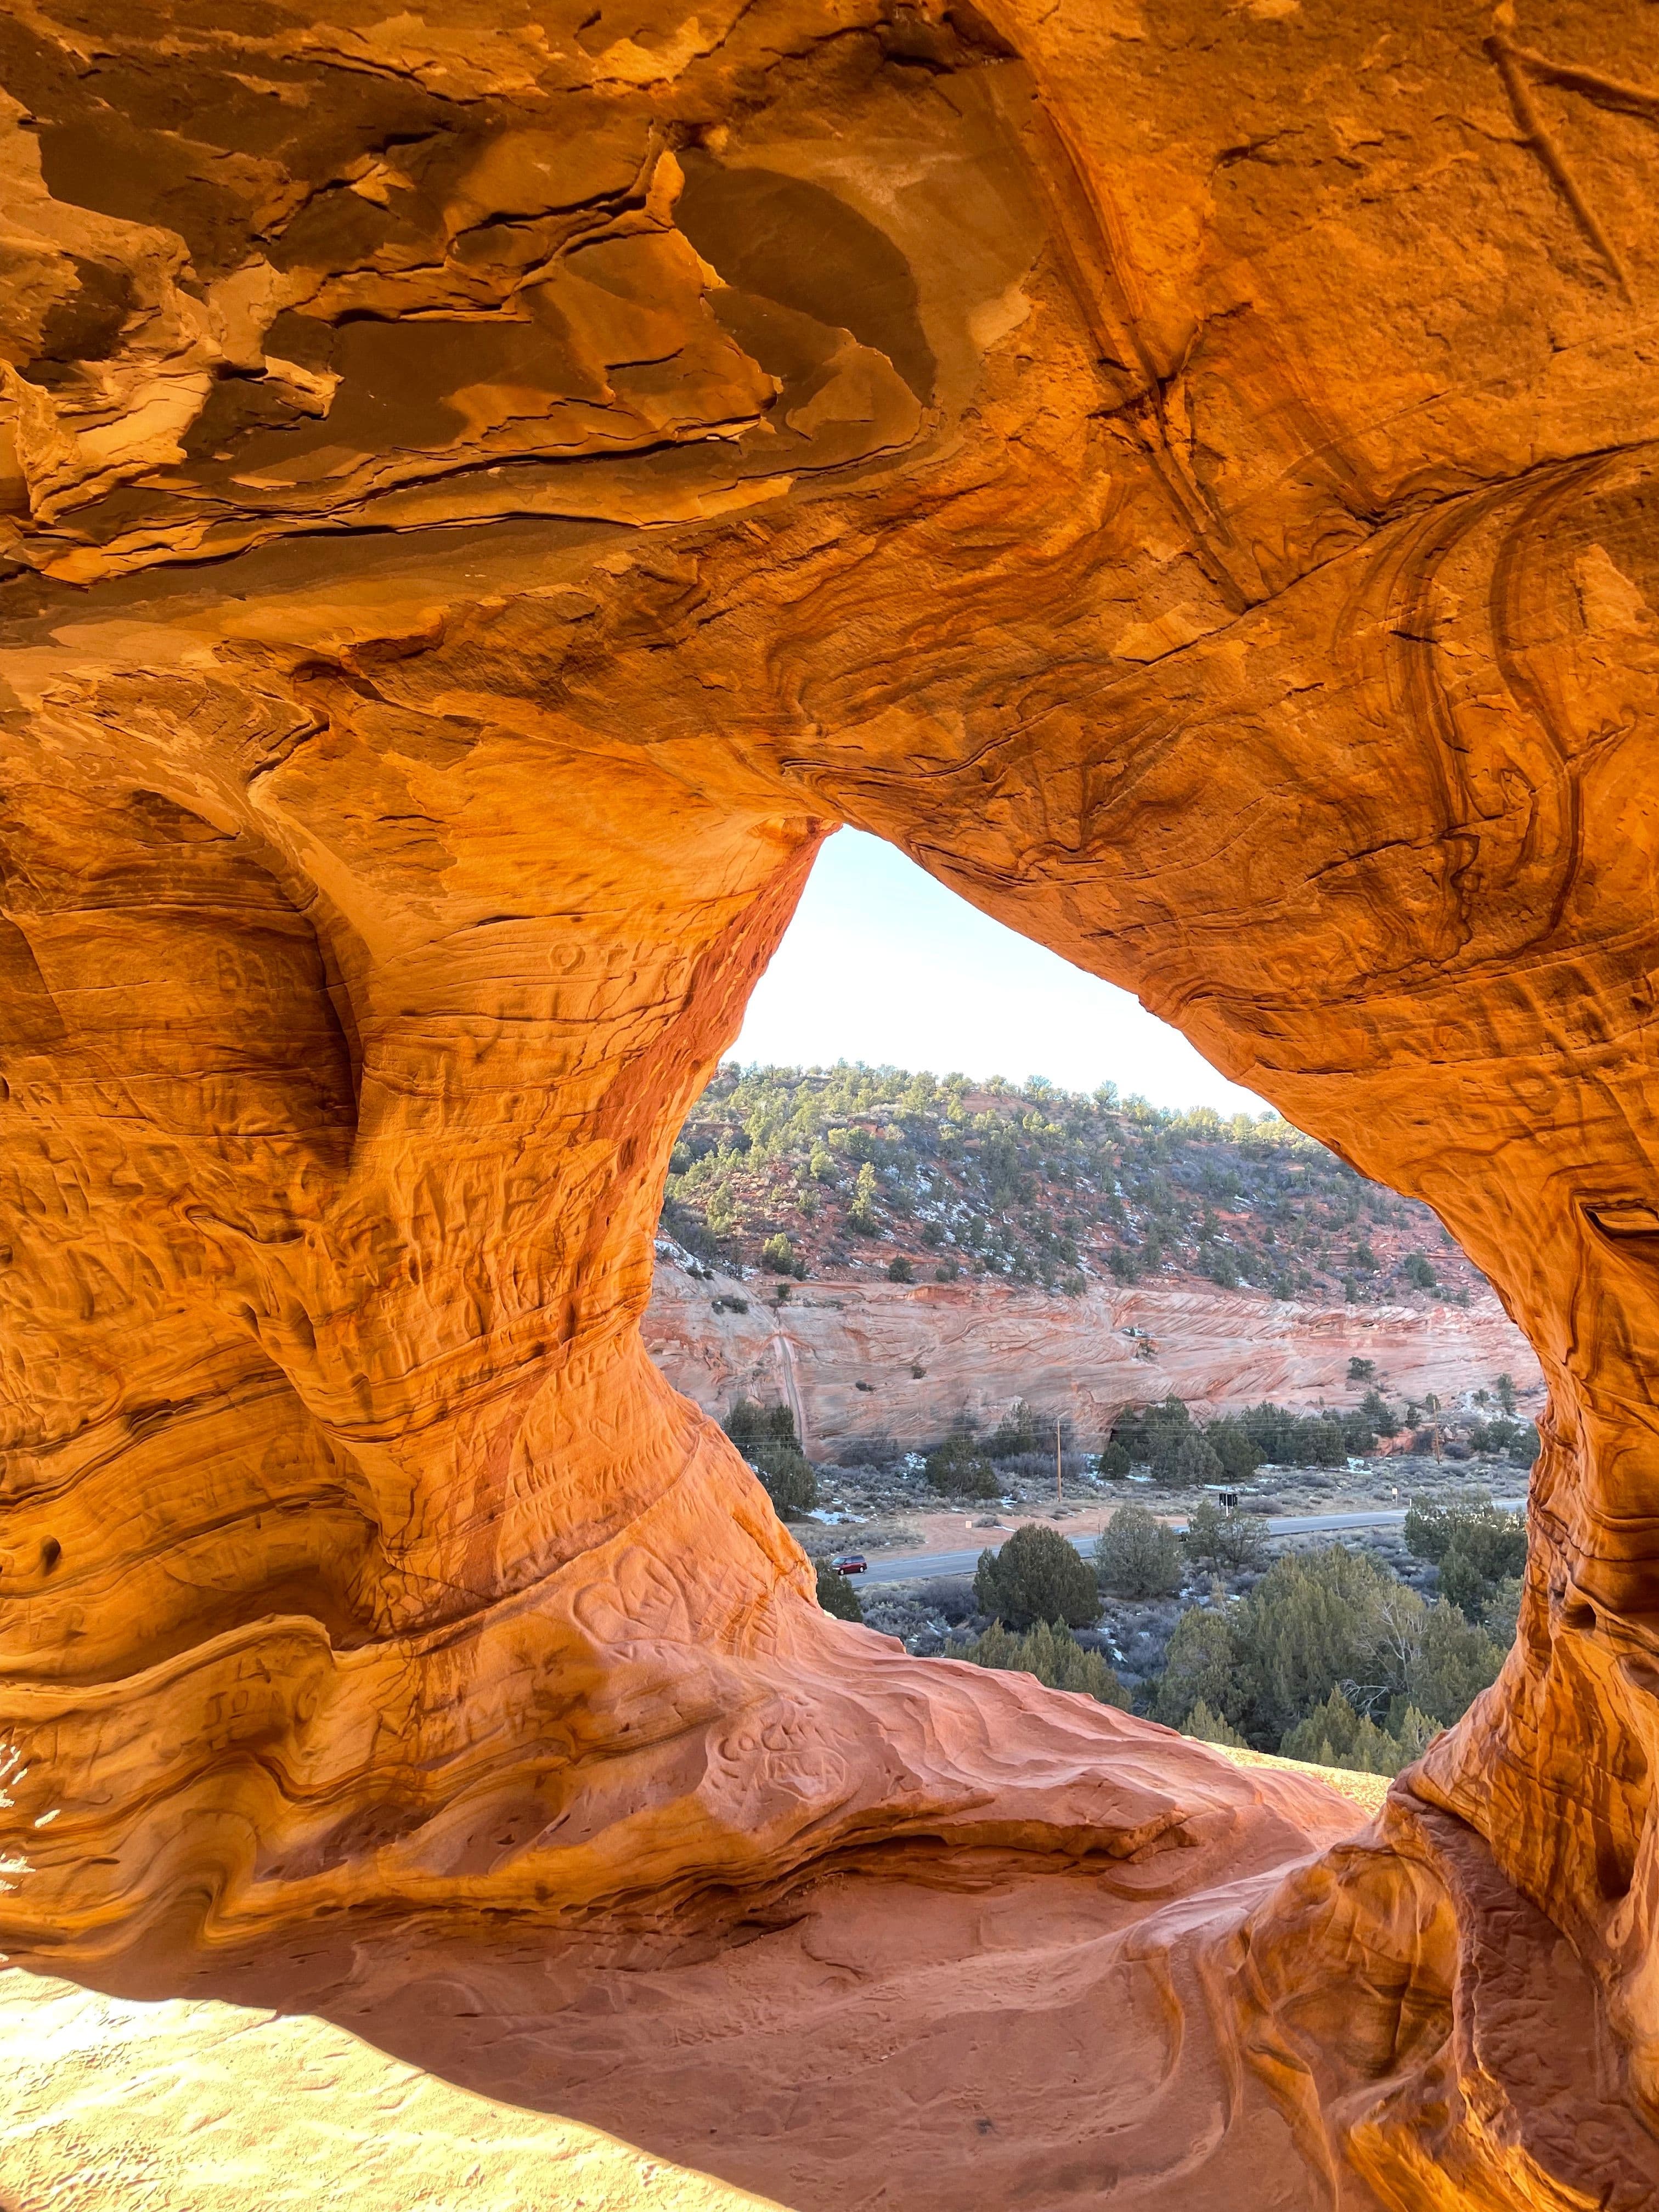
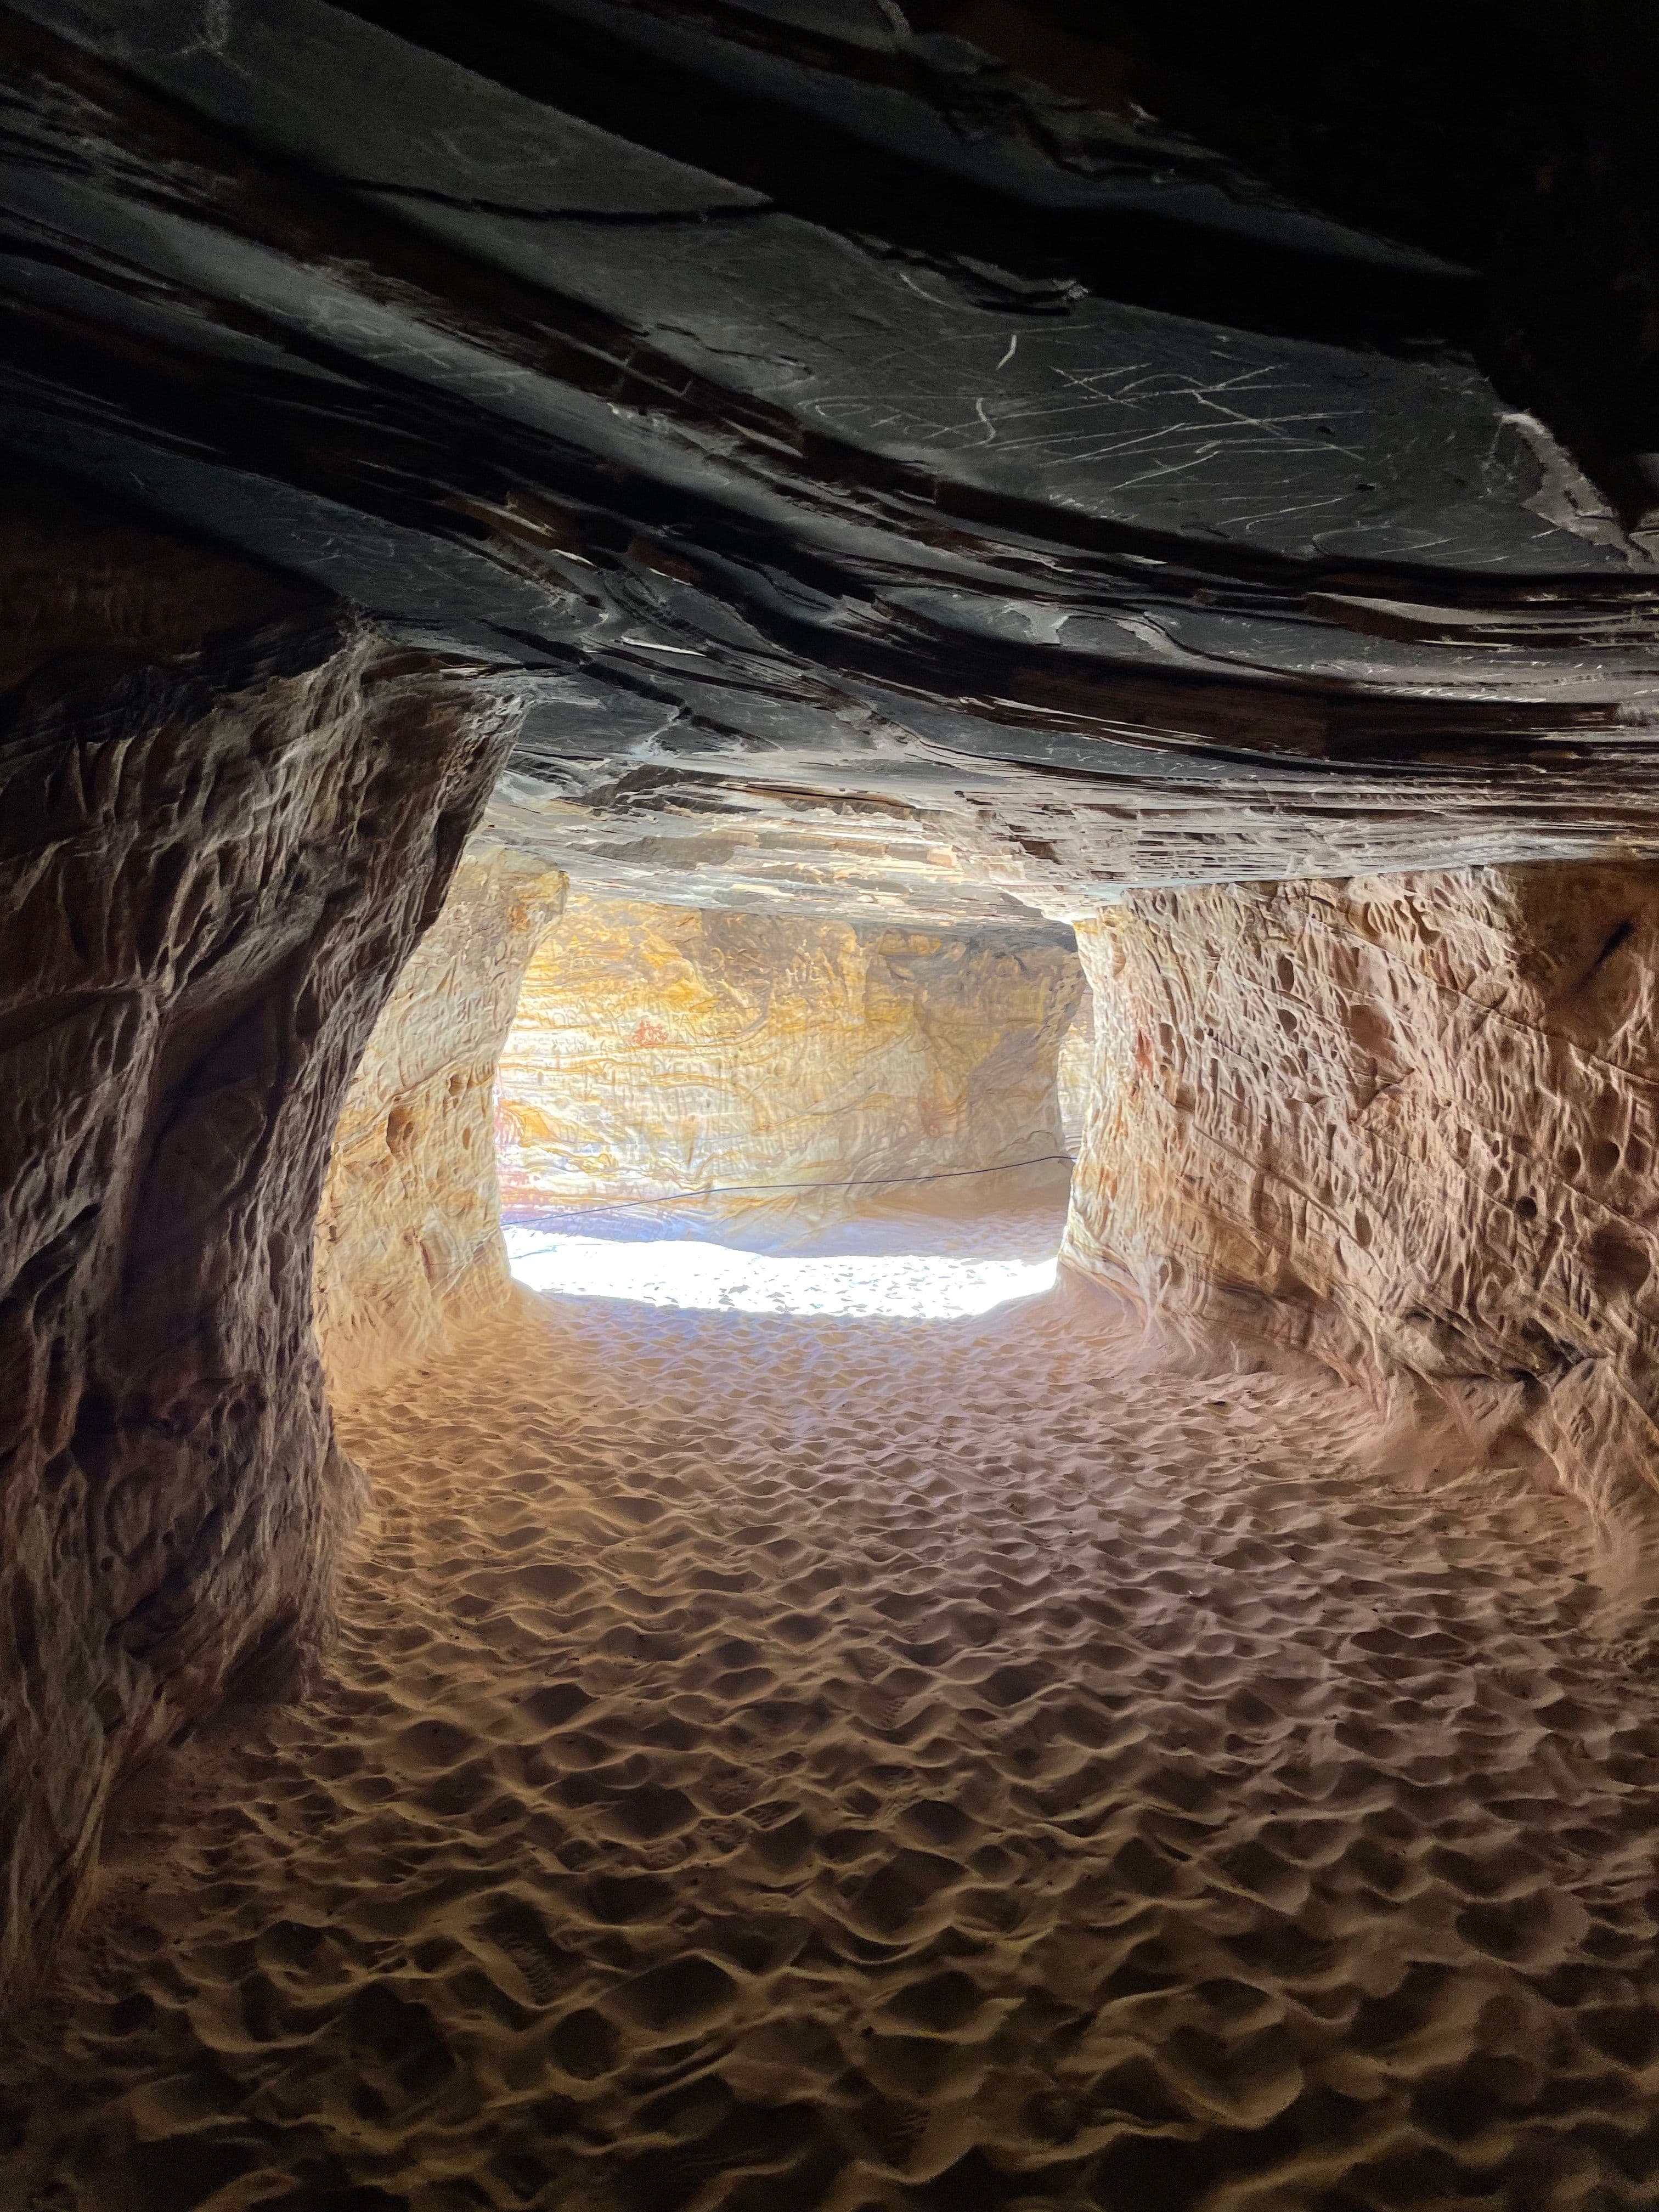
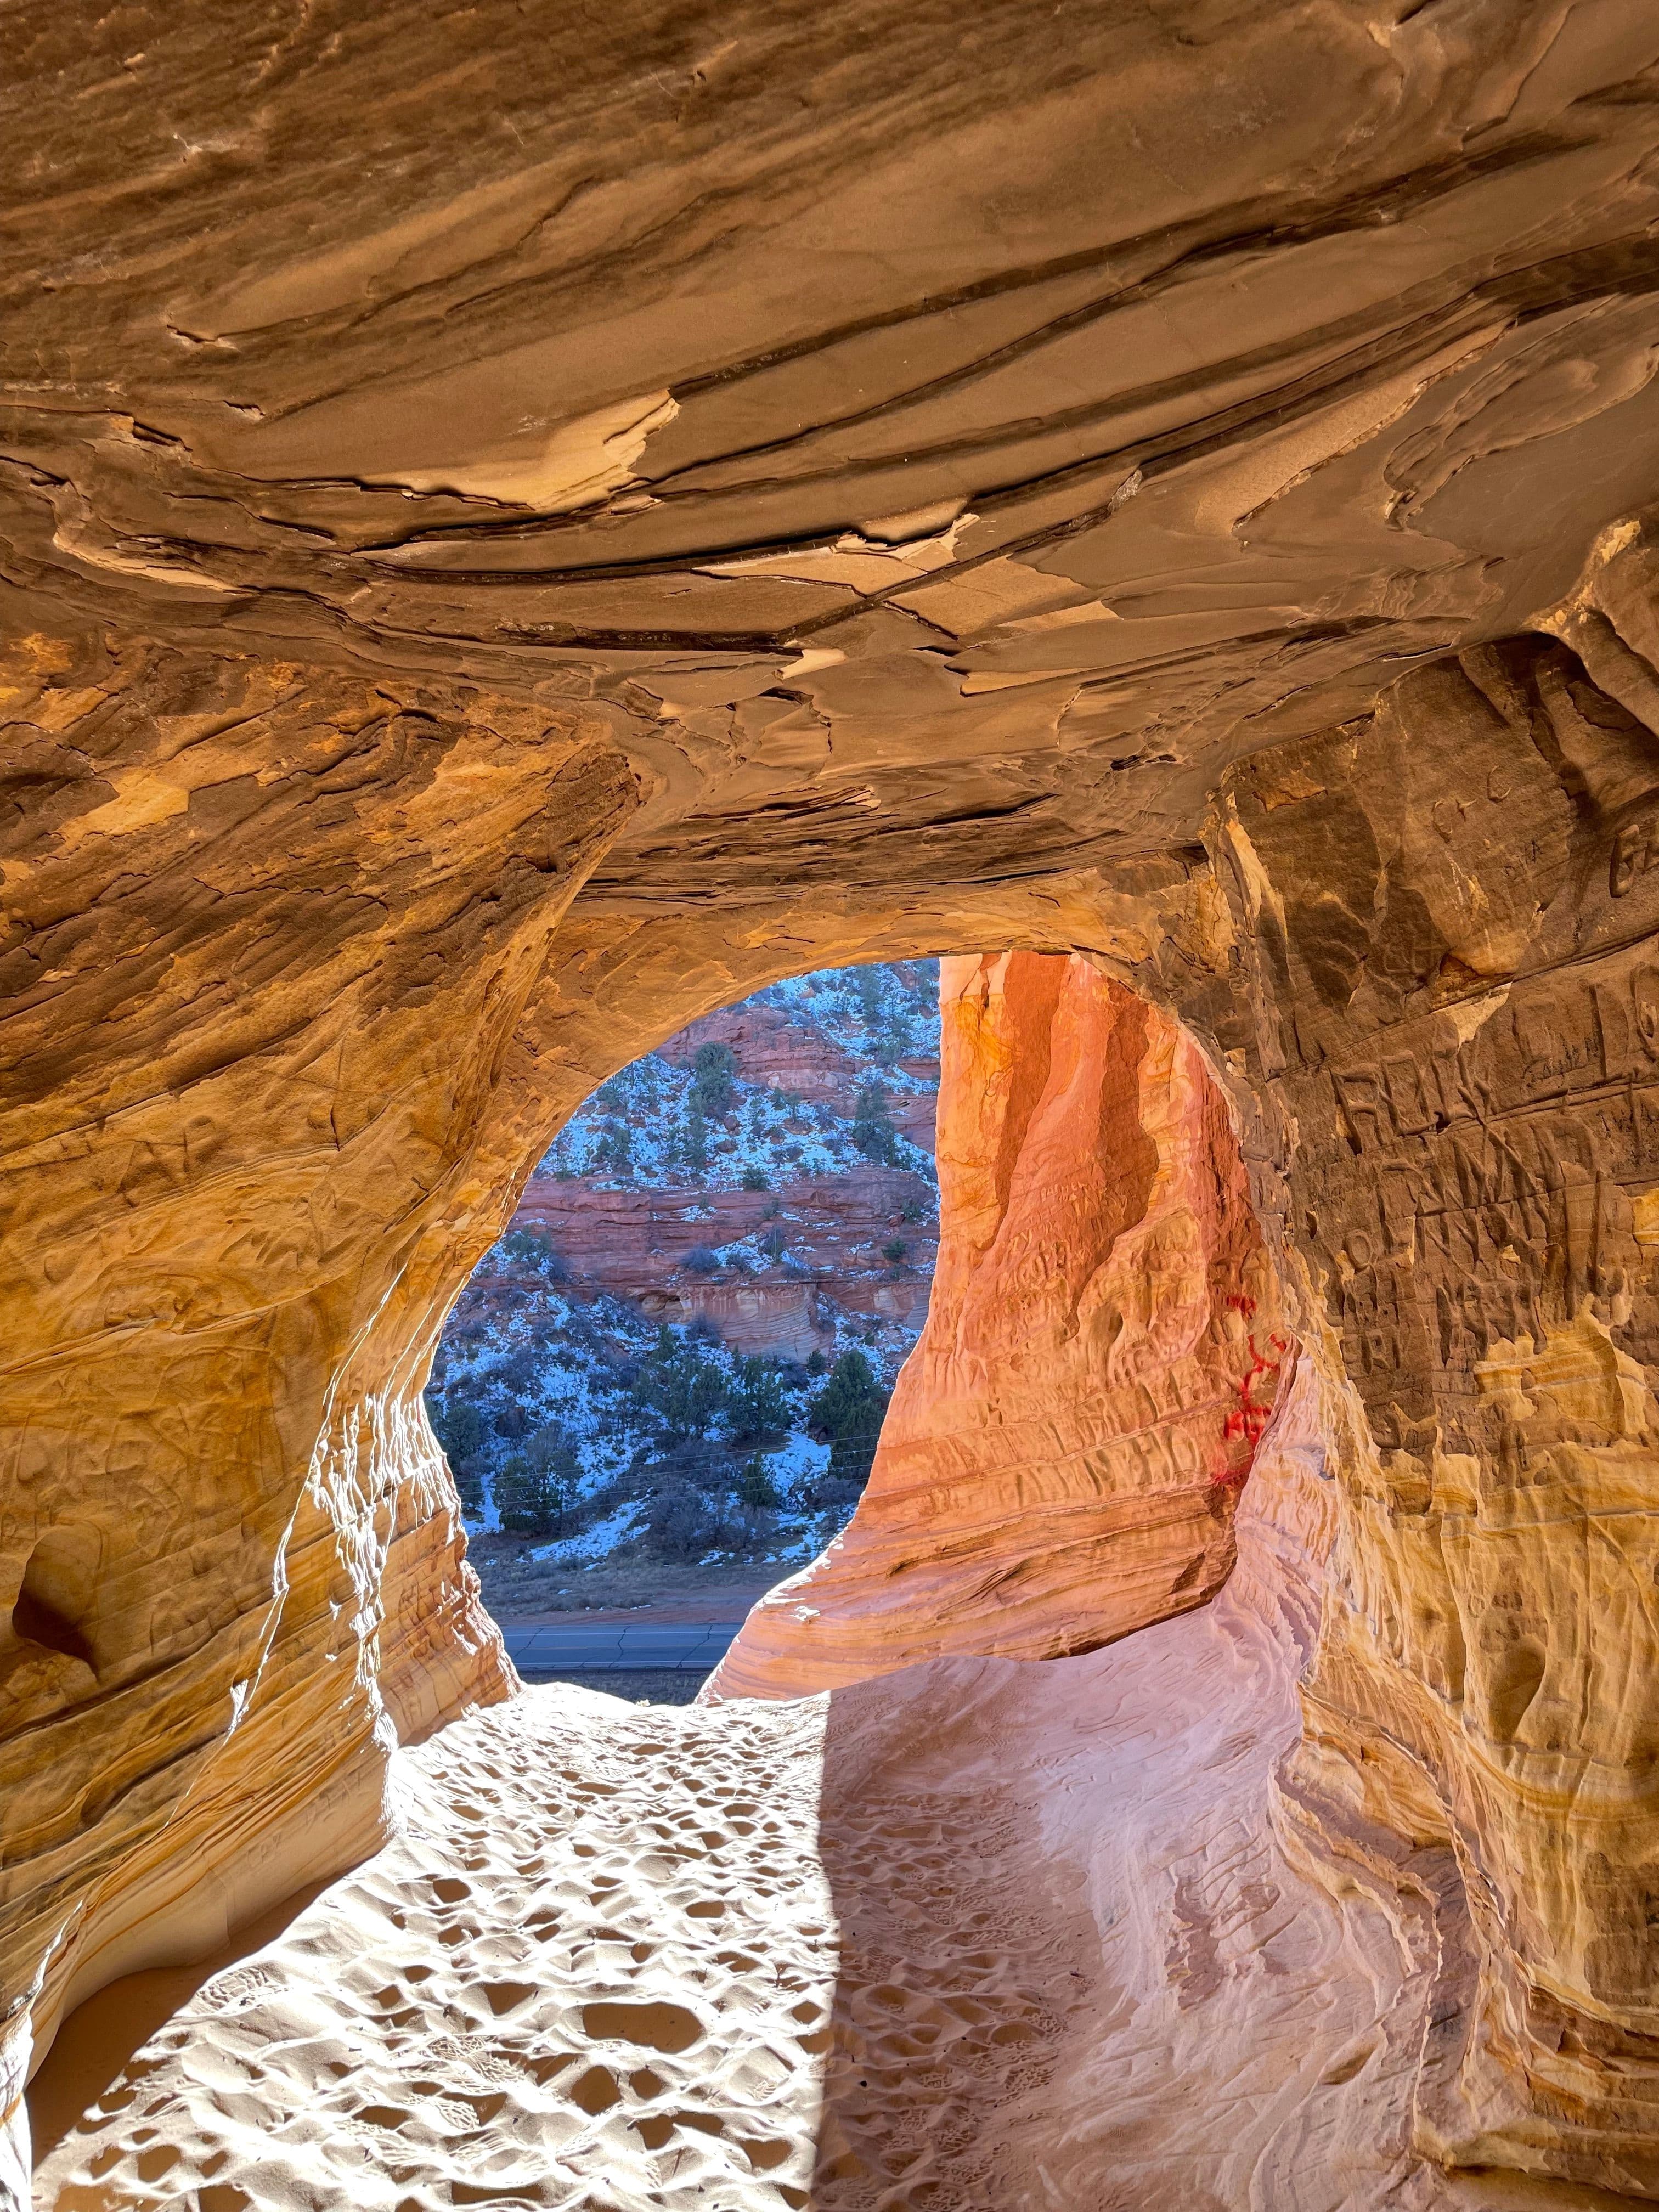
1hr 30min·2:00PM - 3:30PM
A great place to stop to stretch the legs on the drive to Zion Glamping. The hike to the Sand Caves is about 1.5 hours roundtrip.
- 6
Coral Pink Sand Dunes
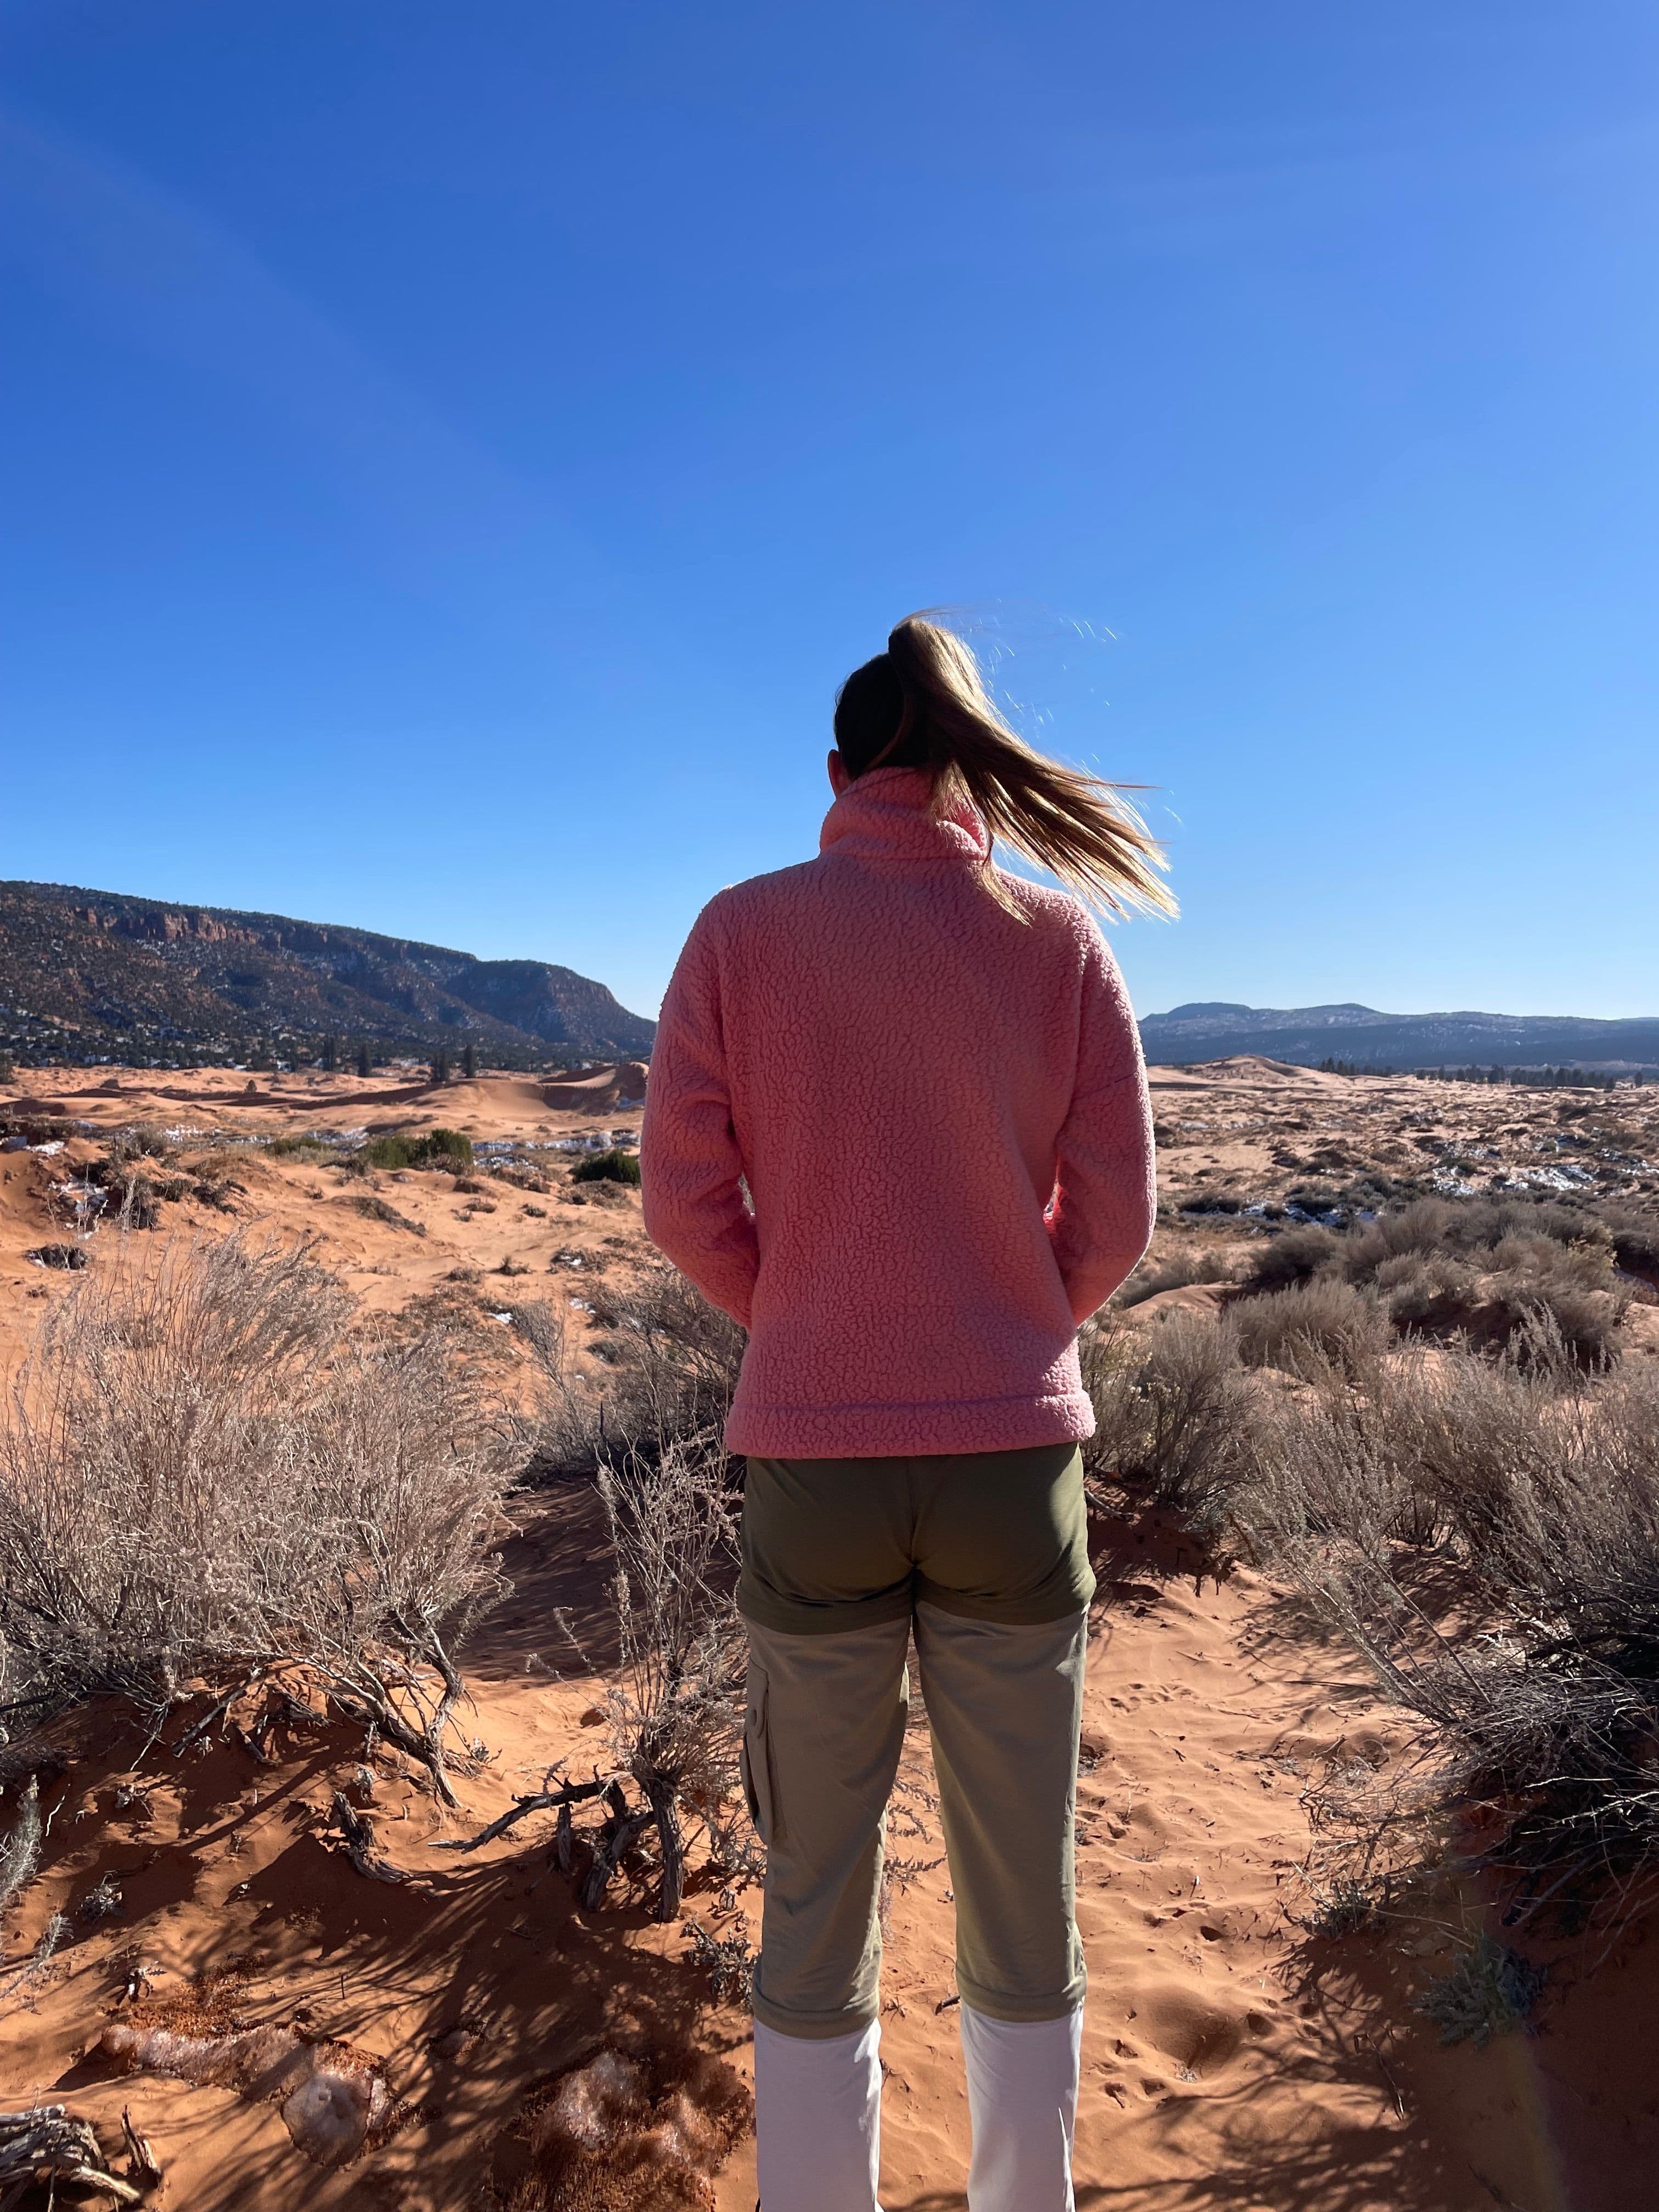
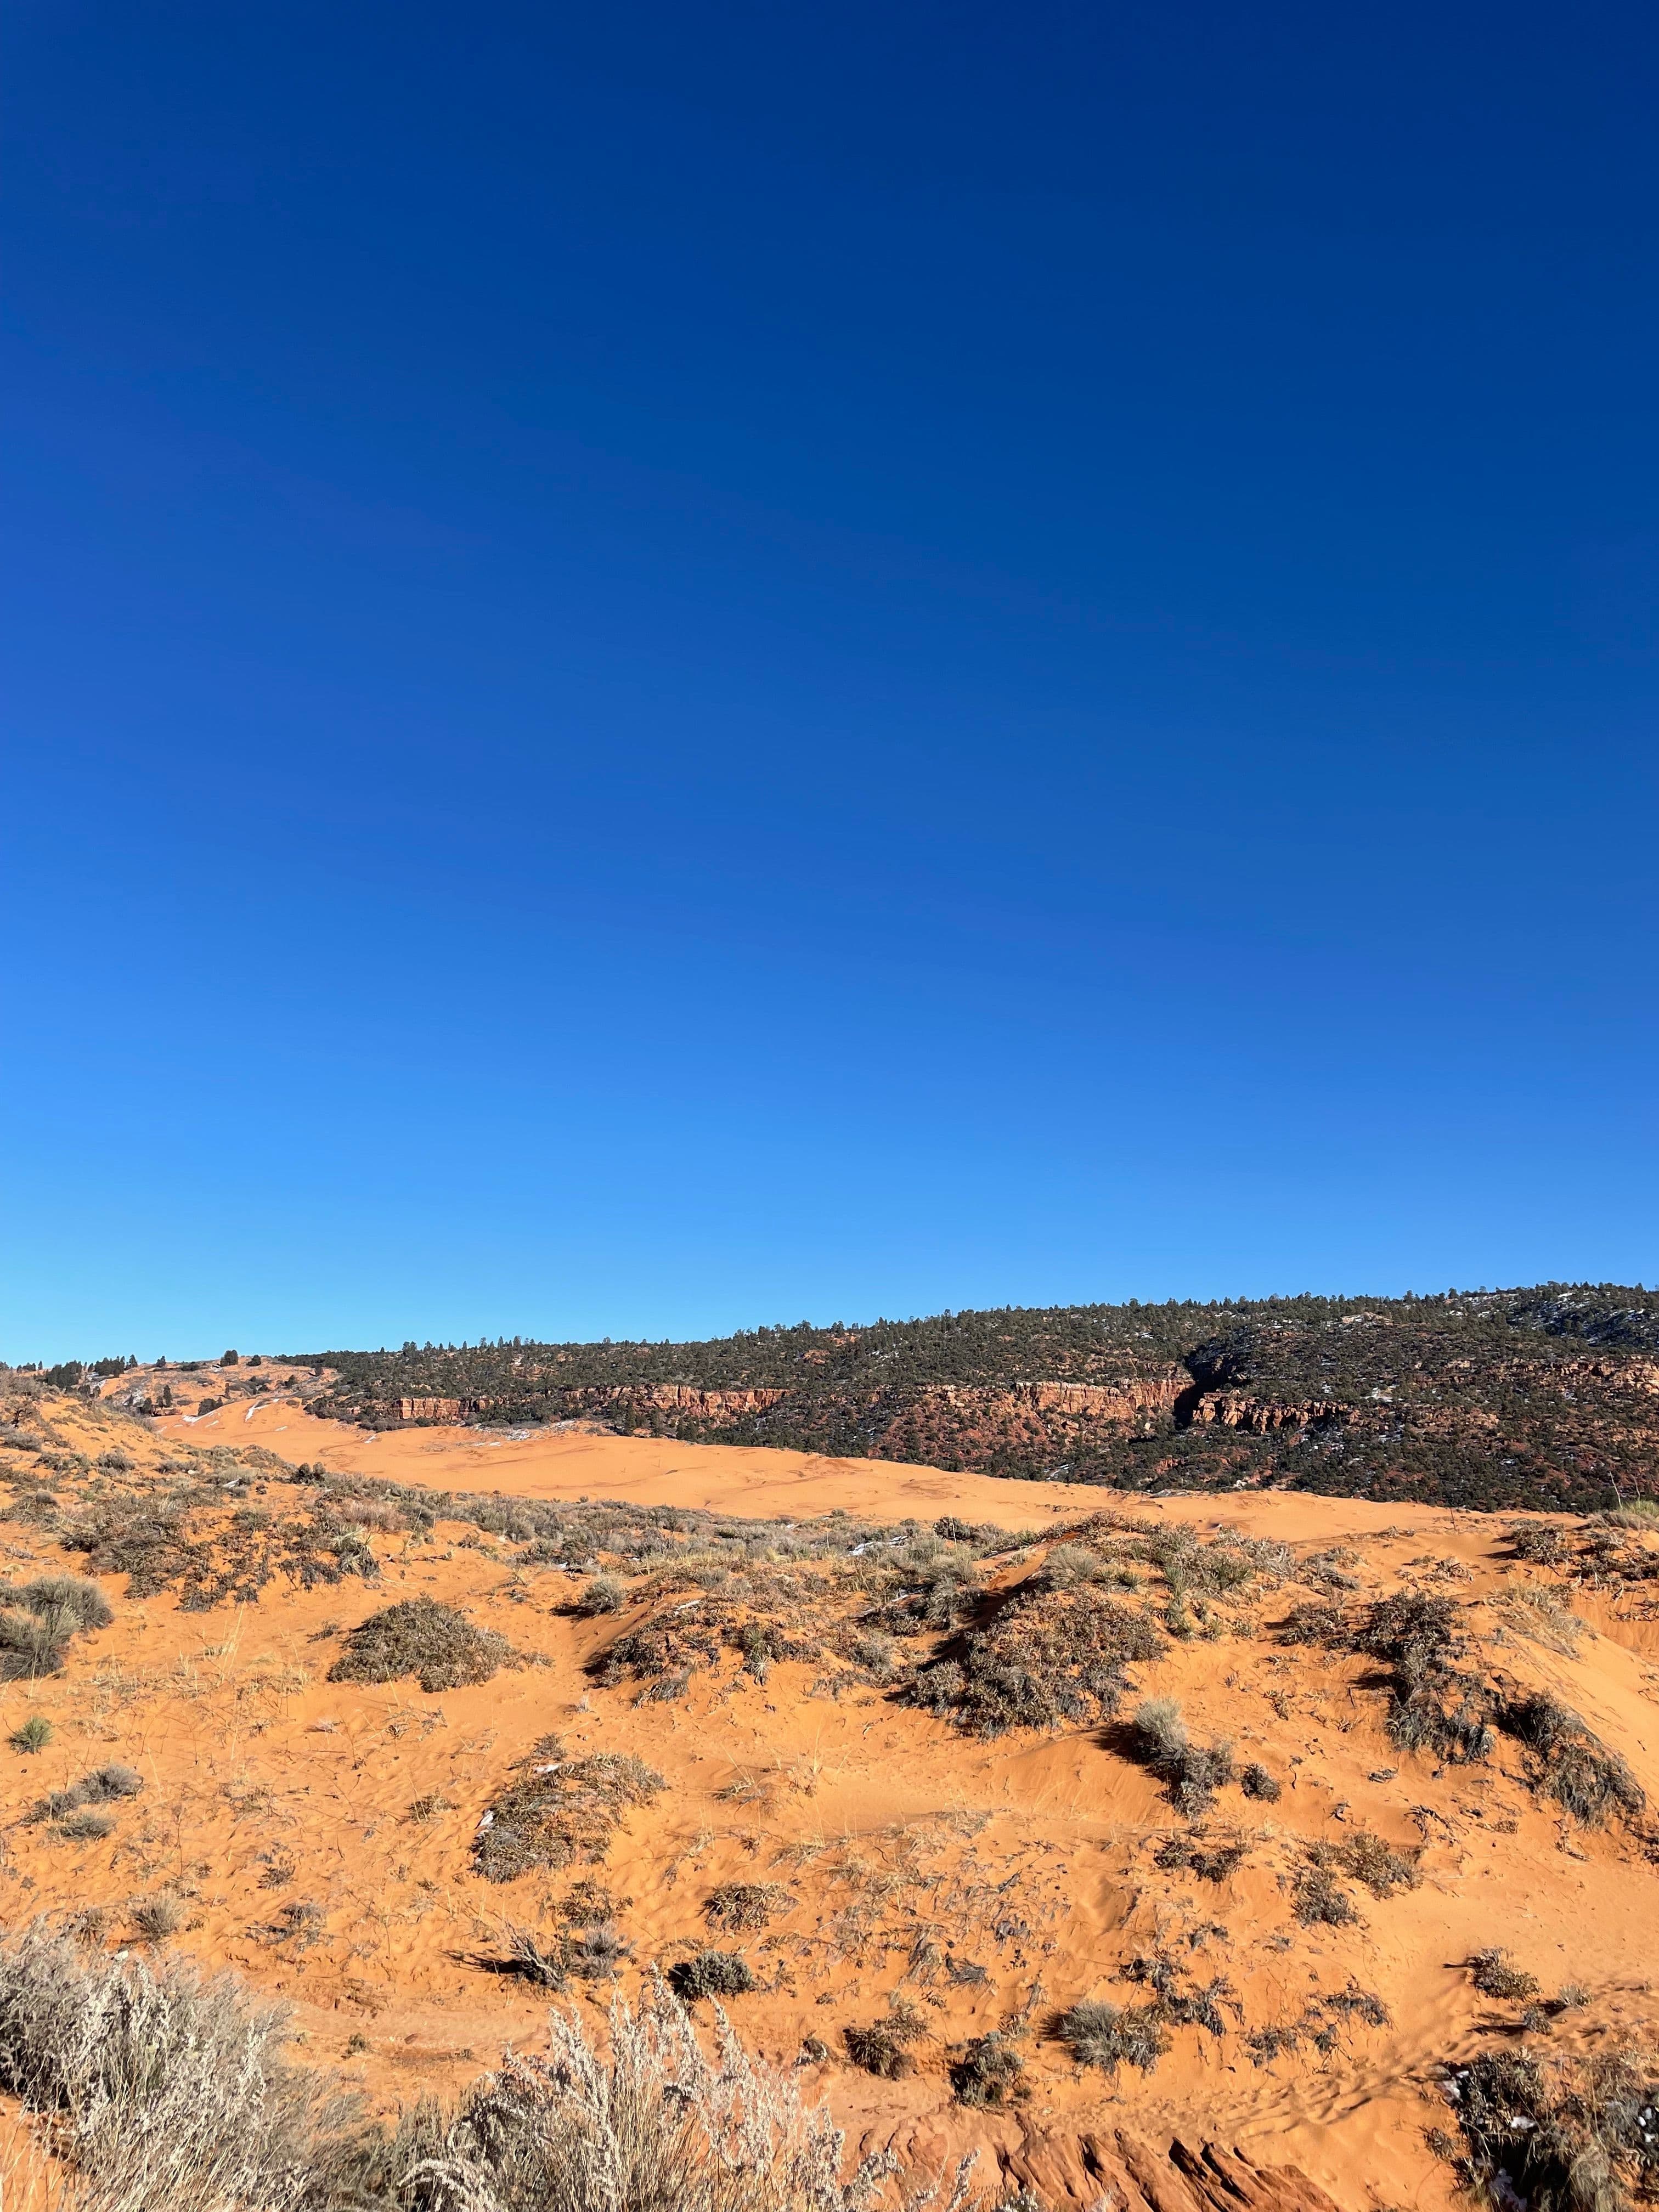
30min·4:00PM - 4:30PM
We only stopped here to stretch our legs and visit the Sand Dunes. However, there are ATV tours that look awesome and would be perfect for the adrenaline junkie! Check out the tours here.
It does cost $10 per vehicle per day to visit Coral Pink Sand Dunes. However, if you don’t want to pay the fee you can pull over at the side of the road and quickly check out the dunes.
- 7
Check-In at Zion Glamping

We met the manager, and he showed us around the property. They are currently building some hot tubs which will be open for guests in the coming weeks.
- 8
Watch Sunset
We enjoyed watching the sun set over the mountains from our glamping site.
- 9
Dinner: Edge of the World Brewery
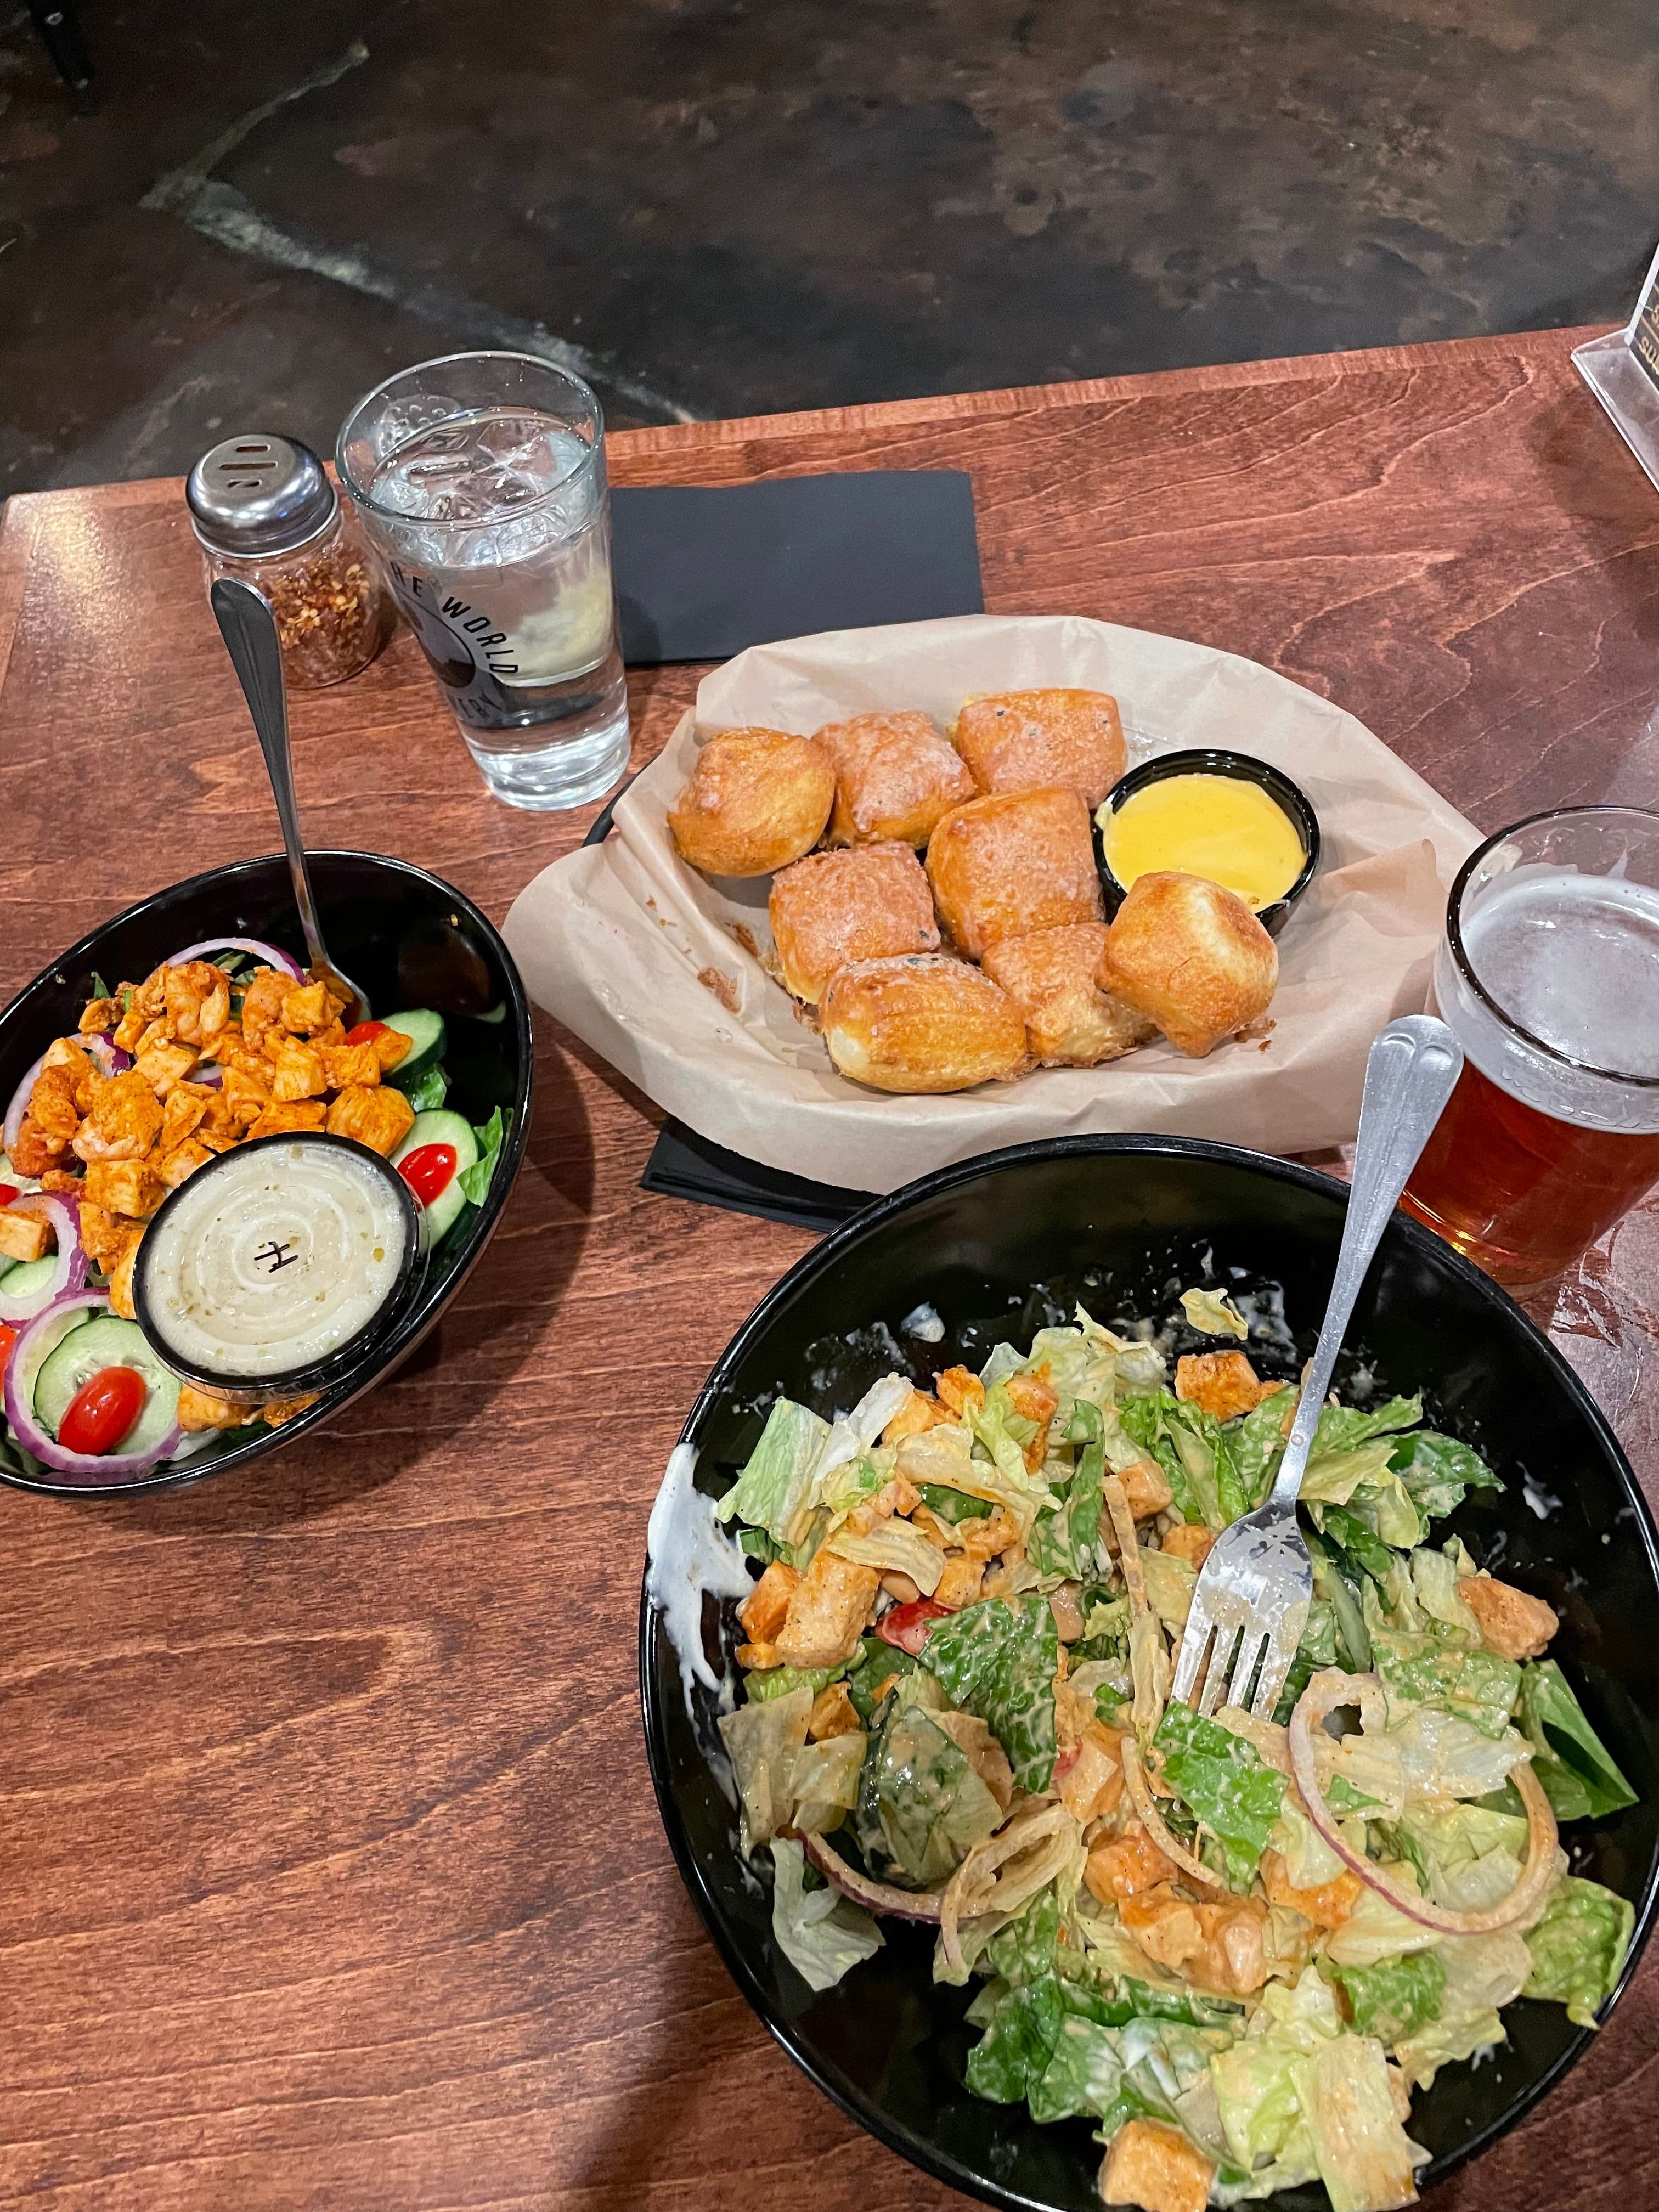

Located about a 10 minute drive from Zion Glamping Adventures, we enjoyed dinner at The Edge of the World Brewery. The prices were very reasonable and the beers were great.
- 10
Stargazing
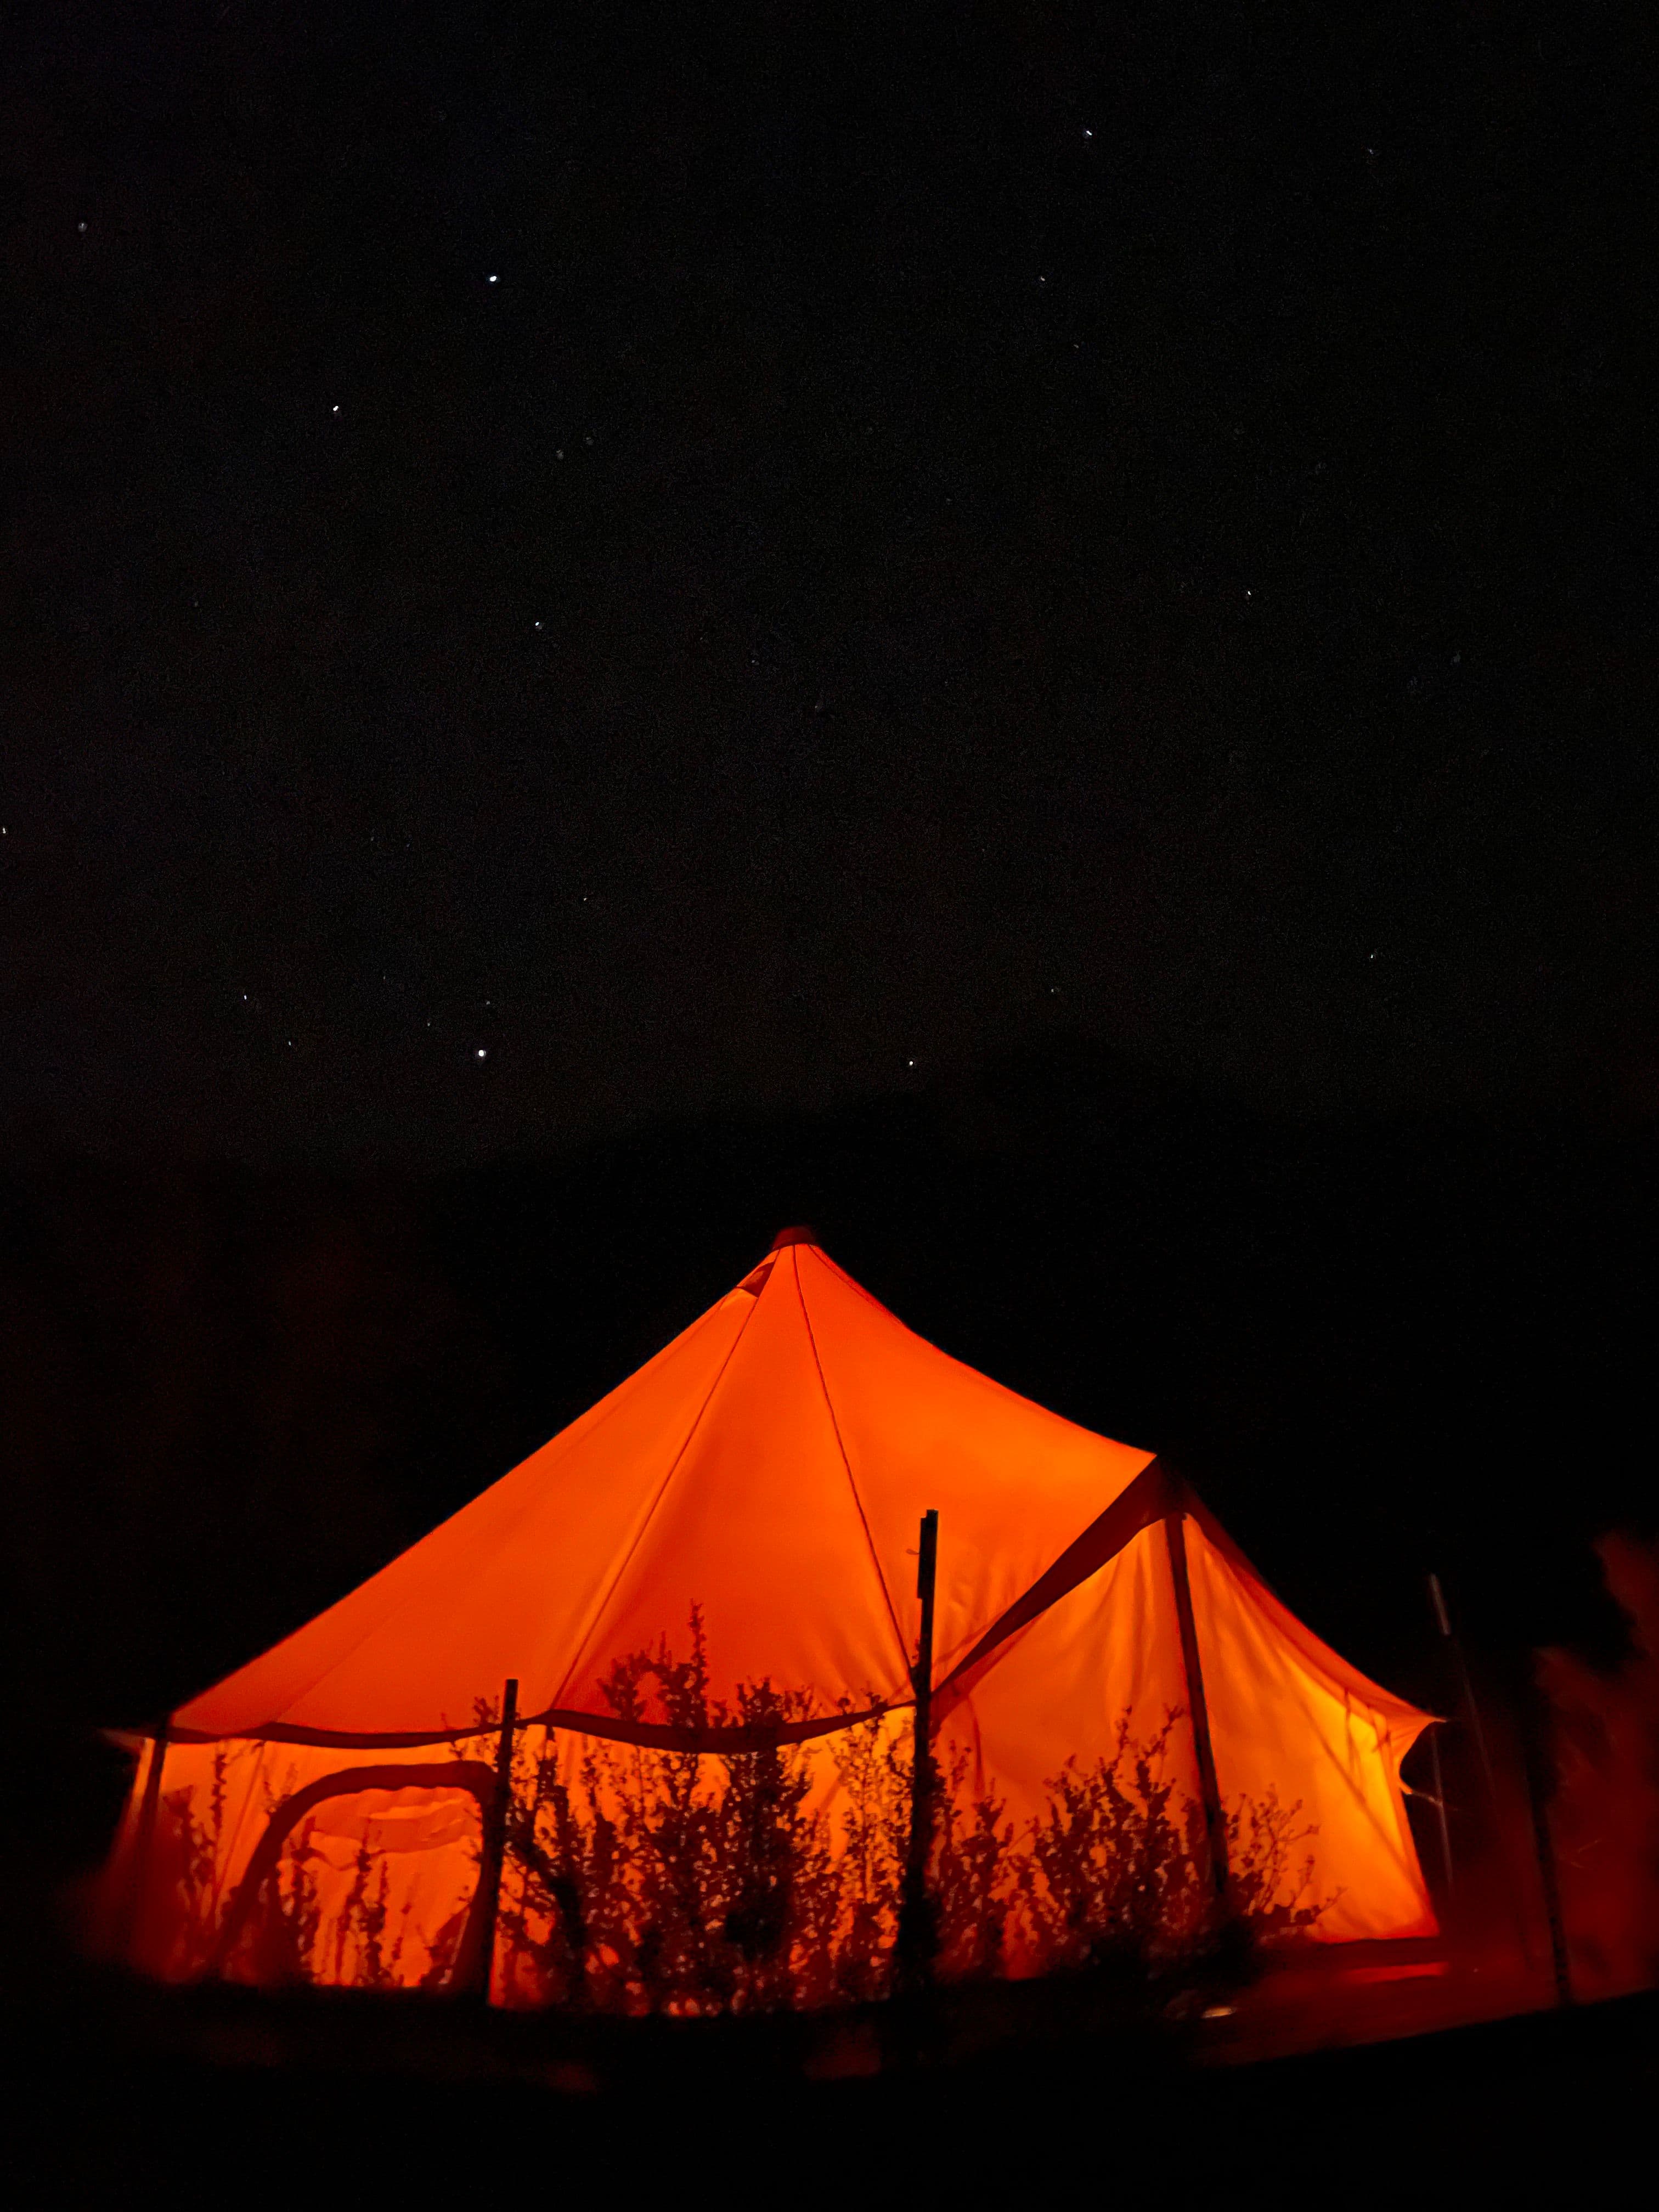
These accommodations were the perfect place to soak in the sky at night. Although it was cold outside, we enjoyed lying on the bench under the stars (especially because we knew our tent was cozy and warm).
Day 6: Antelope to Las Vegas
- 1
Breakfast at Zion Glamping Adventures
3hr·8:00AM - 11:00AM
Free pancakes and coffee that were very much enjoyed by everyone staying at Zion Glamping Adventures.
We then spent some time enjoying the property and surroundings. There are a few hikes around including The Amphitheatre Trail and Squirrel Canyon Trailhead.
- 2
Return Car at Las Vegas Airport
The car was not needed while in Vegas, so we returned it early to save money! If you would rather keep the car while in Vegas you can return it when you are done your trip instead.
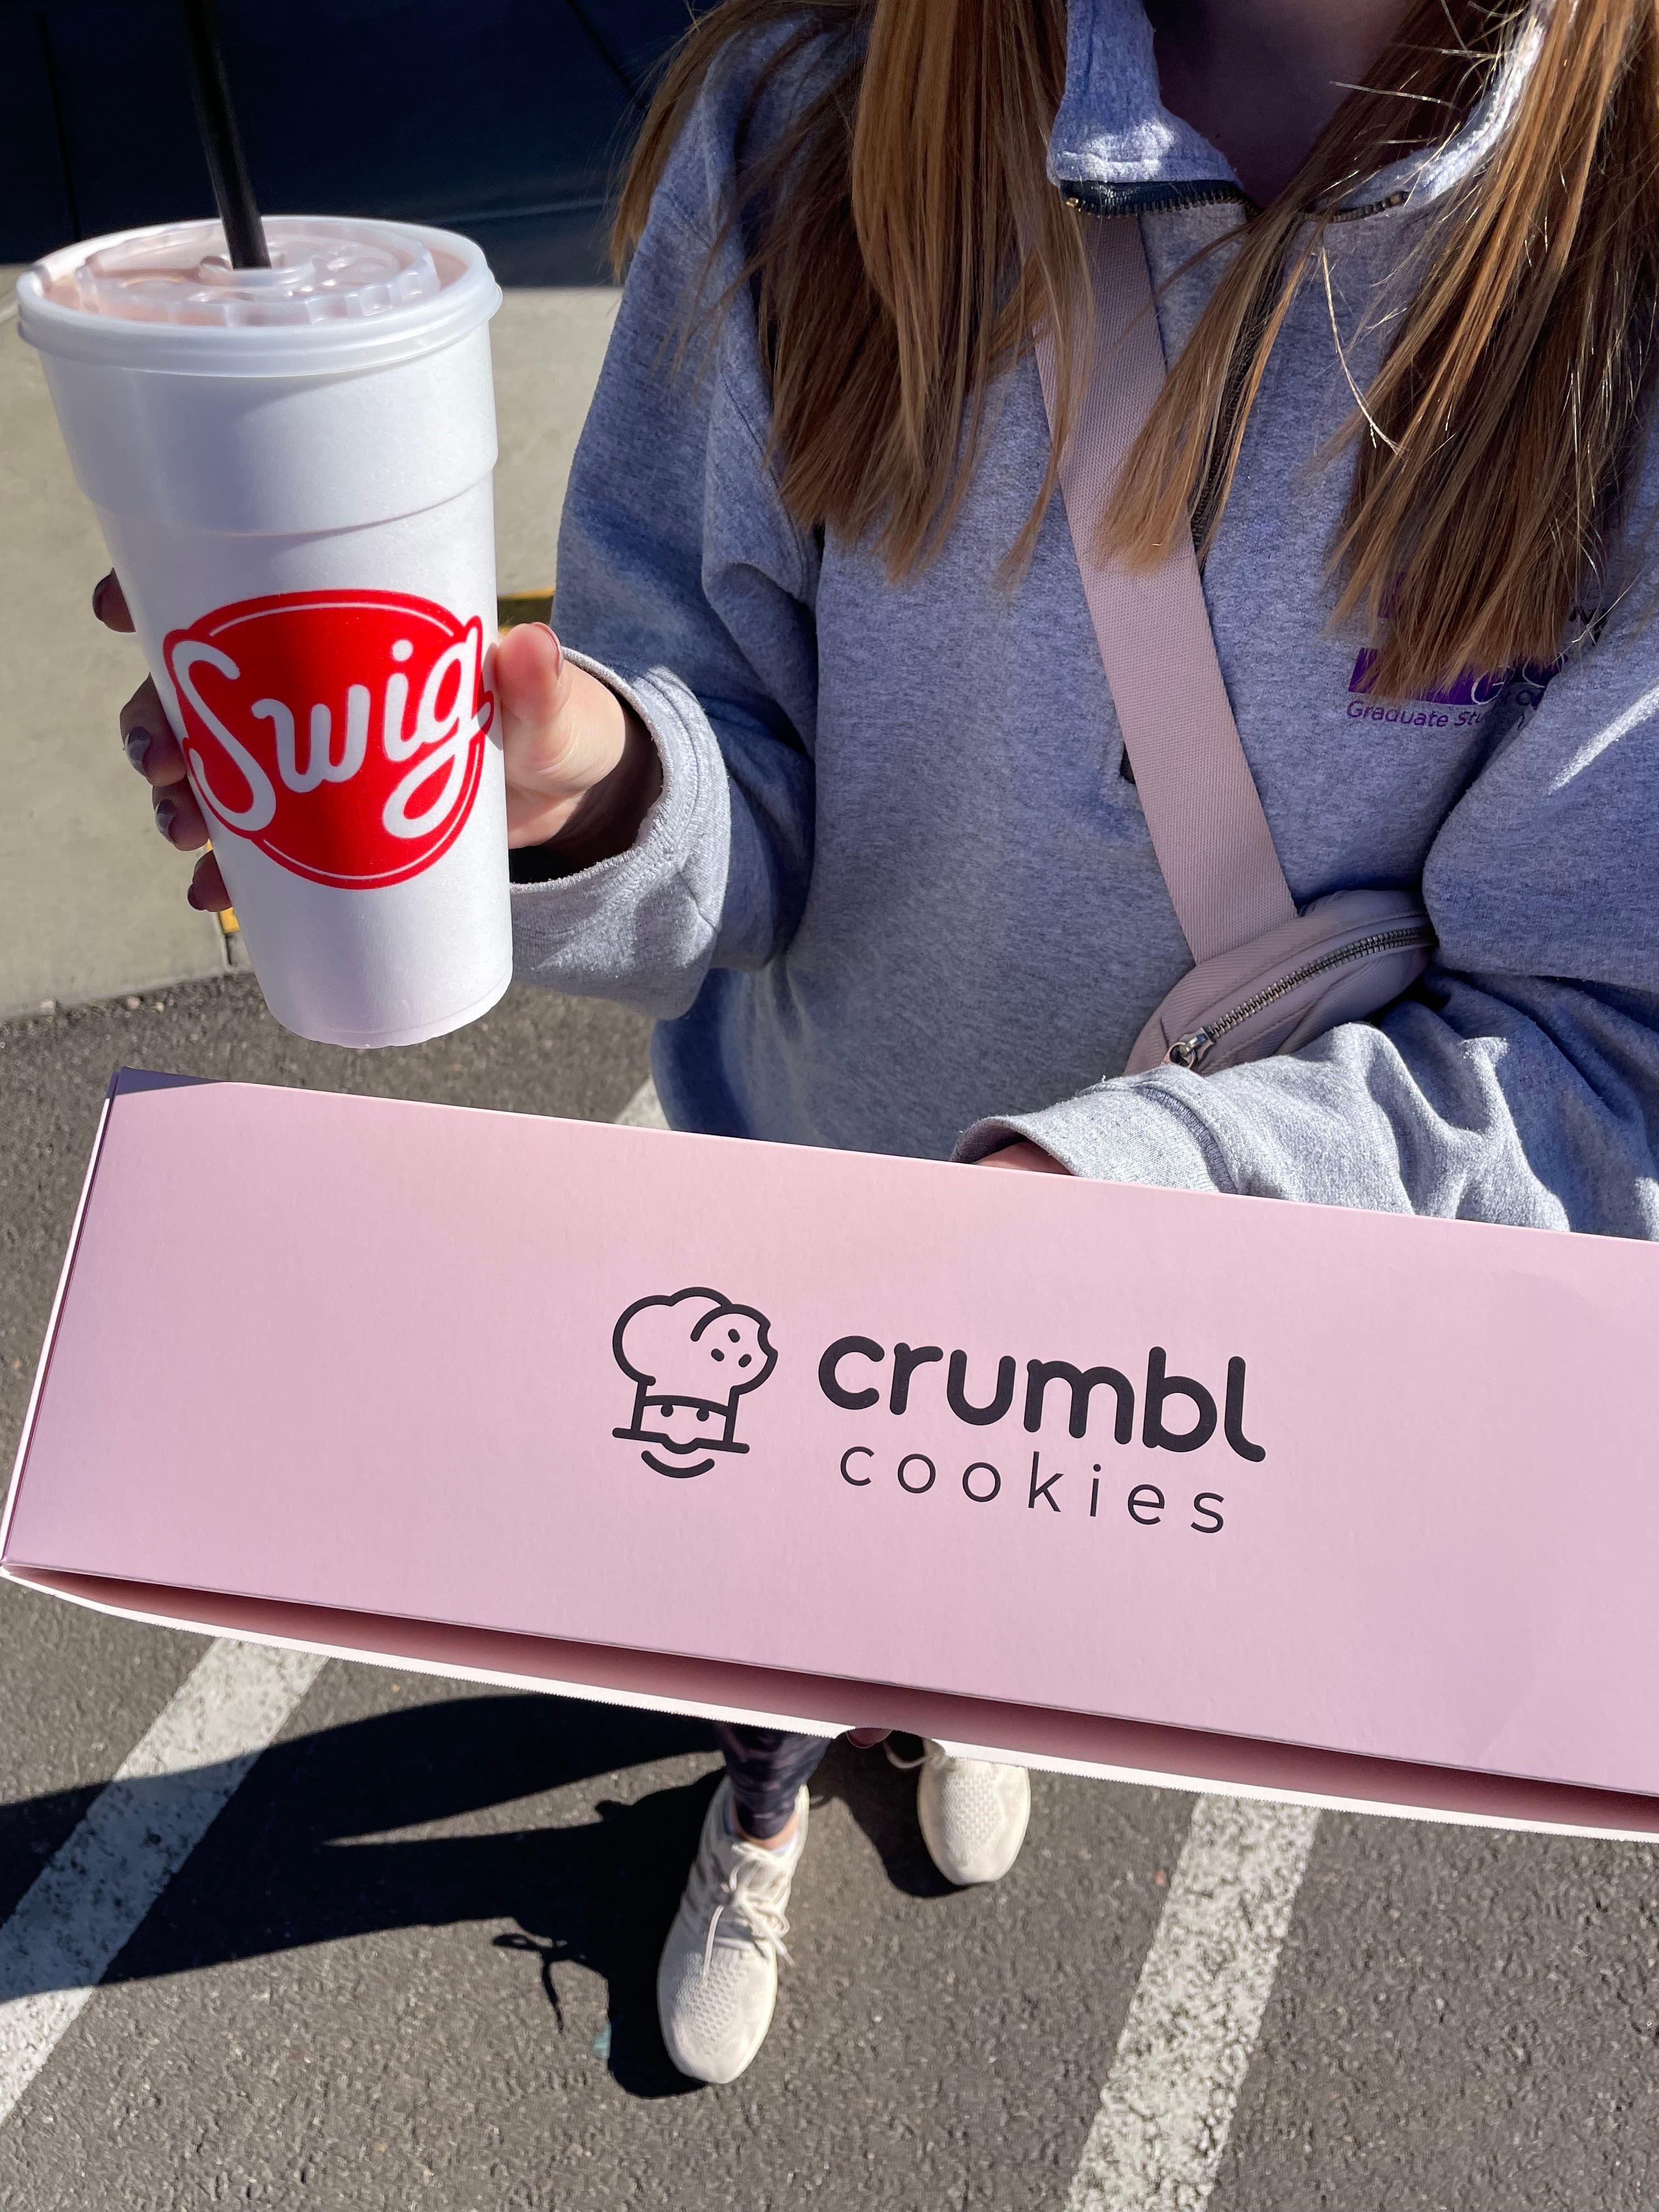
On our way to return the car, we of course stopped at Crumbl cookie for their new weekly flavours and Swig!
- 3
Check-In at Caesar's Palace

The line can be long at check in so make sure to plan accordingly.
- 4
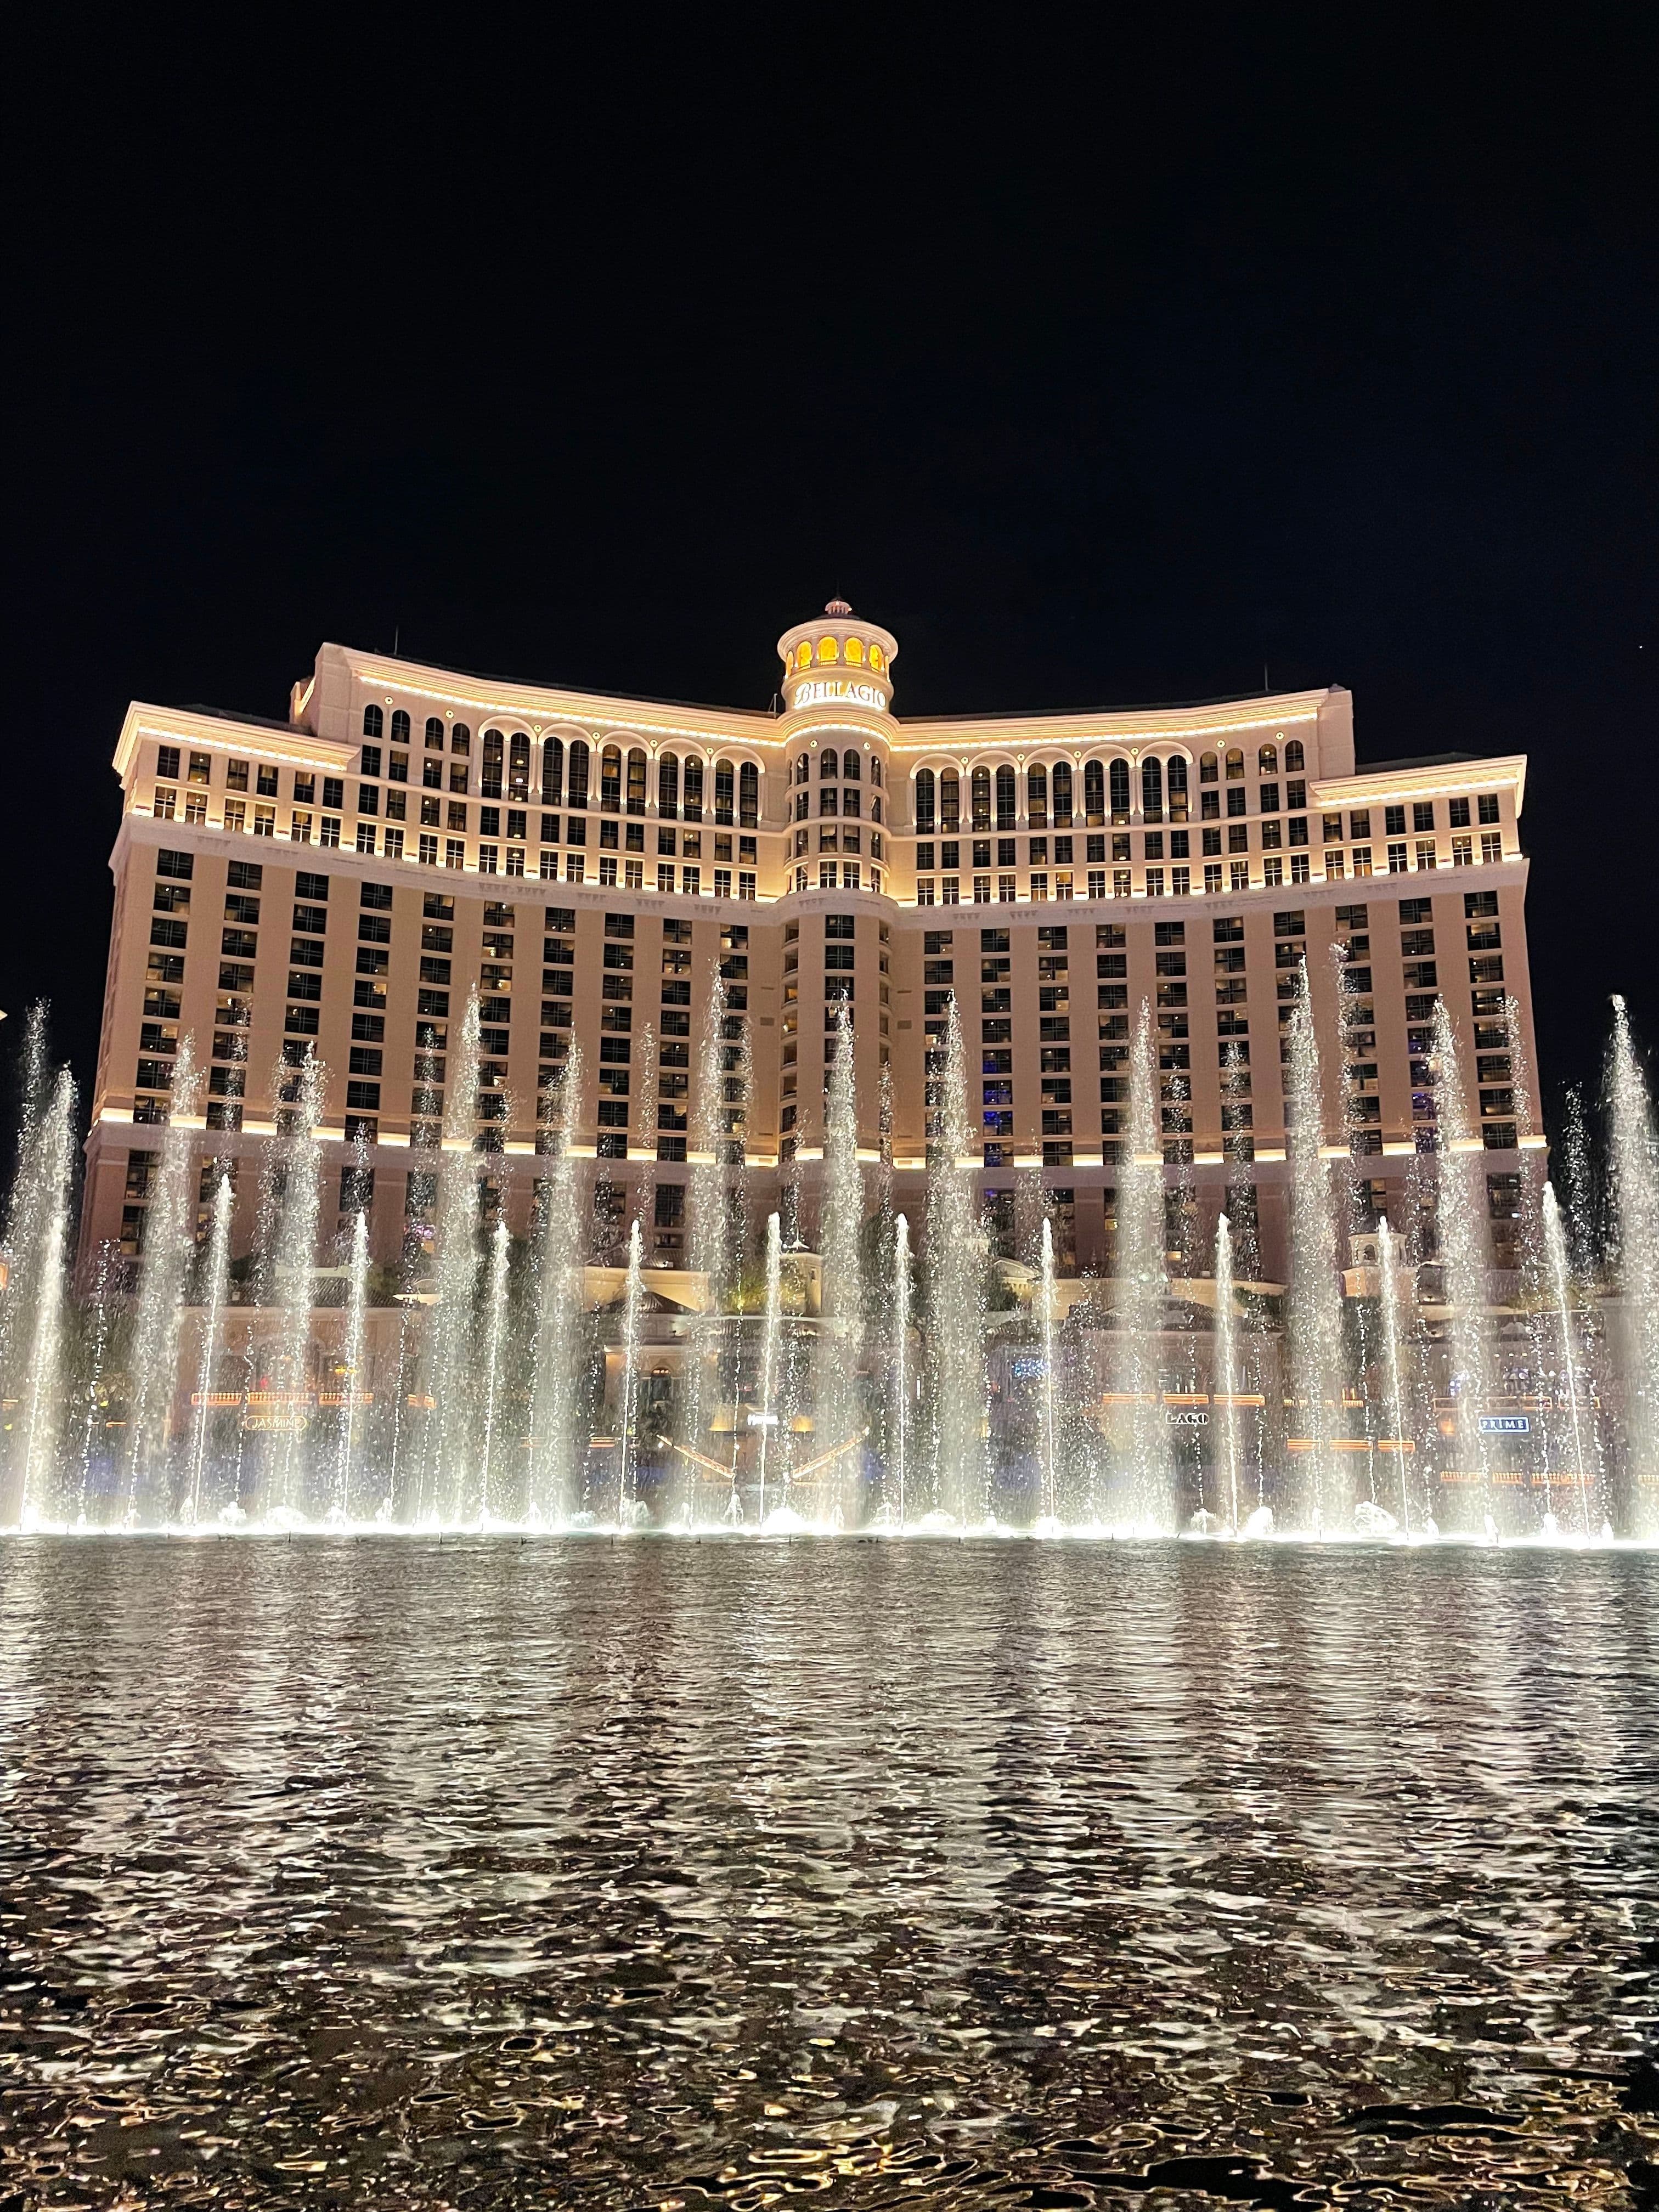
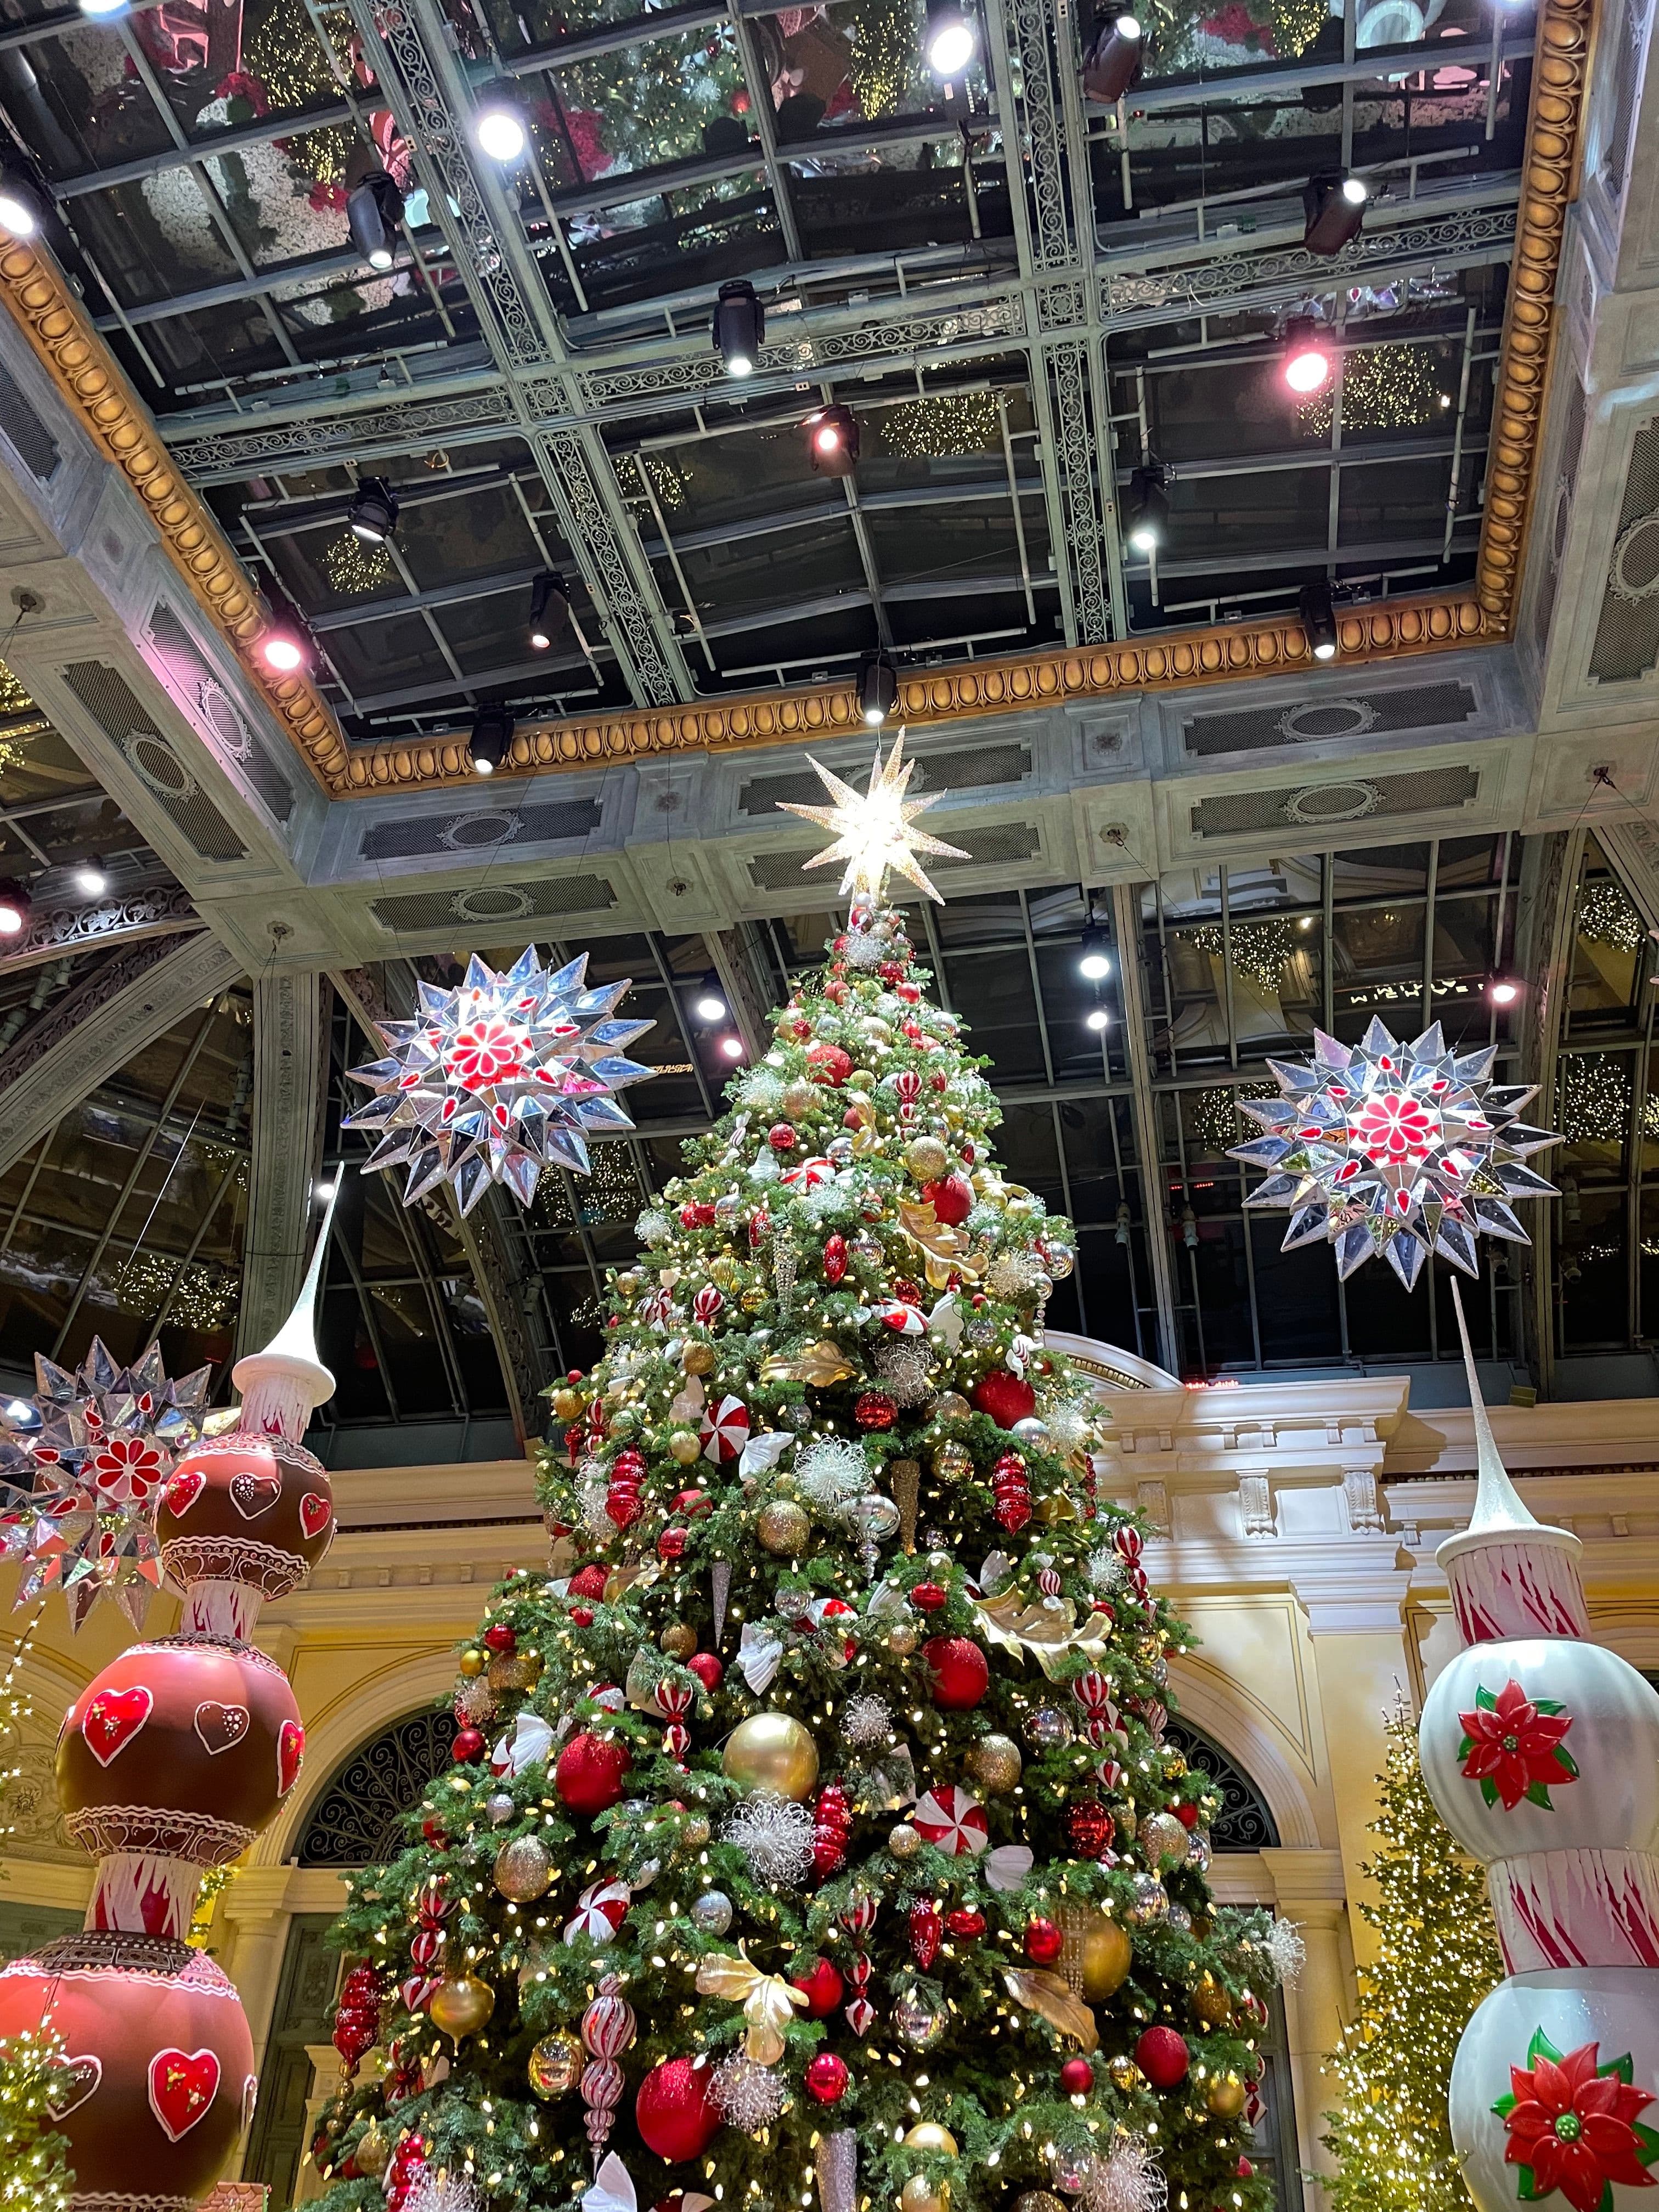
Attend “O” by Cirque du Soleil at Bellagio
A trip to Las Vegas wouldn’t be complete without watching the “O” show. Highly recommend it, it was fantastic!
- 5
Dinner at Lago
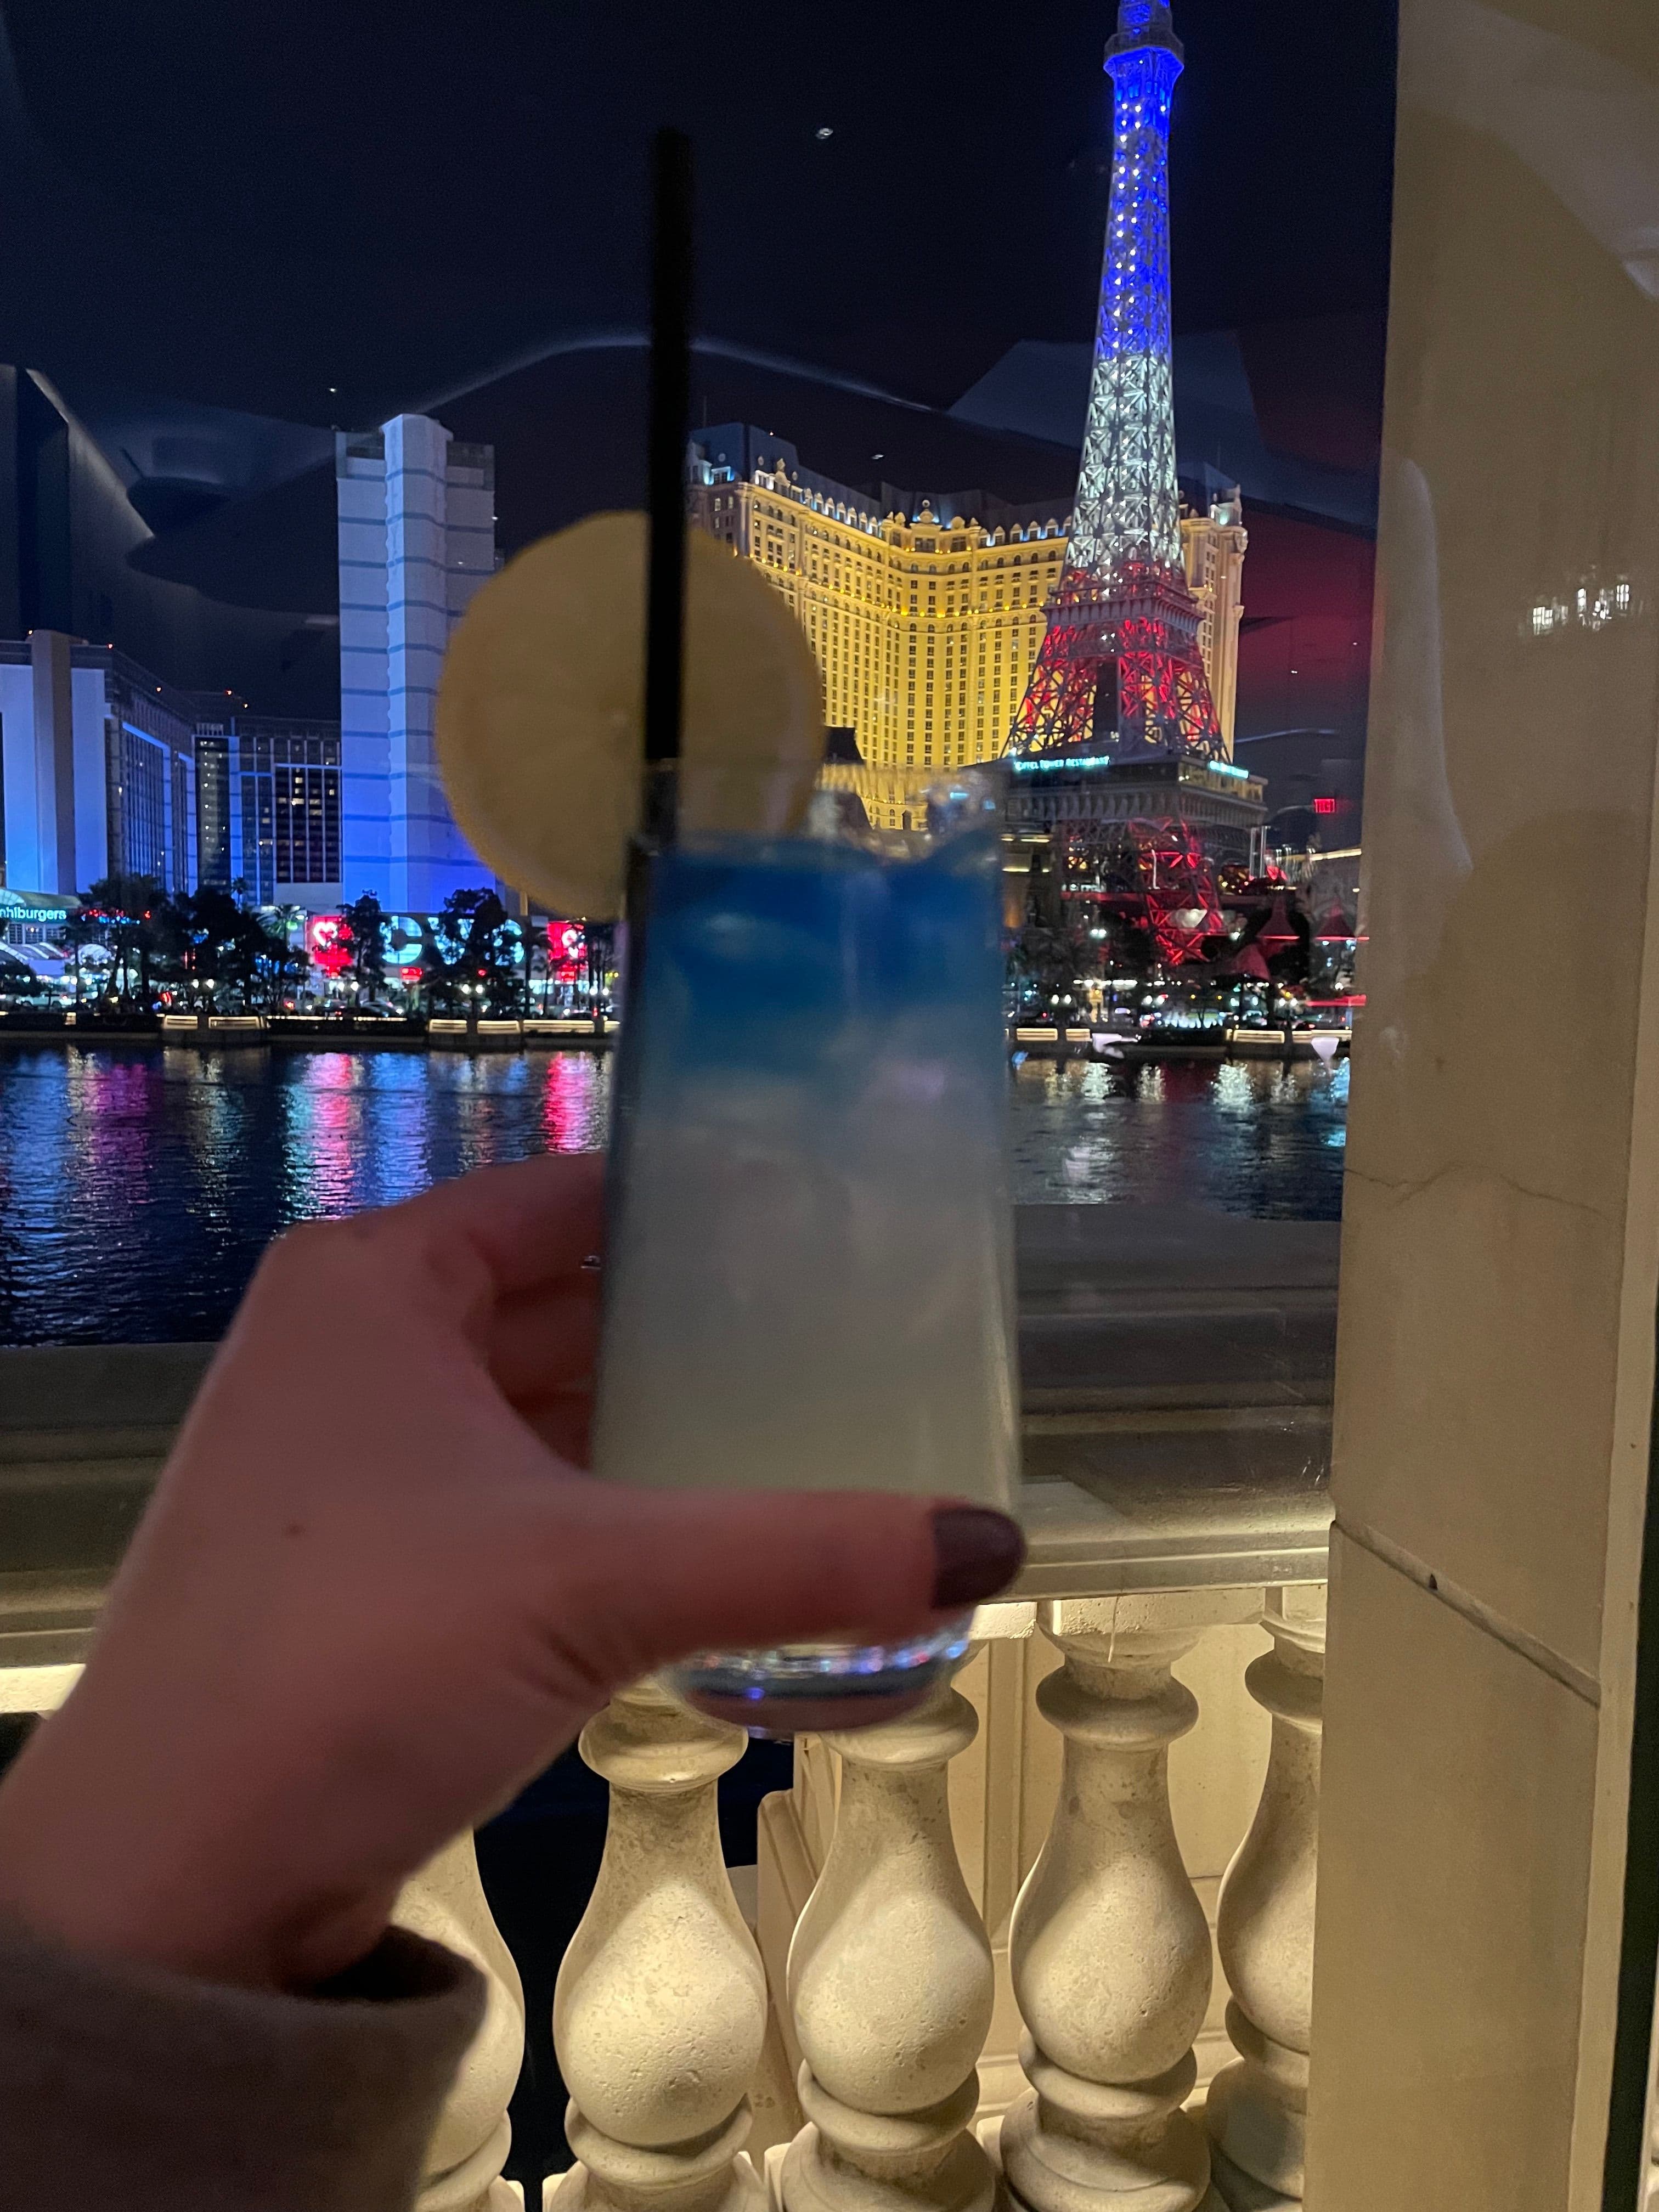
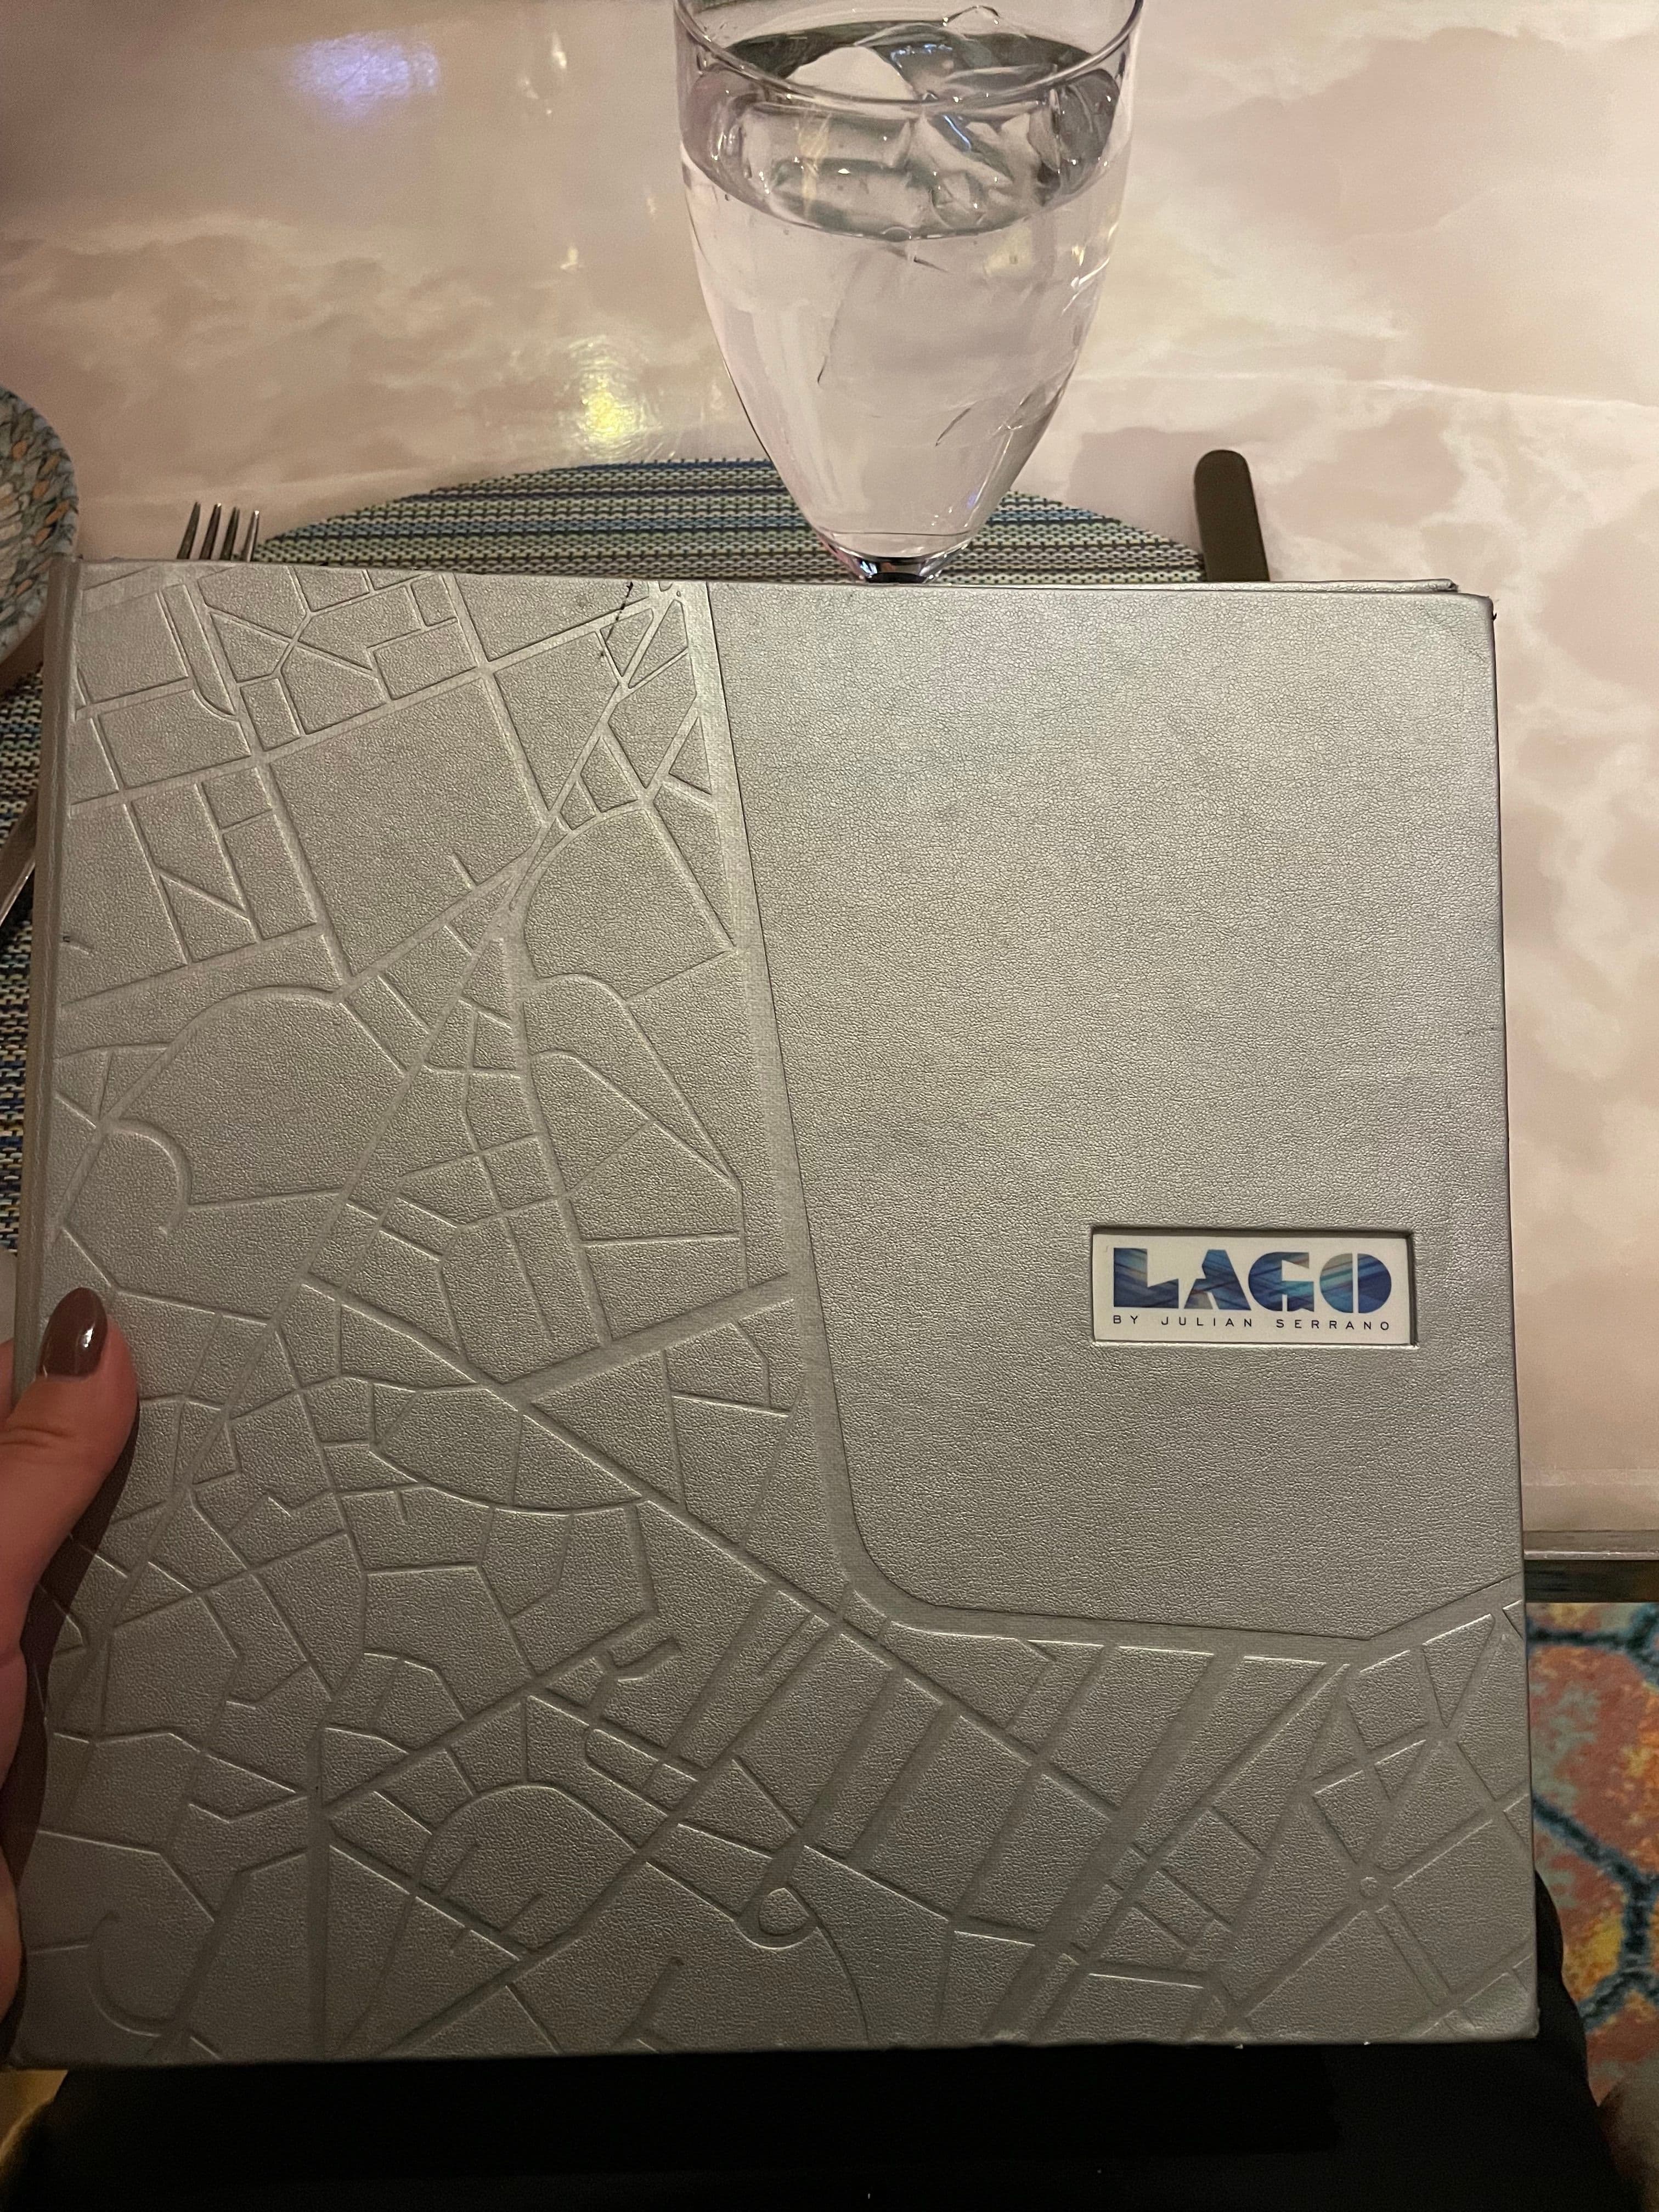
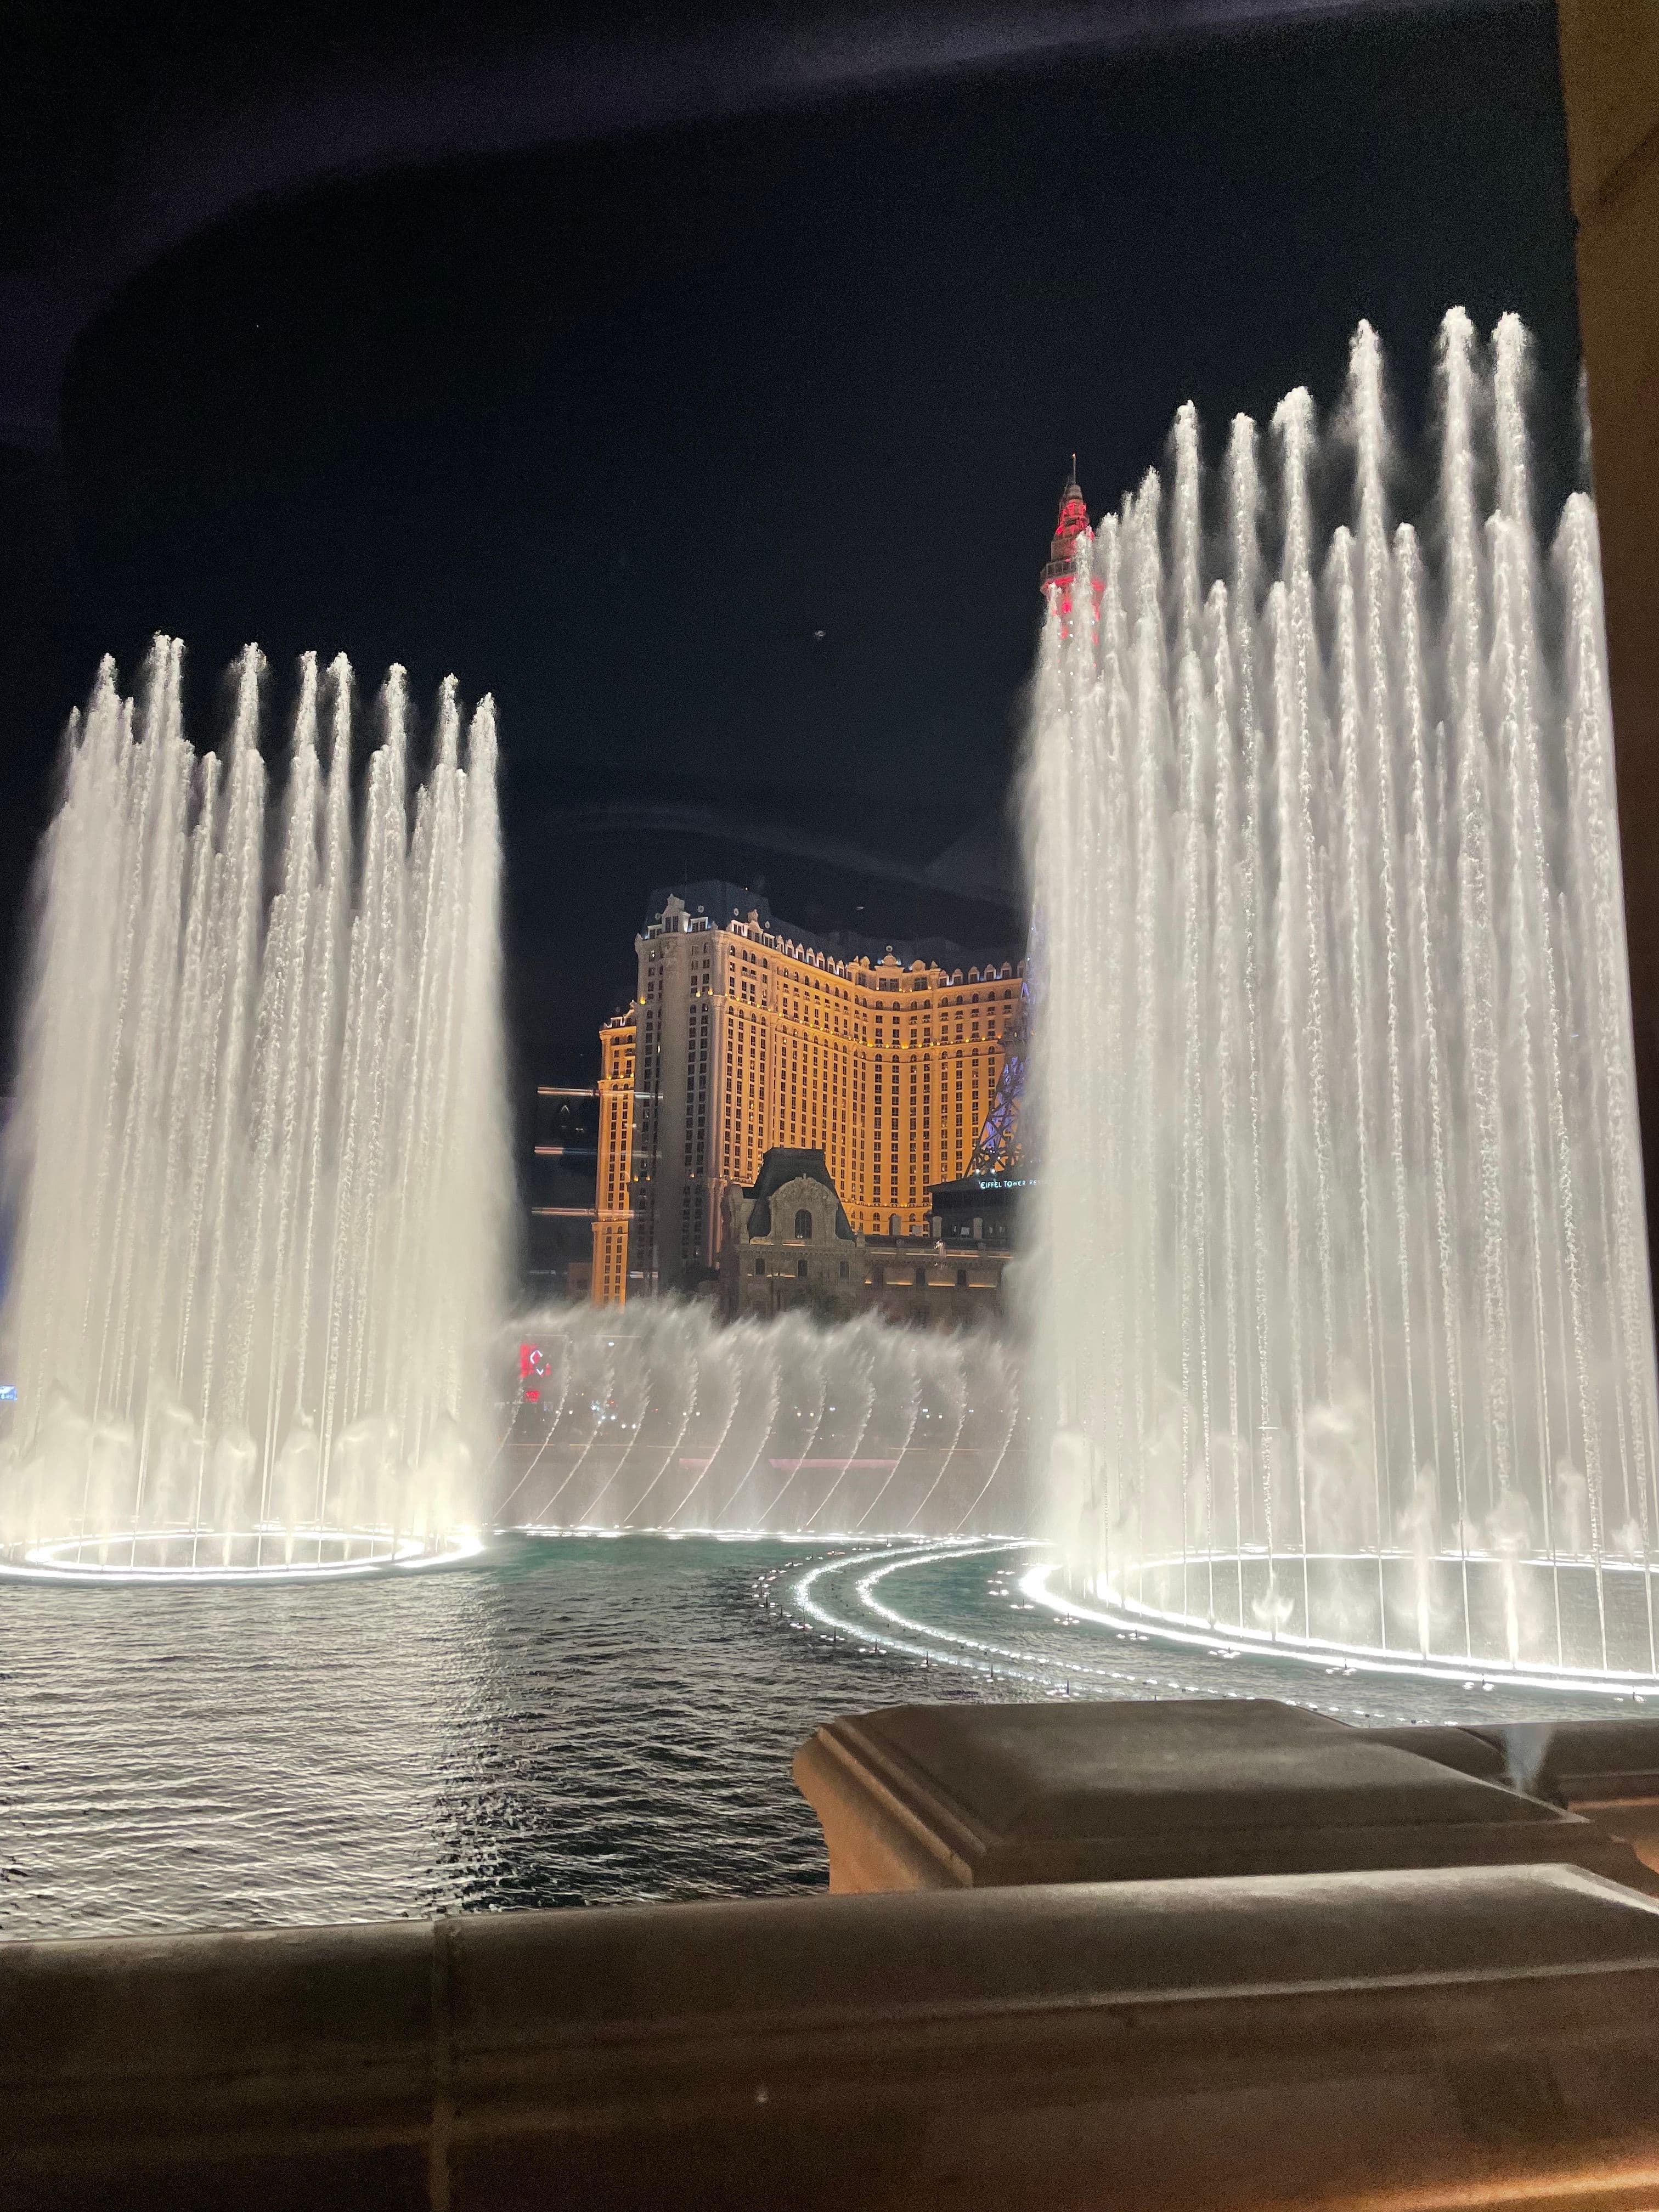

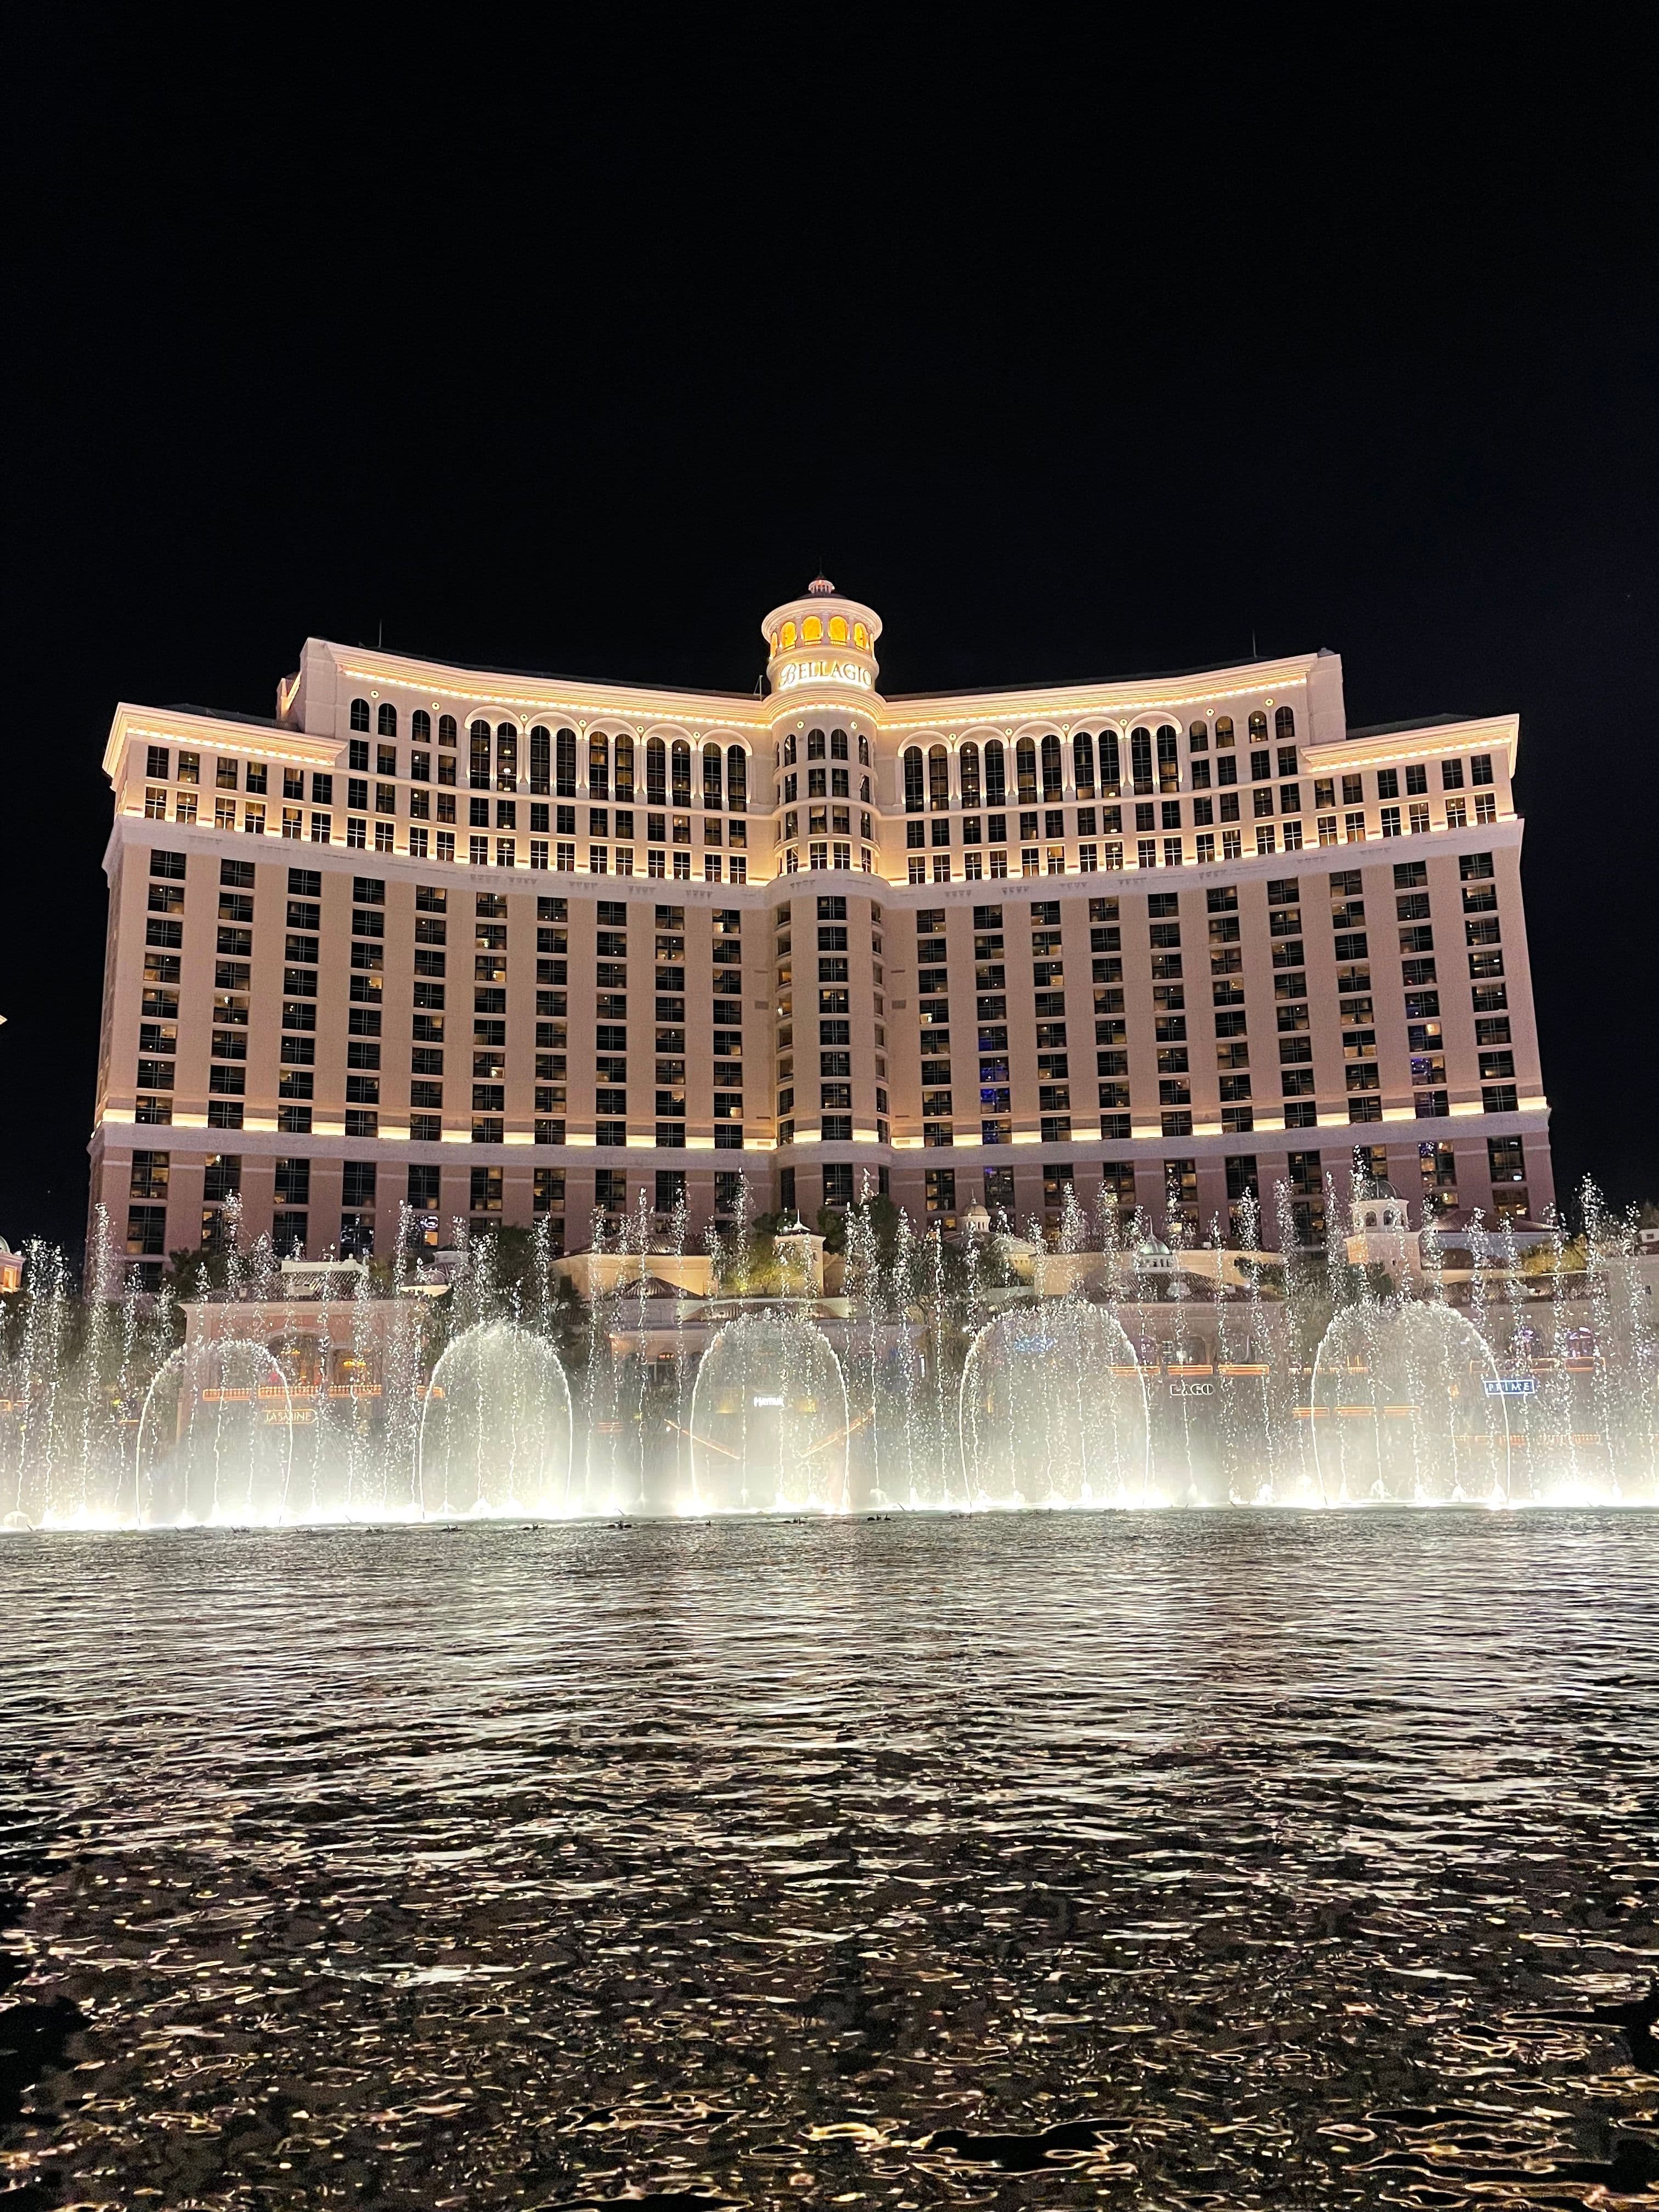
Because we weren't in Vegas for long, we wanted our dinner to have views of the Bellagio Fountain, and we were spoiled! When making the reservation at Lago I requested a seat at the window and they delivered. We enjoyed our dinner watching the fountain’s many shows.
There are a number of restaurants in Bellagio that also have views just as good as Lago, including Prime and The Mayfair Supper Club.
Wherever you decide to go, make sure to make a reservation well in advance!
After dinner, we walked outside to the strip and enjoyed the Bellagio Fountain Show from a different perspective.
- 6
Casino

11:00PM
We finished off the night exploring different hotels and casinos!! Each hotel has different vibes so I would recommend checking a few of them out!
Day 7: Las Vegas
- 1
Breakfast - Cafe Americano
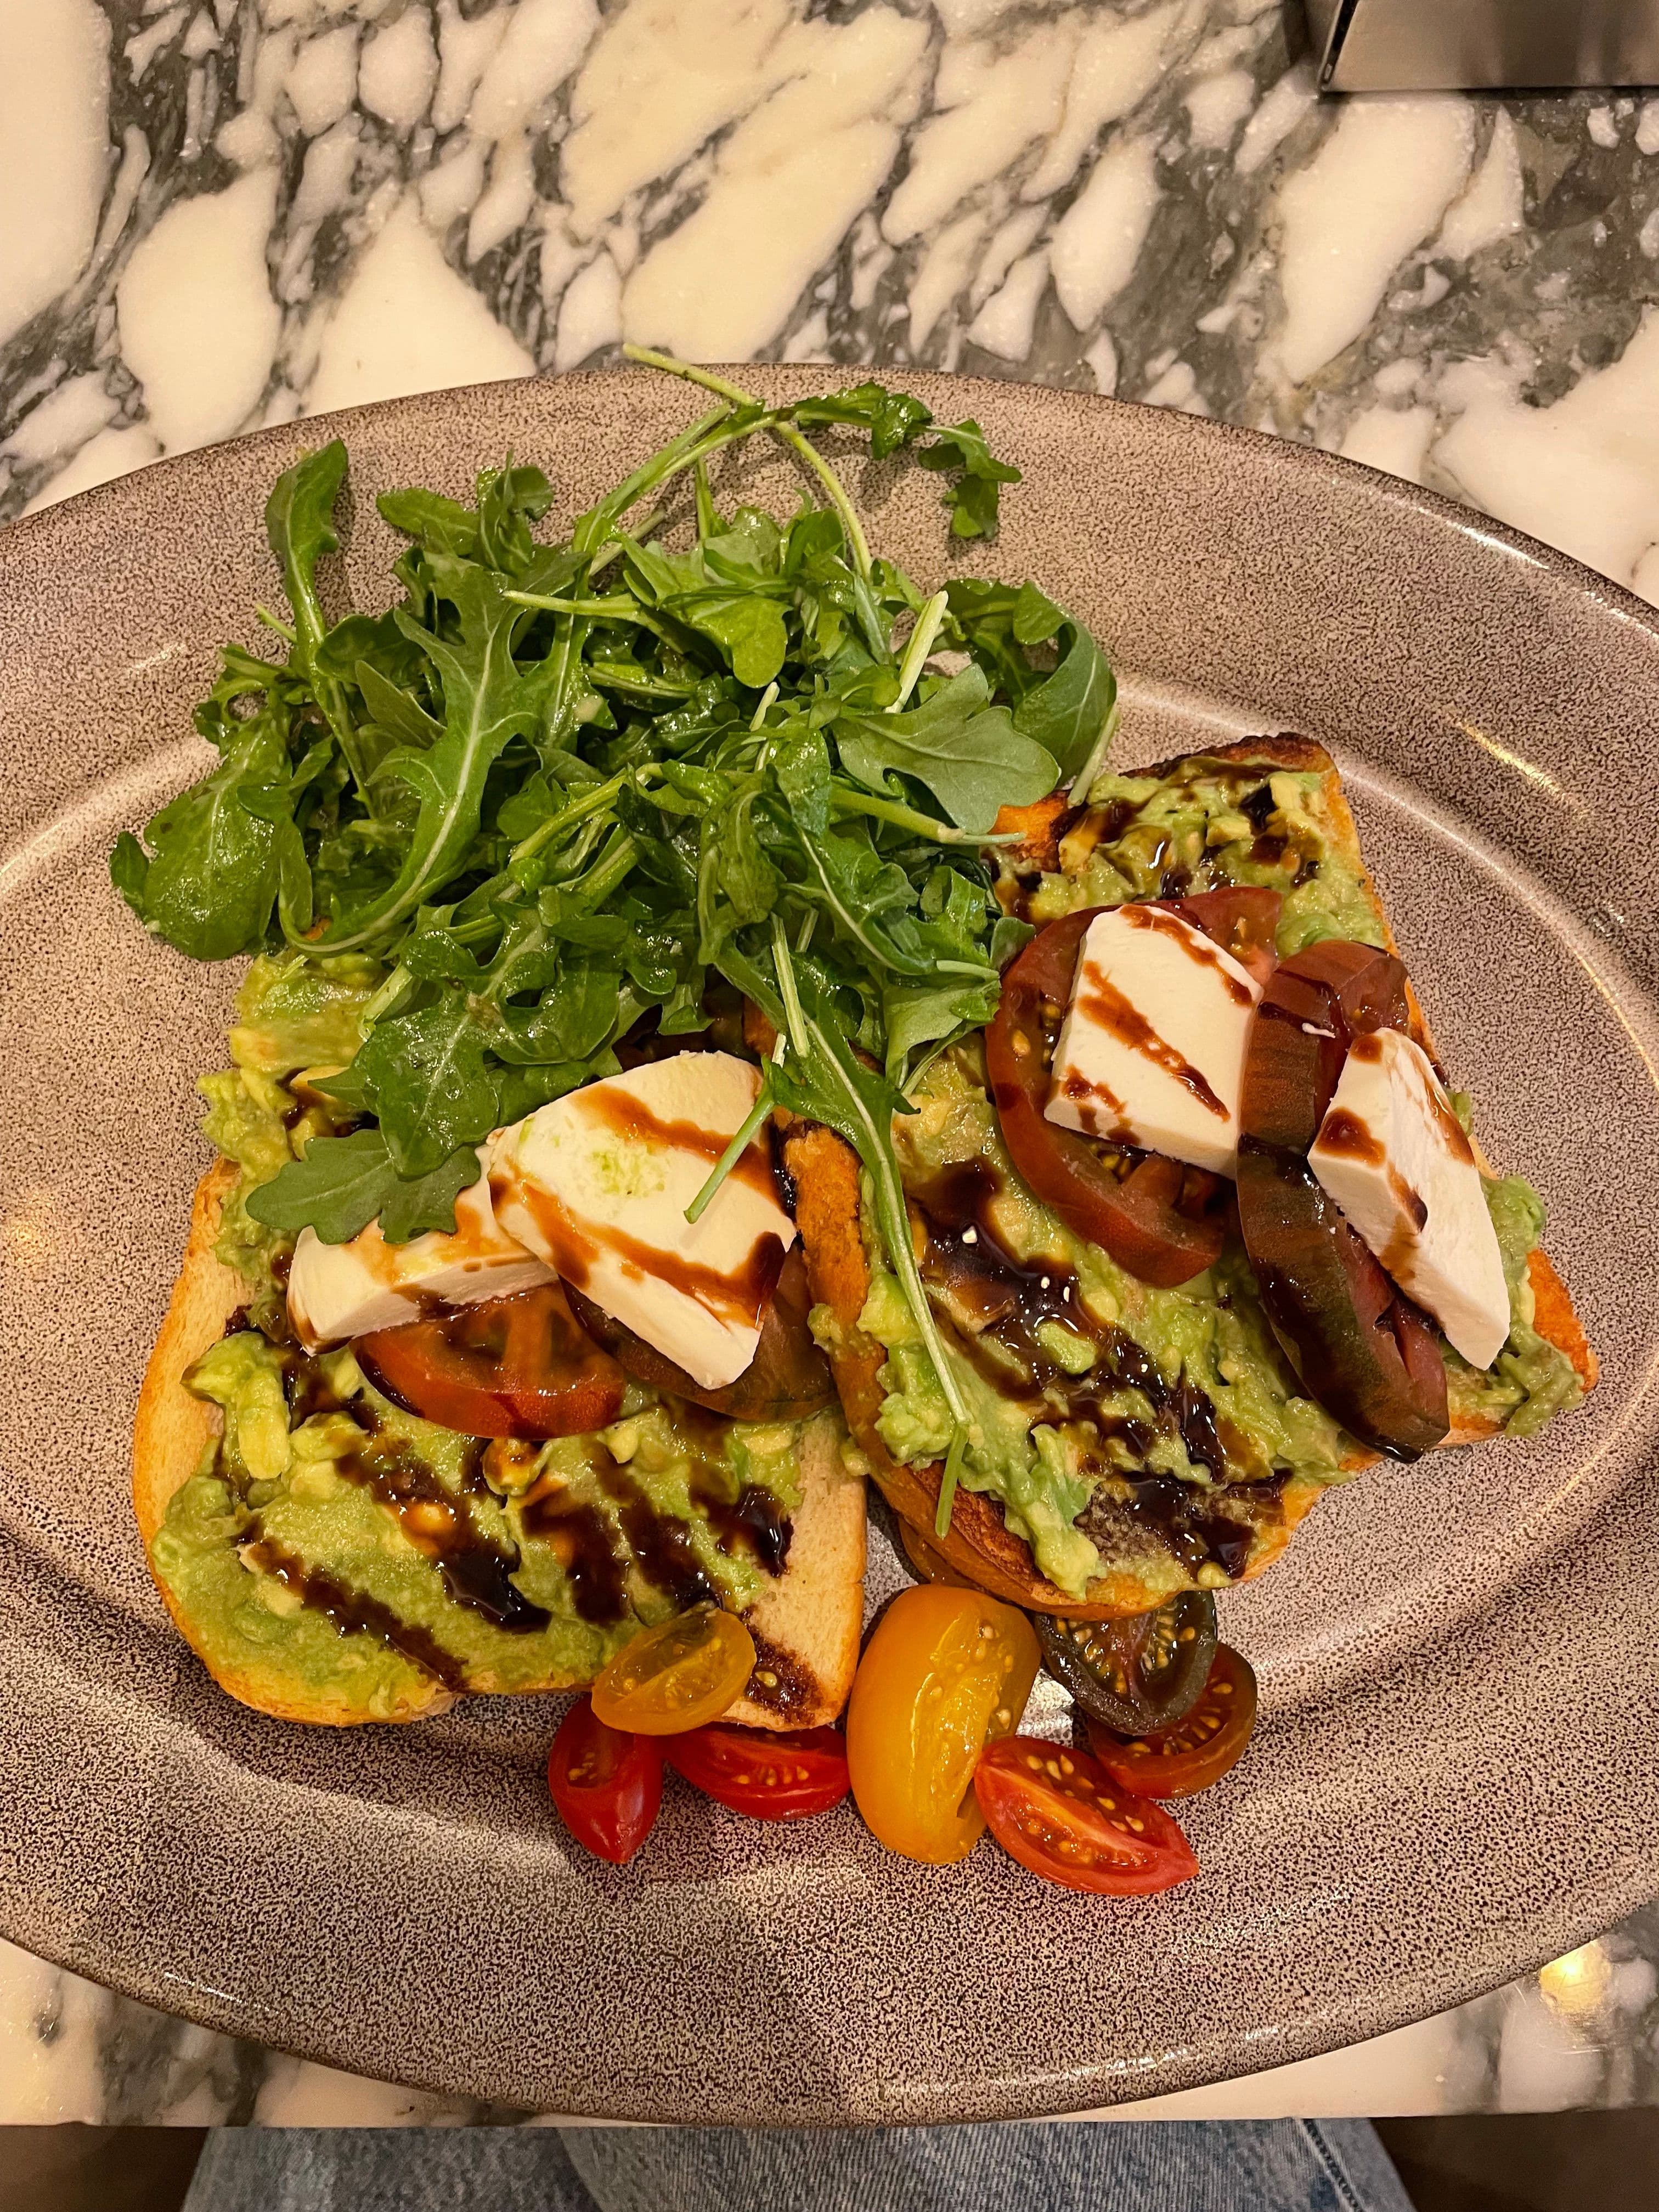
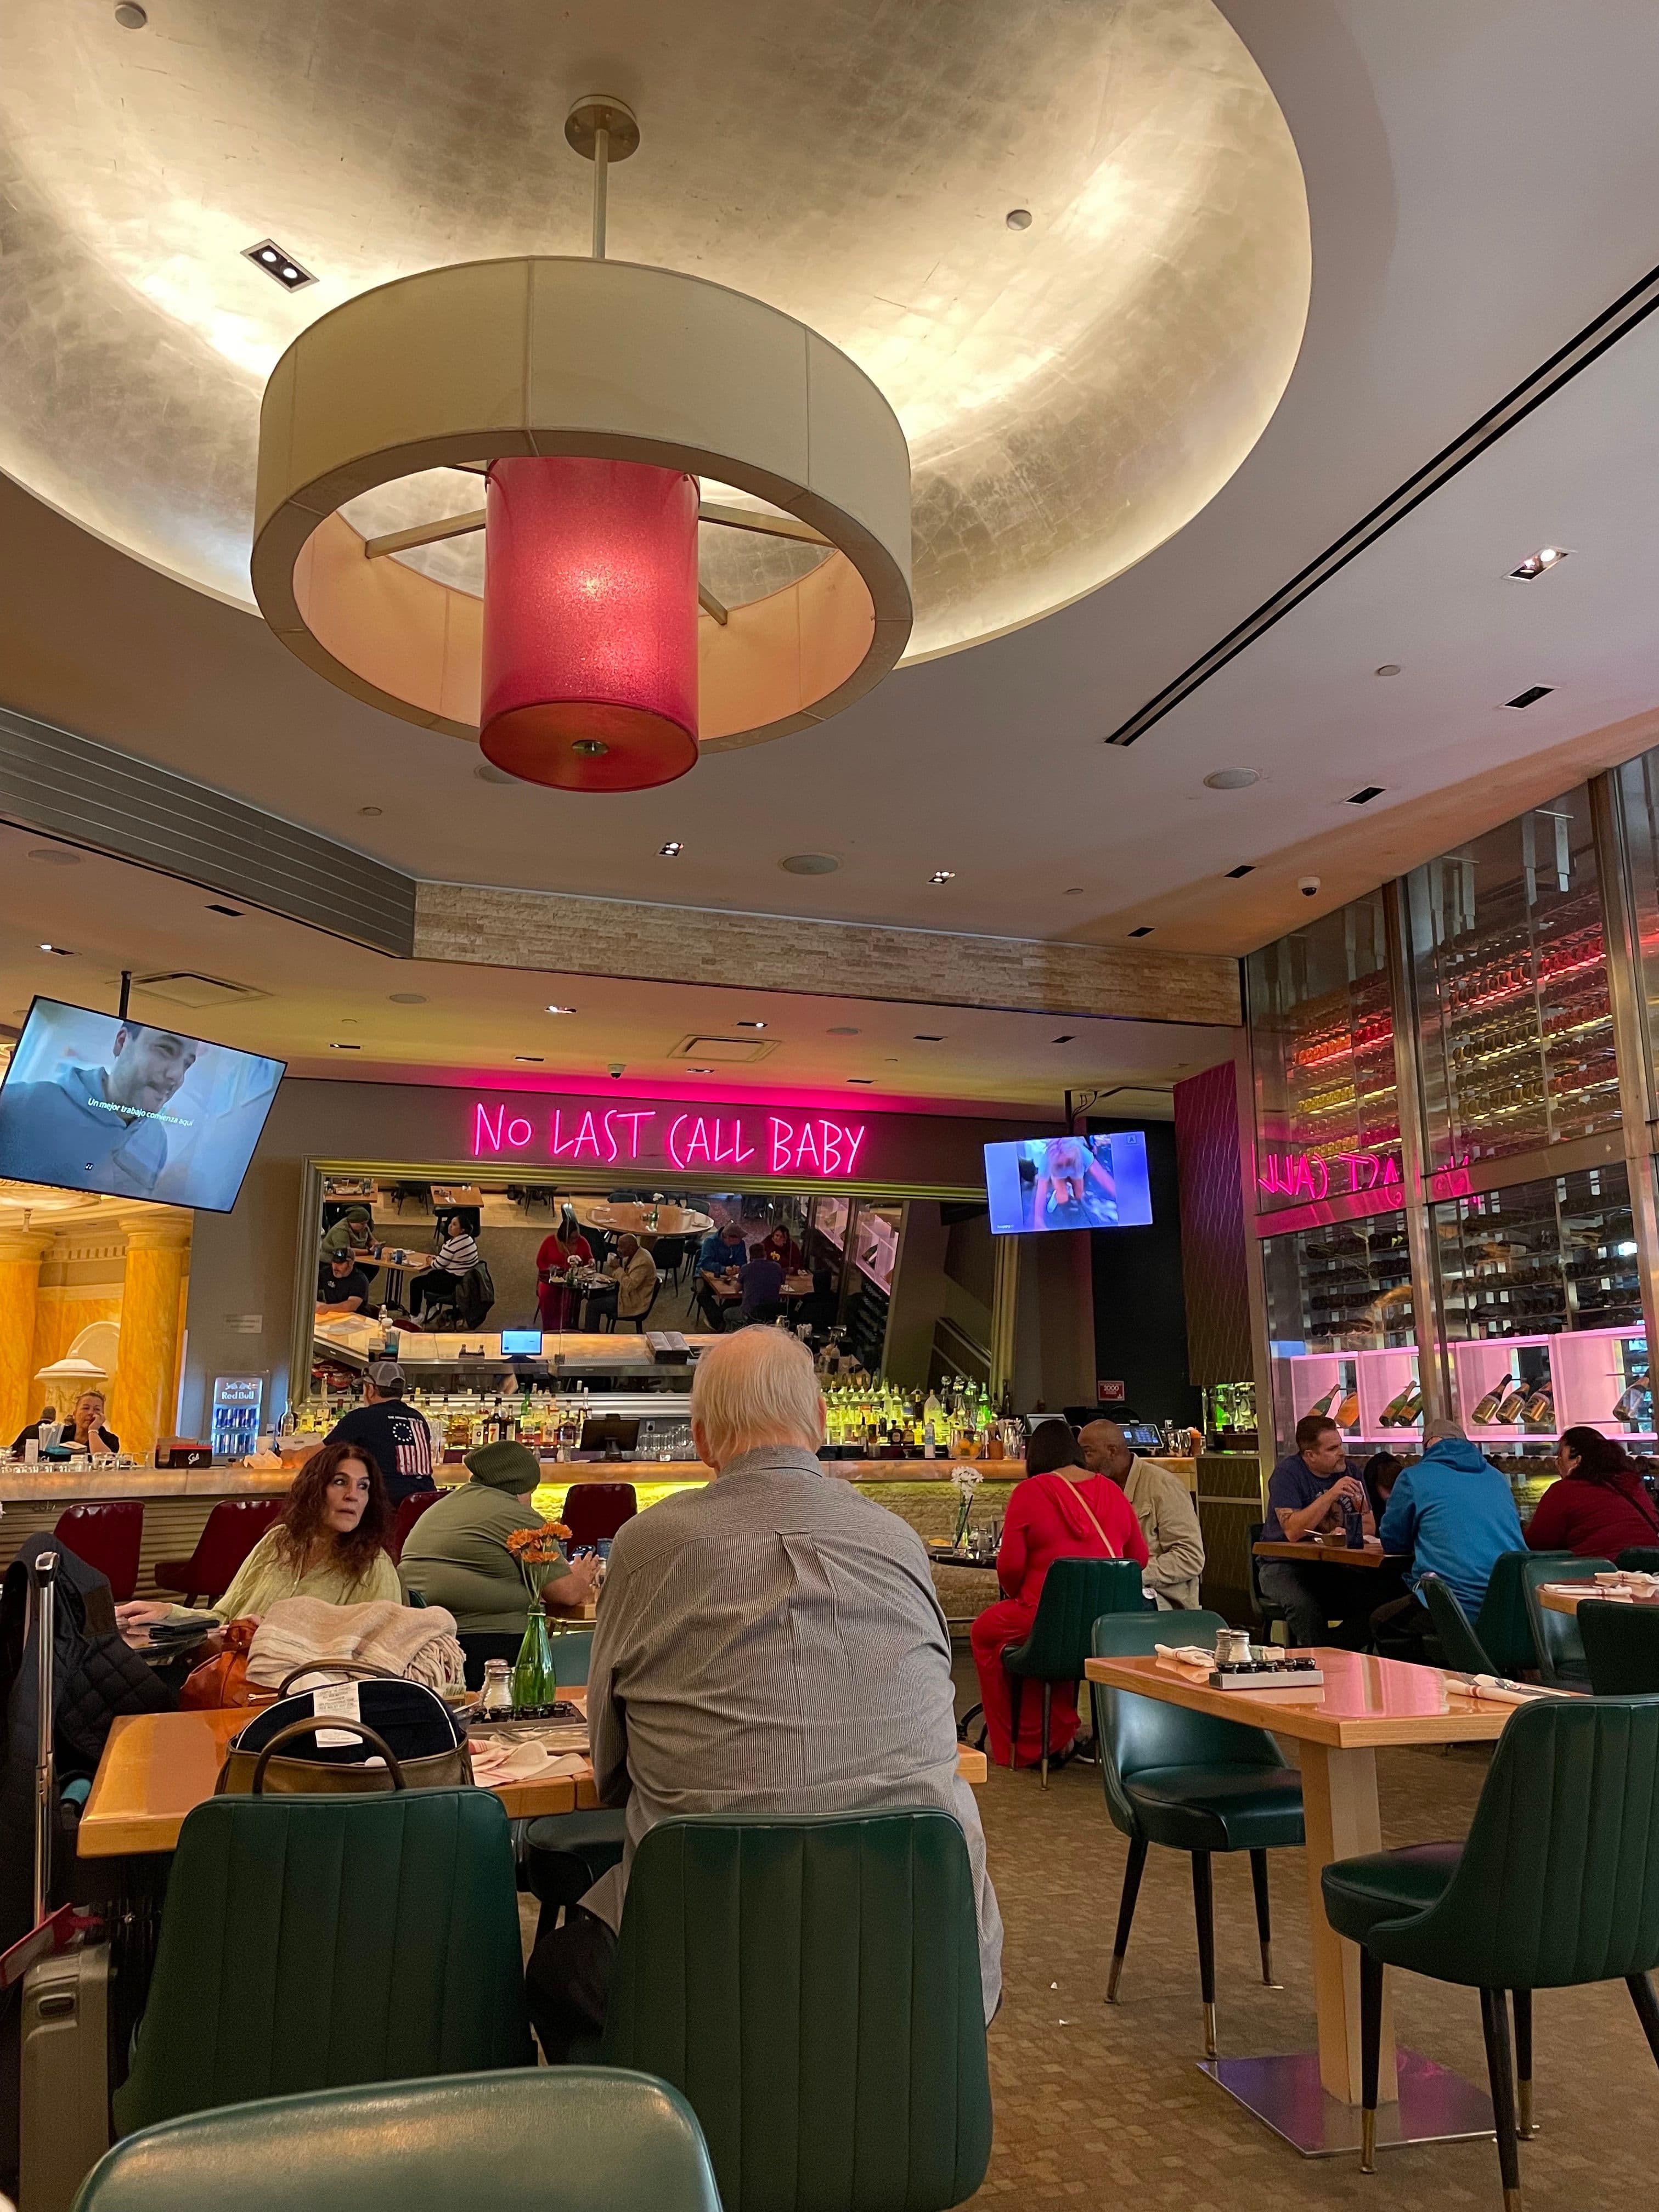
We decided to sleep in on our last day and let our bodies catch up on sleep.
We then had brunch at Cafe Americano. The servings were big and we enjoyed the avocado toast (again craving vegetables)!
- 2
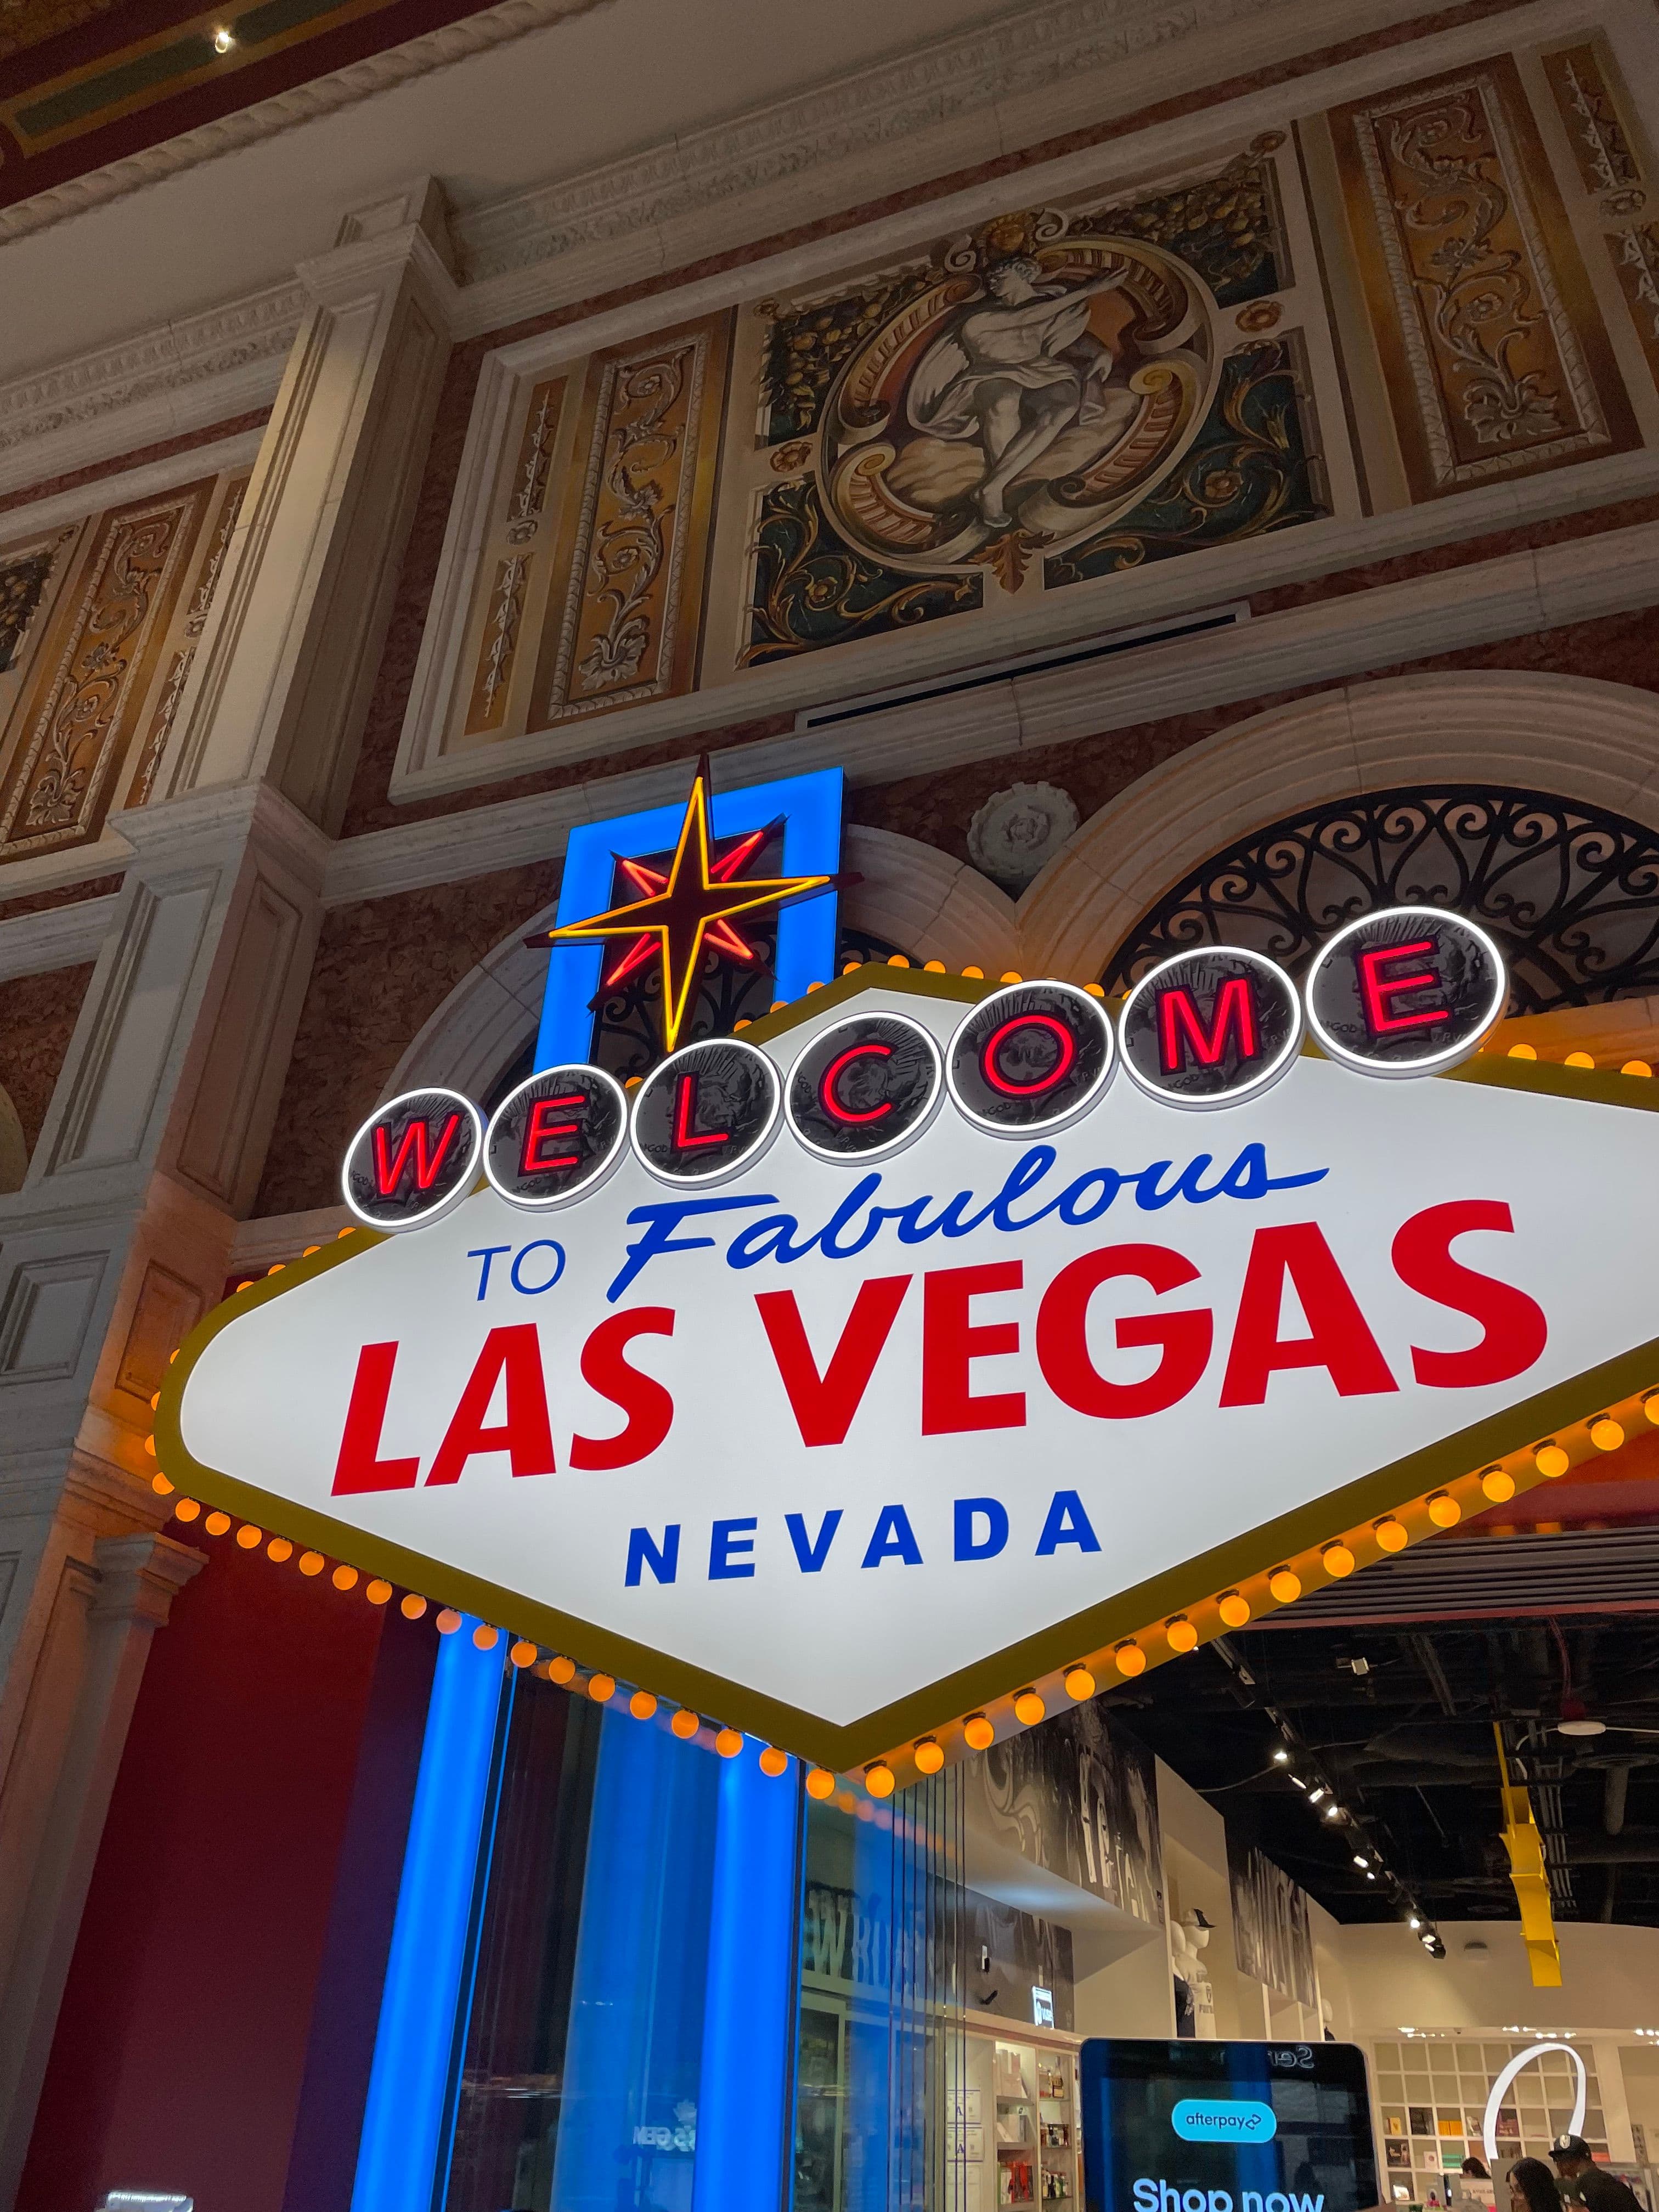
Walk along Las Vegas Blvd
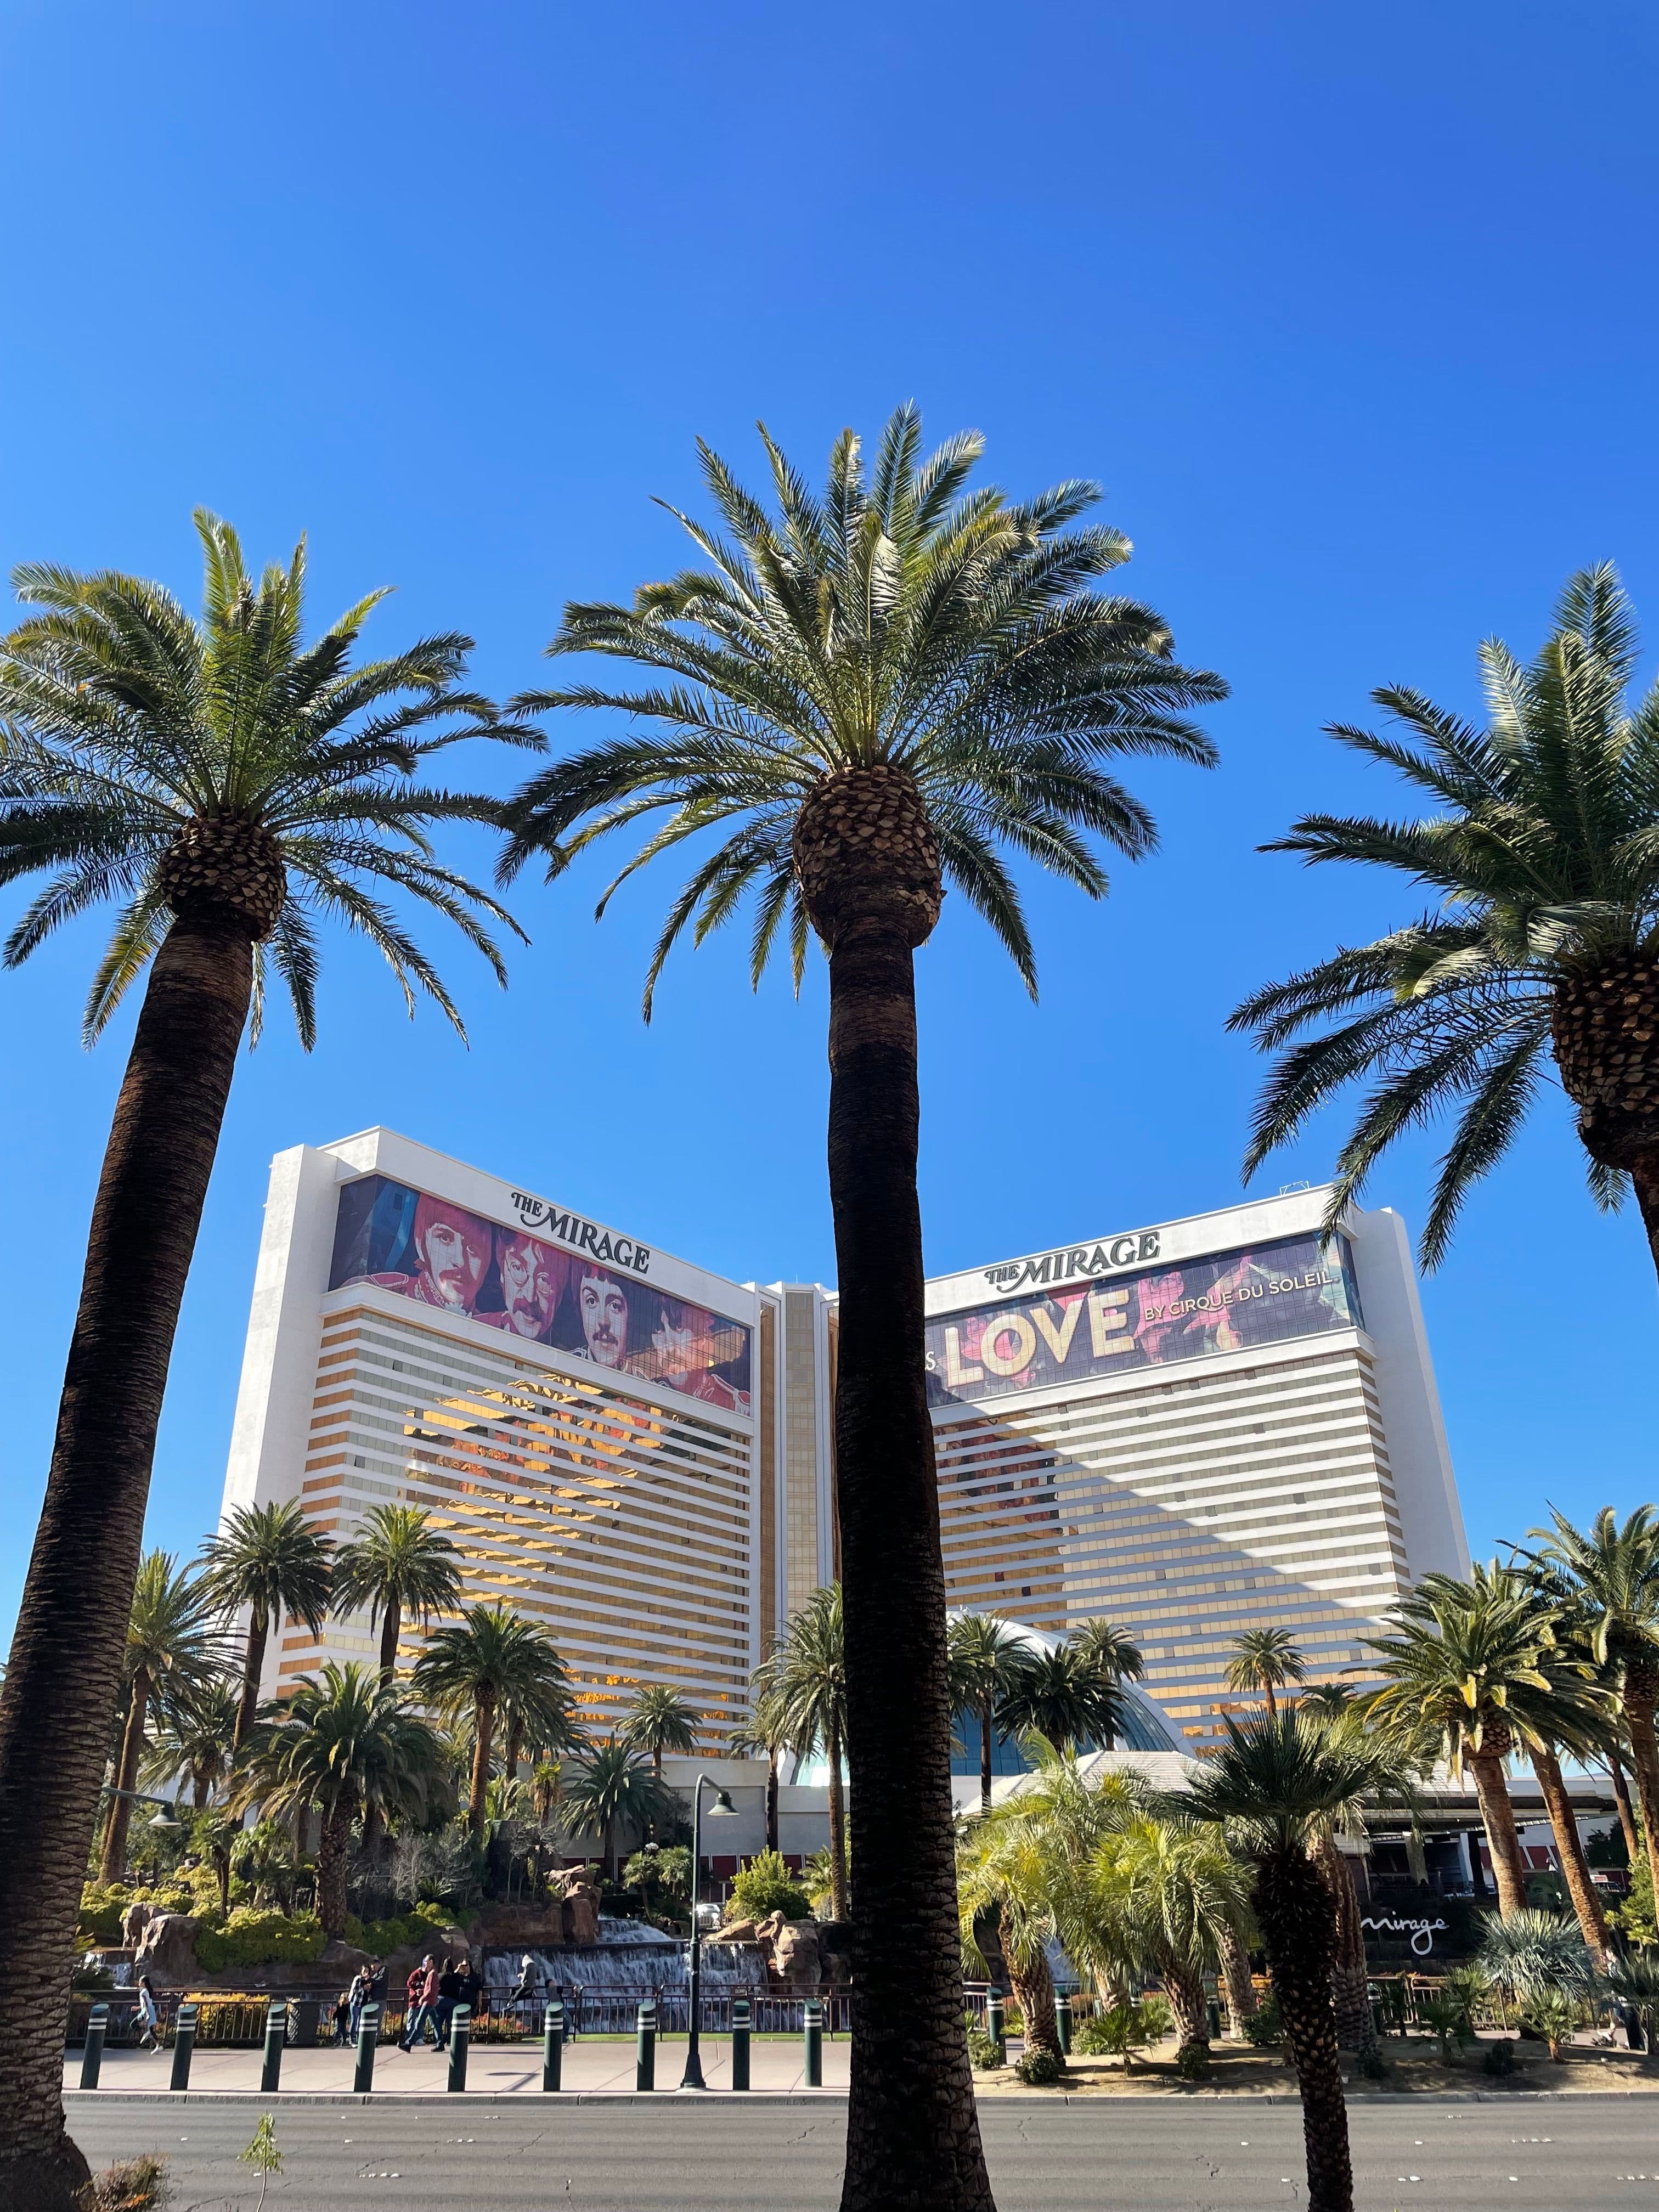
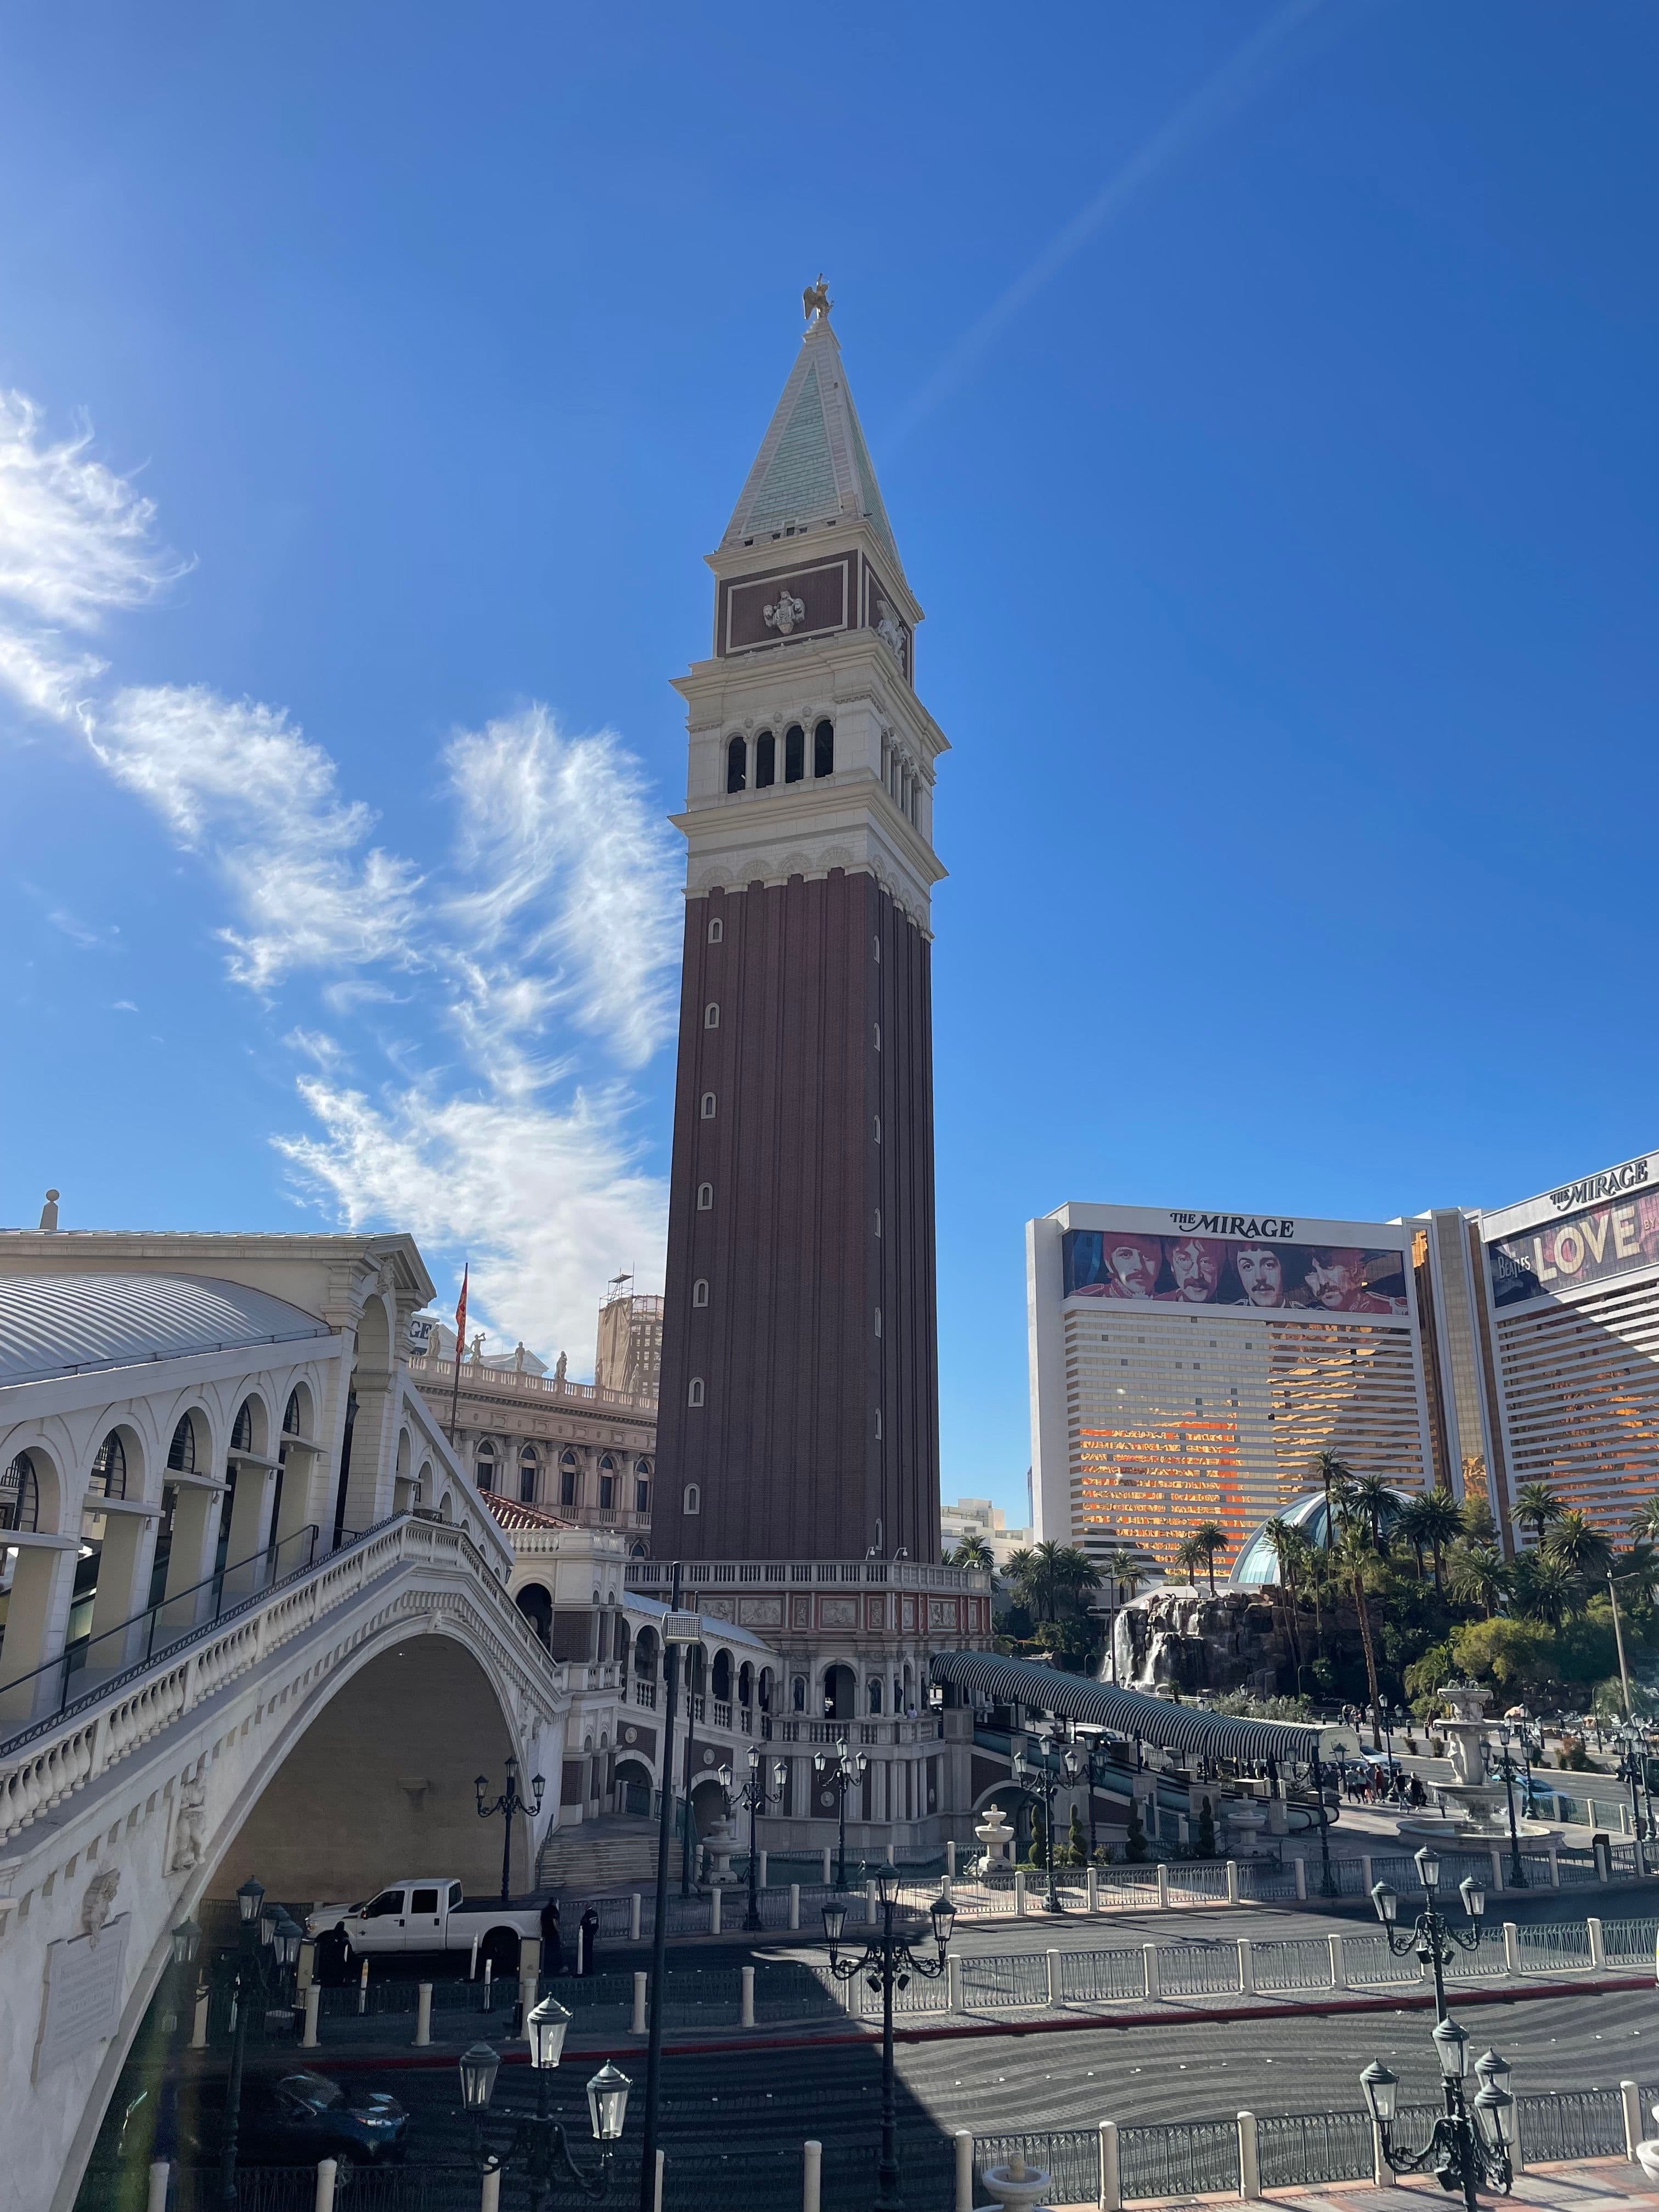
12:00PM
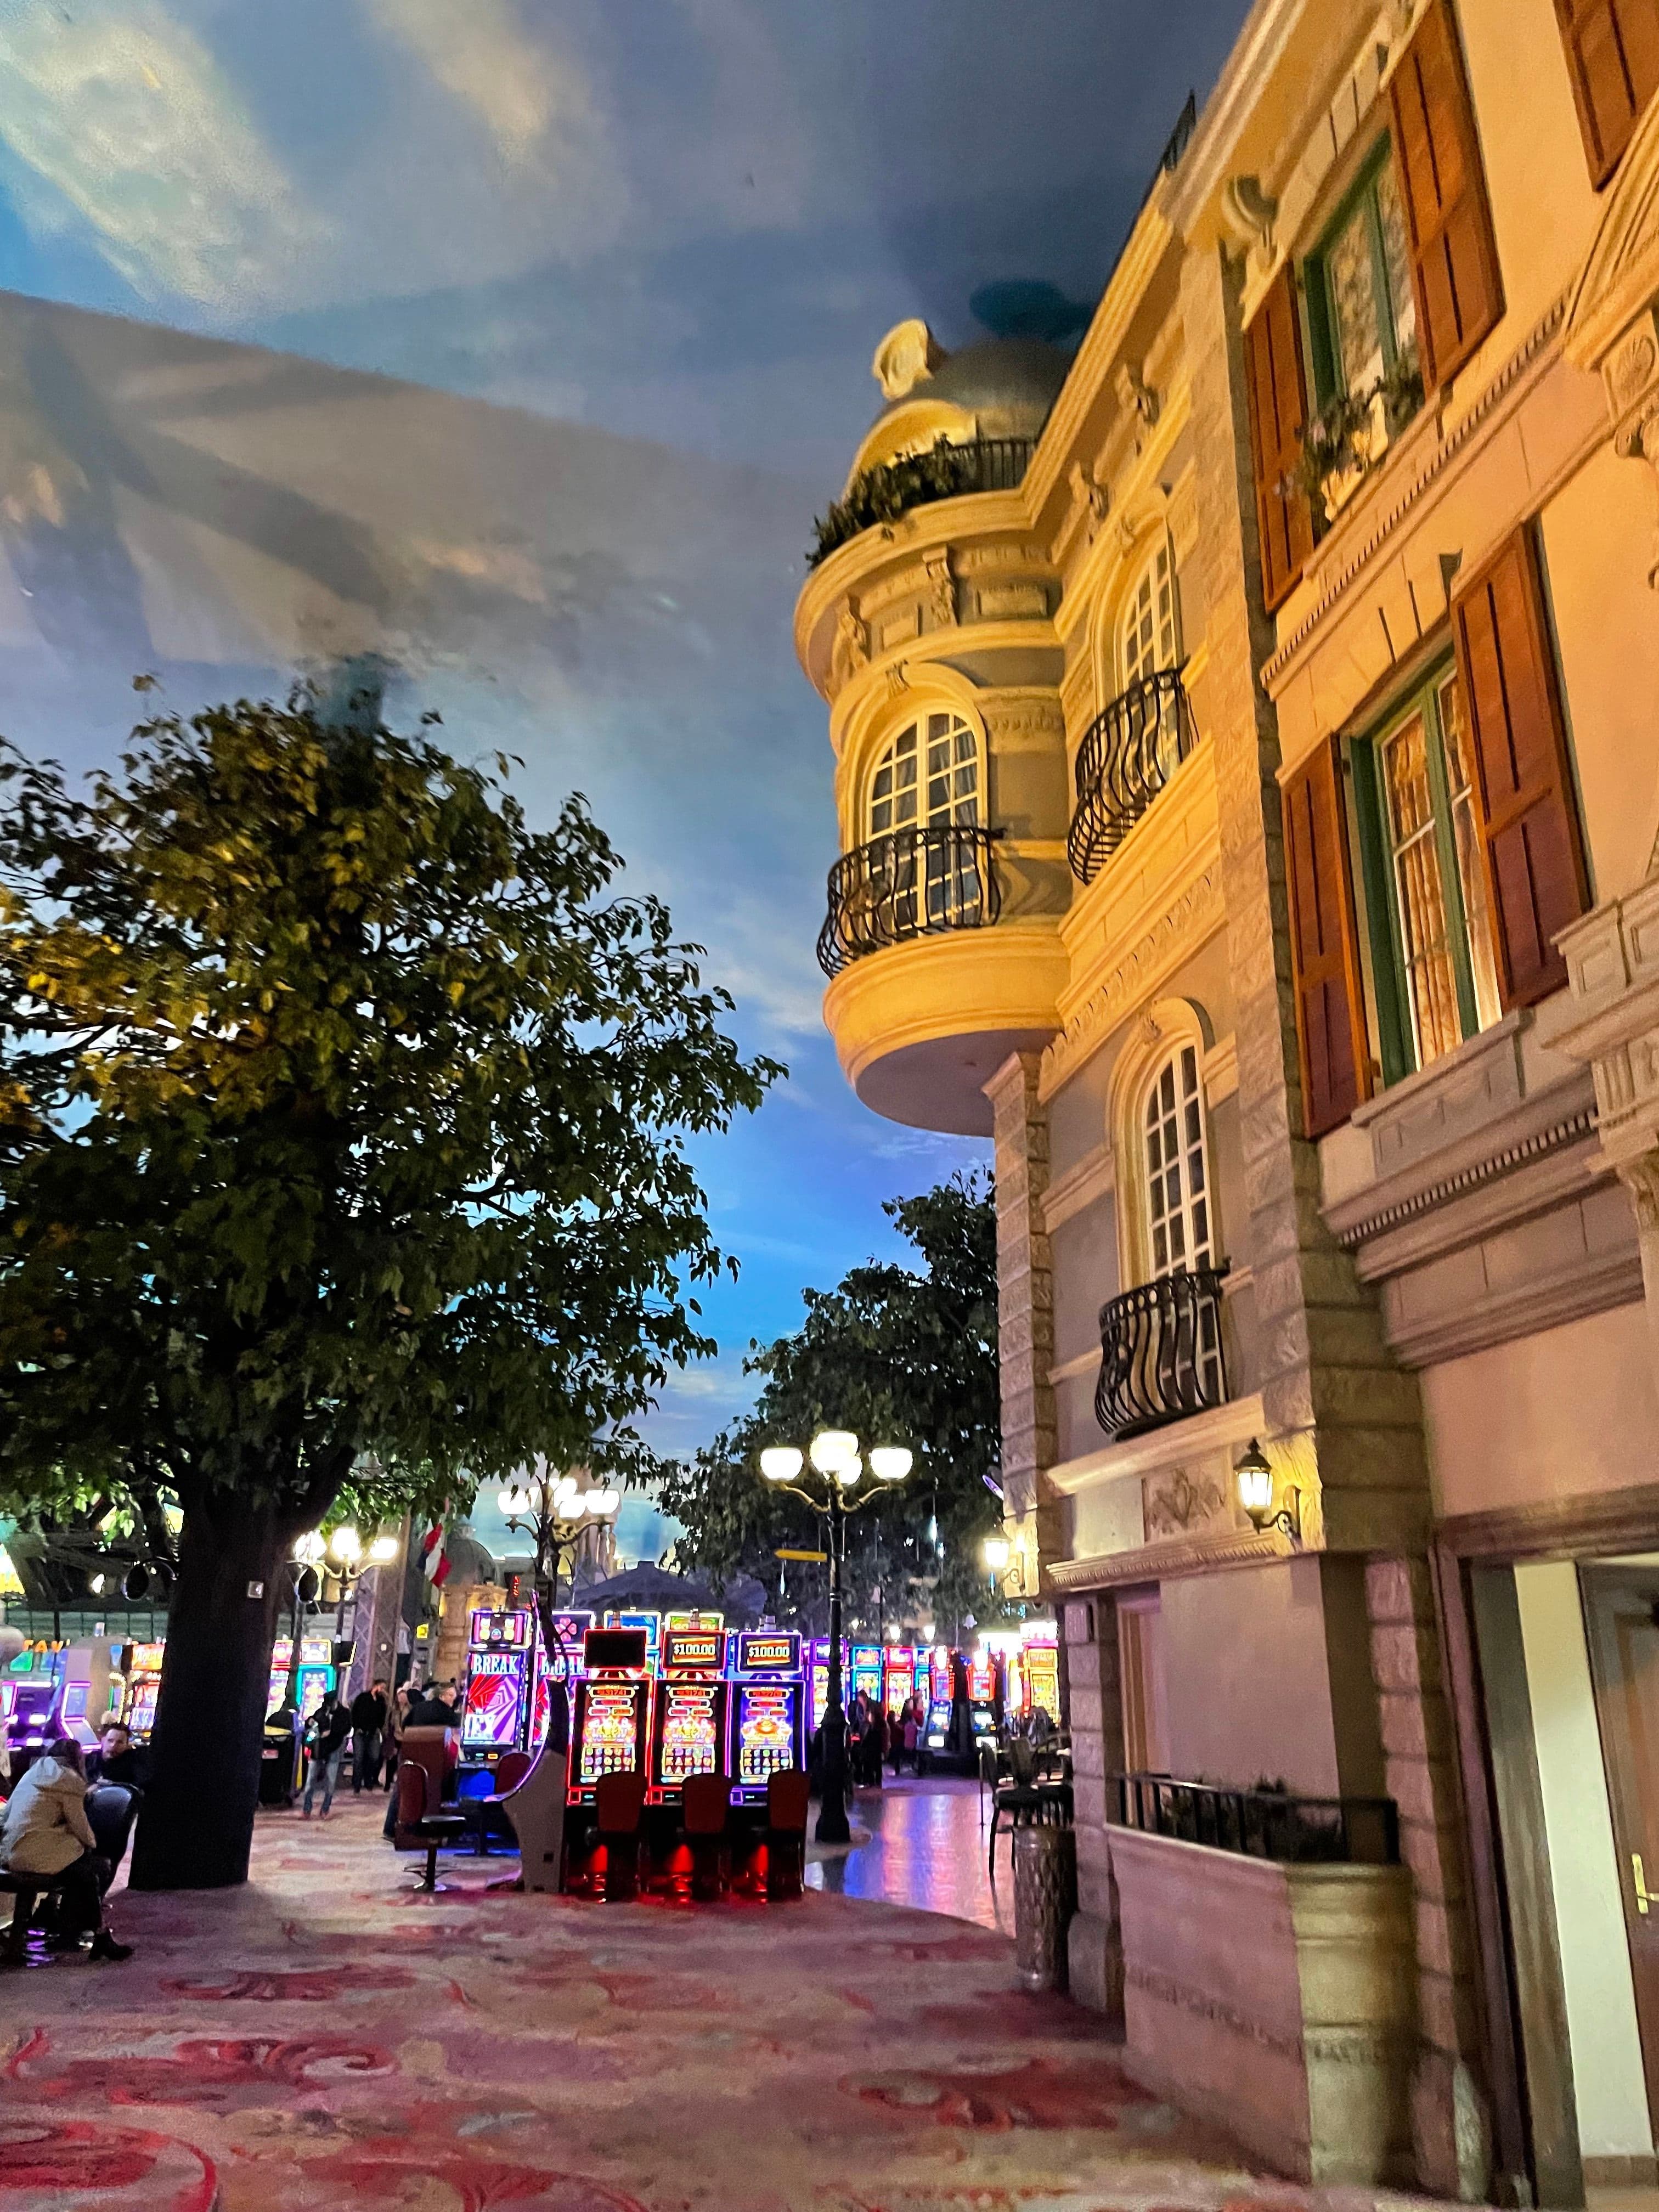
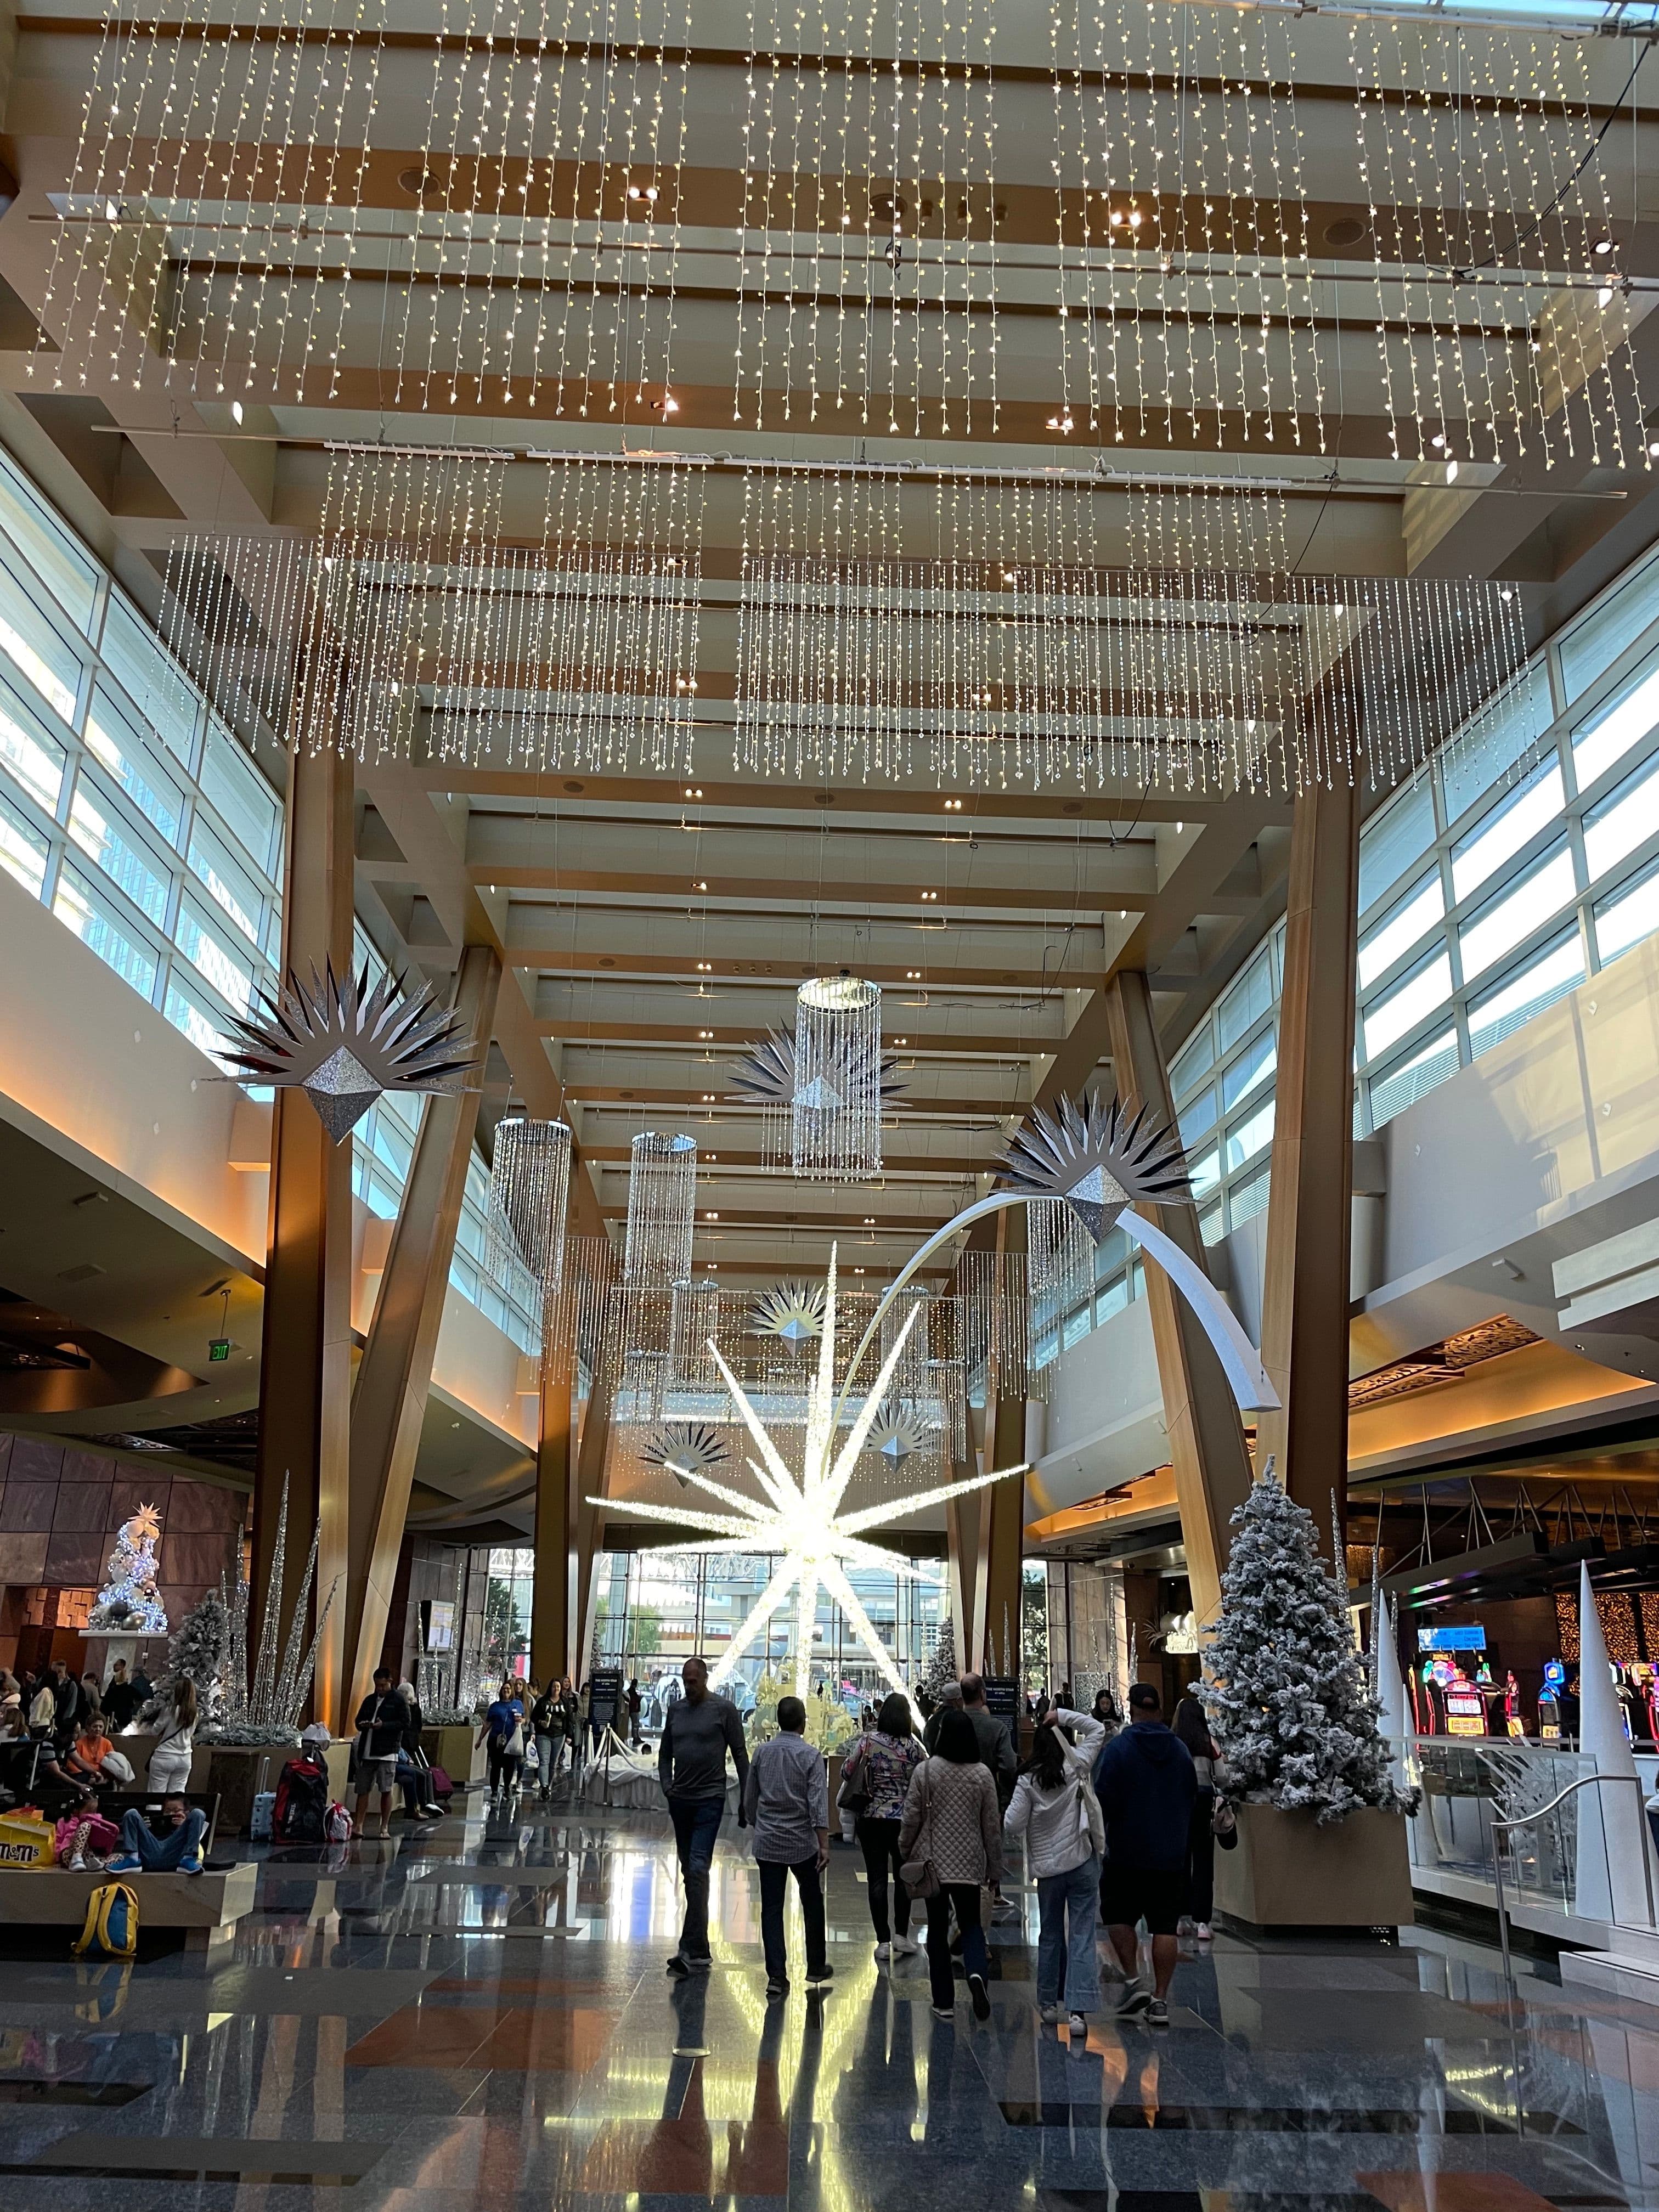
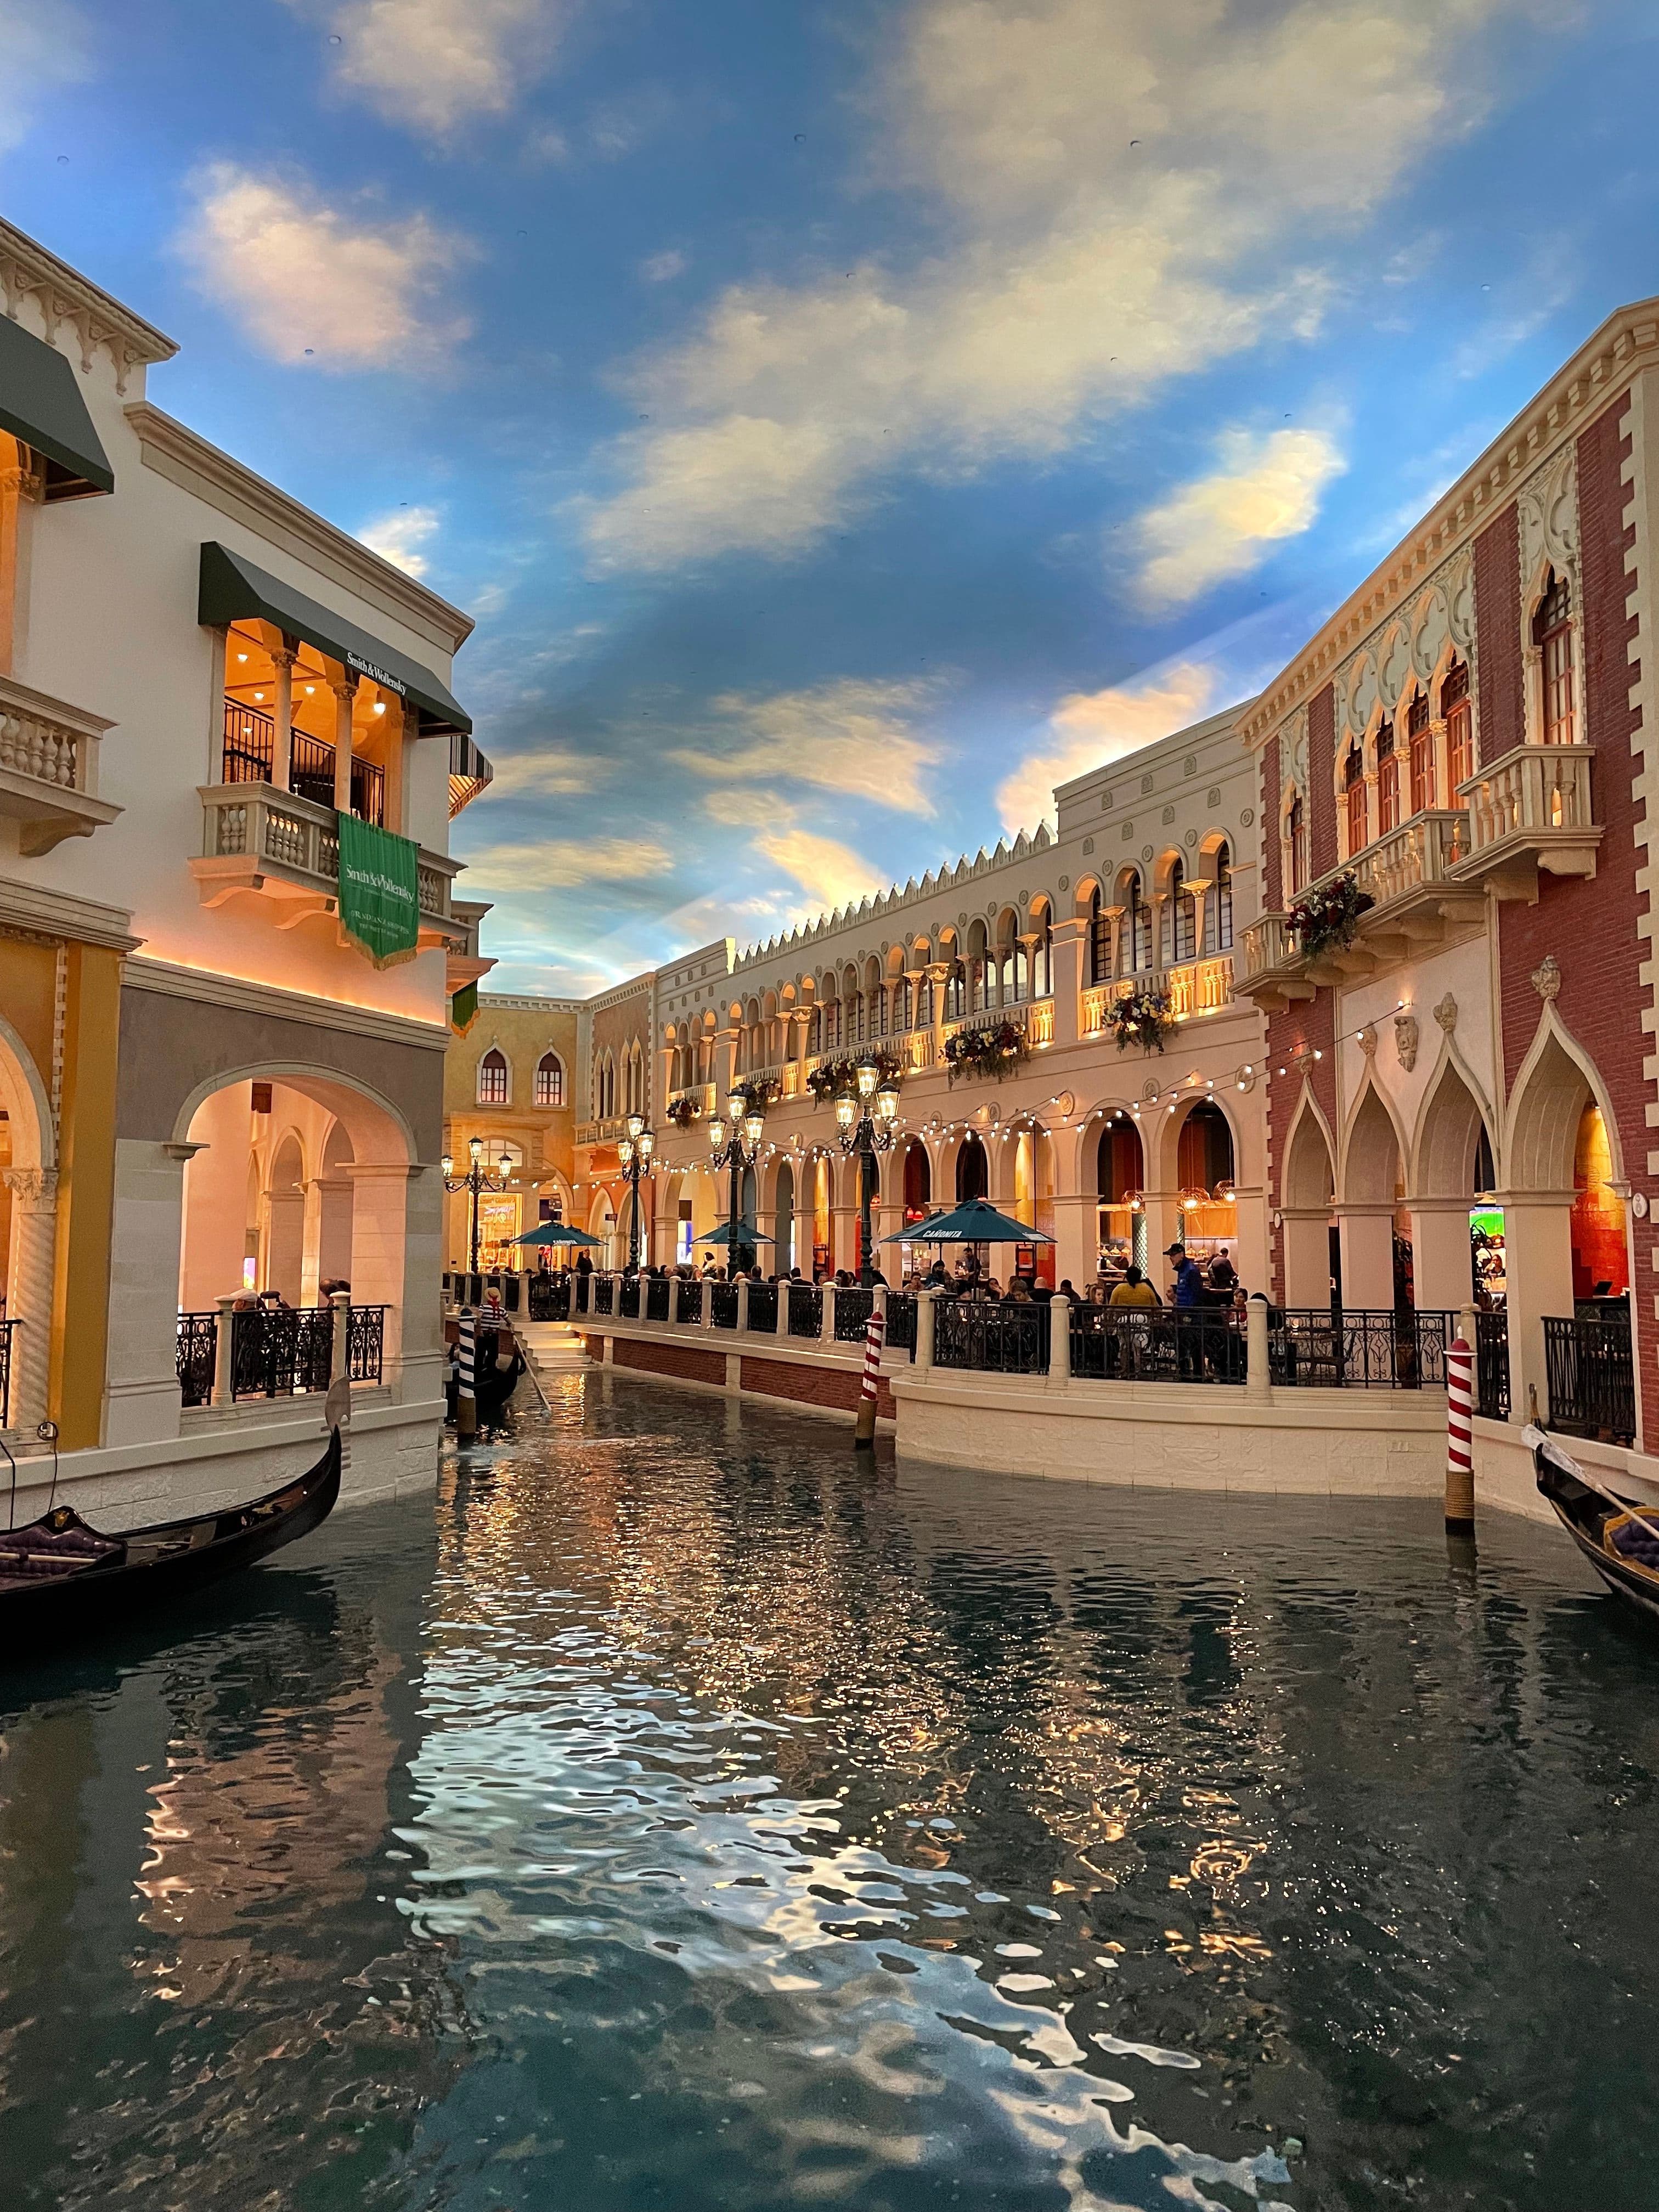
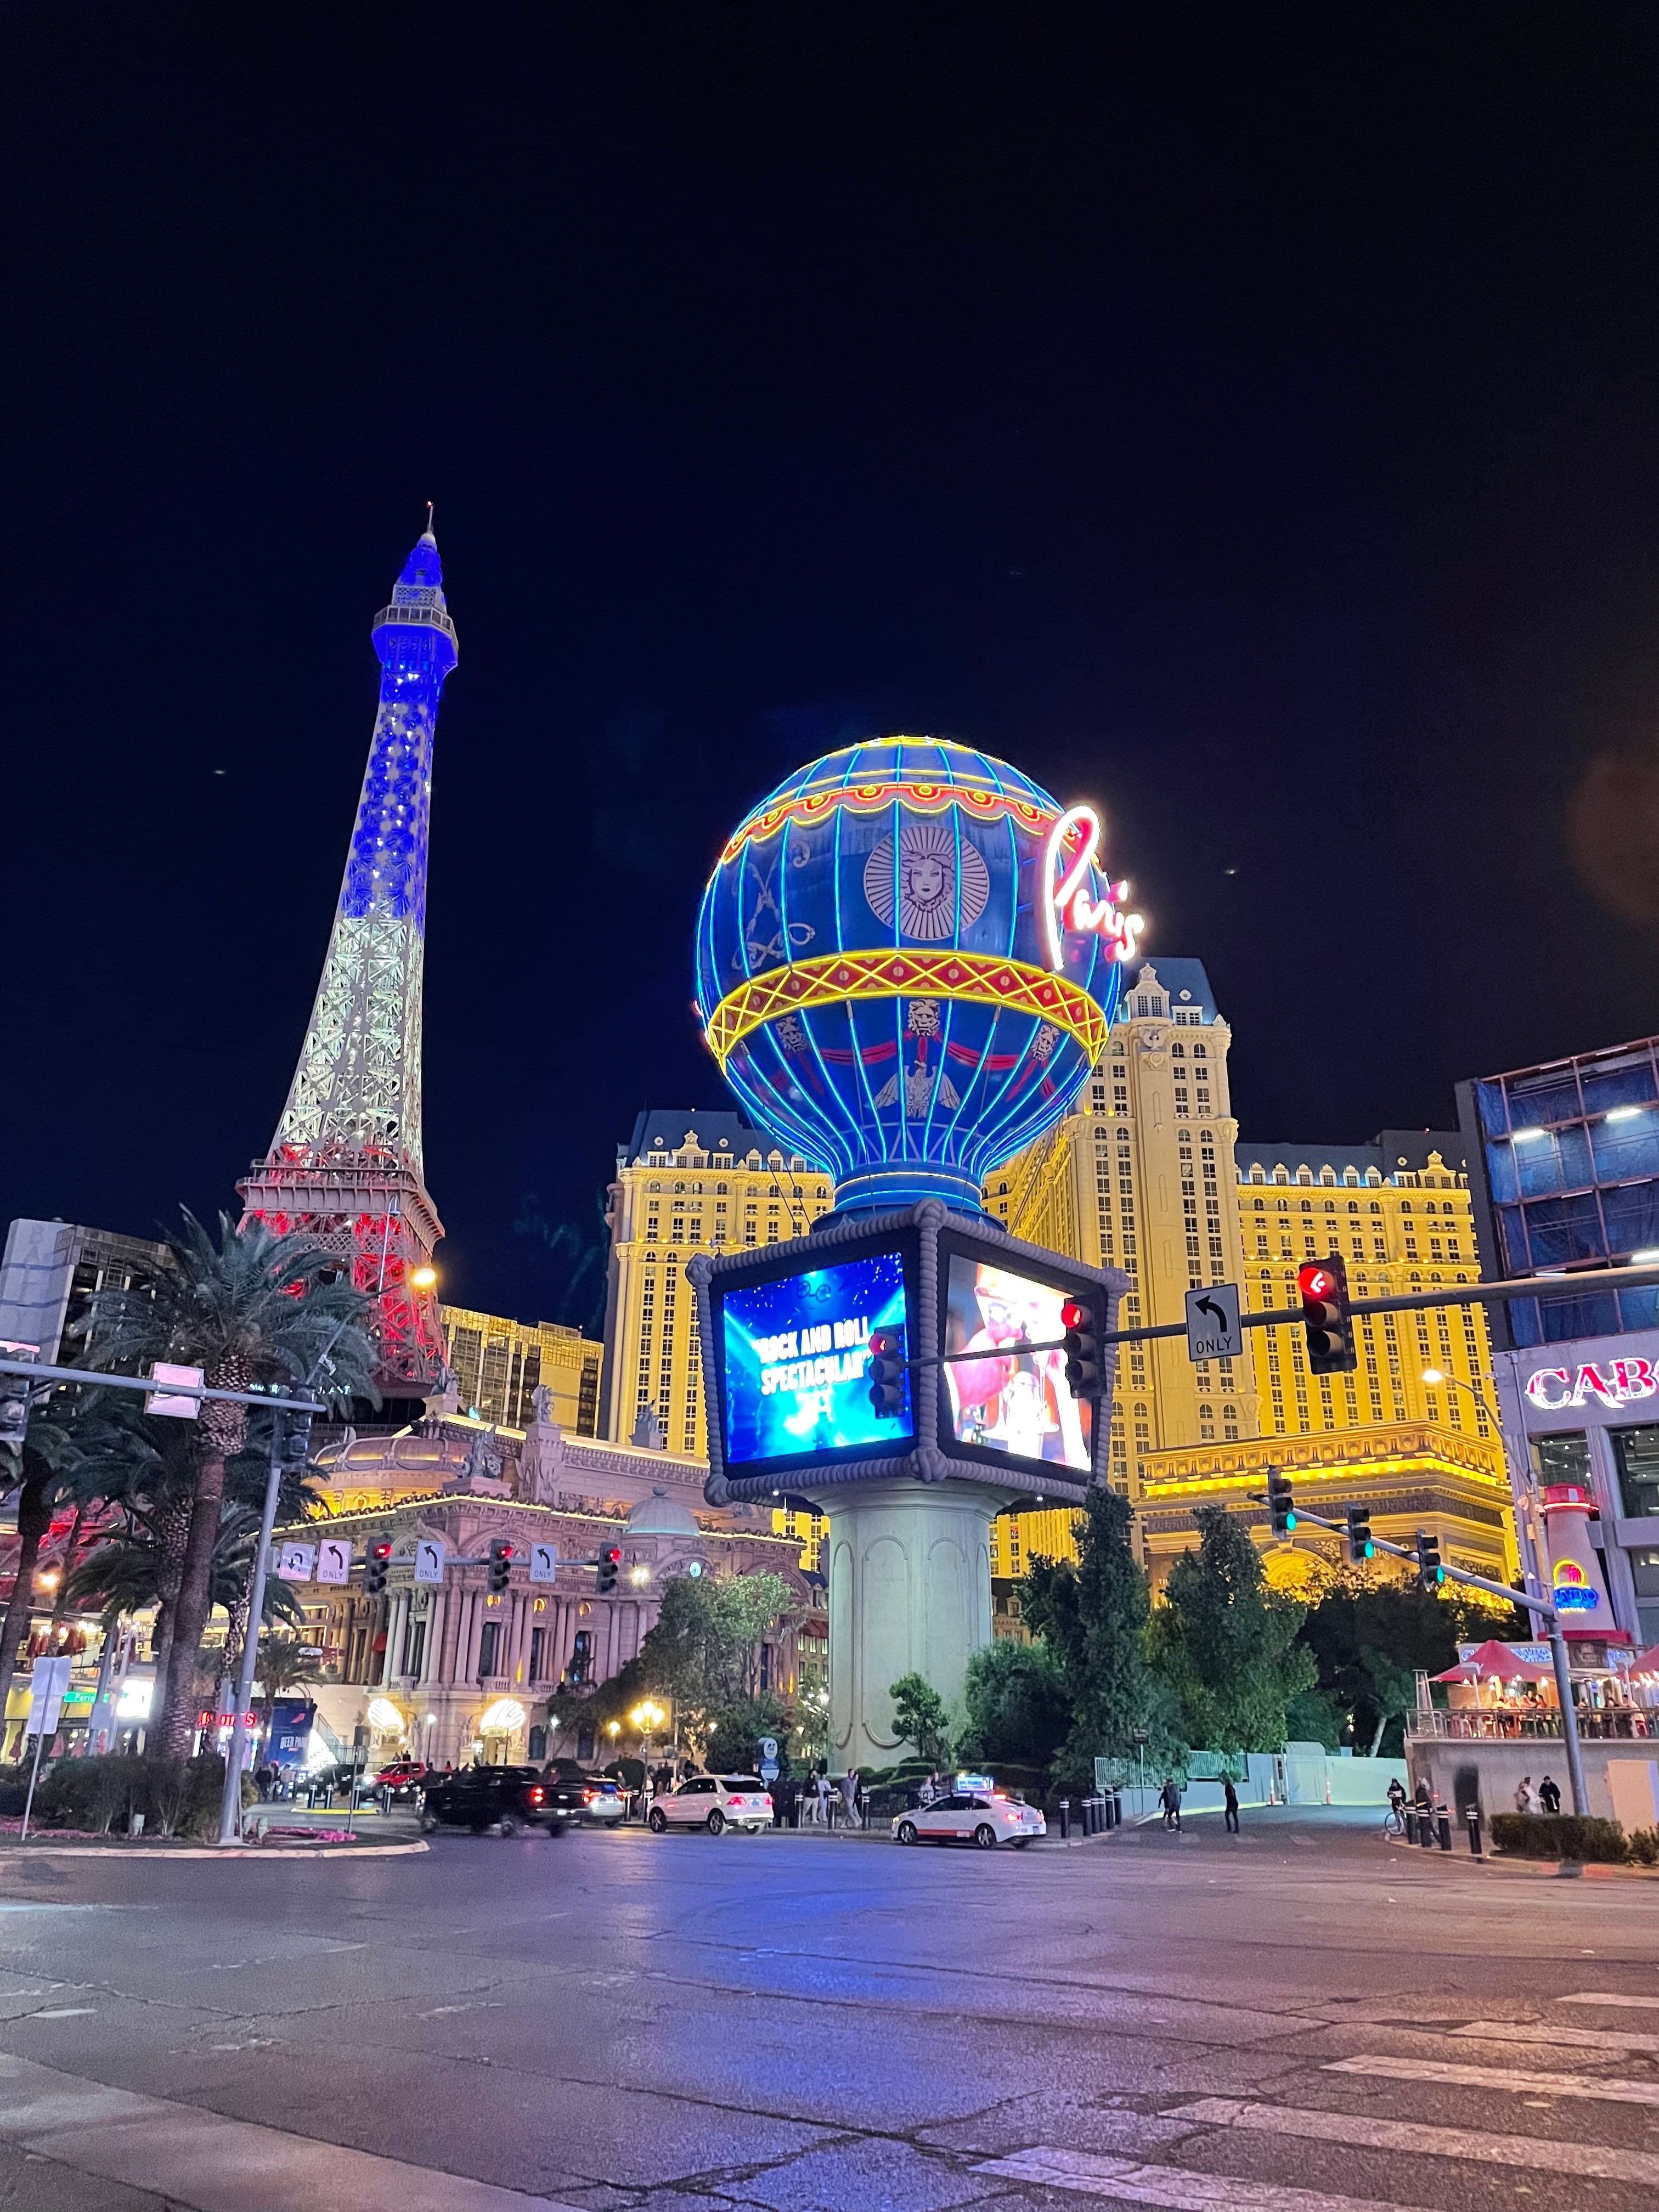
We then walked along the strip and checked out different hotels including The Cosmopolitan, The Aria, Paris, and The Venetian.
Choose your own adventure!
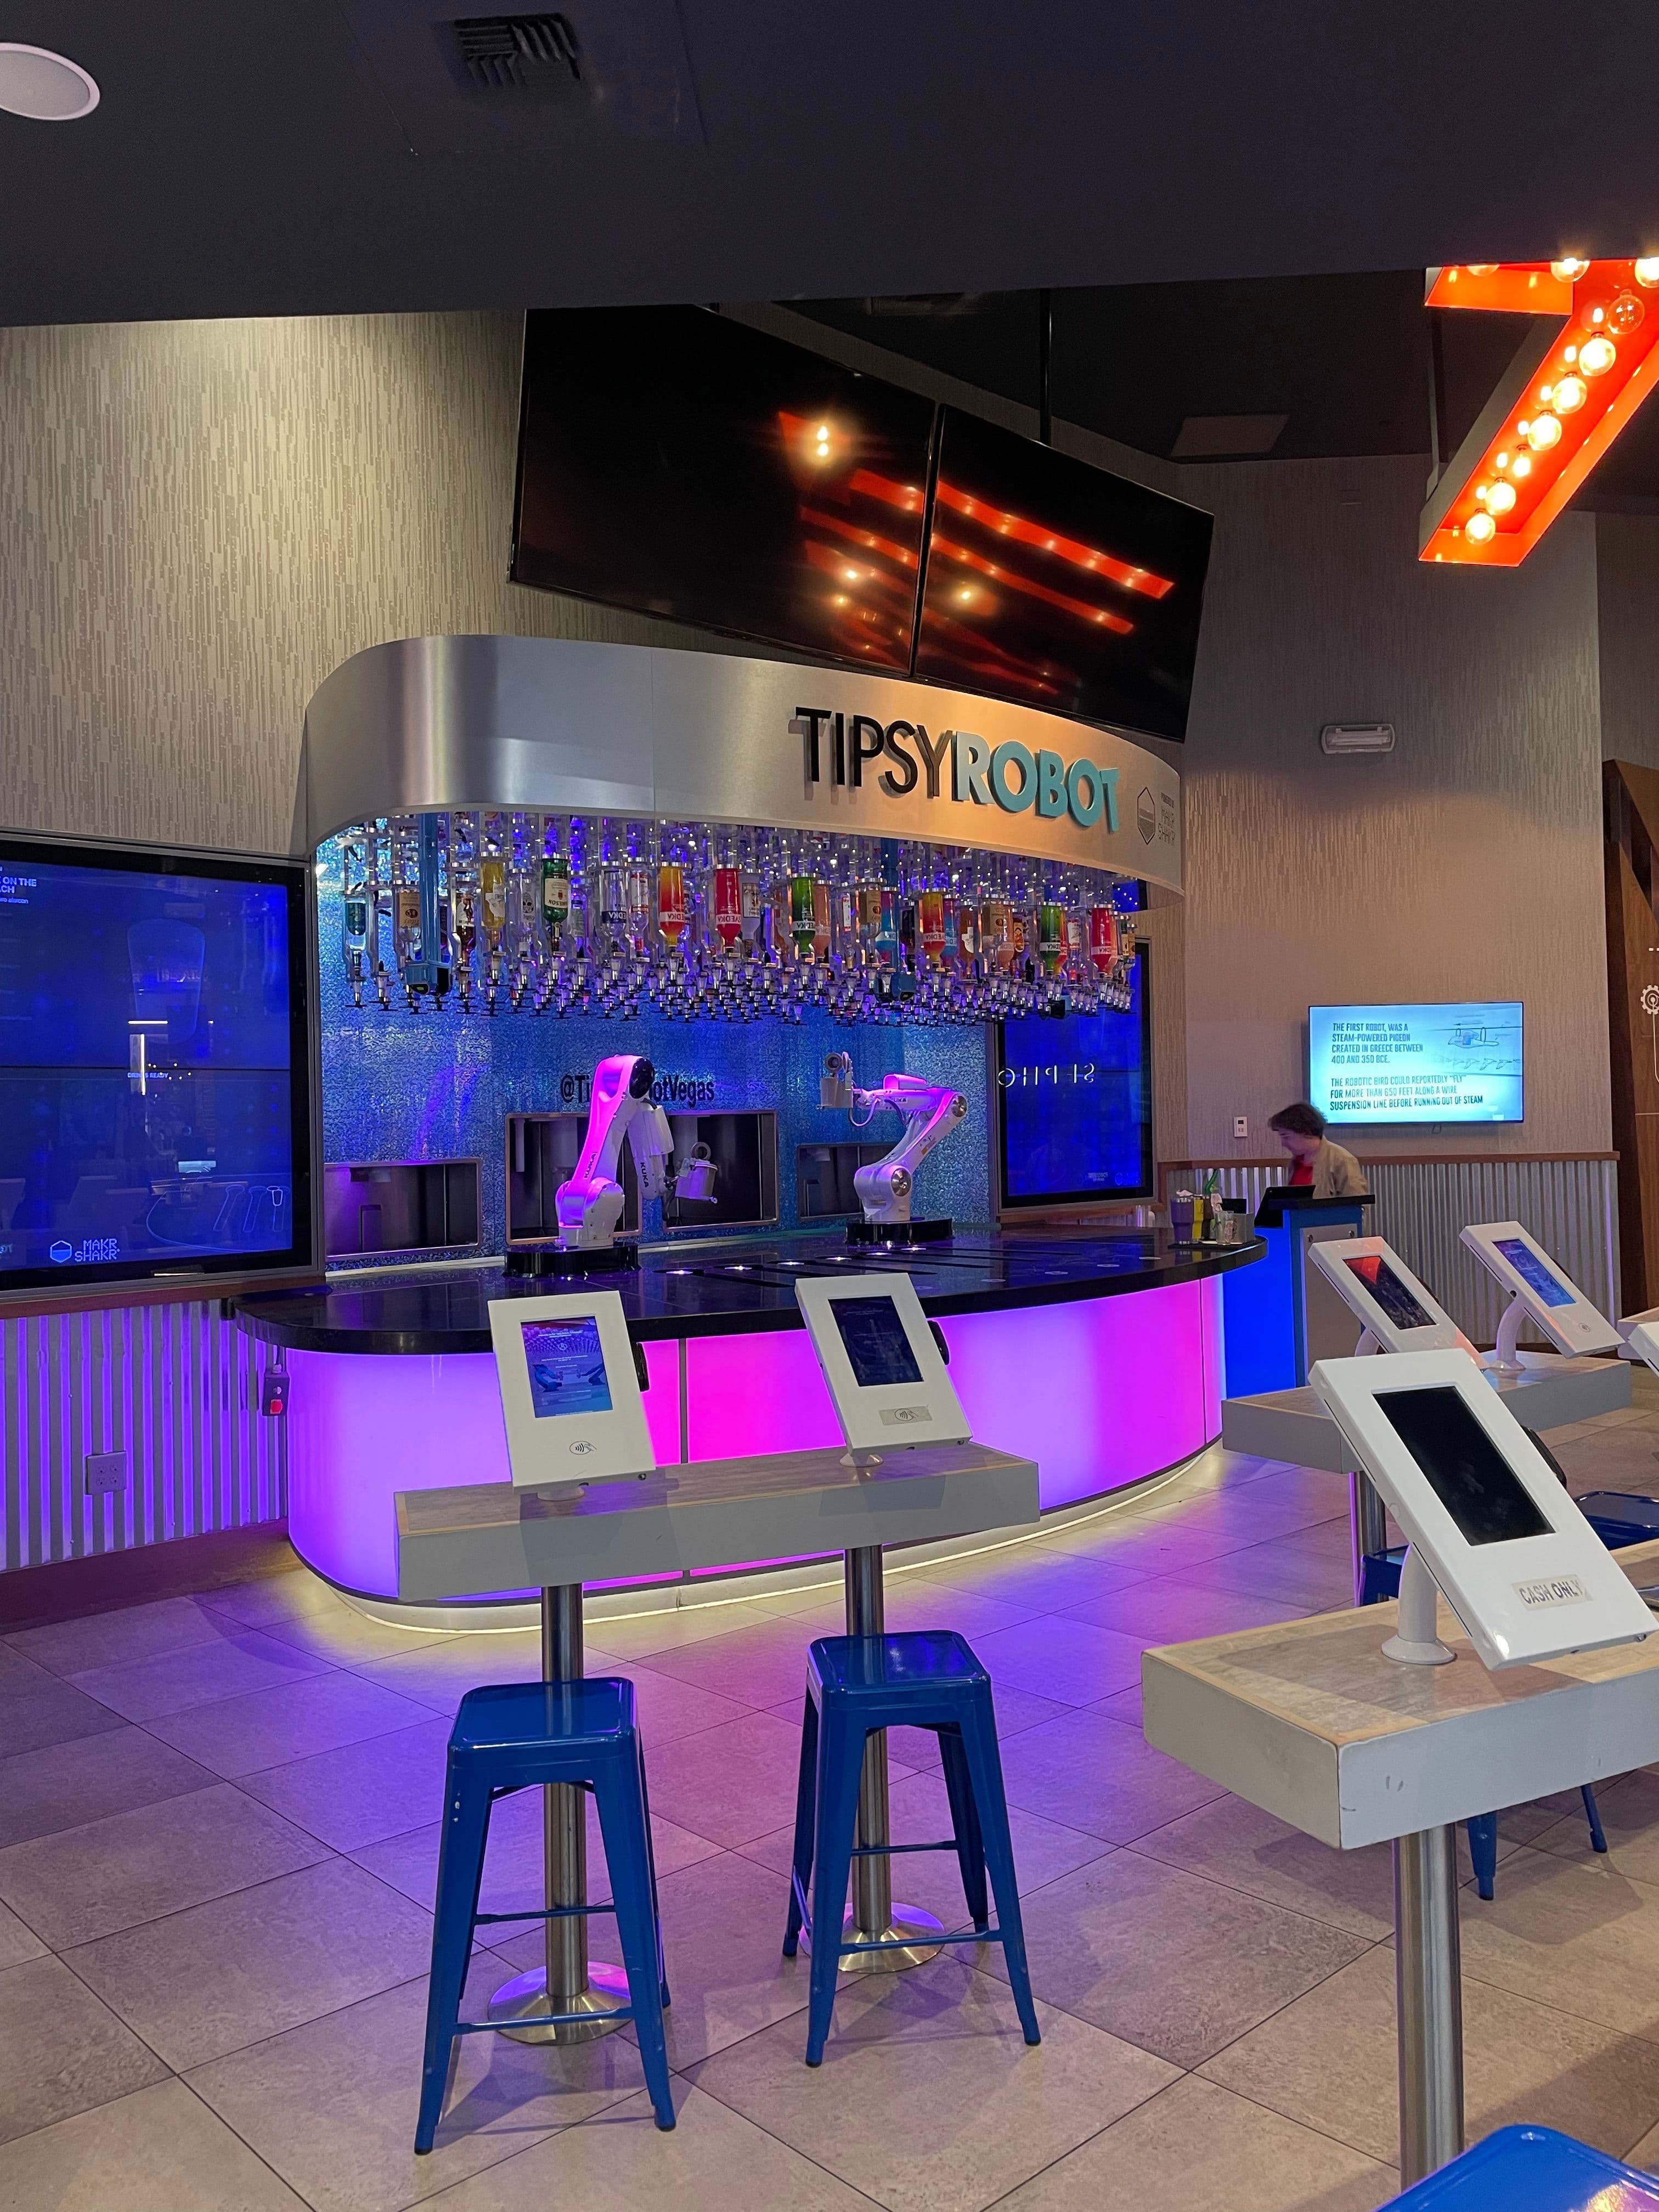
Being in Las Vegas, there are so many fun activities to do right on the strip! A few ideas include:
Enjoying views of the Strip from the top of the High Roller
Visit Madame Tussauds with a Gondola Cruise
Visit the Eiffel Tower replica Viewing Deck
Visit the Shark Reef Aquarium
Or check out the Las Vegas Go City All-Inclusive Pass
- 3
Drinks at The Chandelier
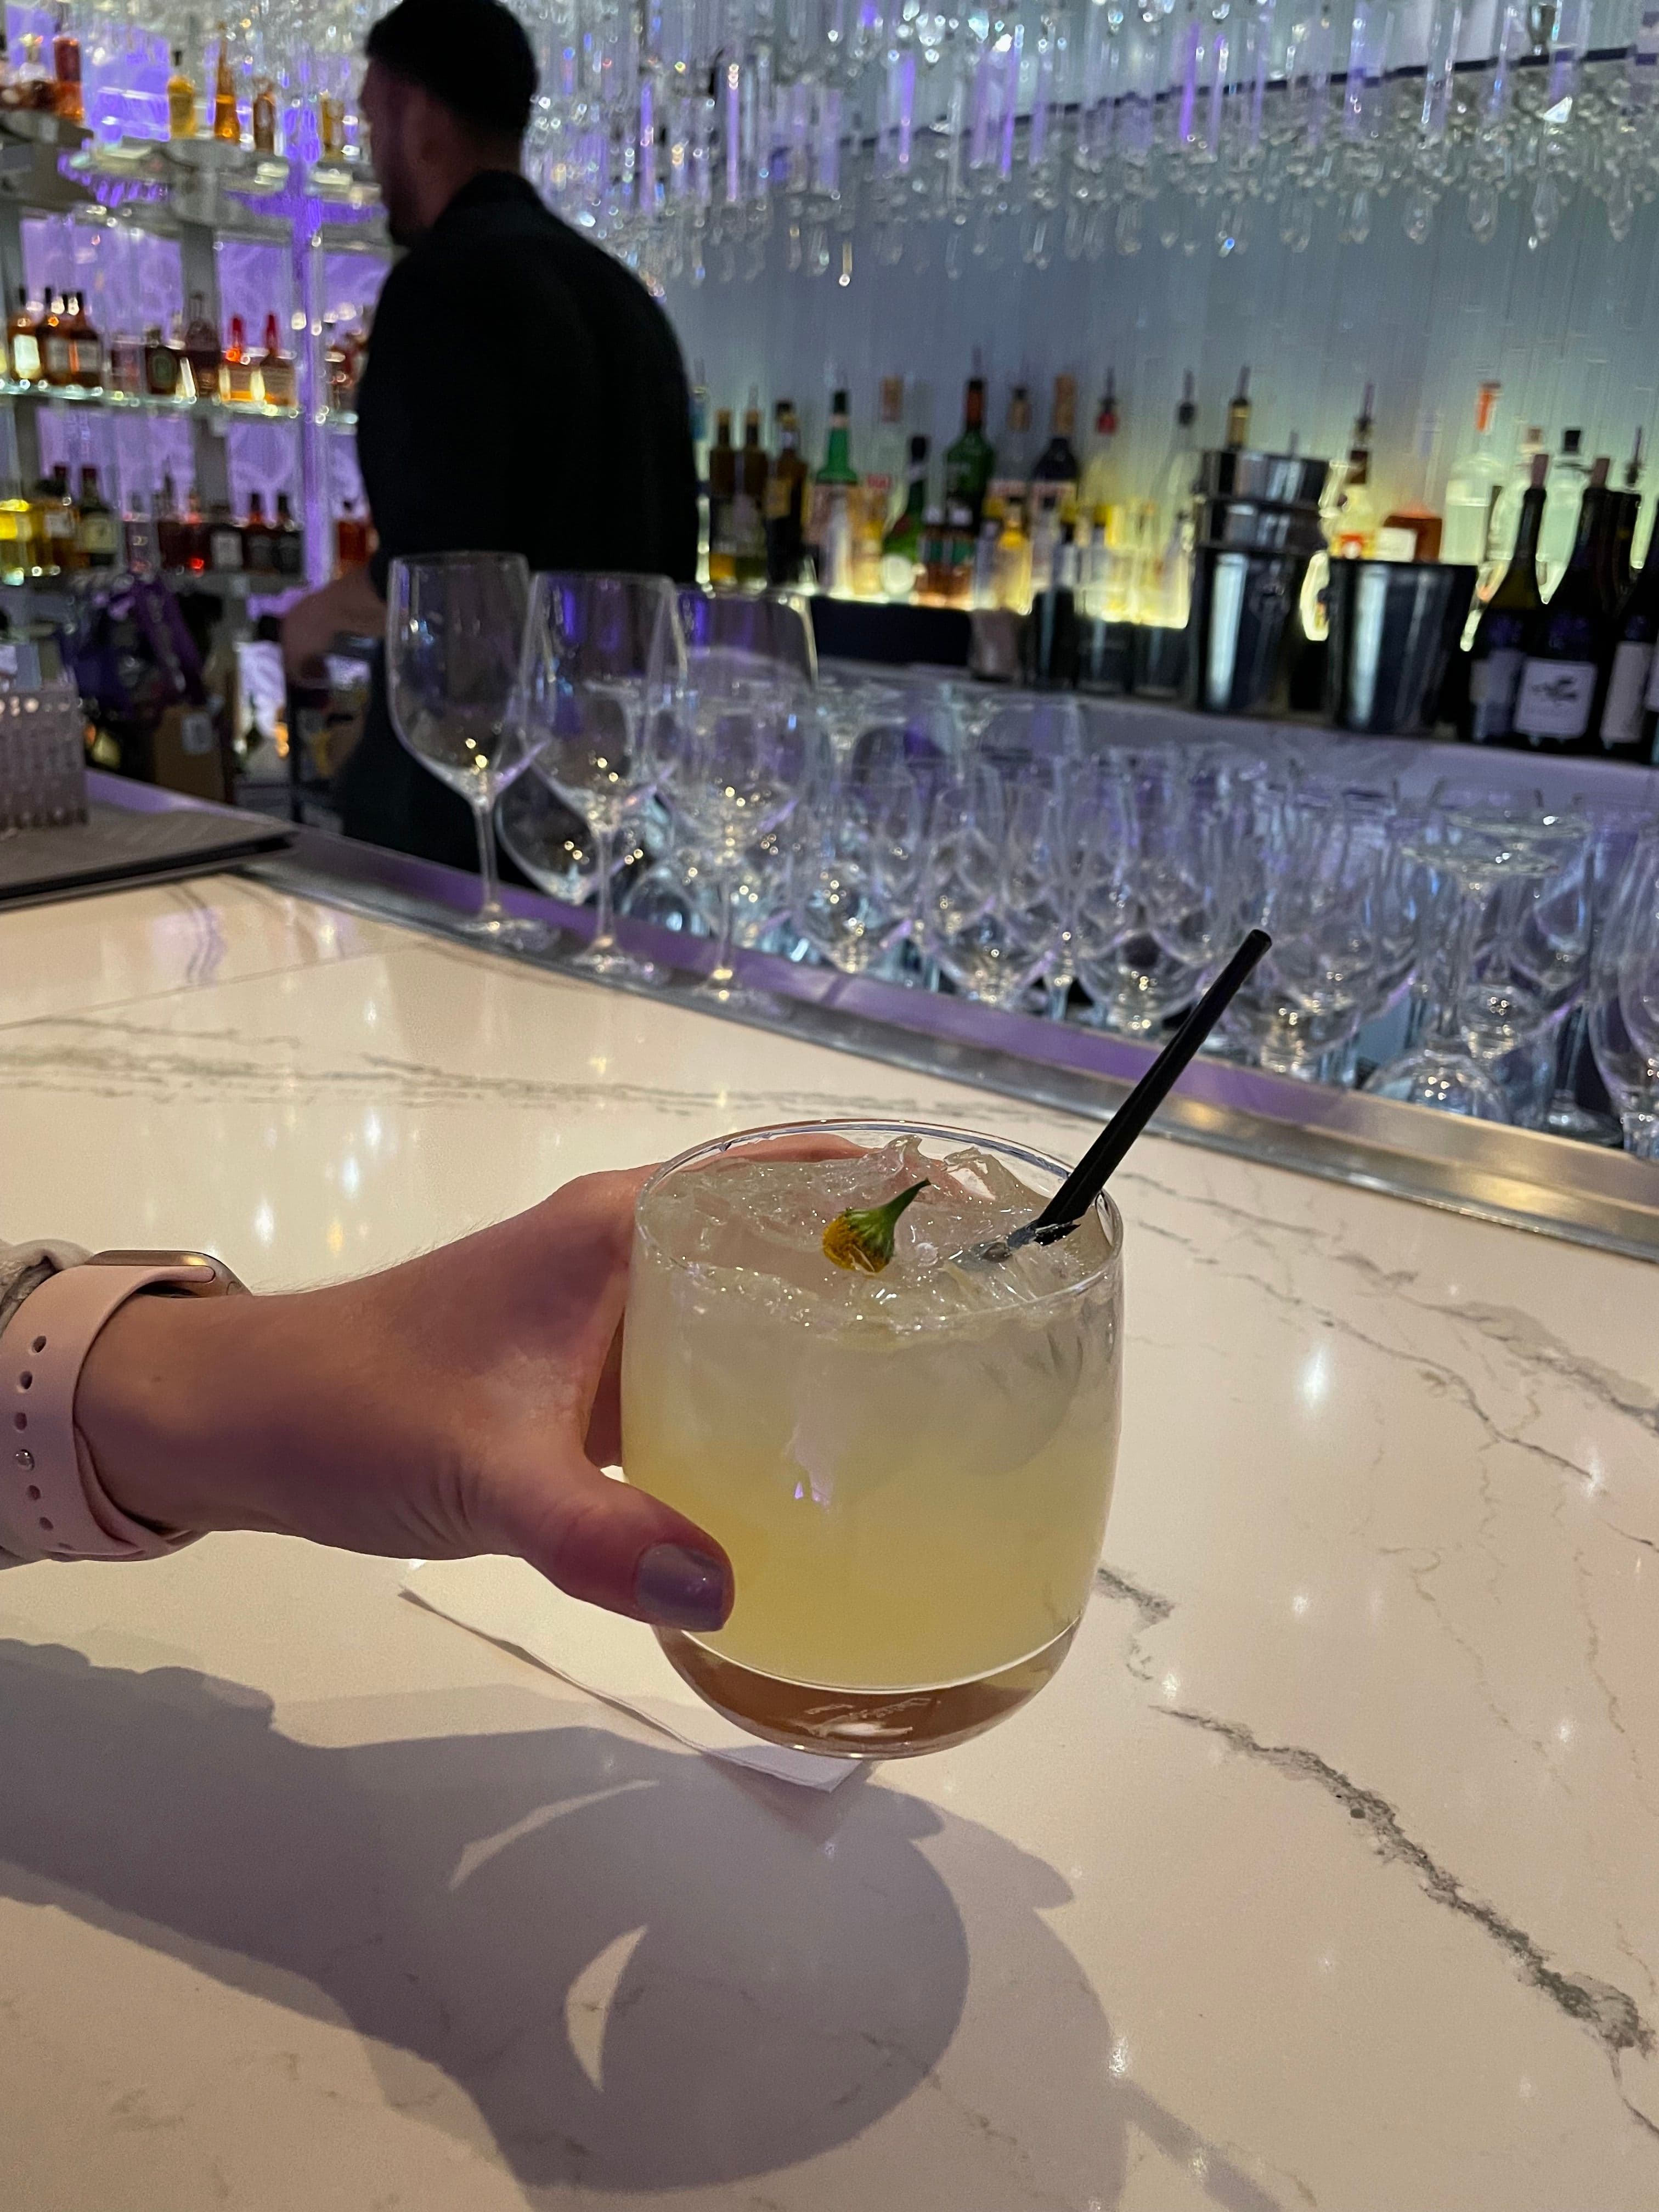
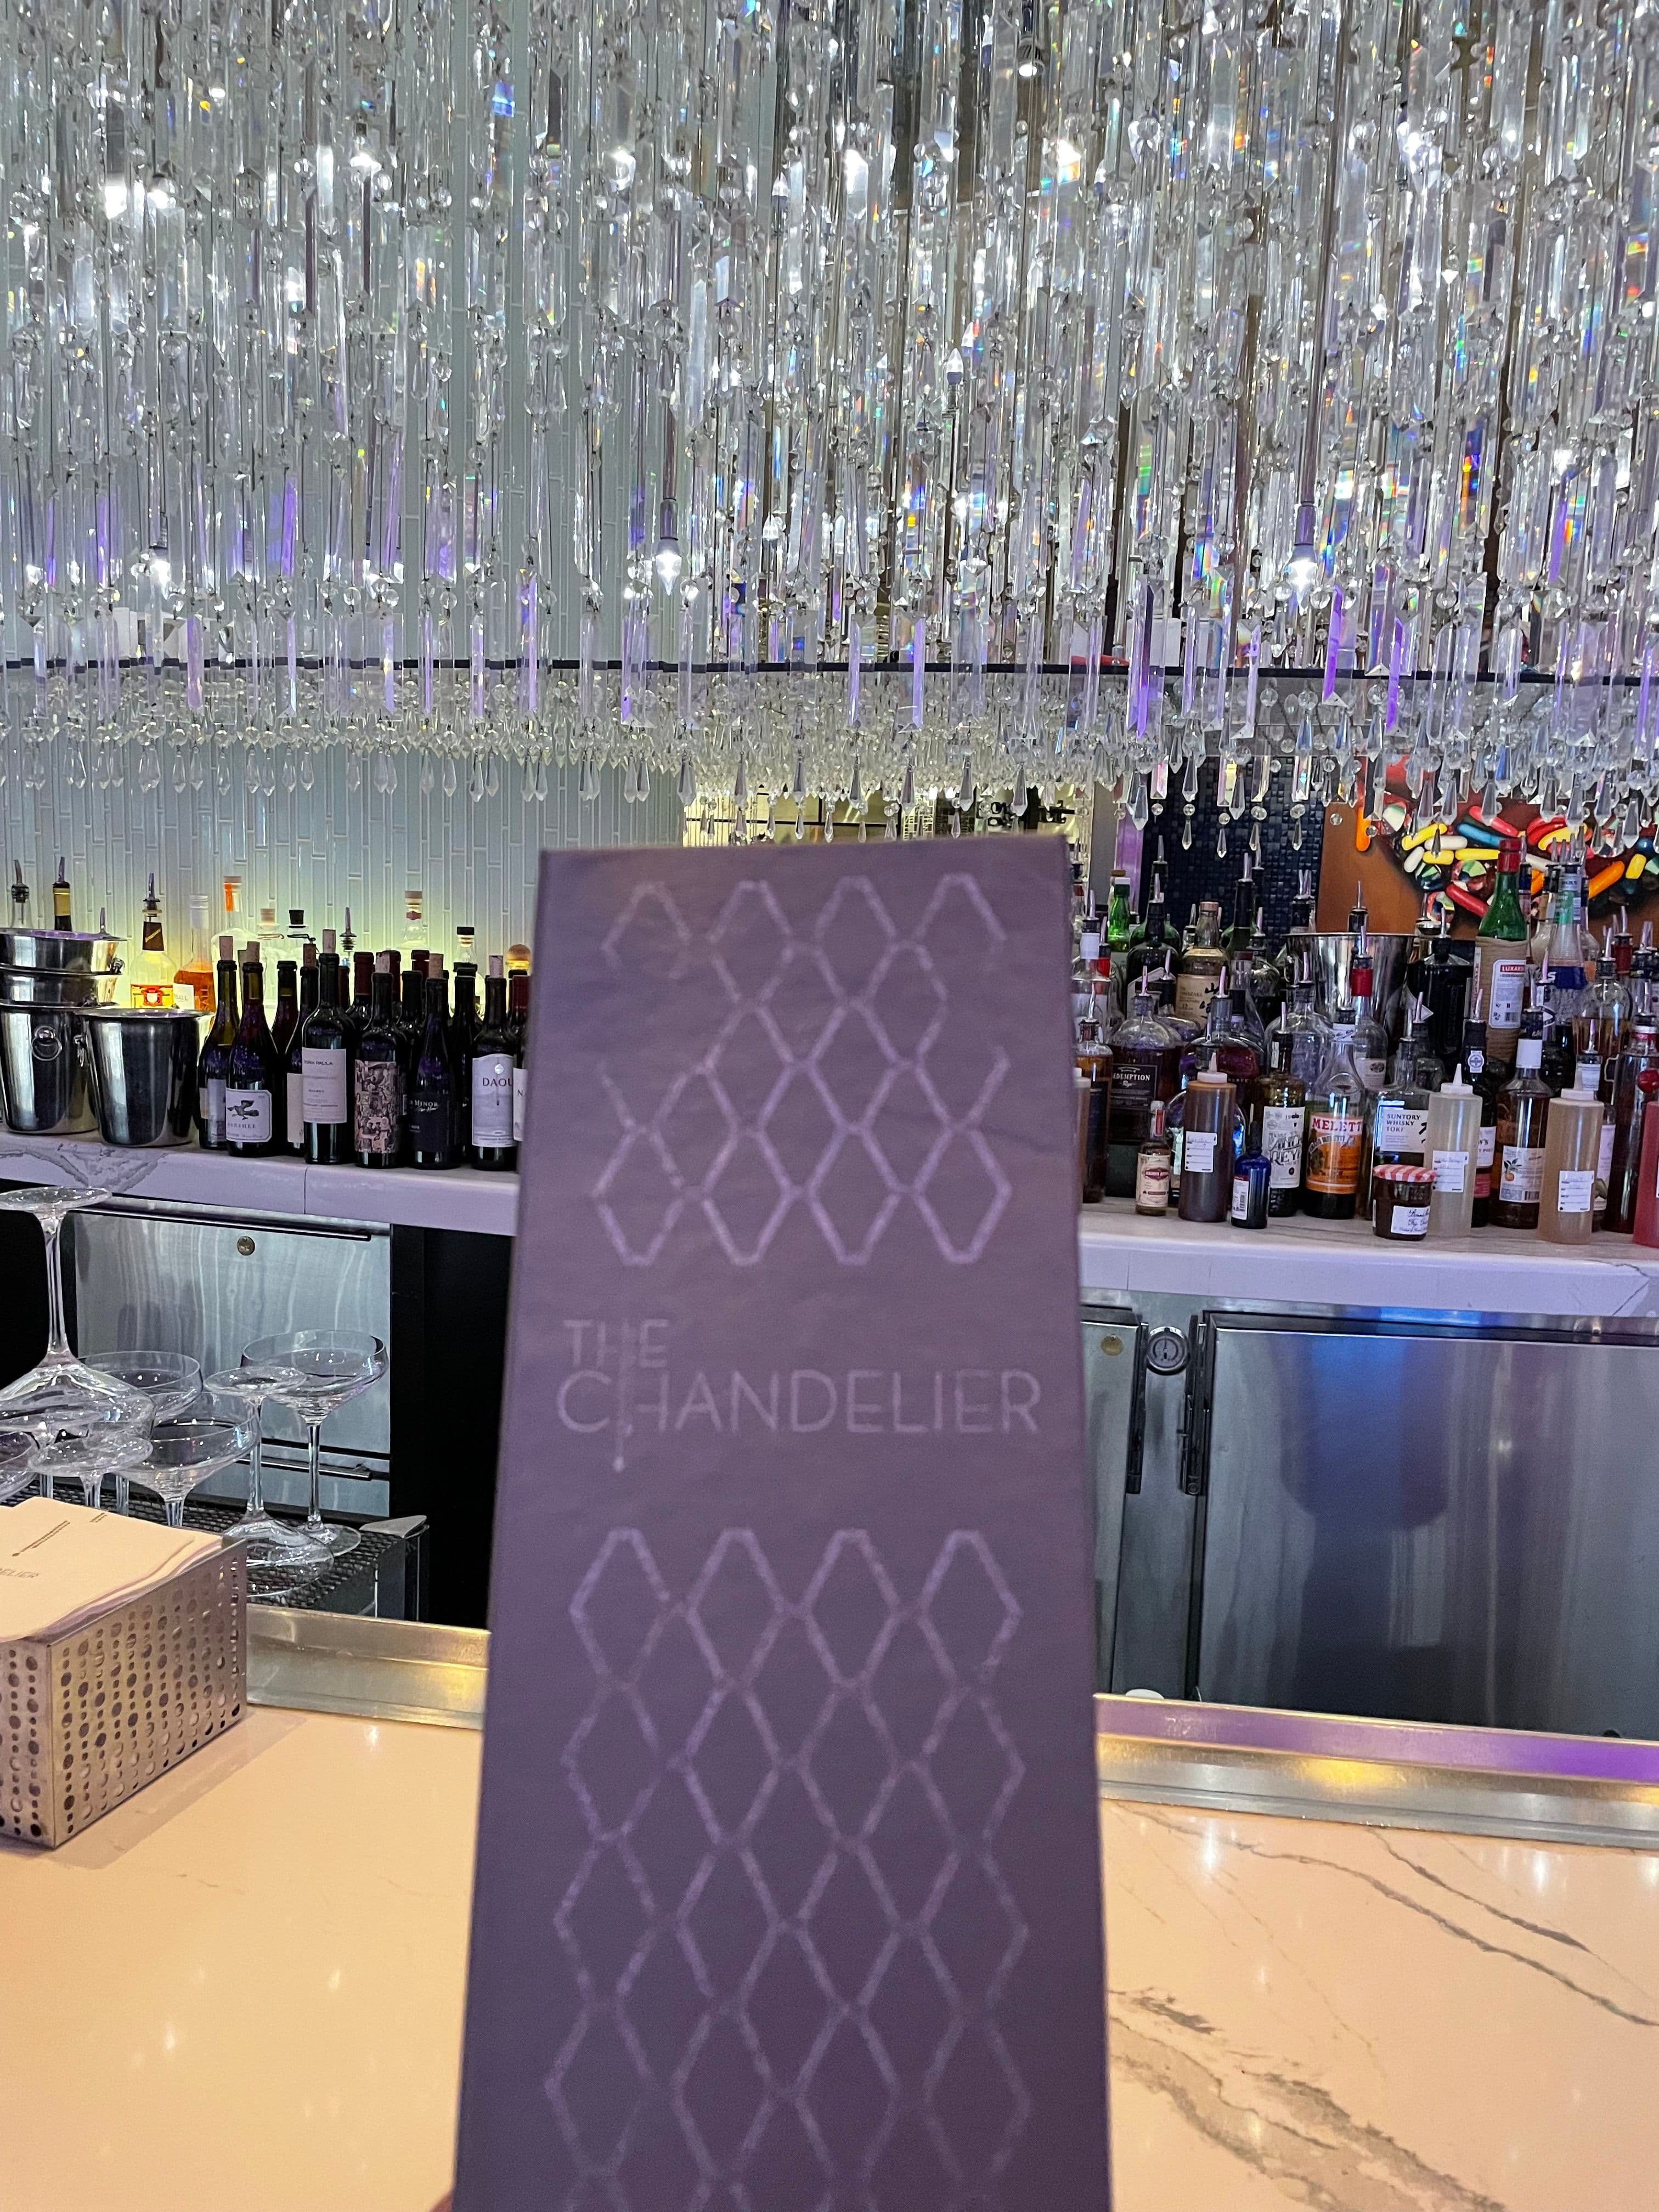
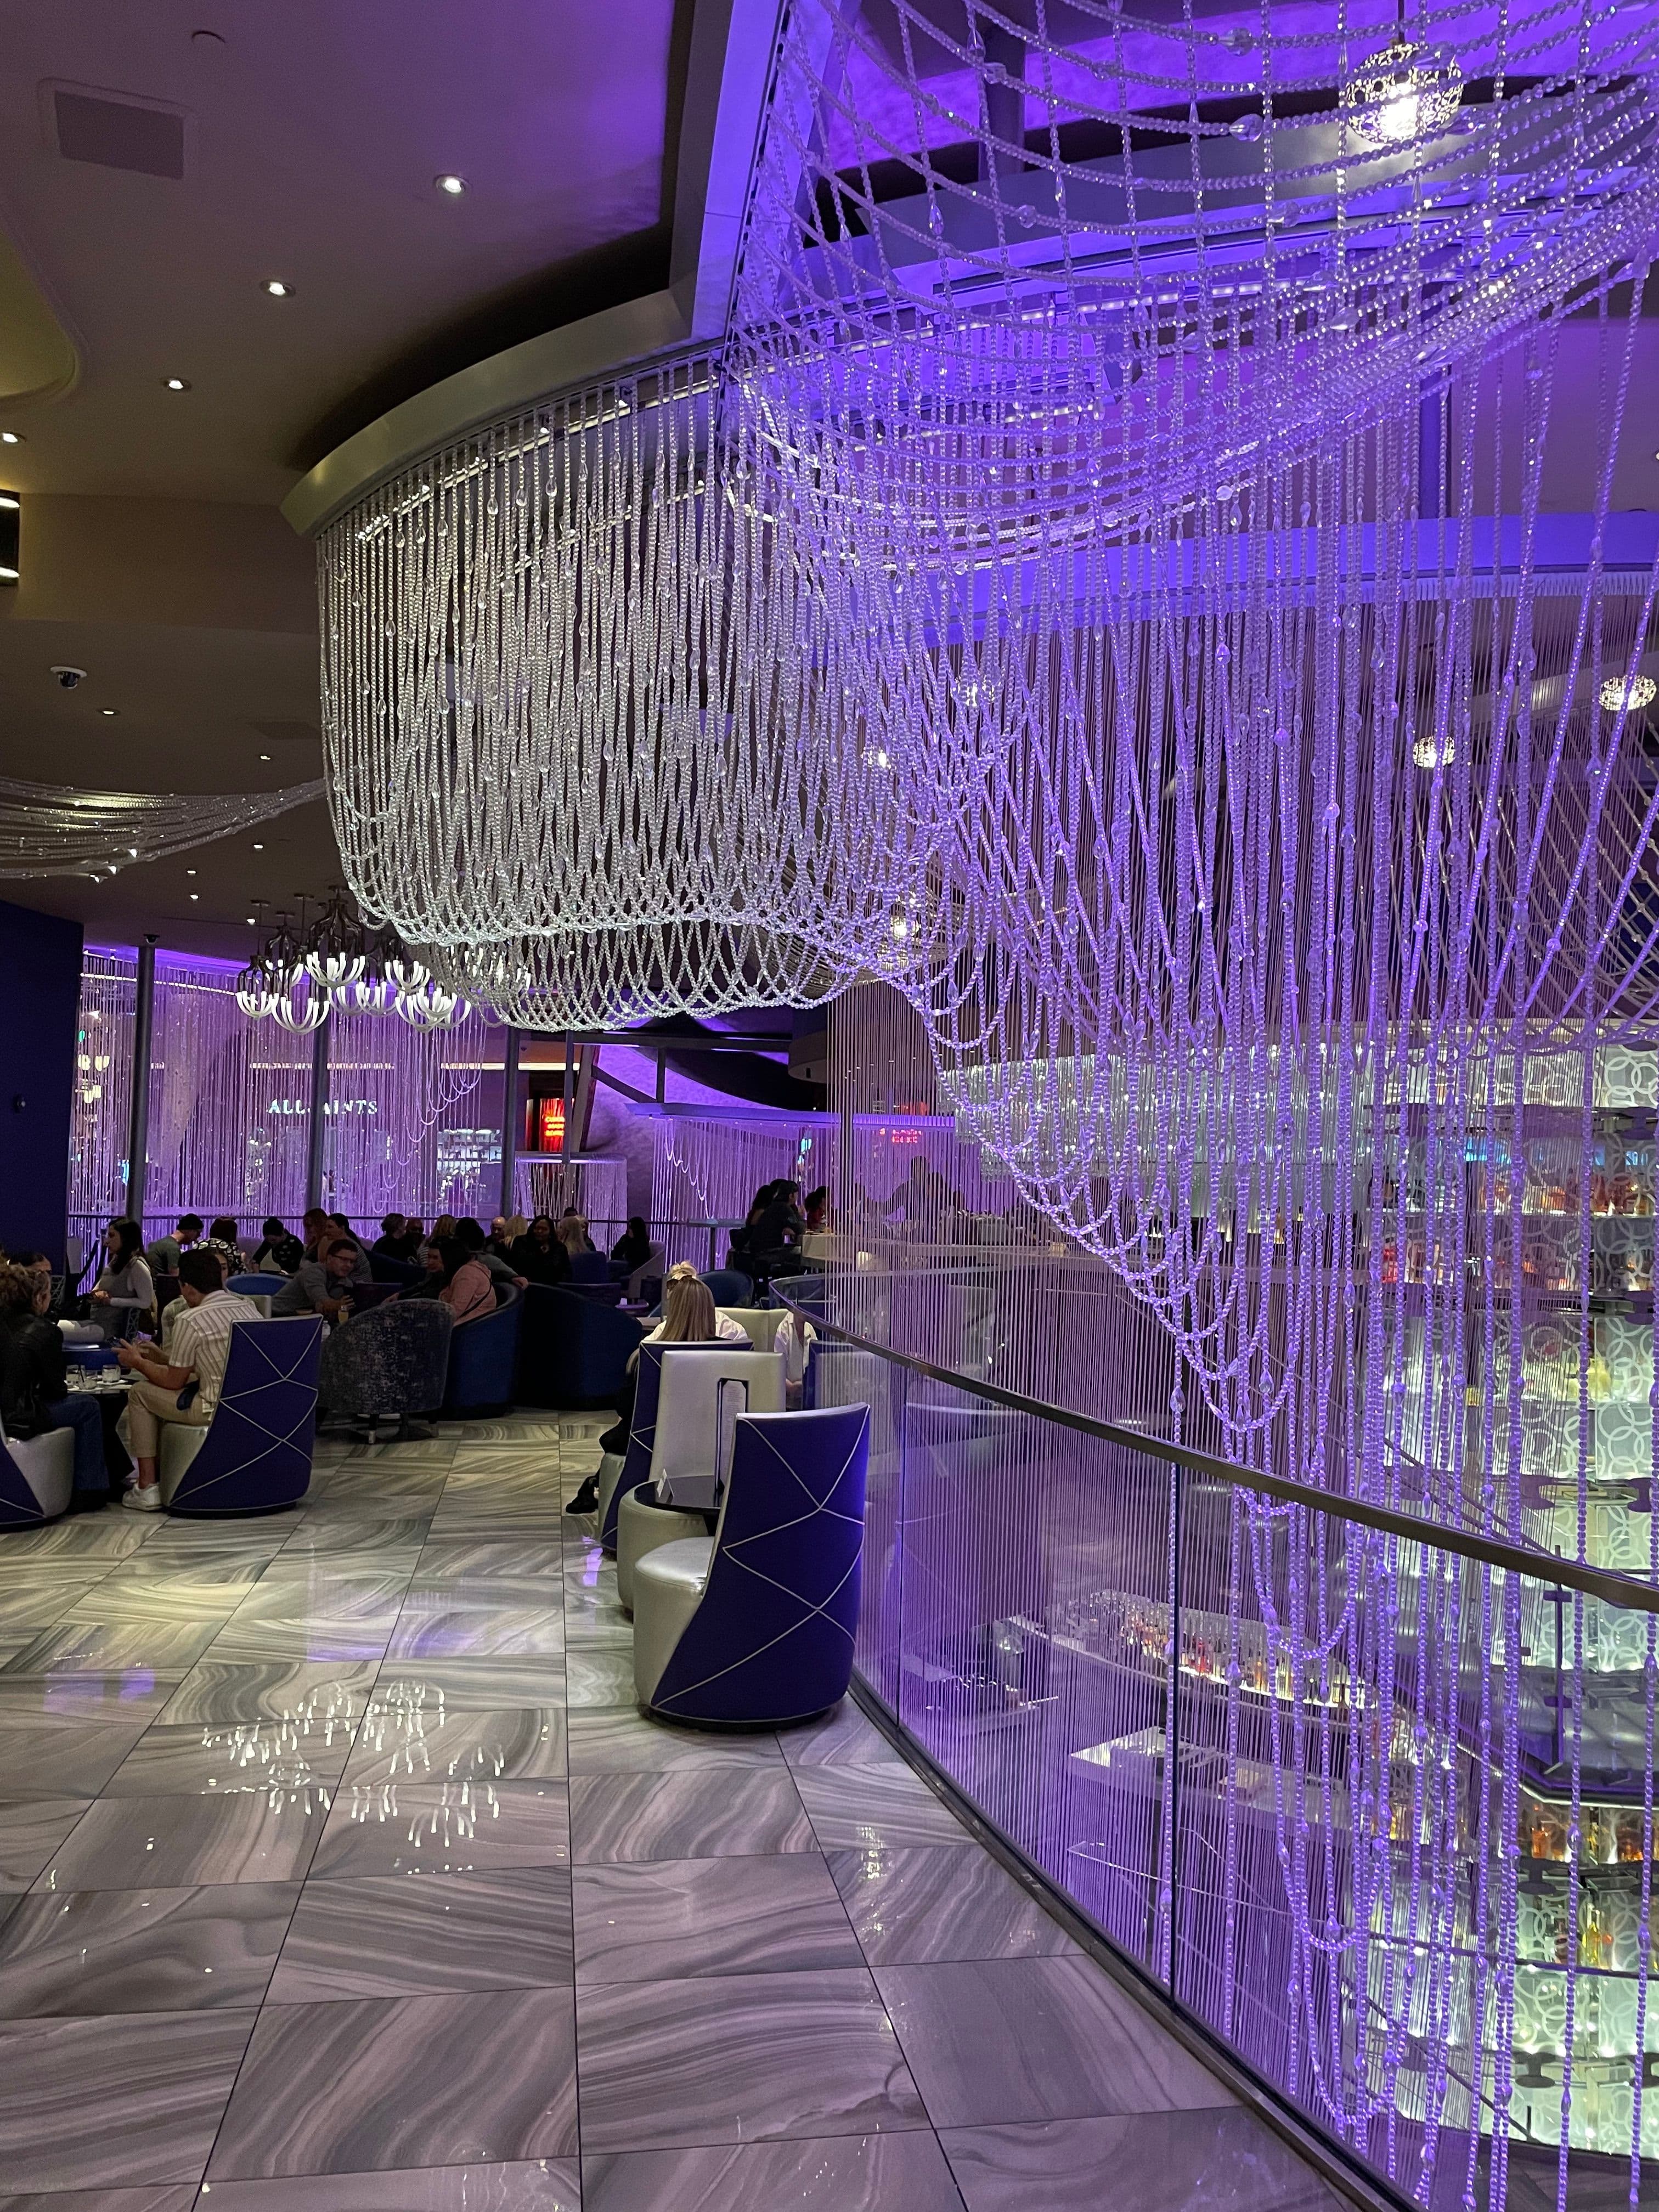
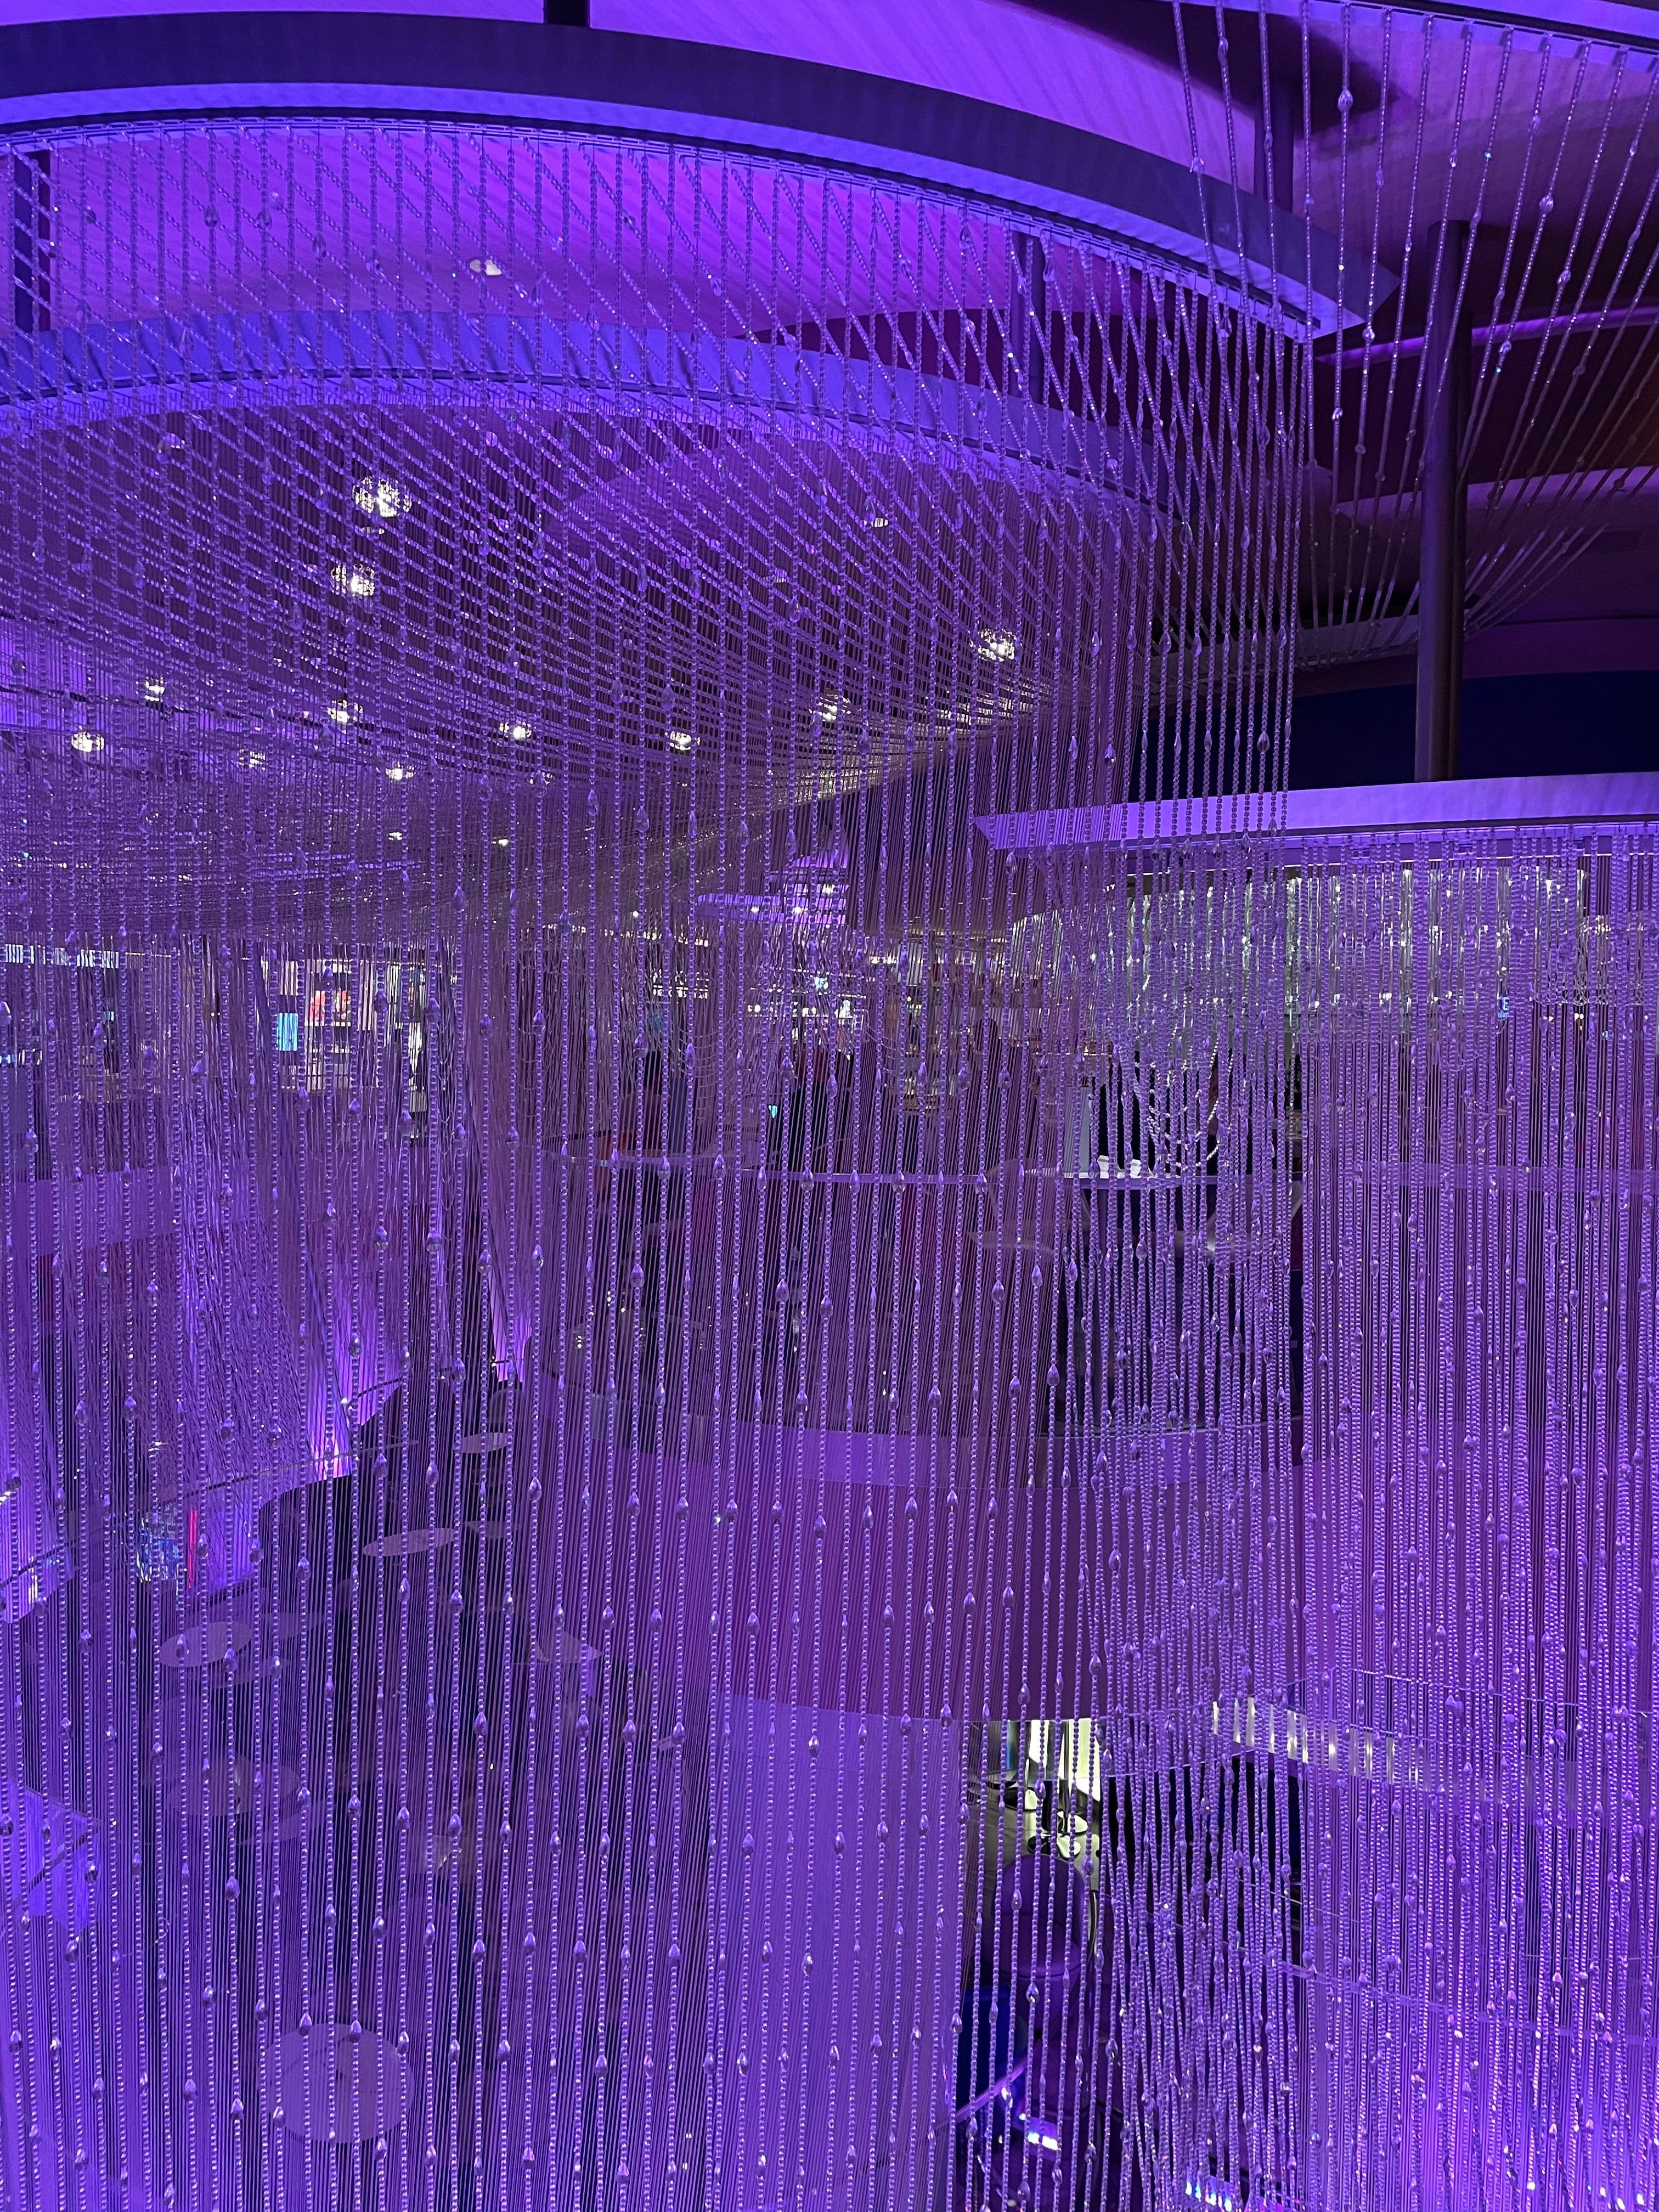
We fell in love with this bar as soon as we stepped foot in the Cosmopolitan. The beautiful chandelier surrounding the bar makes for such a fun atmosphere and a great picture too!
Try the Verbena! It is their special drink that is no longer on the menu but still remains a favourite. This cocktail alters your tastebuds and is such a cool sensation! It can best be described as having a waterfall in your mouth.
- 4
Dinner at the Bacchanal Buffet
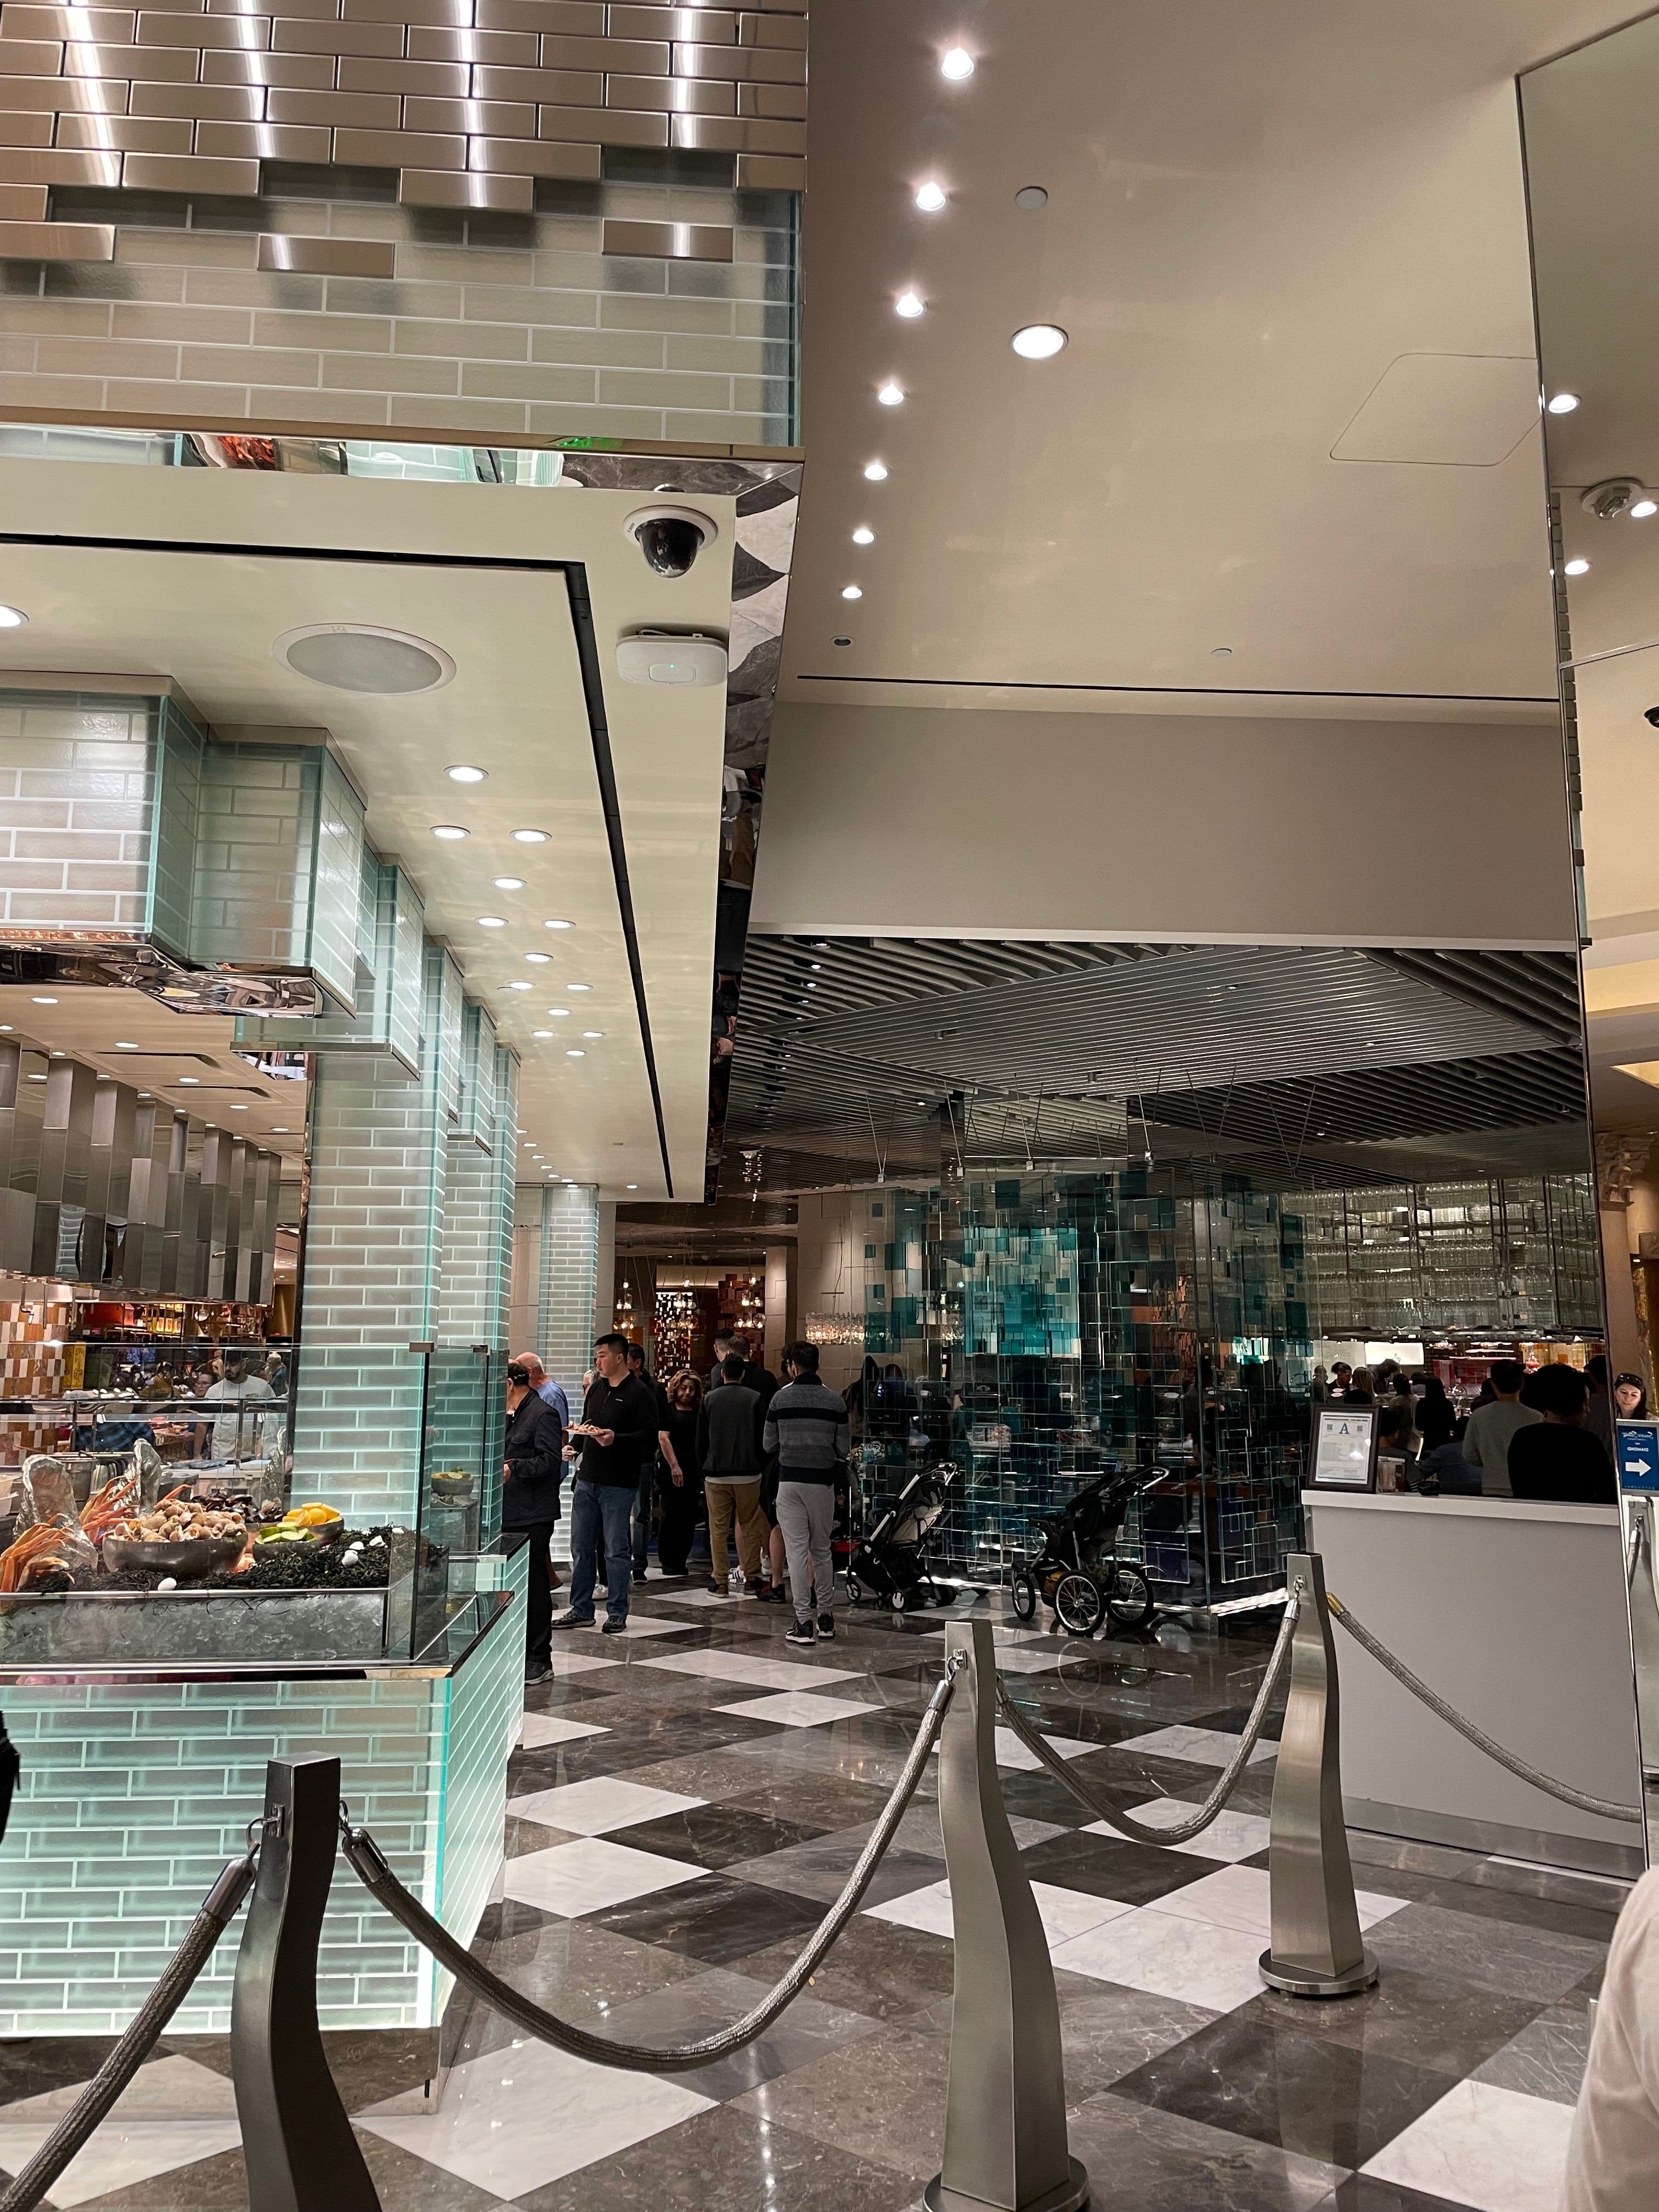
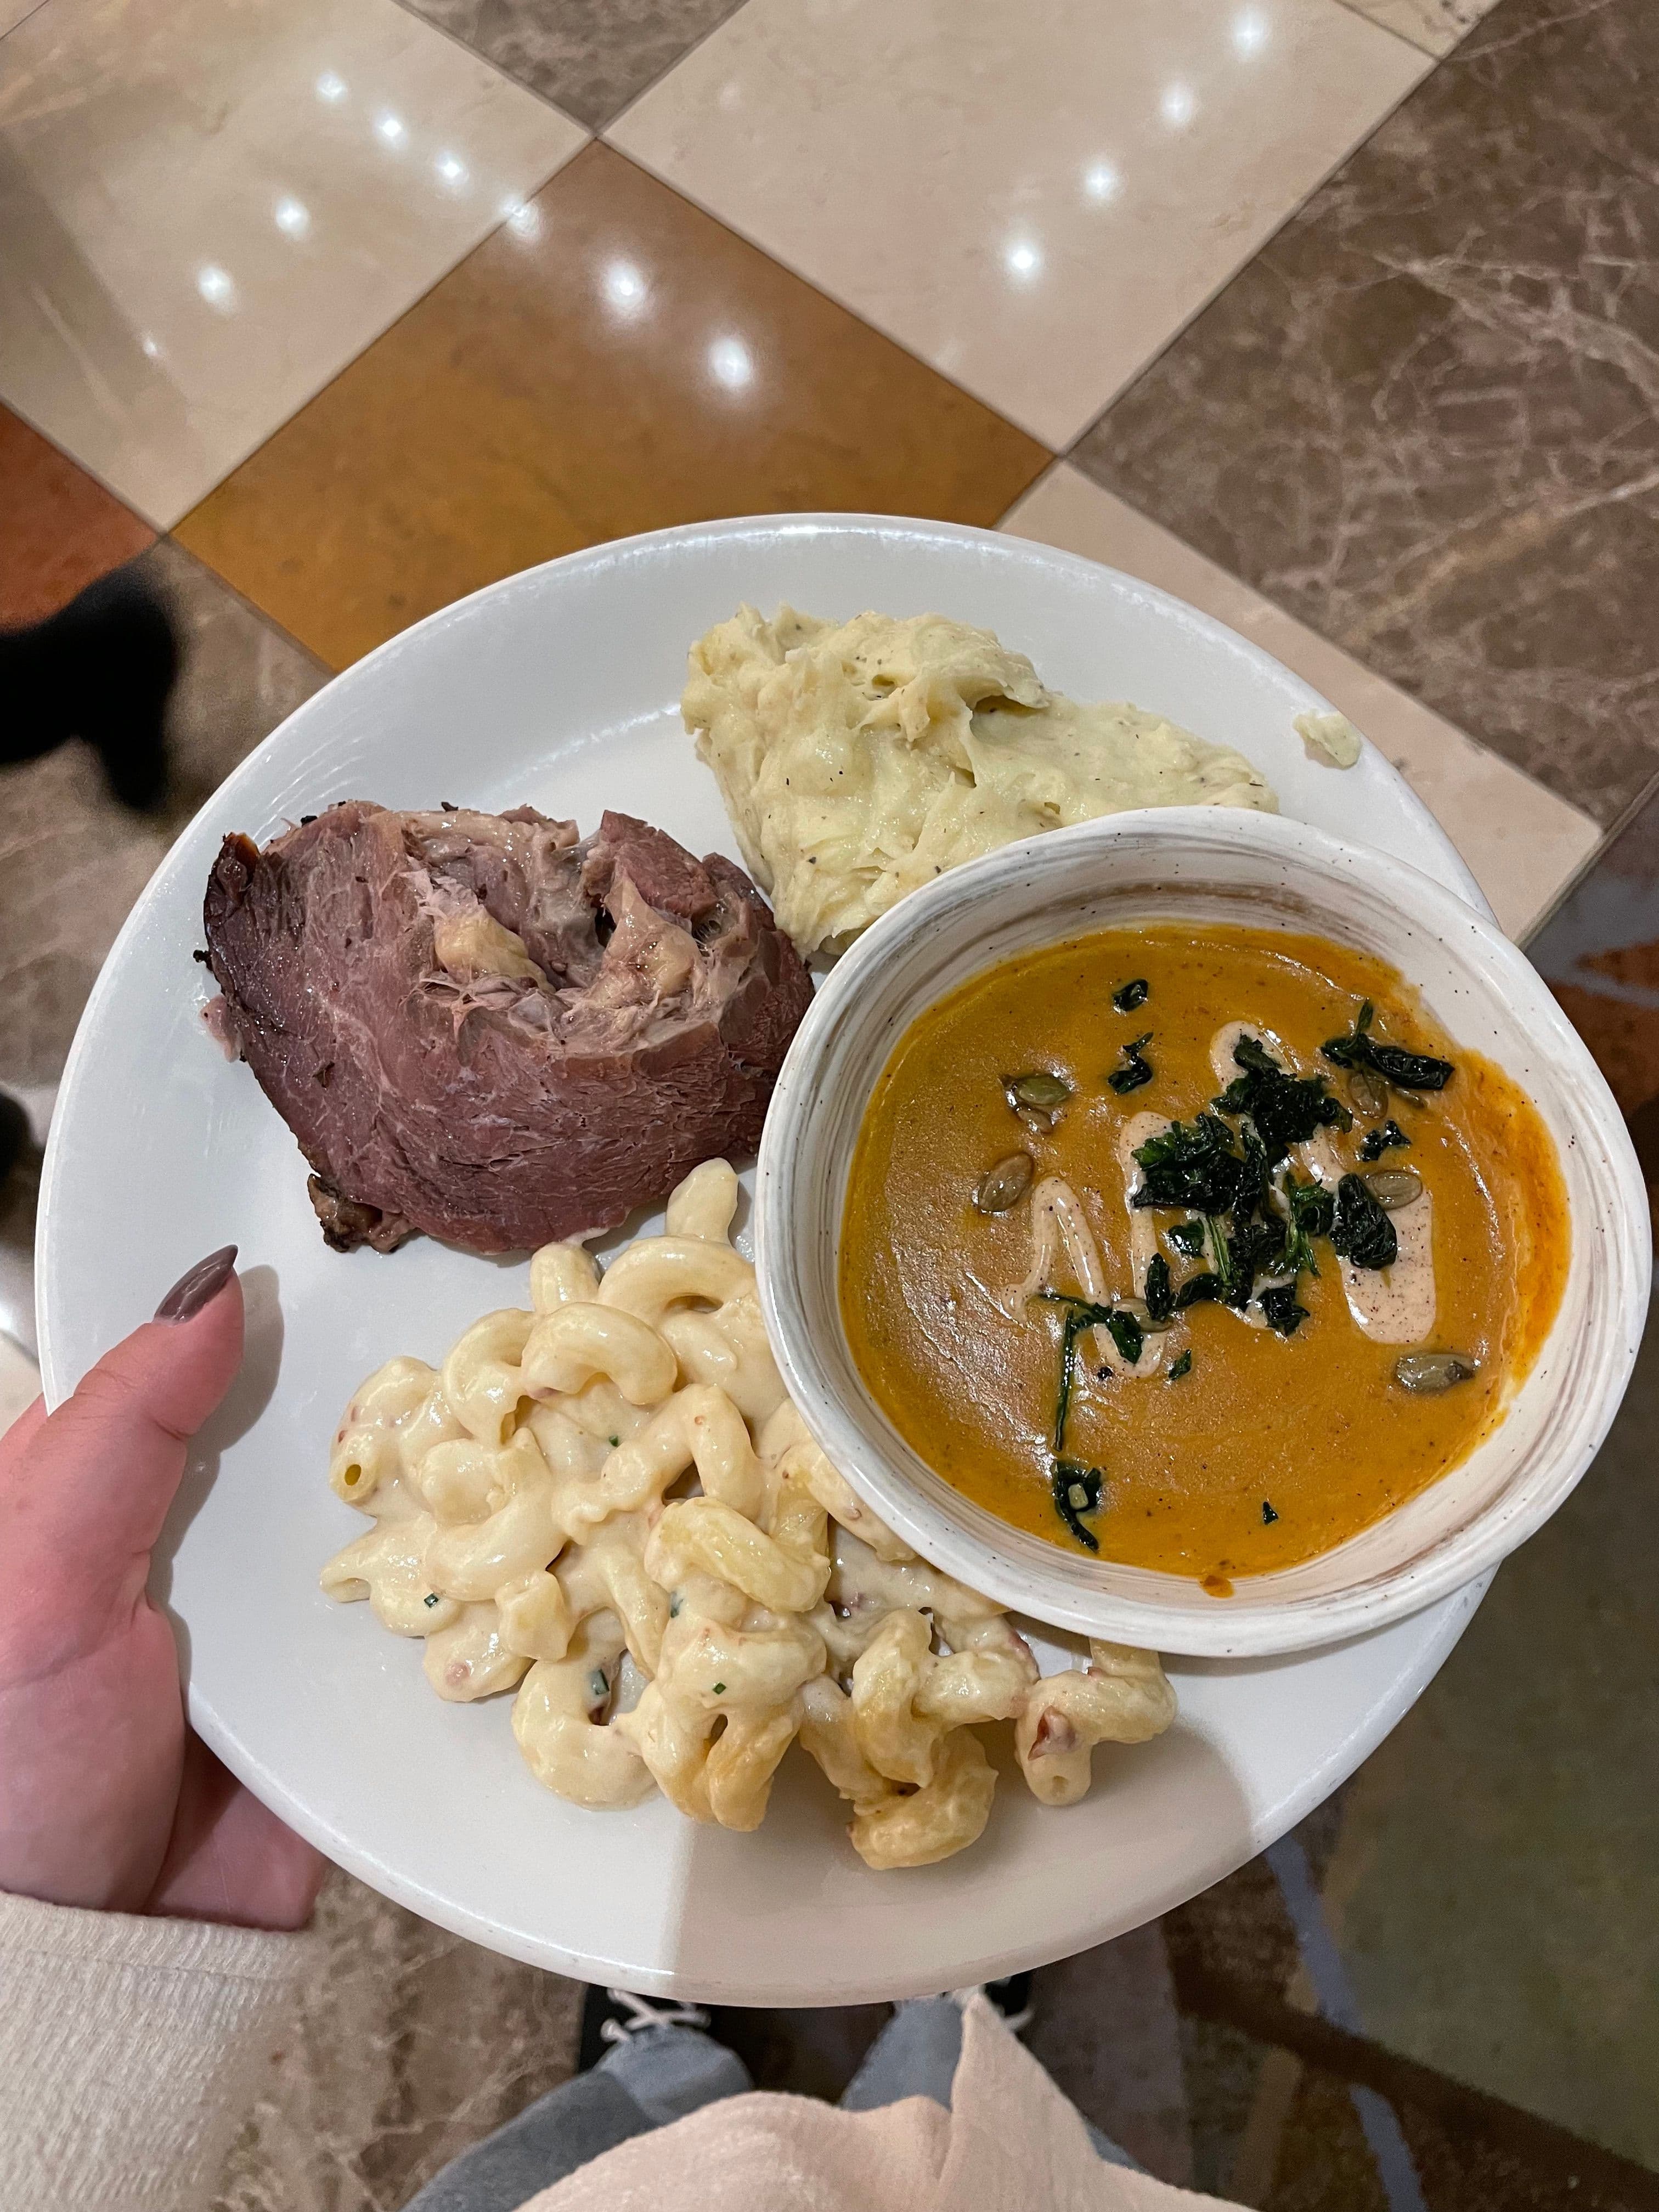
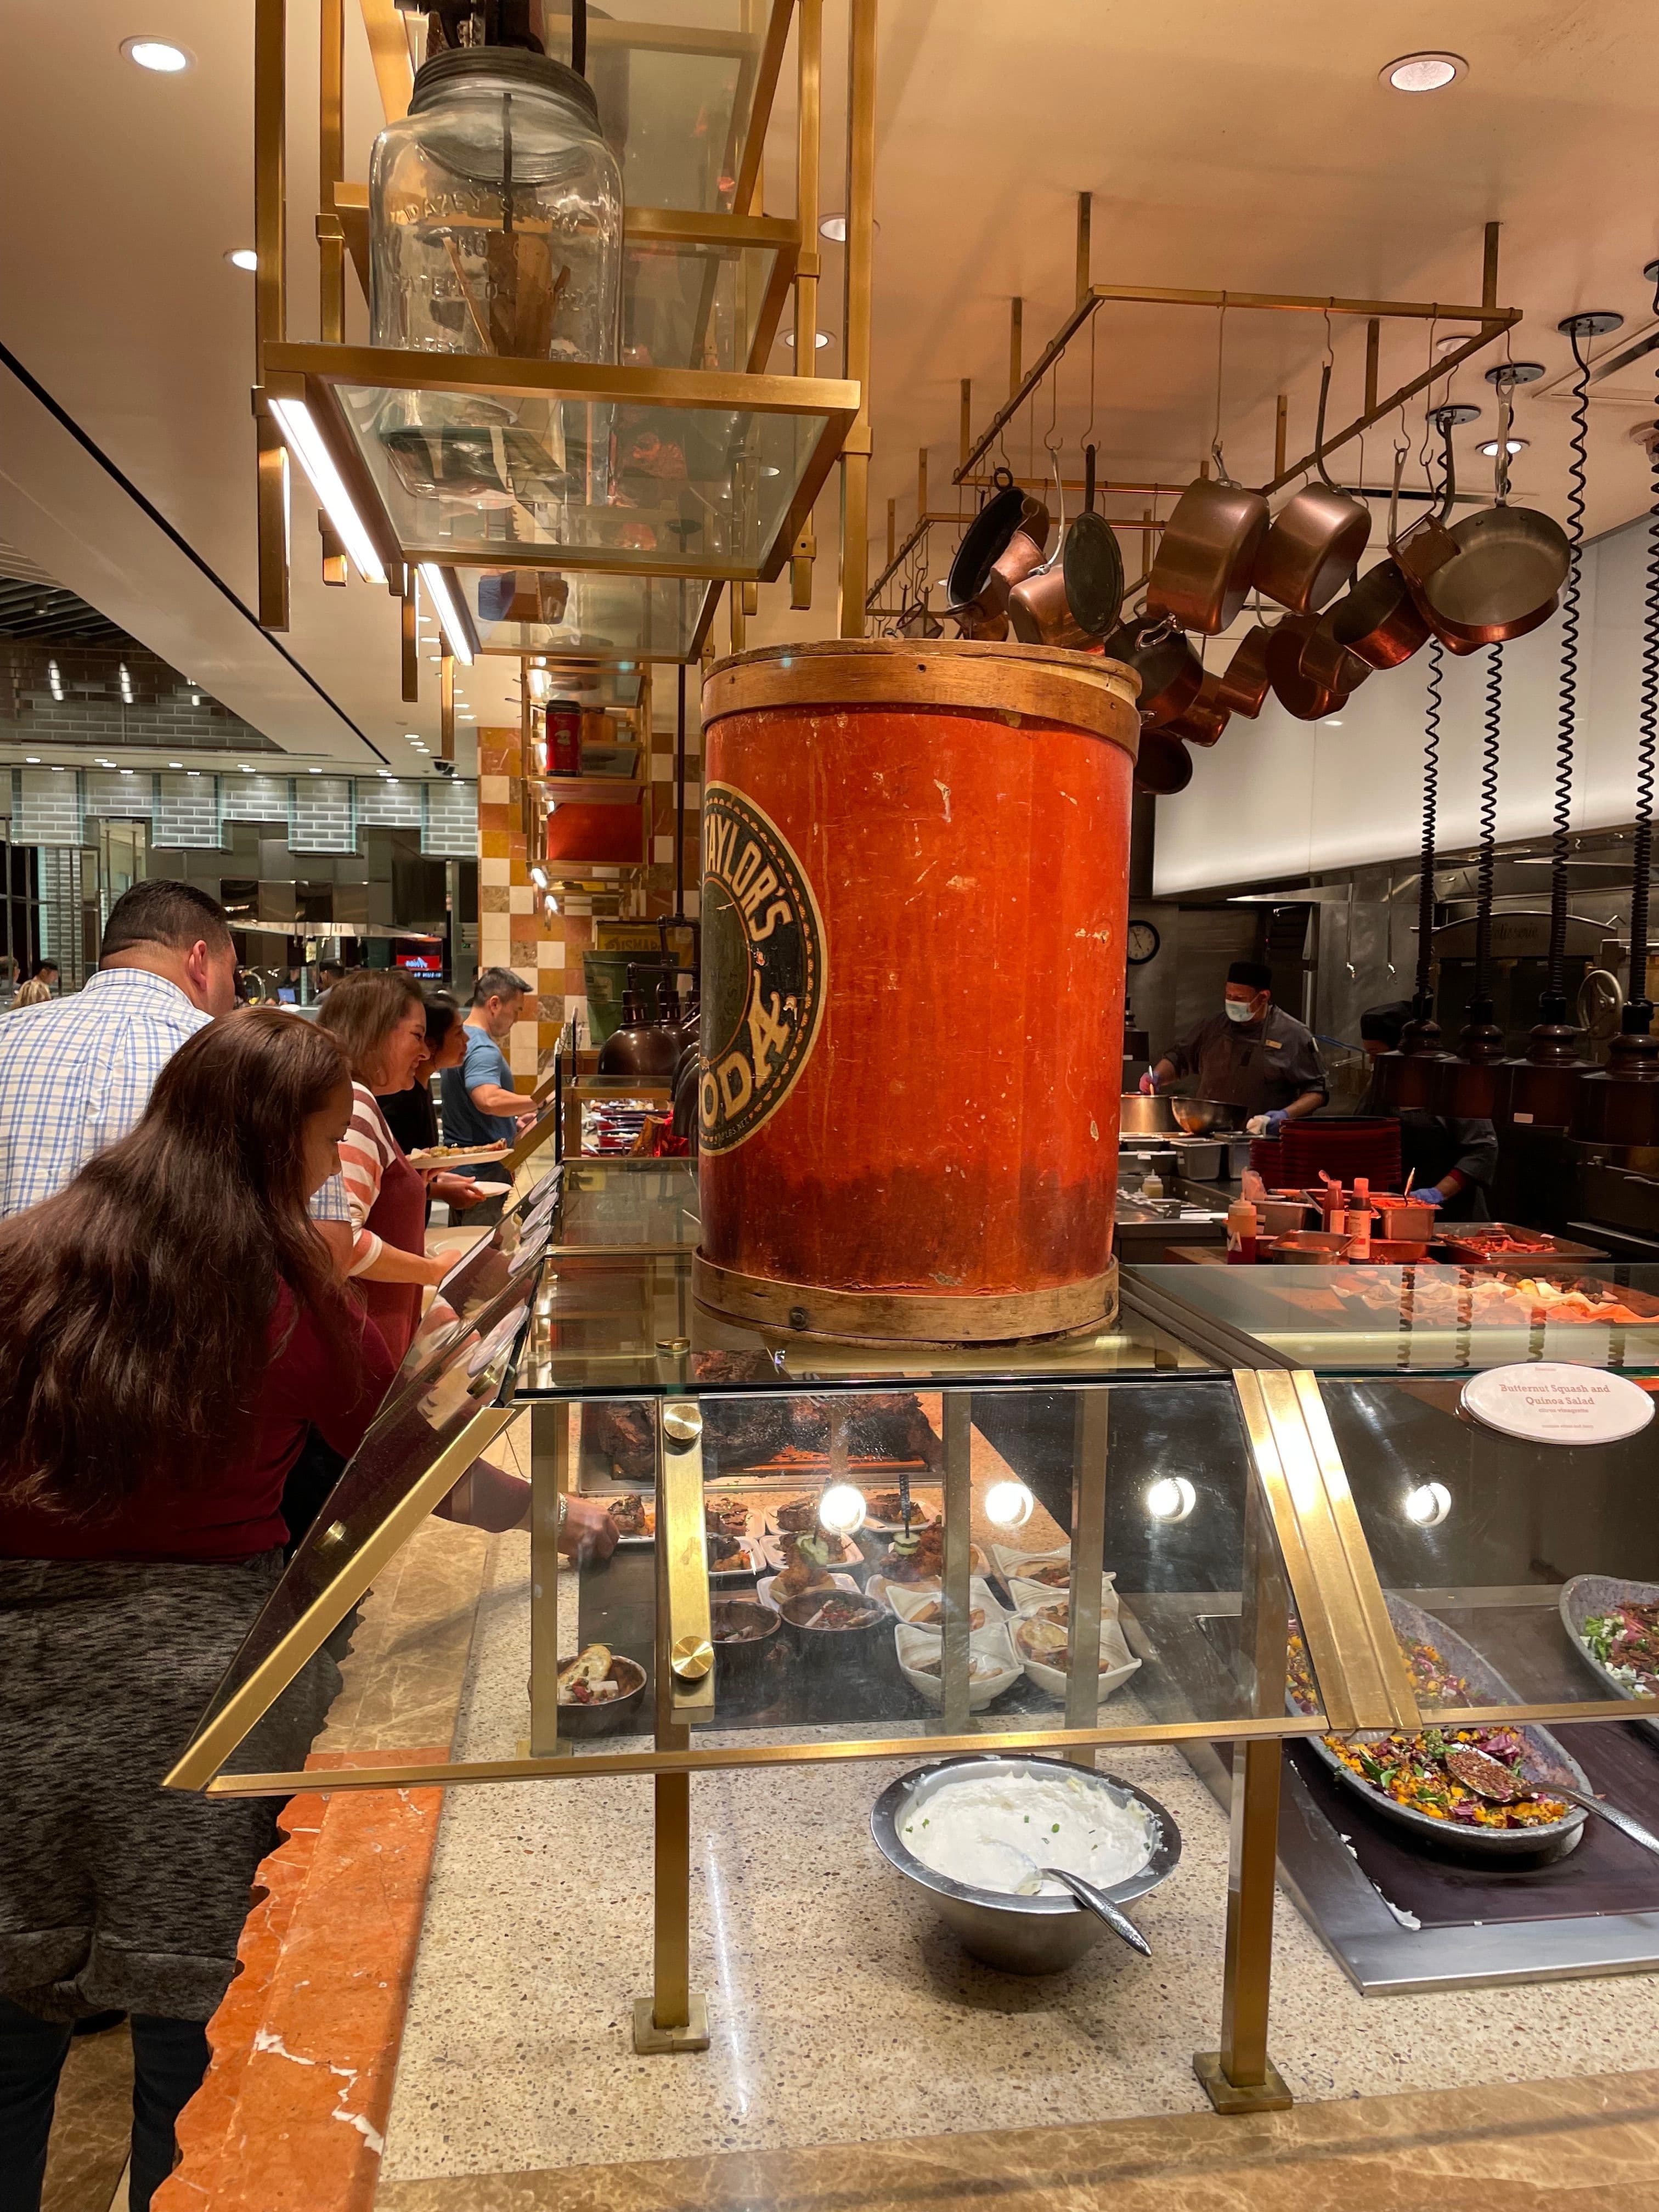
Before we headed to the airport, we decided to experience the popular Bacchanal Buffet that was located in our hotel!
It was a cool experience, and there were LOTS of amazing food options. However, as neither of us are huge buffet people, I don’t know if we would do it again in the future.
If you decide to go, make sure to reserve a table far in advance!
- 5
Head to the Airport
We then headed to the airport for our red eye flight back to Toronto.